X264 简介及使用
1、简介
2、环境搭建
3、使用
4、小结
简介
官网连接:https://www.videolan.org/developers/x264.html
官方文档:https://wiki.videolan.org/Category:X264/
x264是用于编码H.264/MPEG-4 AVC视频流的免费软件库。它世界上最流行的视频压缩库之一,在全球范围内用于网络视频、电视广播和蓝光创作等应用程序。它在速度和压缩方面几乎超过了所有商业实现。虽然它实际上不是VLC媒体播放器或FFmpeg的一部分,但它是两者都使用的主要库,使用GPL许可。由于它在商业世界中很受欢迎(例如Youtube和Facebook依赖它),许多公司过去都为他们认为有用的功能和改进提供赏金。
使用到x264的项目:
Avidemux
ELDER
ffdshow
ffmpeg
GordianKnot
Handbrake
LiVES
MeGUI
MEncoder
Bencos (formerly RealAnime)
StaxRip
VLC media player
…
FFmpeg和x264的关系:
FFMpeg本身并不支持H.264的编码器,而是由FFMpeg的第三方模块对其进行支持,例如x264和OpenH264,二者各有各的优势。由于OpenH264开源比较晚,所以x264还是当前最常用的编码器;使用x264进行h.264编码时,所支持的像素格式主要包括yuy420p,yuvj420p,yuv422p, yuvj422p, yuv444p ,yuvj444p ,nv12 ,nv16, nv21.
环境搭建
1、nginx本地测试服务器搭建
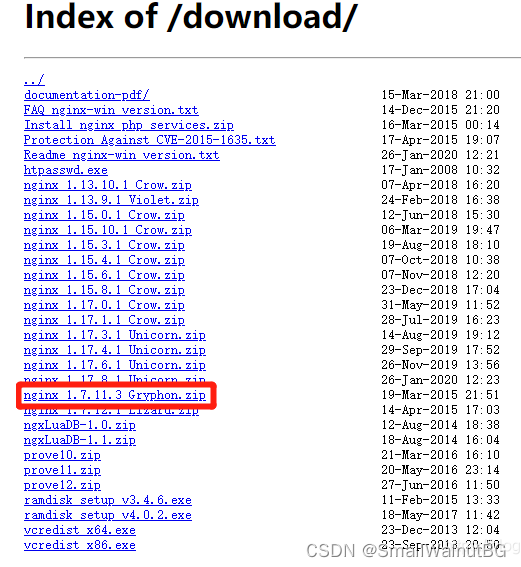
服务器下载地址:http://nginx-win.ecsds.eu/download/
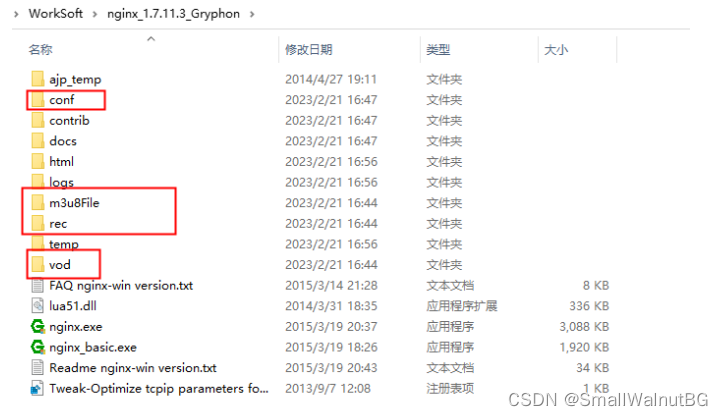
新建三个文件夹:m3u8File、rec、vod,conf目录放置nginx.conf文件
新建配置文件(nginx.conf):
worker_processes  1;   #Nginx进程数,建议设置为等于CPU总核数

events {
    worker_connections  1024;  #工作模式与连接数上限
}

rtmp_auto_push on;

#RTMP服务
rtmp{
    server{
	    listen 1935;        #服务端口
		chunk_size 4096;    #数据传输块的大小

		application vod{
		    play ./vod;   #视频文件存放位置
		}
		application live{
		    live on;                     #


			hls on;                      #开启hls直播。这个参数把直播服务器改造成实时回放服务器
			#wait_key on;                #对视频切片进行保护,这样就不会产生马赛克了
			hls_path ./html/hls;         #切片视频文件存放位置(HLS,m3u8文件存放位置)
			hls_fragment 2s;             #每个视频切片的时长
			hls_playlist_length 16s;
			recorder myRecord{
			    record all manual;
				record_suffix _.flv;
				record_path ./rec;
			}
			#hls_continuous on;          #连续模式
			#hls_cleanup on;             #对多余的切片进行删除
			#hls_nested on;              #嵌套模式
		}
	}
}

#HTTP服务
http {
    include       mime.types;
    default_type  application/octet-stream;
    sendfile        on;
    keepalive_timeout  65;

    server {
        listen       80;
        server_name  localhost;

        location / {
            root   html;
            index  index.html index.htm;
        }

        location /live_hls{
		    types{
			    #m3u8 type设置
				application/vnd.apple.mpegurl m3u8;
				#ts分片文件设置
				video/mp2t ts;
			}
			#指向访问m3u8文件目录
			alias ./html/hls;
			    add_header Cache-Control no-cache; #禁止缓存
		}

        location /control{
		    rtmp_control all;
		}

		location /stat{
		    rtmp_stat all;
			rtmp_stat_stylesheet stat.xsl;
		}

		location /stat.xsl{
		    root ./nginx-rtmp-module-master;
		}

        # redirect server error pages to the static page /50x.html
        #
        error_page   500 502 503 504  /50x.html;
        location = /50x.html {
            root   html;
        }
    }
}
nginx的根目录执行
start nginx

浏览器确认:http://127.0.0.1/

到这一步说明nginx服务器已搭建完成
2、Windows下的FFmpag下载&使用:
FFmpag下载地址: http://ffmpeg.org/
Windows执行文件地址: https://www.gyan.dev/ffmpeg/builds/#git-master-builds
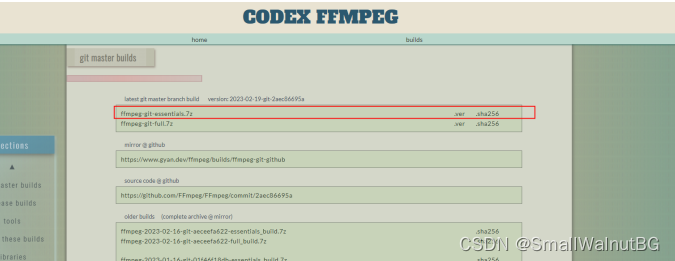
放置test.mp4到ffmpeg.exe ,并执行command:
ffmpeg -re -i test.mp4 -c copy -f flv rtmp://127.0.0.1/live 或者 ffmpeg -re -i test.mp4 -c copy -f flv rtmp://127.0.0.1:1935/live/test


拉流确认:
VLC官网地址: https://get.videolan.org/vlc/3.0.18/win64/vlc-3.0.18-win64.exe
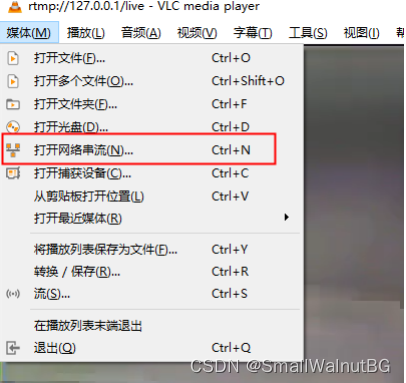
3、装虚拟机&Ubuntu:
VMware10 官网:https://customerconnect.vmware.com/downloads/details?downloadGroup=WKST-1007-WIN&productId=362&rPId=8482
需要注册,注册信息需要注意对应信息,不然会地址和邮编无效:
Email address: 填写正确的邮箱,需要用邮箱验证
City: Sacramento
Zip or postal code: 94203
Country/Territory: United States
State or province: California
Business phone: 0013602923672
安装步骤:
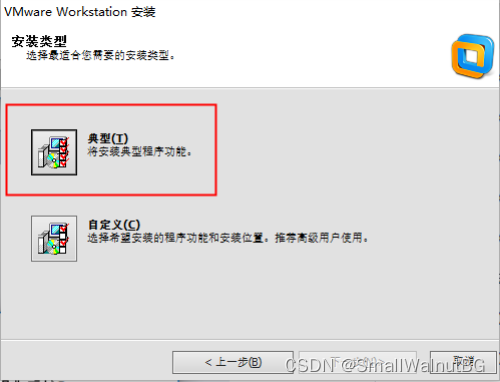
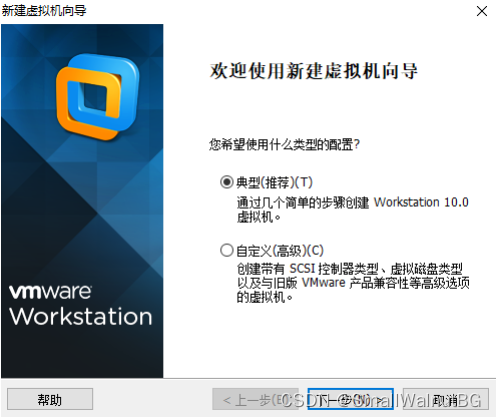
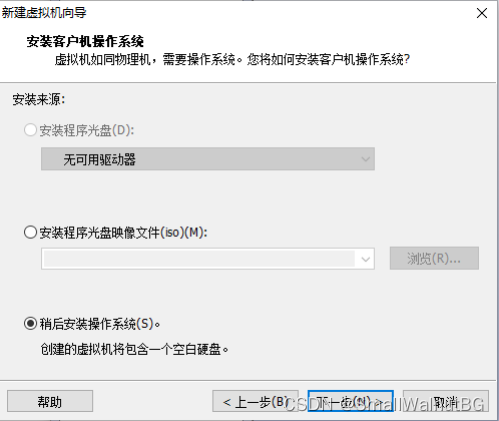
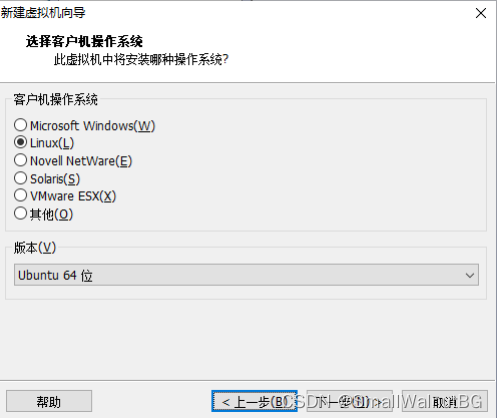
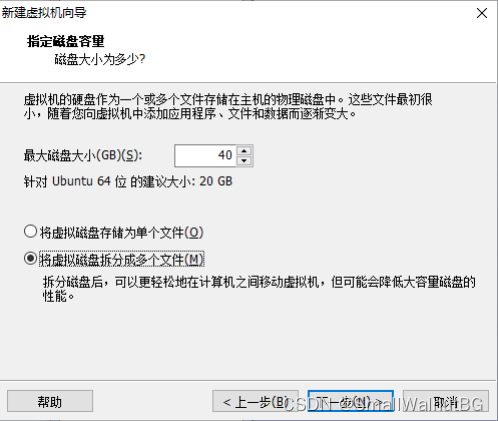
装Ubuntu:
官网: https://www.releases.ubuntu.com/14.04/
版本: ubuntu-14.04.6-desktop-amd64.iso
设置Ubuntu的ISO文件位置:
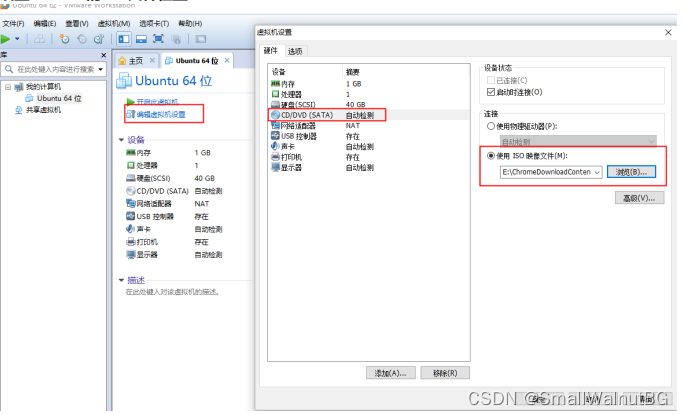
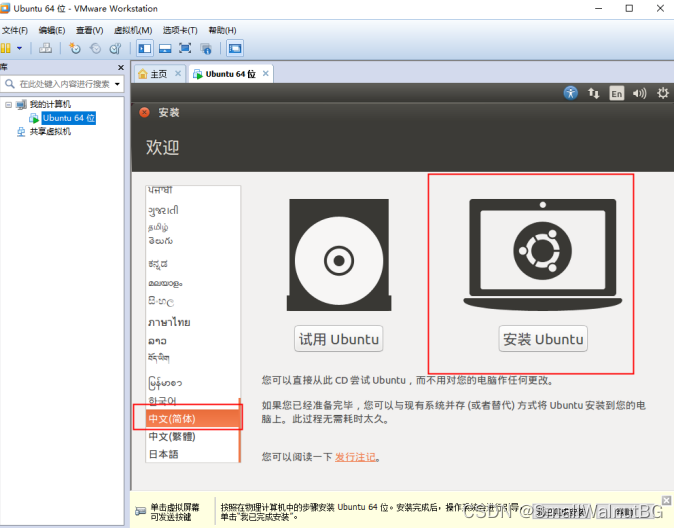
运行虚拟机后,选择中文并选安装Ubuntu
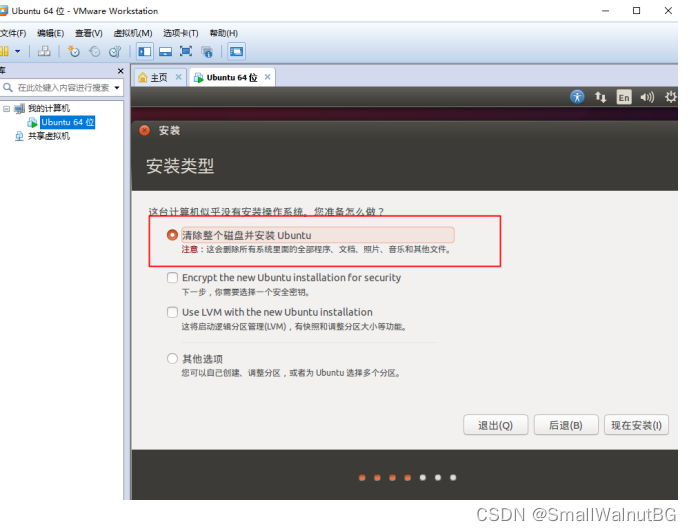
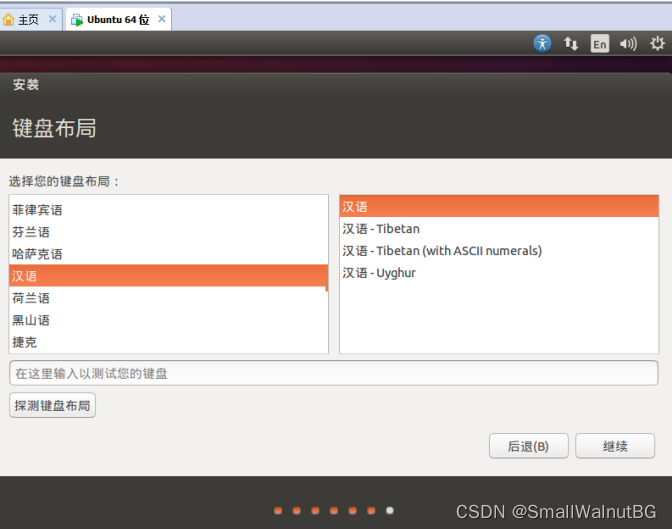
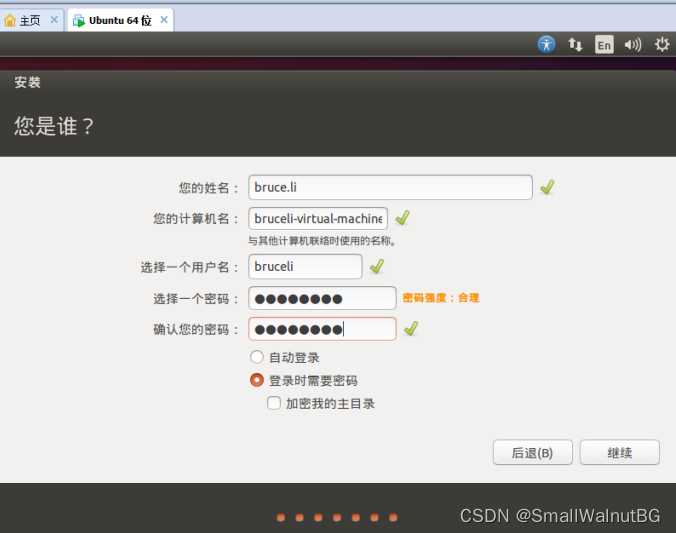
安装类型选择后,一直下一步:
等待安装:
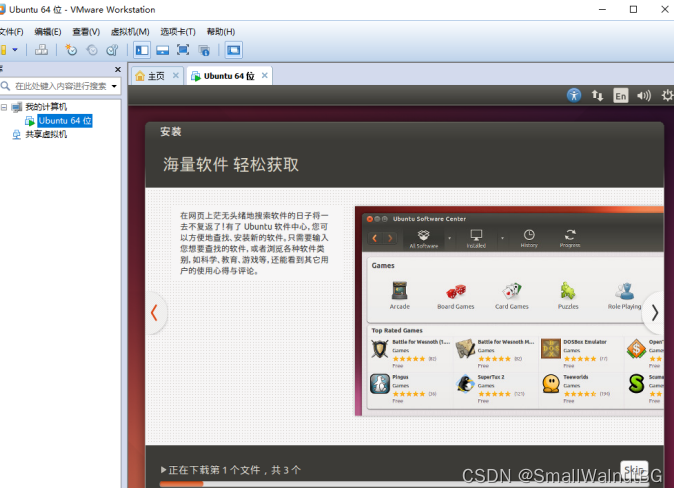
Tips -> 解决Windows上VMware蓝屏的问题:
Windows电脑:
1>、设置项:
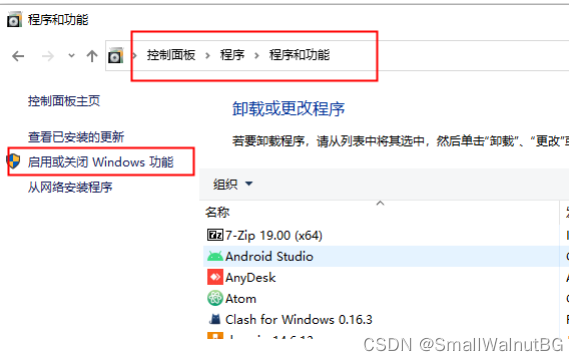
按照图示勾选:
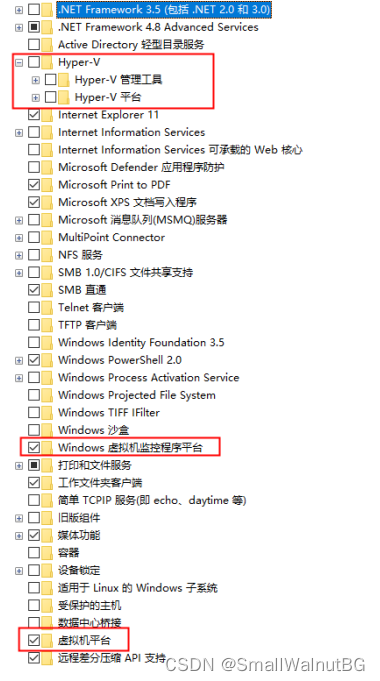
2>、如截图中管理员选择执行:
bcdedit /set hypervisorlaunchtype off

Ubuntu使用:
成为super user:super user ->
1>
sudo passwd root
2>
su
安装Copy windows -> ubuntu工具:
tool里面执行:
./vmware-install.pl (错误:ubuntu unable to start services for VMware Tools ,解决:sudo su - )

