0. 起因&需求
现有一款摄像头 O3D303,通过网线将其连接到局域网后,同一局域网的电脑可以通过可视化软件查看到各项参数以及对应的点云图。
但是如果想定制化具体的需求,用官方的可视化软件无疑是不可取的。这时候就需要用到SDK,来进行二次开发。
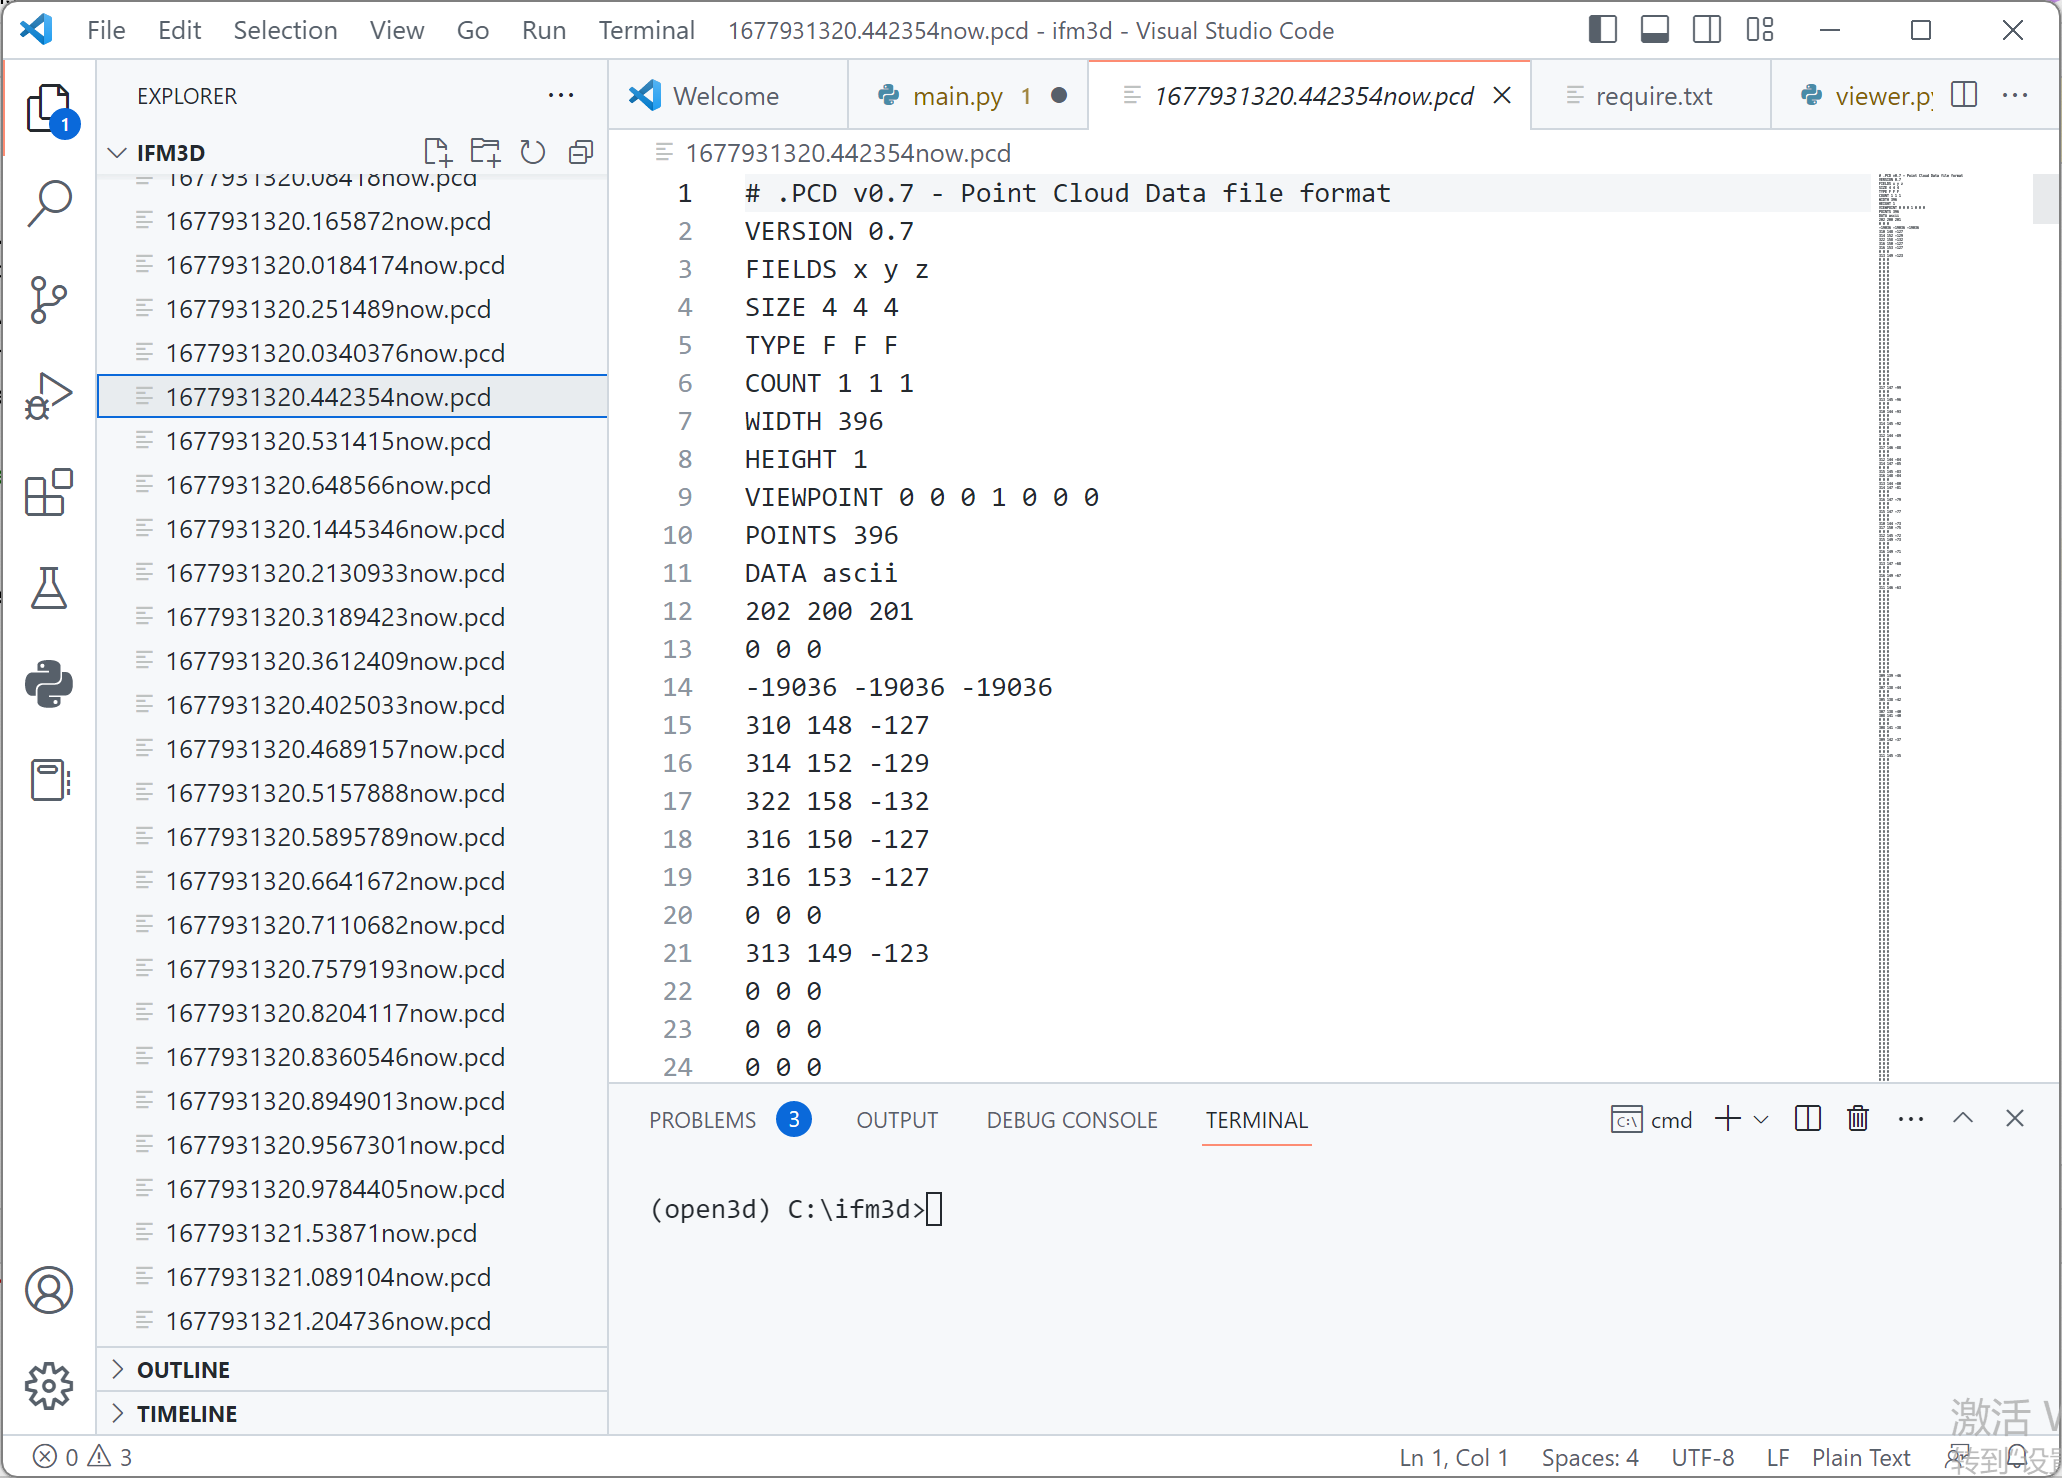
需求是使用SDK获取到某一时刻的点云图文件.pcd,就算成功。
从官方手册 中可以找到“编程样例”这一栏。
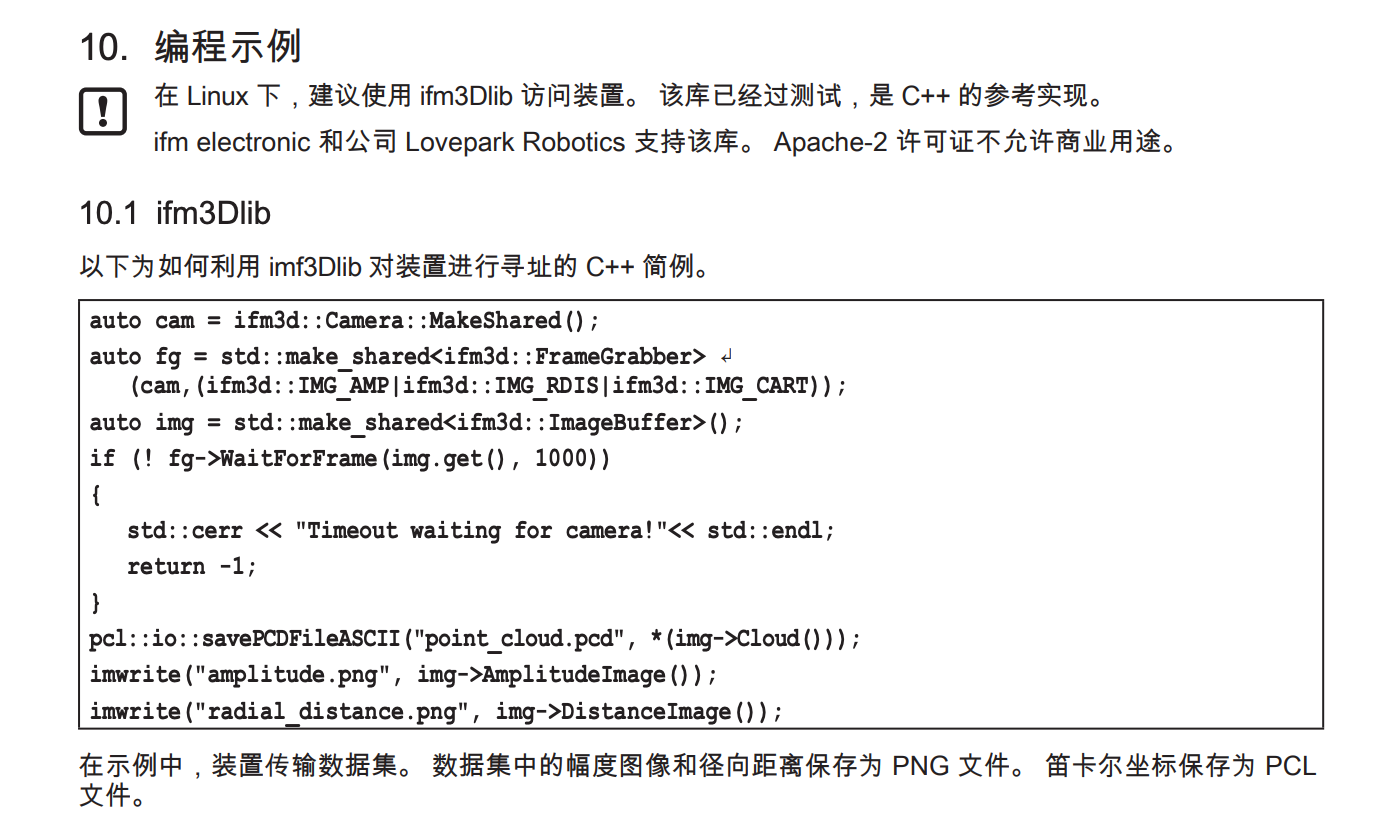
是一段cpp代码,这段代码用到的SDK(第三方的)的github地址:https://github.com/ifm/ifm3d
我很惊喜地发现,这个SDK有Python版(谁还用cpp呀 )
立刻开始搭建一个Python开发环境!
2. 开发环境搭建
配置清单:
- anaconda3 2022.10 Windows-x86_64
- ifm3d for windows
- ifmVisionAssistant(可视化软件,用来测试联通)
2.1 ifm3d 命令行工具
从 https://github.com/ifm/ifm3d/releases里下载。
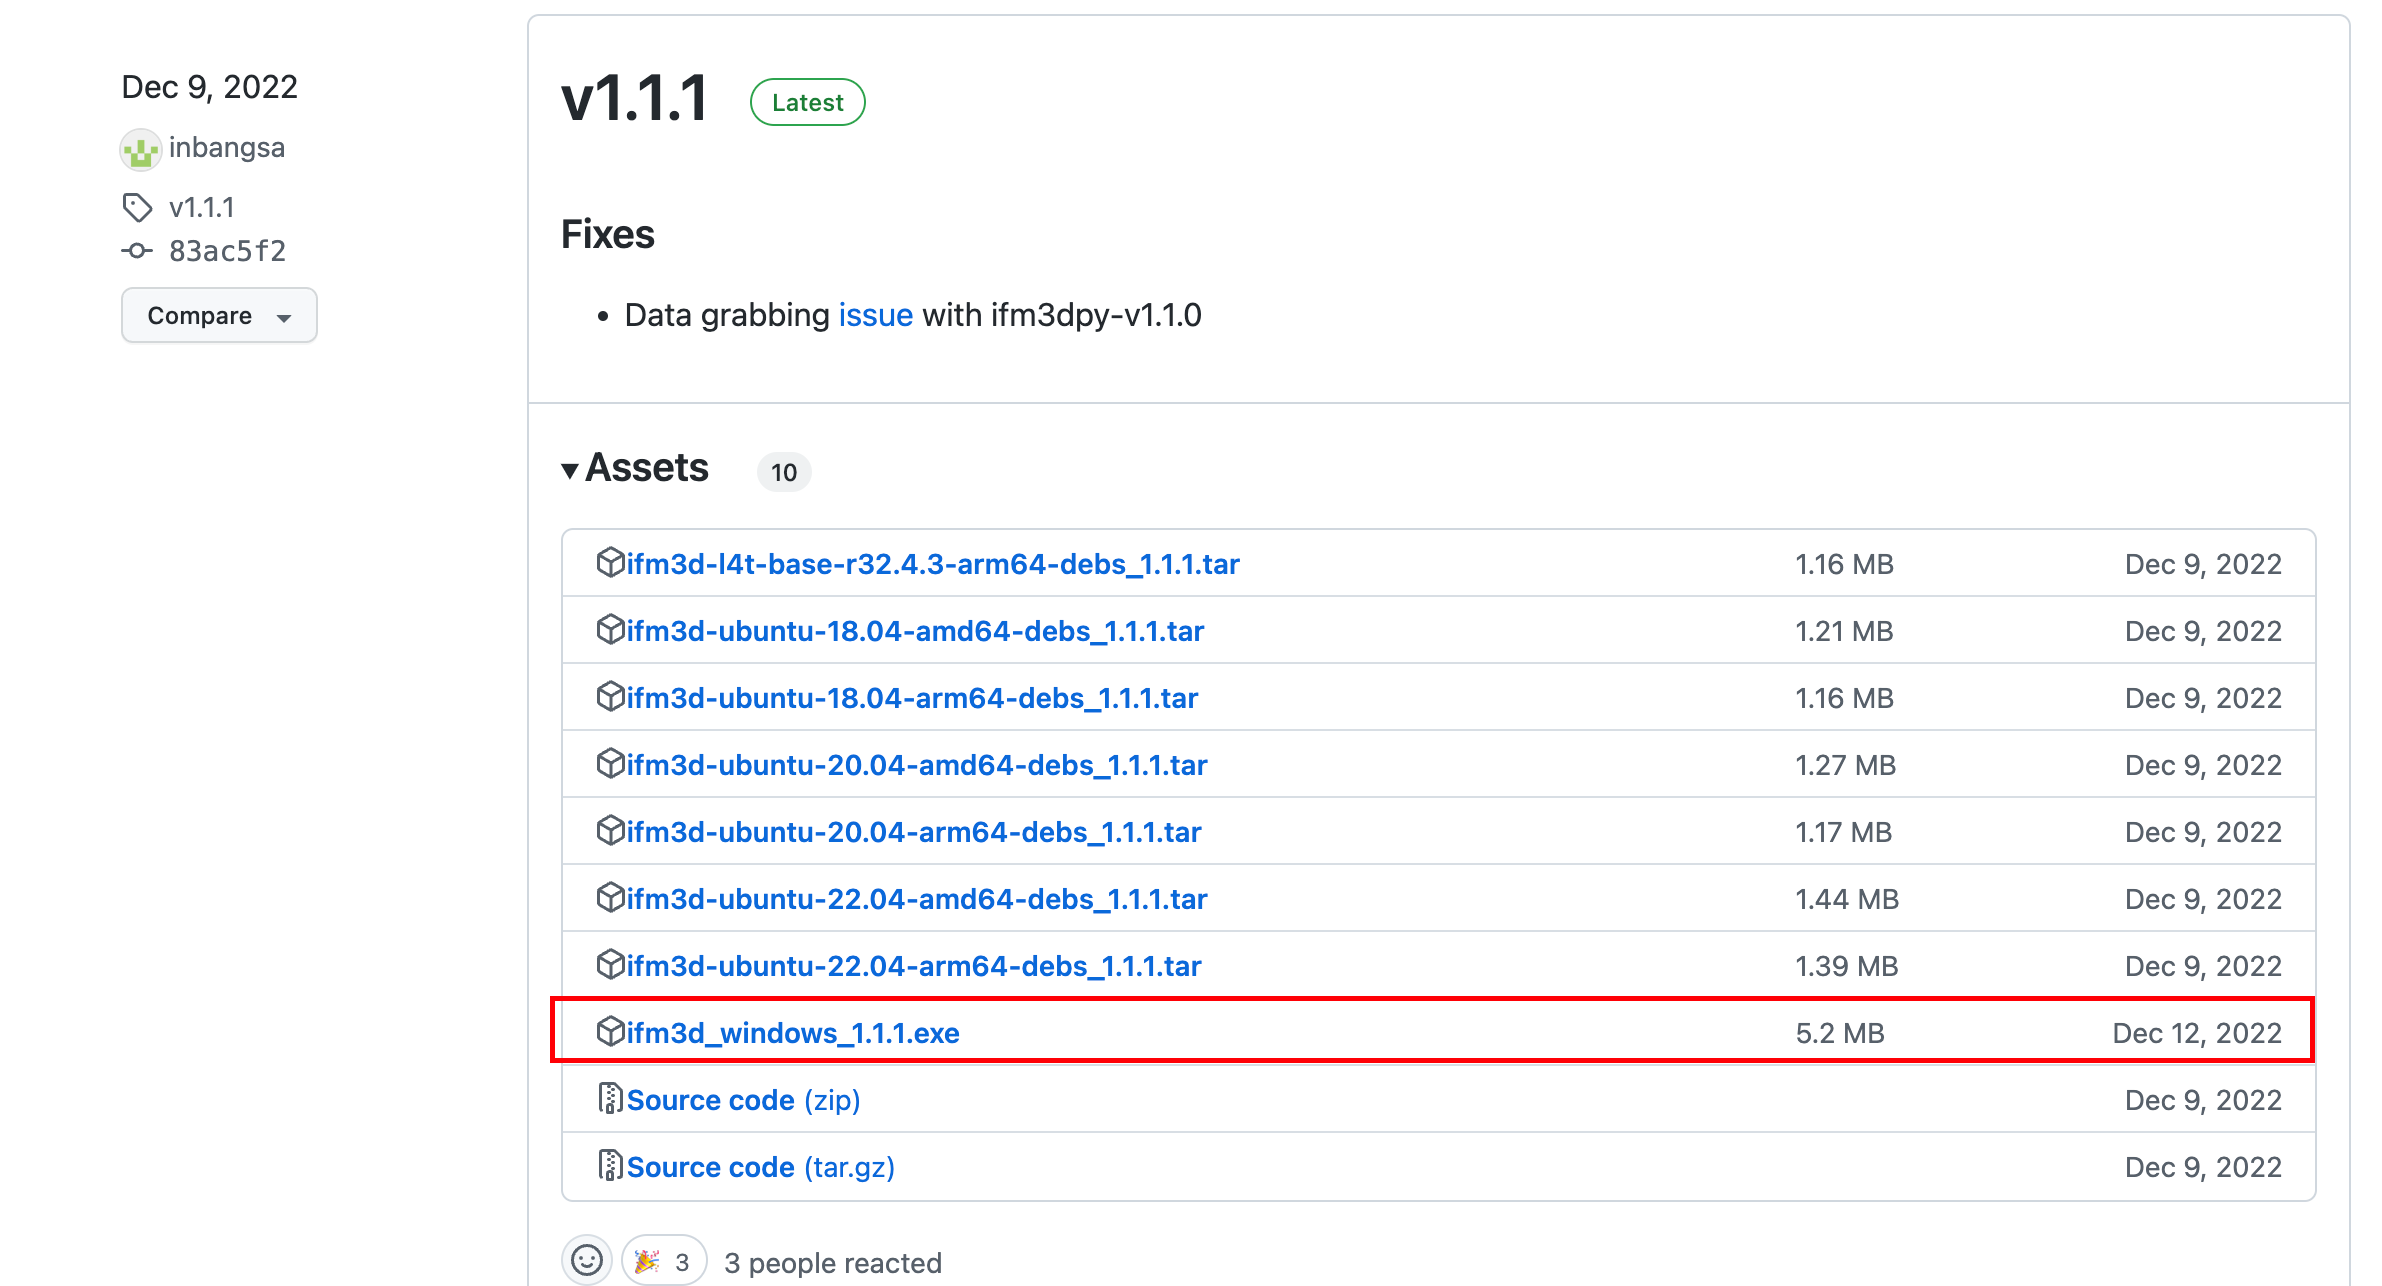
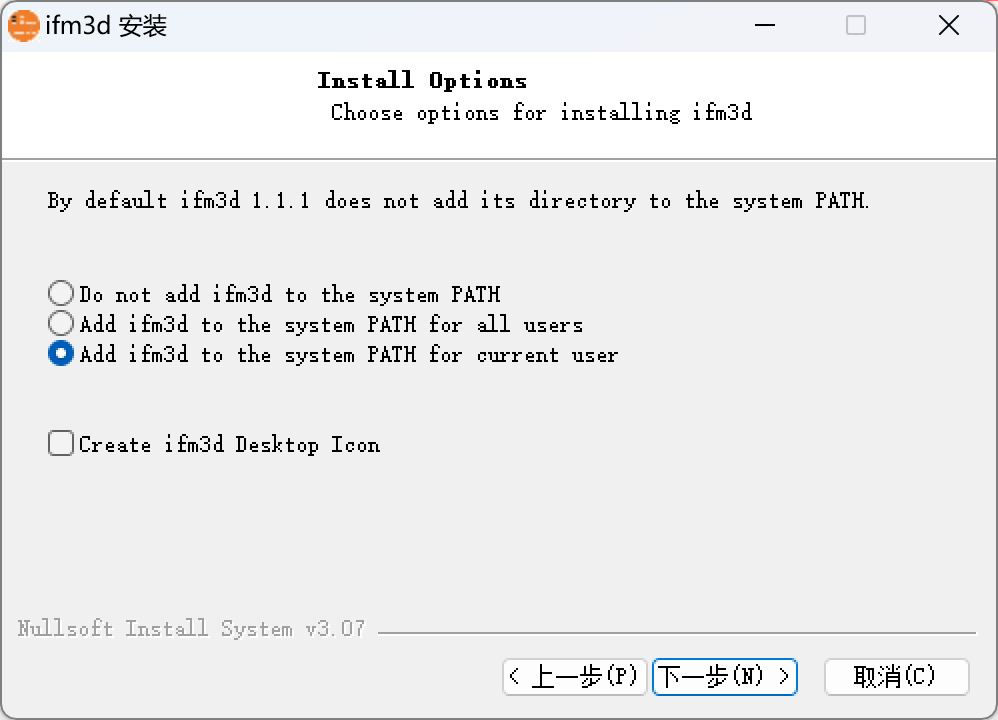
下载完毕后双击安装即可,安装的时候要勾选“加入到PATH”。
2.1 conda创建Python环境
Python必须要用 3.8以下的版本!
Python必须要用 3.8以下的版本!
Python必须要用 3.8以下的版本!
这里我们用conda可以很好的控制版本。
删除默认镜像源
conda config --remove-key channels
更改 conda 镜像源
conda config --add channels https://mirrors.tuna.tsinghua.edu.cn/anaconda/pkgs/main/
conda config --add channels https://mirrors.tuna.tsinghua.edu.cn/anaconda/pkgs/free/
conda config --add channels https://mirrors.tuna.tsinghua.edu.cn/anaconda/pkgs/r/
conda config --add channels https://mirrors.tuna.tsinghua.edu.cn/anaconda/cloud/pytorch/
conda config --set show_channel_urls yes
更改pip 镜像源
pip config set global.index-url https://pypi.tuna.tsinghua.edu.cn/simple
首先创建一个空的文件夹,我们这里创建一个 ifm3d,然后在里面创建一个 main.py、一个 requirements.txt。
requirements.txt
open3d==0.13.0
opencv-python==4.5.3.56
ifm3dpy
创建虚拟环境。
conda create -n ifm3d python=3.7
切换至虚拟环境,并根据requirements.txt的依赖列表安装依赖包。
conda activate ifm3d
pip install -r requirements.txt -i https://pypi.tuna.tsinghua.edu.cn/simple
如果在安装依赖的时候没有报错,就代表Python环境被正常搭建了。
2.2 vs运行环境全家桶
如果你之前没装过,运行 ifm3d 命令行工具(或间接使用时),出现缺失xxxxxx.dll的报错,你就要装这个全家桶了。
这里准备了一份vs运行库合集(也可以自行去网上找)。
链接: https://pan.baidu.com/s/19xaHpag_GBUjob4pVGQR7A?pwd=625m 提取码: 625m
3. 代码
main.py
from ifm3dpy import LegacyDevice, FrameGrabber, buffer_id
import time
import open3d as o3d

def callback(frame):
    dist = frame.get_buffer(buffer_id.XYZ)
    pcd = o3d.geometry.PointCloud()
    dist = dist[:, 0:3].reshape(-1, 3)
    pcd.points = o3d.utility.Vector3dVector(dist)
    o3d.io.write_point_cloud(str(time.time()) + ".pcd", pcd , write_ascii=True)

o3d = LegacyDevice(ip="摄像头的IP地址")
fg = FrameGrabber(o3d, pcic_port=50010)

fg.start([buffer_id.NORM_AMPLITUDE_IMAGE,buffer_id.RADIAL_DISTANCE_IMAGE,buffer_id.XYZ])

fg.on_new_frame(callback)

time.sleep(10)

fg.stop()
4. 效果
