文章目录
- 一、ES继承 Spring Data 框架
- 二、SpringData 功能集成
- 三、ES SpringData 文档搜索
- 四、ES 优化 硬件选择
- 五、ES 优化 分片策略
- 六、ES 优化 路由选择
- 七、ES 优化 写入速度优化
- 七、ES 优化 内存设置
- 八、ES 优化 重要配置
一、ES继承 Spring Data 框架
Spring Data 是一个用于简化数据库、非关系型数据库、索引库访问。

Spring Data的官方:https://spring.io/projects/spring-data
其实Spring Data框架的出现,是为了更好快速的操作ES服务器,简化ES的操作。
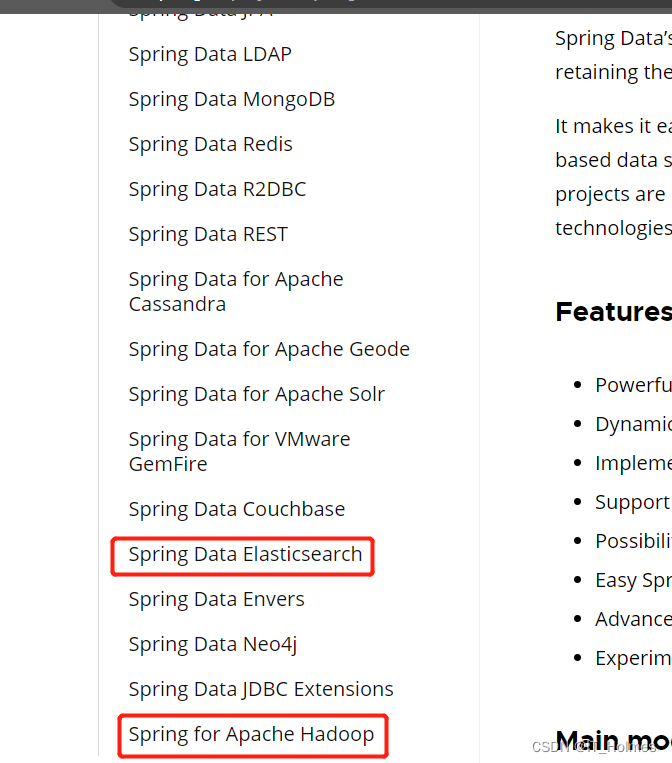
自然操作的就是Spring Data Elasticsearch对应的内容。
二、SpringData 功能集成
创建一个springboot项目。
第一步:项目依赖,配置文件如下:
<?xml version="1.0" encoding="UTF-8"?>
<project xmlns="http://maven.apache.org/POM/4.0.0"
         xmlns:xsi="http://www.w3.org/2001/XMLSchema-instance"
         xsi:schemaLocation="http://maven.apache.org/POM/4.0.0 http://maven.apache.org/xsd/maven-4.0.0.xsd">
    <modelVersion>4.0.0</modelVersion>

    <parent>
        <artifactId>spring-boot-starter-parent</artifactId>
        <groupId>org.springframework.boot</groupId>
        <version>2.3.6.RELEASE</version>
        <relativePath/>
    </parent>

    <groupId>org.itholmes</groupId>
    <artifactId>es-spring</artifactId>
    <version>1.0</version>

    <properties>
        <maven.compiler.source>8</maven.compiler.source>
        <maven.compiler.target>8</maven.compiler.target>
    </properties>

    <dependencies>
        <dependency>
            <groupId>org.springframework.boot</groupId>
            <artifactId>spring-boot-starter-data-elasticsearch</artifactId>
        </dependency>
        <dependency>
            <groupId>org.springframework.boot</groupId>
            <artifactId>spring-boot-devtools</artifactId>
        </dependency>
        <dependency>
            <groupId>org.springframework.boot</groupId>
            <artifactId>spring-boot-starter-test</artifactId>
            <scope>test</scope>
        </dependency>
        <dependency>
            <groupId>org.springframework.boot</groupId>
            <artifactId>spring-boot-test</artifactId>
        </dependency>
        <dependency>
            <groupId>junit</groupId>
            <artifactId>junit</artifactId>
        </dependency>
        <dependency>
            <groupId>org.springframework</groupId>
            <artifactId>spring-test</artifactId>
        </dependency>
    </dependencies>

</project>
第二步:配置application.properties文件。
# es服务地址 为了项目引用
elasticsearch.host=127.0.0.1
# es服务端口
elasticsearch.port=9200
# 配置日志级别,开启debug日志
logging.level.com.itholmes.es=debug
第三步:创建SpringBoot主程序。
package com.itholmes.es;

import org.springframework.boot.SpringApplication;
import org.springframework.boot.autoconfigure.SpringBootApplication;

@SpringBootApplication
public class SpringDataElasticSearchMainApplication {
    public static void main(String[] args) {
        SpringApplication.run(SpringDataElasticSearchMainApplication.class,args);
    }
}
第四步:创建实体类,通过实体类来作为数据进行相关操作。
package com.itholmes.es;

import lombok.AllArgsConstructor;
import lombok.Data;
import lombok.NoArgsConstructor;
import lombok.ToString;

@Data
@NoArgsConstructor
@AllArgsConstructor
@ToString
public class Product {
    private Long id; // 商品唯一标识
    private String title; // 商品名称
    private String category; // 分类名称
    private Double price; // 商品价格
    private String images; // 图片地址
}
第五步:创建ElasticsearchConfig类,对应的配置文件。
package com.itholmes.es;

import lombok.Data;
import org.apache.http.HttpHost;
import org.elasticsearch.client.RestClient;
import org.elasticsearch.client.RestClientBuilder;
import org.elasticsearch.client.RestHighLevelClient;
import org.springframework.boot.context.properties.ConfigurationProperties;
import org.springframework.context.annotation.Configuration;
import org.springframework.data.elasticsearch.config.AbstractElasticsearchConfiguration;

// @ConfigurationProperties(prefix = "elasticsearch") 去匹配 elasticsearch.host 和 elasticsearch.port。
@ConfigurationProperties(prefix = "elasticsearch")
@Configuration
@Data
public class ElasticsearchConfig extends AbstractElasticsearchConfiguration {
    private String host;
    private Integer port;
    @Override
    public RestHighLevelClient elasticsearchClient() {
        RestClientBuilder builder = RestClient.builder(new HttpHost(host, port));
        RestHighLevelClient restHighLevelClient = new RestHighLevelClient(builder);
        return restHighLevelClient;
    }
}
第六步:配置 DAO数据 访问对象,获取数据。
package com.itholmes.es;

import org.springframework.data.elasticsearch.repository.ElasticsearchRepository;
import org.springframework.stereotype.Repository;

// ElasticsearchRepository<Product,Long> 来进行操作
@Repository
public interface ProductDao extends ElasticsearchRepository<Product,Long> {

}
第七步:配置 实体类映射操作。
package com.itholmes.es;

import lombok.AllArgsConstructor;
import lombok.Data;
import lombok.NoArgsConstructor;
import lombok.ToString;
import org.springframework.data.annotation.Id;
import org.springframework.data.elasticsearch.annotations.Document;
import org.springframework.data.elasticsearch.annotations.Field;
import org.springframework.data.elasticsearch.annotations.FieldType;

@Data
@NoArgsConstructor
@AllArgsConstructor
@ToString
// 关联索引,分片,备份
@Document(indexName = "product",shards = 3,replicas = 1)
public class Product {
    /**
     * 必须有id,这里的id是全局唯一的标识,等同于es中的_id。
     */
    @Id
    private Long id; // 商品唯一标识
    /**
     * type: 字段数据类型
     * analyzer:分词器类型
     * index: 是否索引(默认为:true)
     * Keyword:短语,不进行分词 就是关键字不能分开
     */
    @Field(type = FieldType.Text) // ,analyzer = "ik_max_word"
    private String title; // 商品名称
    @Field(type = FieldType.Keyword)
    private String category; // 分类名称
    @Field(type = FieldType.Double)
    private Double price; // 商品价格
    @Field(type = FieldType.Keyword,index = false) // index = false 就是不做索引查询的
    private String images; // 图片地址
}
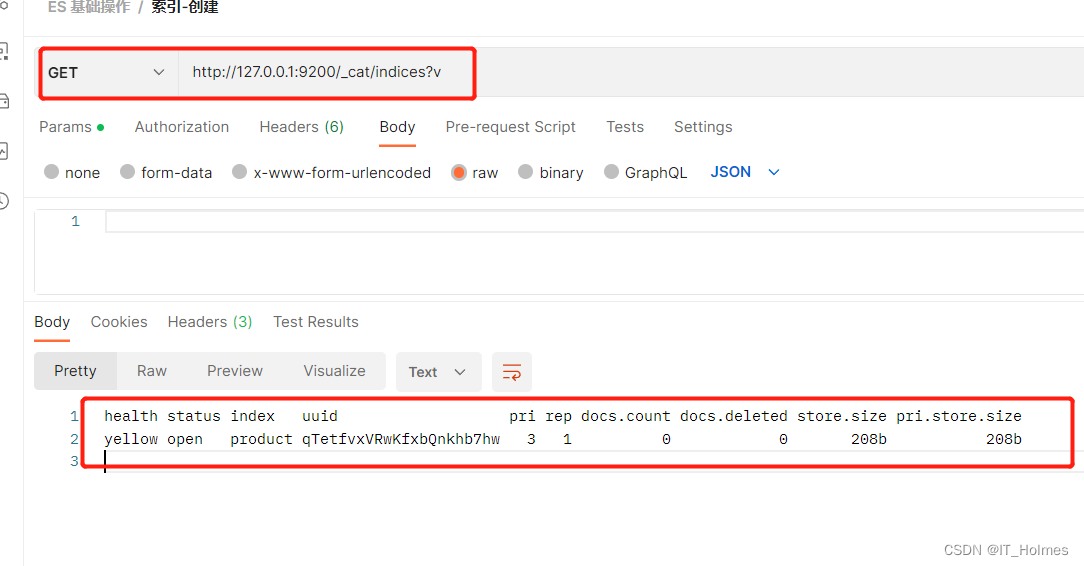
第八步:做一个测试,简单走个测试就会把对应索引创建出来(初始化创建)。
package com.itholmes.es;

import org.junit.Test;
import org.junit.runner.RunWith;
import org.springframework.beans.factory.annotation.Autowired;
import org.springframework.boot.test.context.SpringBootTest;
import org.springframework.data.domain.Page;
import org.springframework.data.domain.PageRequest;
import org.springframework.data.domain.Sort;
import org.springframework.test.context.junit4.SpringRunner;

import java.util.ArrayList;

@RunWith(SpringRunner.class)
@SpringBootTest
public class SpringDataESProductDaoTest {

    // 注入ElasticsearchRestTemplate
    @Autowired
    private ProductDao productDao;

    // 新增数据
    @Test
    public void save(){
        // 其实就是把后台相关数据,存储到了ES中。
        Product product = new Product();
        product.setId(2L);
        product.setTitle("华为手机");
        product.setCategory("手机");
        product.setPrice(2999.0);
        product.setImages("http://www.itholmes/hw.jpg");
        productDao.save(product);
        // 查看:get方法 http://127.0.0.1:9200/product/_doc/2
    }

    // 修改数据
    @Test
    public void update(){
        Product product = new Product();
        product.setId(2L); // id相同就是修改数据
        product.setTitle("华为222手机");
        product.setCategory("手机");
        product.setPrice(2999.0);
        product.setImages("http://www.itholmes/hw.jpg");
        productDao.save(product);
        //查看:get方法 http://127.0.0.1:9200/product/_doc/2
    }

    // 根据id查询
    @Test
    public void findById(){
        Product product = productDao.findById(2L).get();
        System.out.println(product);
    }

    // 查询所有
    @Test
    public void findAll(){
        Iterable<Product> all = productDao.findAll();
        for (Product product : all) {
            System.out.println(product);
        }
    }

    // 删除
    @Test
    public void delete(){
        Product product = new Product();
        product.setId(2L);
        productDao.delete(product);
    }

    // 批量新增
    @Test
    public void saveAll(){
        ArrayList<Product> productList = new ArrayList<>();
        for (int i = 0; i < 10; i++) {
            Product product = new Product();
            product.setId(Long.valueOf(i));
            product.setTitle("[" + i + "]" + "小米手机");
            product.setCategory("手机");
            product.setPrice(1999.0 + i);
            product.setImages("http://itholems.com" + i);
            productList.add(product);
        }
        productDao.saveAll(productList);
    }

    // 分页查询
    @Test
    public void findByPageable(){
        // 设置排序(排序方式,正序还是倒序,排序的id)
        Sort sort = Sort.by(Sort.Direction.DESC, "id");
        int currentPage = 0; // 当前页 第一页从0开始,1表示第二页
        int pageSize = 5; // 每页显示多少条
        PageRequest pageRequest = PageRequest.of(currentPage, pageSize, sort);
        Page<Product> productPage = productDao.findAll(pageRequest);
        for (Product product : productPage) {
            System.out.println(product);
        }
    }

}
三、ES SpringData 文档搜索
SpringData 文档搜索
package com.itholmes.es;

import org.elasticsearch.index.query.QueryBuilders;
import org.elasticsearch.index.query.TermQueryBuilder;
import org.junit.Test;
import org.junit.runner.RunWith;
import org.springframework.beans.factory.annotation.Autowired;
import org.springframework.boot.test.context.SpringBootTest;
import org.springframework.data.domain.Page;
import org.springframework.data.domain.PageRequest;
import org.springframework.test.context.junit4.SpringRunner;

@RunWith(SpringRunner.class)
@SpringBootTest
public class SpringDataESSearchTest {

    @Autowired
    ProductDao productDao;

    // 文档搜索
    @Test
    public void termQuery(){
        TermQueryBuilder termQueryBuilder = QueryBuilders.termQuery("category", "手机");
        Iterable<Product> products = productDao.search(termQueryBuilder);
        for (Product product : products) {
            System.out.println(product);
        }
    }

    // 分页请求
    @Test
    public void termQueryByPage(){
        int currentPage = 0;
        int pageSize = 5;
        PageRequest pageRequest = PageRequest.of(currentPage, pageSize);
        TermQueryBuilder termQueryBuilder = QueryBuilders.termQuery("category", "手机");
        Page<Product> products = productDao.search(termQueryBuilder, pageRequest);
        for (Product product : products) {
            System.out.println(product);
        }
    }

}
此外还有,Spark Streaming框架 集成、Flink框架集成等等,先将数据经过它们处理,之后存储到ES服务器中。
四、ES 优化 硬件选择
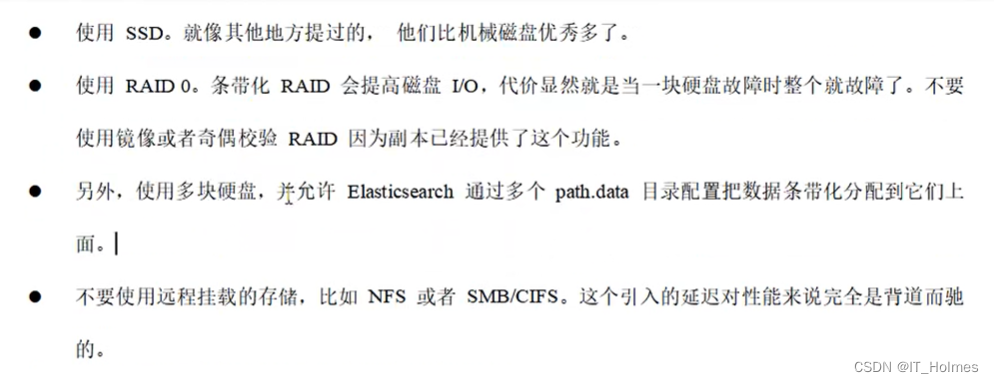
Elasticsearch的基础是 Lucene,所有的索引和文档数据是存储在本地的磁盘中,具体路径可在ES的配置文件 …/config/elasticsearch.yml中配置。
SSD是 固态硬盘。
硬件选择推荐如下:
五、ES 优化 分片策略
分片 和 副本并不是无限分配的。

分片的代价:


具体要根据架构师技术人员进行确认:

遵循的原则:

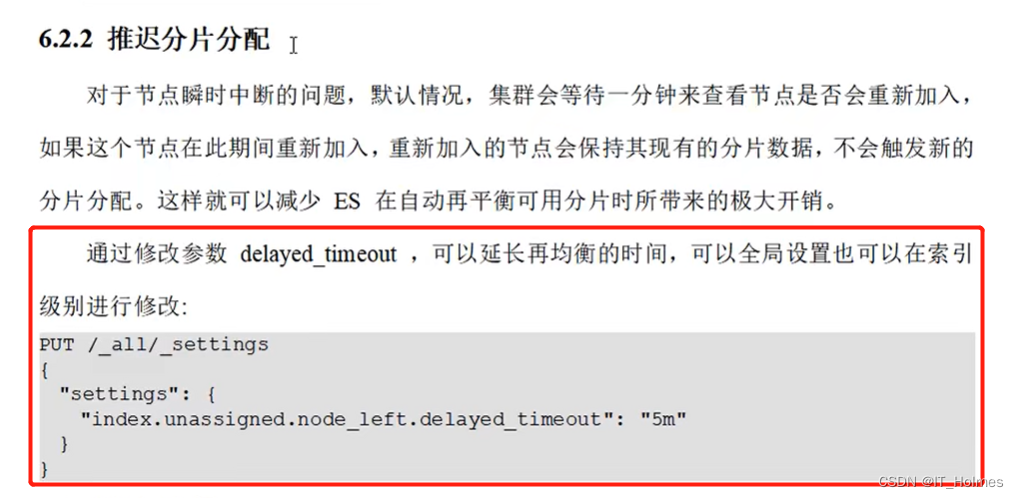
推迟分片分配:
六、ES 优化 路由选择
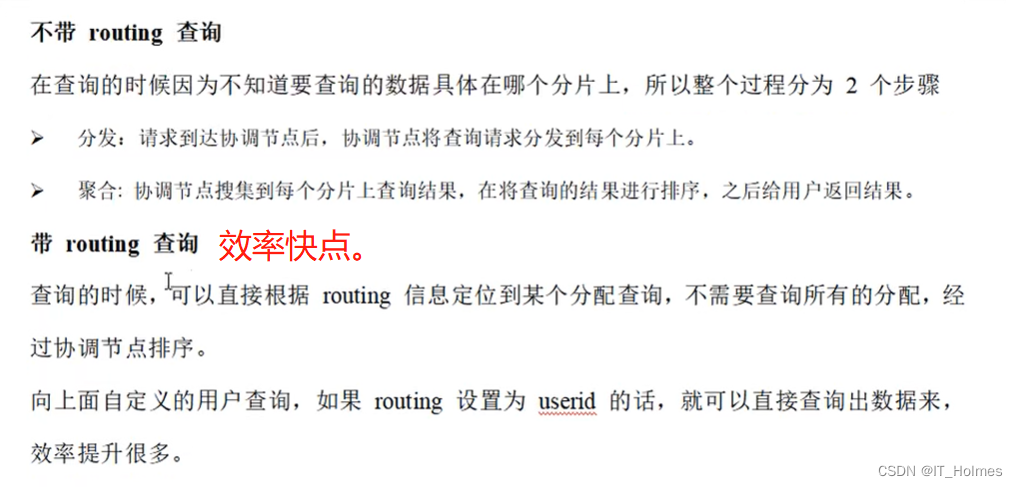
存放规则:

查询的时候有两种情况:不带routing路由查询、待routing路由查询。
七、ES 优化 写入速度优化
针对搜索性能要求不高,但是对于写入要求较高的场景,我们需要尽可能的选择恰当写优化策略。
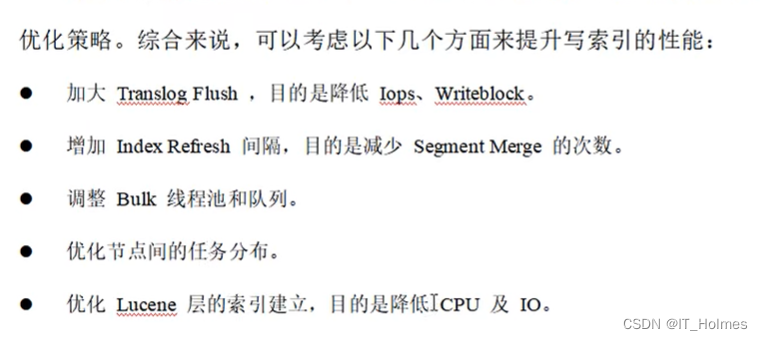
批量操作:

优化存储设备:

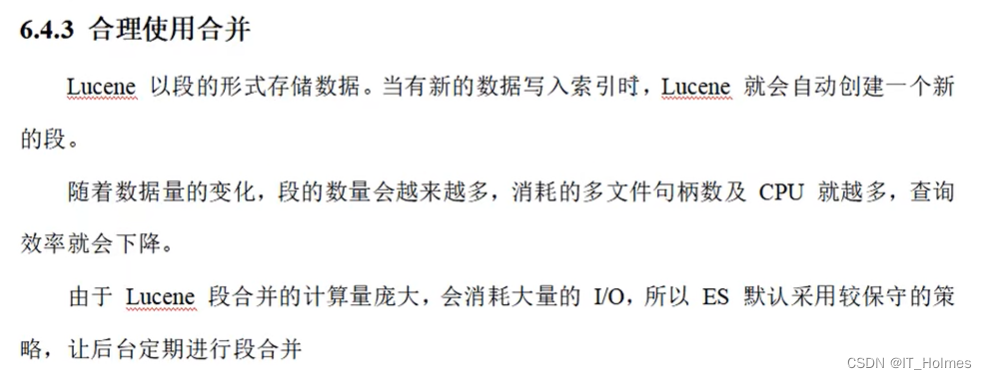
合理的使用合并:(将 段 合并 )
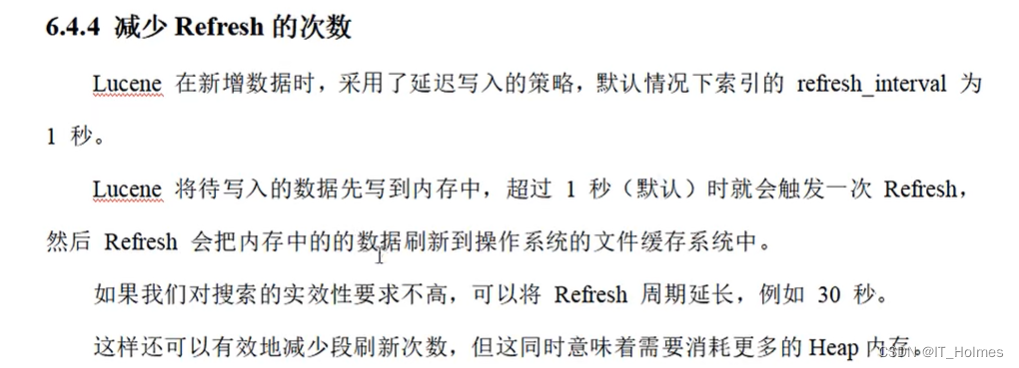
减少Refresh次数:
加大Flush设置:

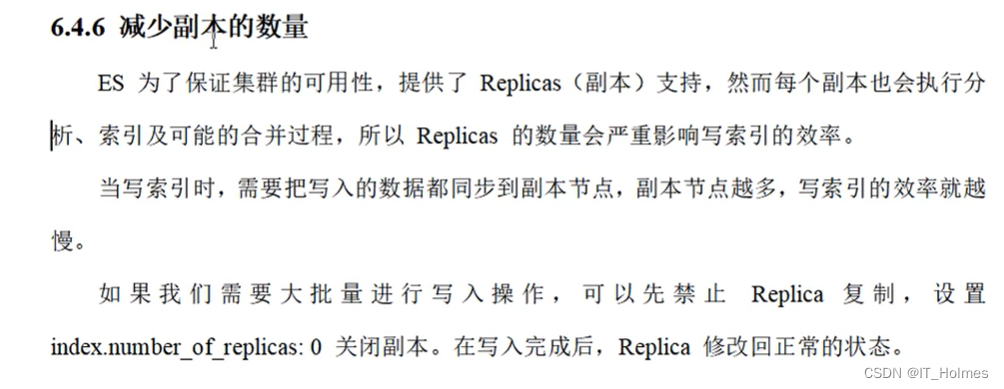
减少副本的数量:
七、ES 优化 内存设置
ES默认安装后设置的内存是1GB ,对于一个现实业务来说设个设置太小了。
不过,可以配置一下。
jvm.options文件进行配置:

配置内存的原则:
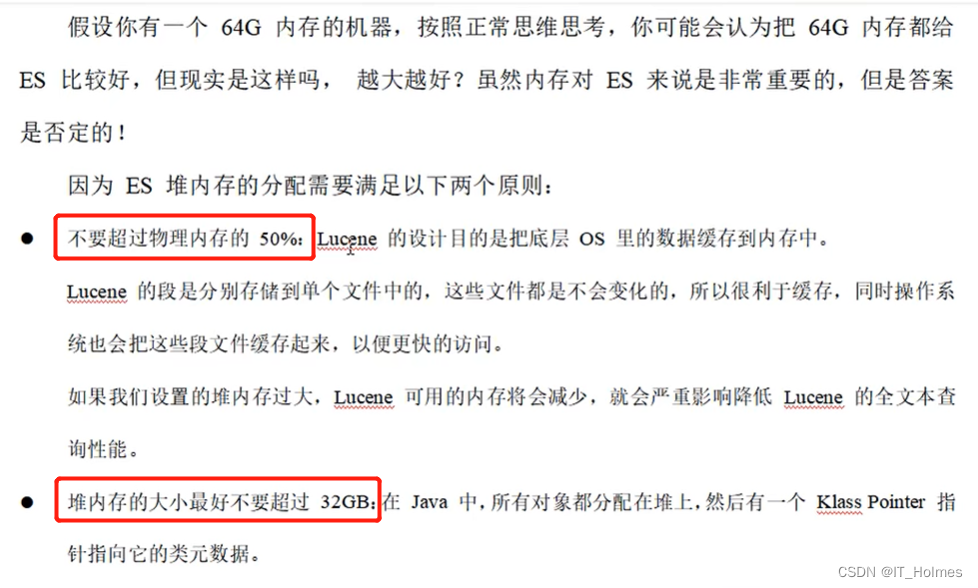
像上面那个64g的 最佳配置就是设置为31G。 -Xms 31g -Xmx 31g。
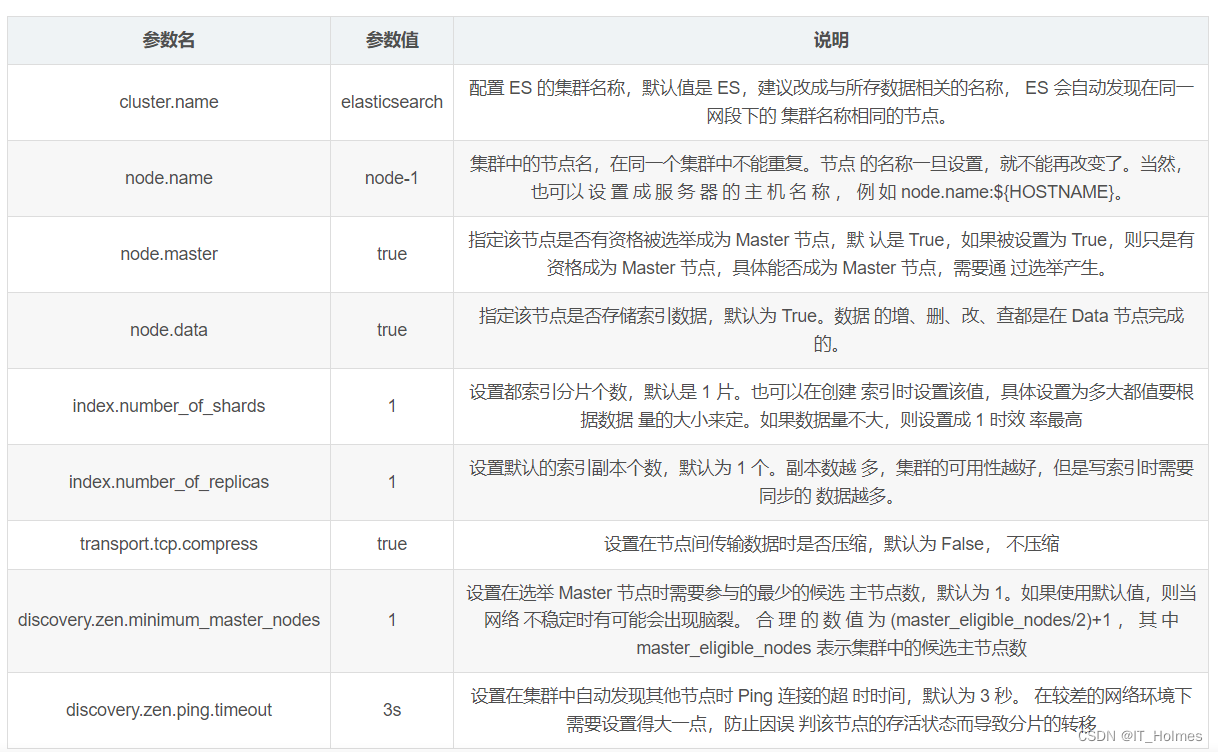
八、ES 优化 重要配置
