使用乌班图系统,搭建自己的网页vs code开发环境
github地址:GitHub - coder/code-server: VS Code in the browser
安装脚本
curl -fsSL https://code-server.dev/install.sh | sh
出现deb package has been installed.表示已经正确安装。

测试启动
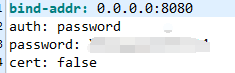
2.1修改配置文件
配置文件位于当前目录下.config/code-server/config.yaml中
修改bind-addr:为0.0.0.0:8080和修改password密码
2.2 命令启动
code-server
出现HTTP server listening on http:/ /0.0.0.0:8080 则表示启动成功。
测试访问
使用:ip:8080进行code-server访问
出现登录画面表示搭建成功
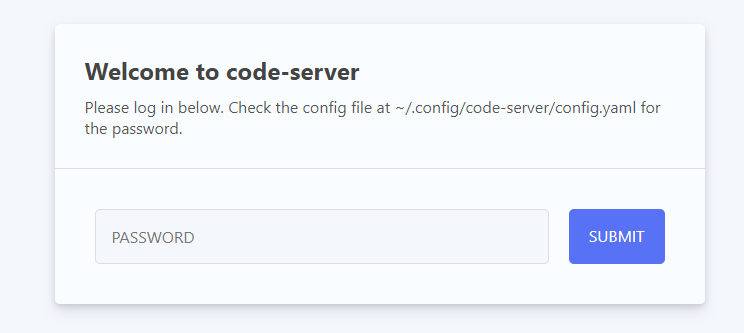
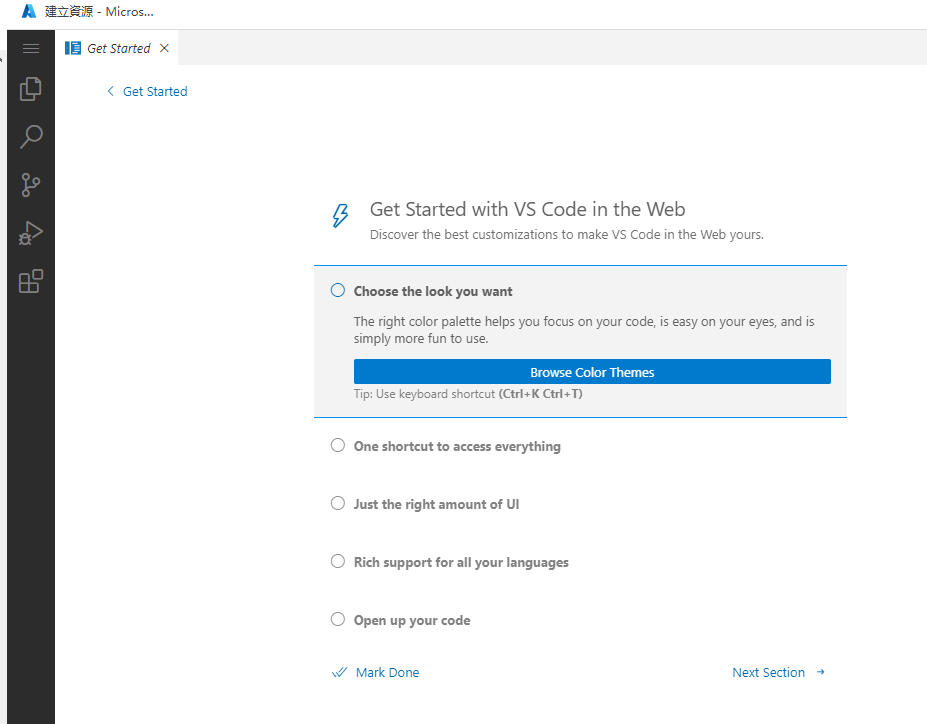
输入修改的密码后,正式登录ide
添加开机启动
将code-server添加为服务
sudo systemctl enable --now code-server@$USER使用systemctl命令控制code-server的启停了:
#启动
sudo systemctl start code-server@$USER
#关闭
sudo systemctl stop code-server@$USER查看是否已在systemctl 服务列表
systemctl list-units --type=service
这样就完成了code-server的搭建。

![[acwing周赛复盘] 第 90 场周赛20230211 补](https://img-blog.csdnimg.cn/1e8beba049654439996ef43e3f0f0886.png)