神经辐射场(NeRF)是一个简单的全连接网络(权重约为5MB),经过训练,可以使用渲染损失再现单个场景的输入视图。网络直接从空间位置和观看方向(5D输入)映射到颜色和不透明度(4D输出),充当“体积”,因此我们可以使用体积渲染来渲染新视图.
1. 当我们下载github的NeRF后,最先去看下依赖配置文件 requirements.txt是否需要修改
# 1.conda创建虚拟环境NeRF 或者 复制新的环境B: conda create -n B --clone A
conda create -n NeRF python=3.8
# 2.下载NeRF代码
git clone https://github.com/yenchenlin/nerf-pytorch.git
cd nerf-pytorch
2. 然后再安装编译此代码
pip install -r requirements.txt3. 下载数据集:
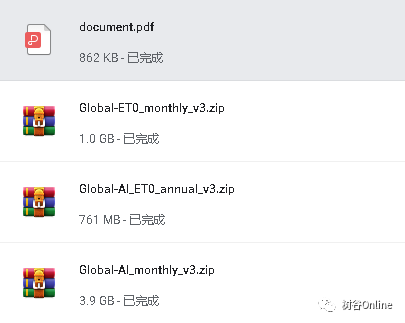
https://drive.google.com/drive/folders/128yB1iW1IG_3NJ5Rp7APSTZsJqdJdfc1
bash download_example_data.sh4.训练:run_nerf.py
# 替换数据集 {DATASET} 用 trex | horns | flower | fortress | lego | etc.
python run_nerf.py --config configs/{DATASET}.txt

# 训练完成后会在logs/{DATASET}_test下生成视频文件
{DATASET}_test_spiral_迭代次数_rgb.mp4
{DATASET}_test_spiral_迭代次数_disp.mp4
比如训练lego:(原始train:val:test = 100:100:100)
python run_nerf.py --config configs/lego.txt (16g/8显卡耗时:约19h)
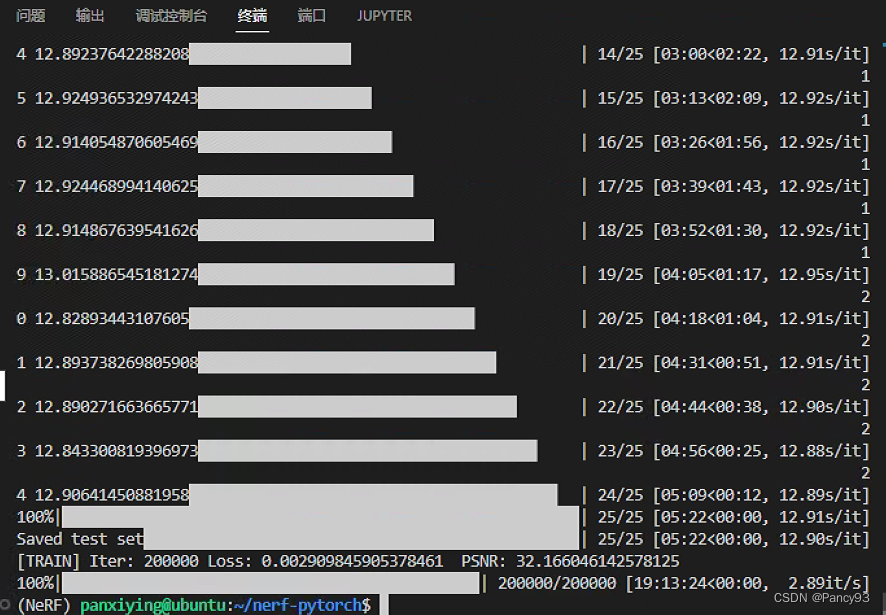
分别在50k,100k,150k,200k迭代处保持视频结果。

5.测试:run_nerf.py
# 替换数据集 {DATASET} 用 trex | horns | flower | fortress | lego | etc.
python run_nerf.py --config configs/{DATASET}.txt --render_only
比如测试lego:
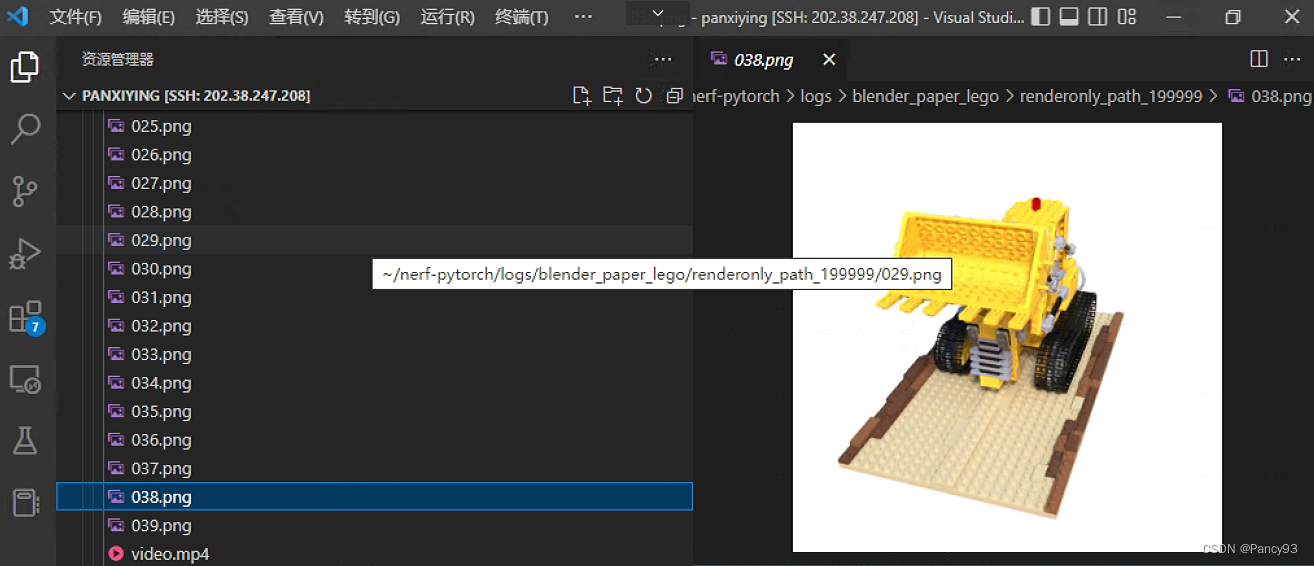
python run_nerf.py --config configs/lego.txt --render_only (16g/8显卡耗时:约8min)


生成40张lego测试图片结果和一个视频文件。

![[附源码]java毕业设计校园闲置物品交易](https://img-blog.csdnimg.cn/8ed8c15106b443578755db2db1d59dde.png)





![[附源码]SSM计算机毕业设计基于SSM的酒店管理系统JAVA](https://img-blog.csdnimg.cn/ad75639d4107420bb9dc4713dbea827d.png)
