说明
本系列内容目录:专栏:区块链入门到放弃查看目录
如果你还没有创建好项目请先查看:《DApp实战篇:先用前端起个项目》,如果你还不知道web3.js是什么请先查看:《DApp实战篇:前端技术栈一览》。
安装
点此查看web3.js官方文档
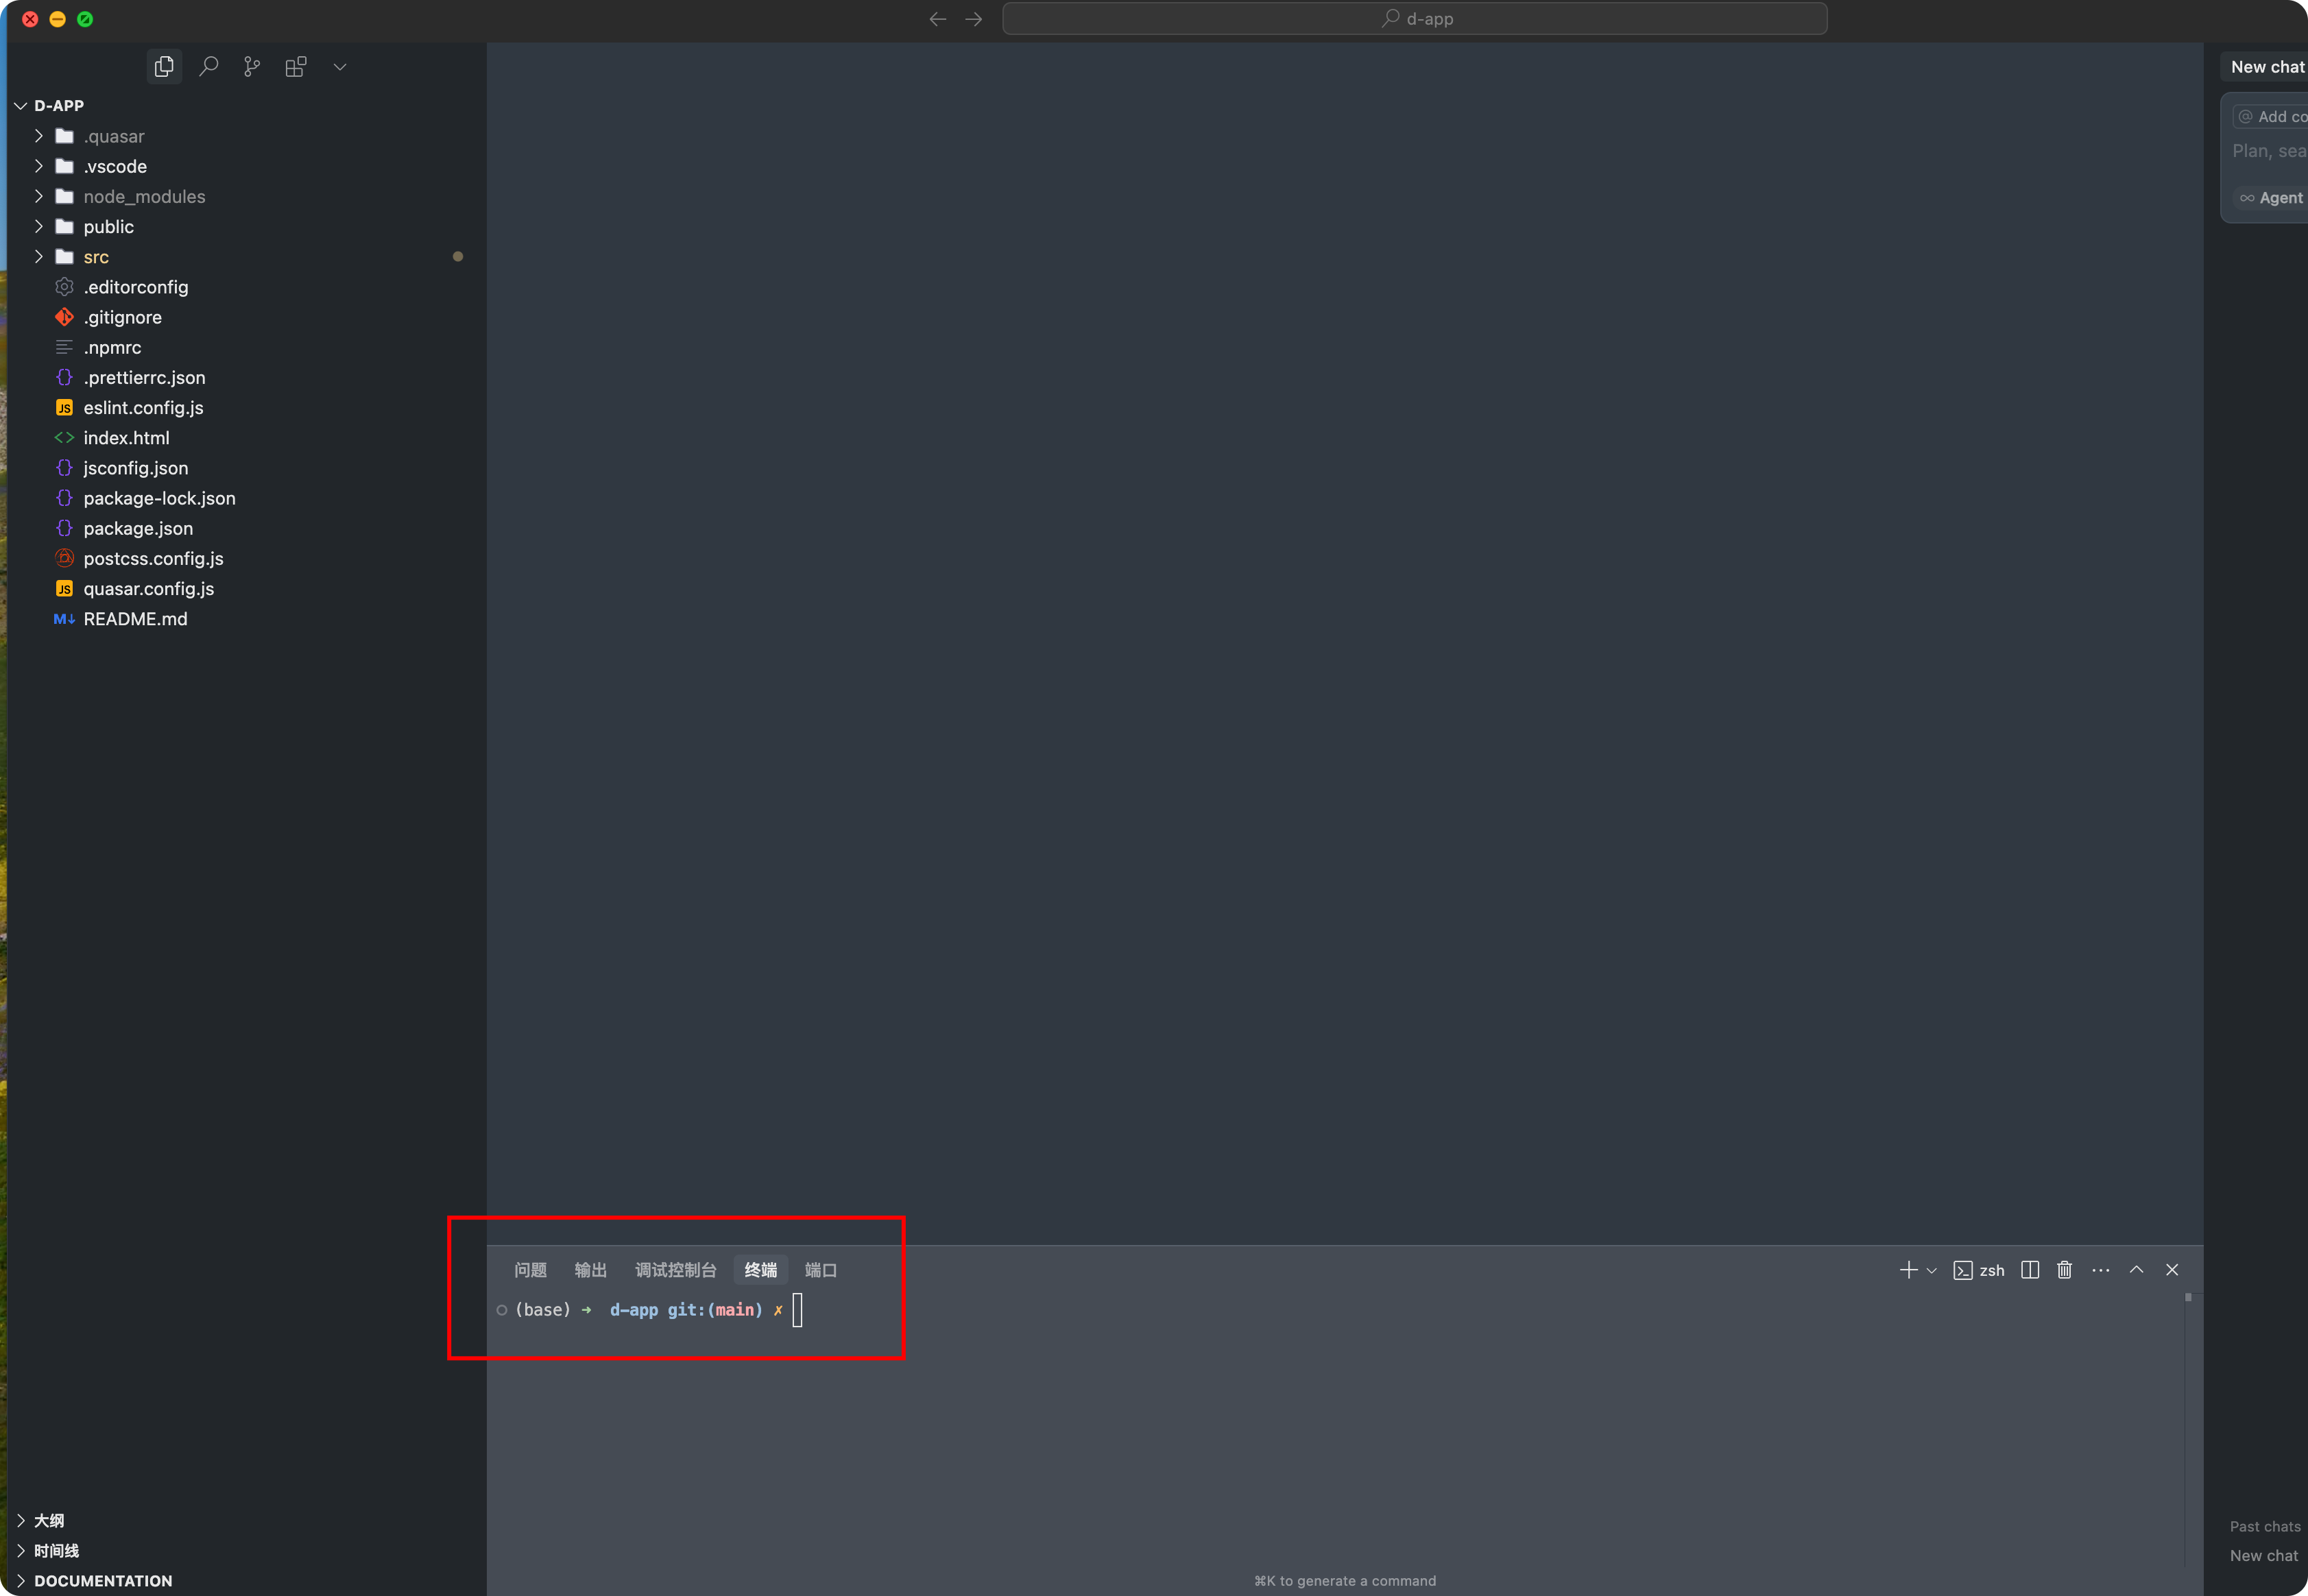
打开项目根目录,并唤起终端:
键入web3.js安装命令:
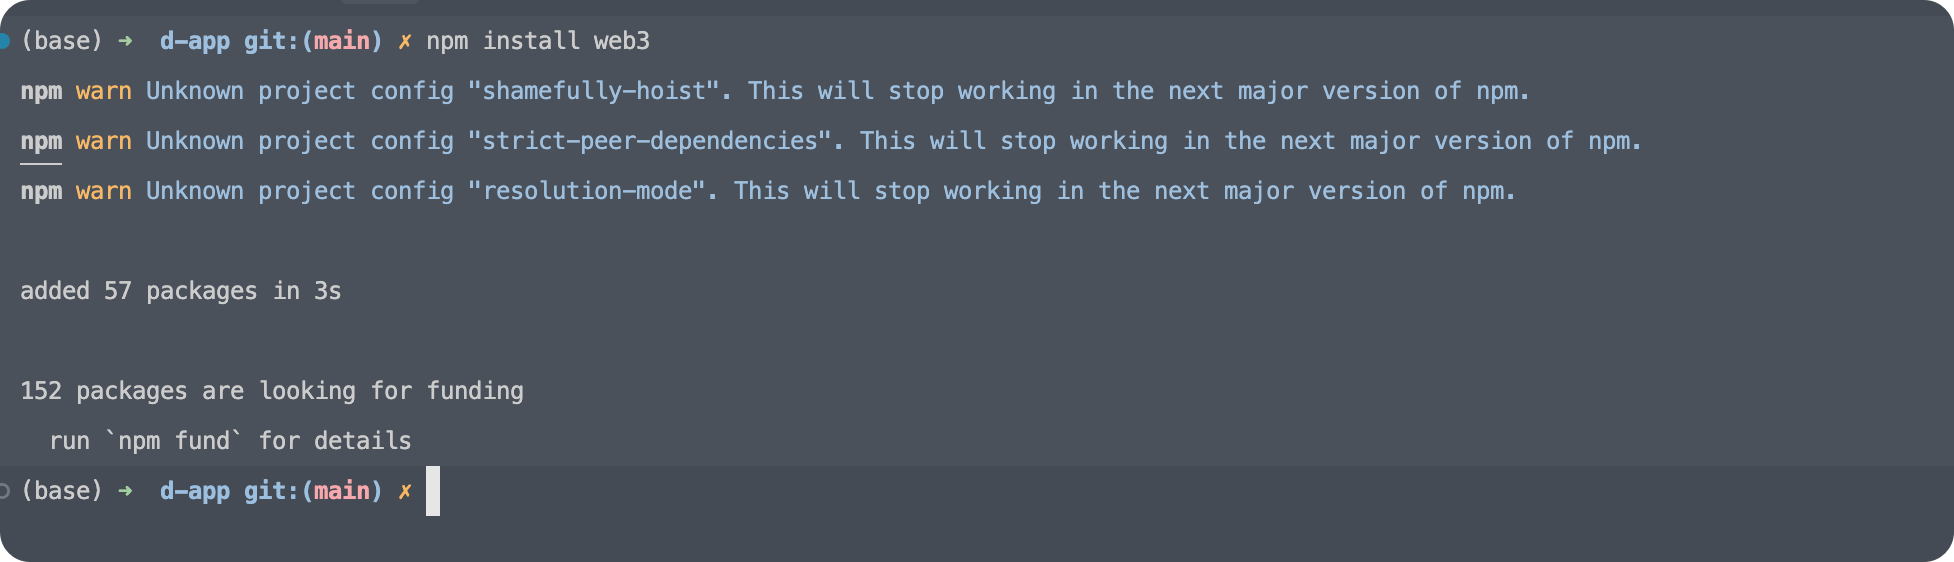
npm install web3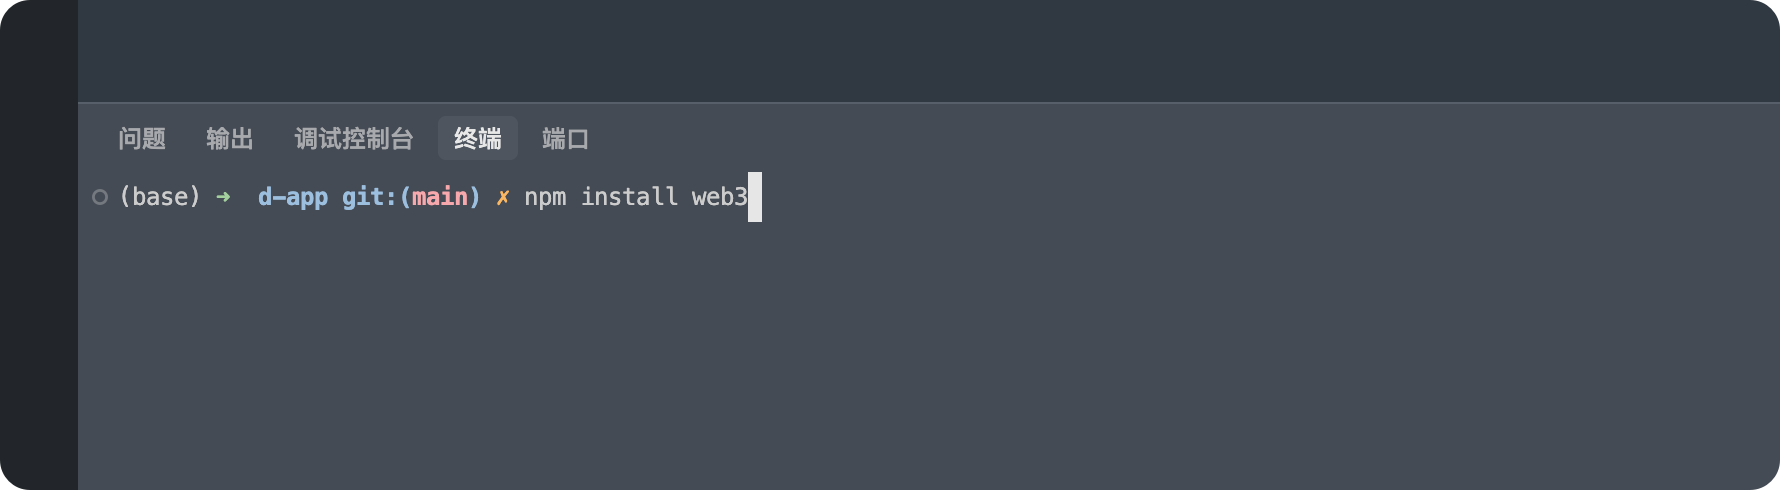
之后回车安装即可。
再运行项目:
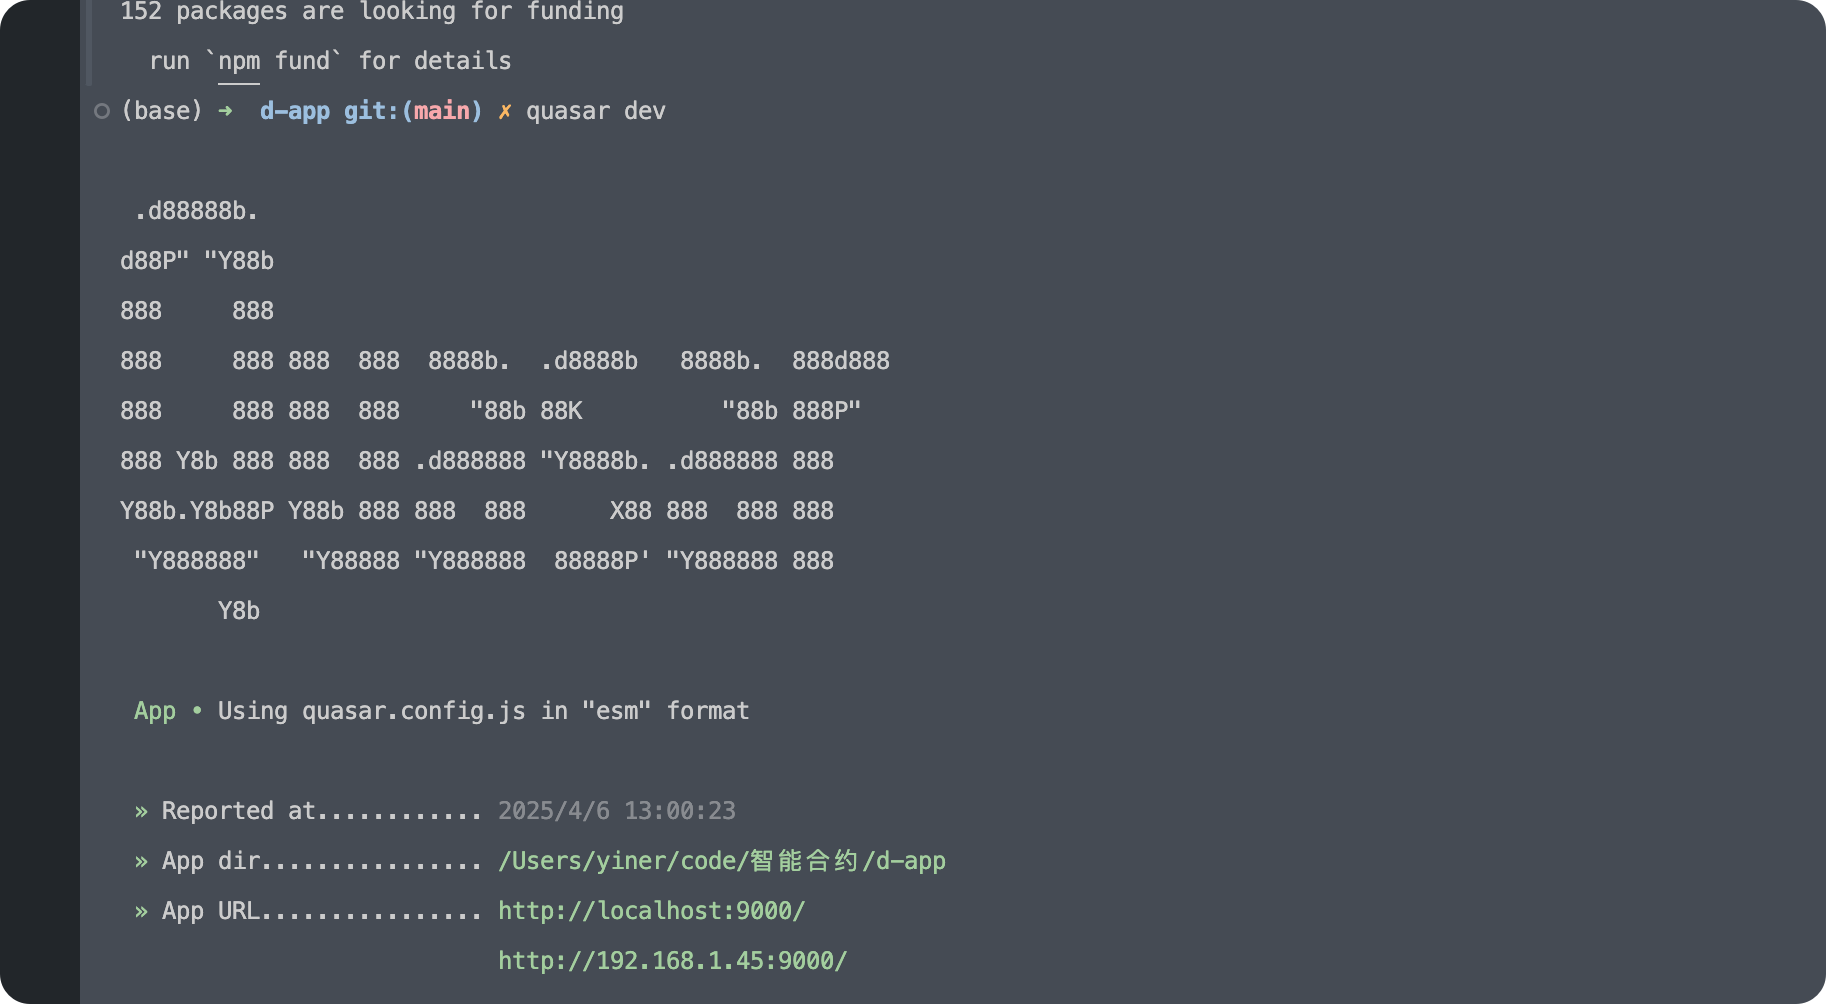
运行成功后会在浏览器中默认打开项目,如下:
开始开发
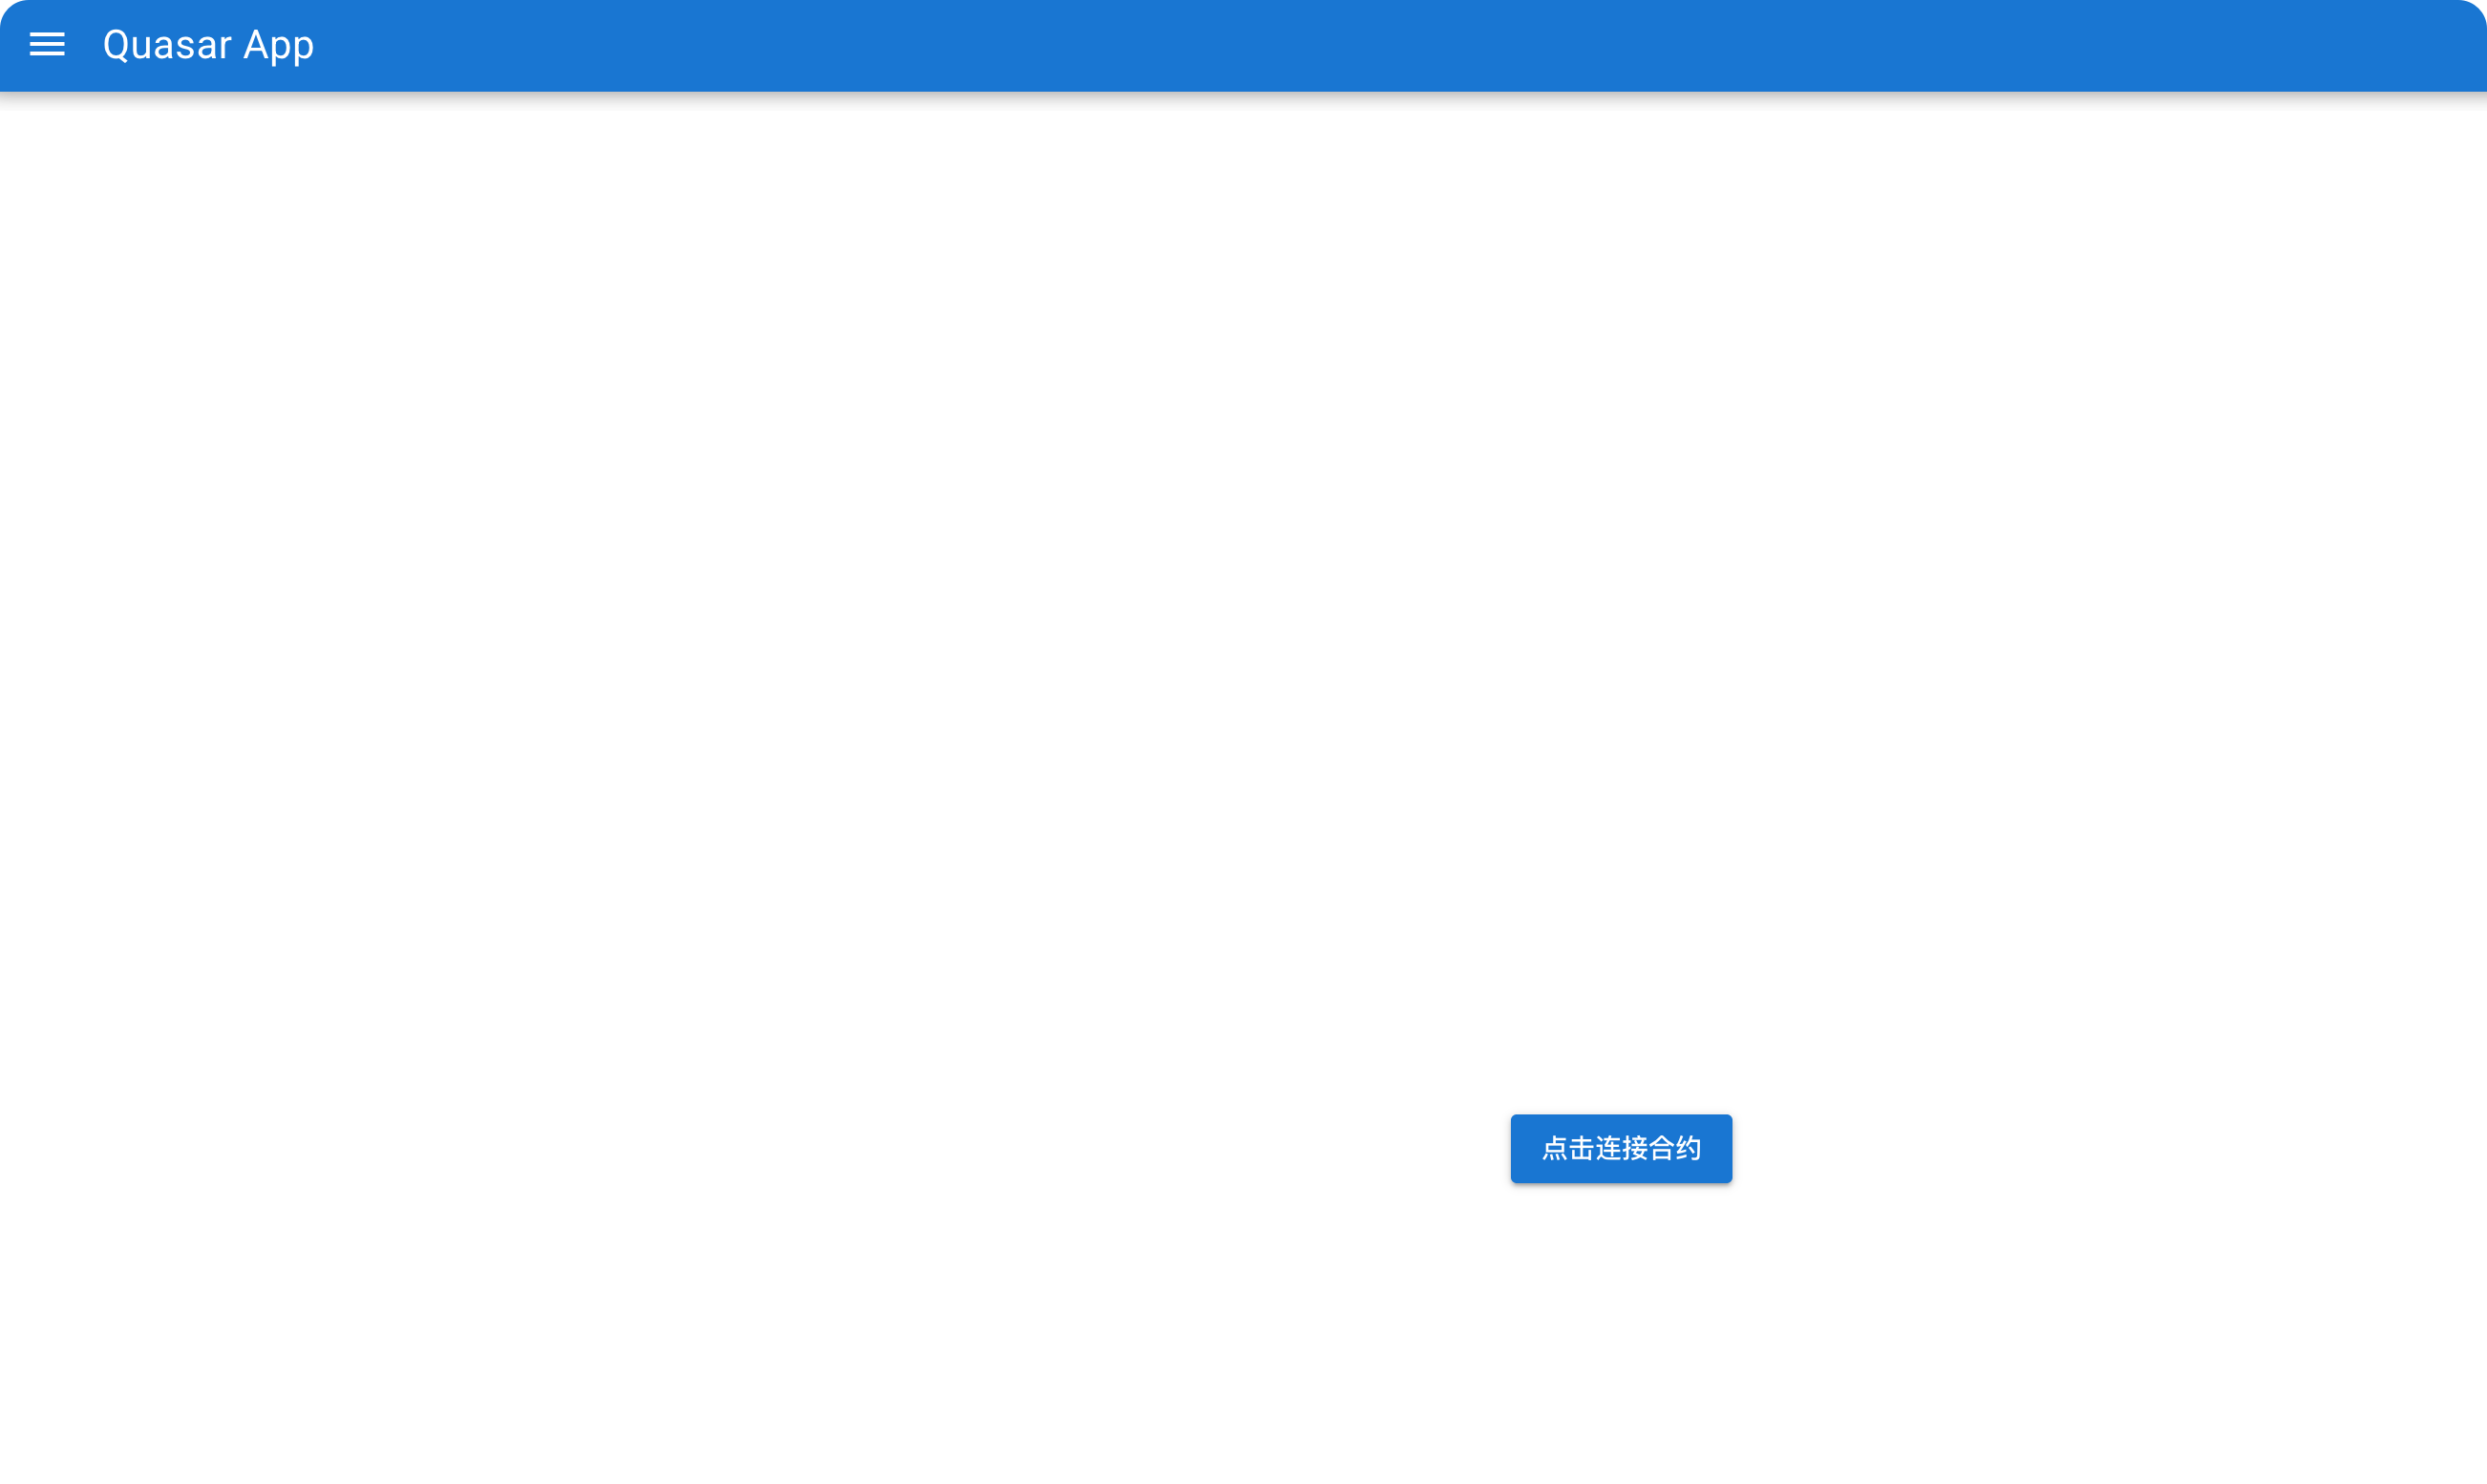
为了方便调试和可视化,我们先在页面上写一个连接合约按钮,代码如下:
<template>
  <q-page class="flex flex-center">
    <q-btn color="primary" label="点击连接合约"></q-btn>
  </q-page>
</template>

<script setup>
//
</script>
运行效果如下:
按钮思路
现在我们需要完成的是点击按钮就实现合约连接,如果报错则显示在按钮下面,如果连接成功则则按钮上面显示个连接成功。
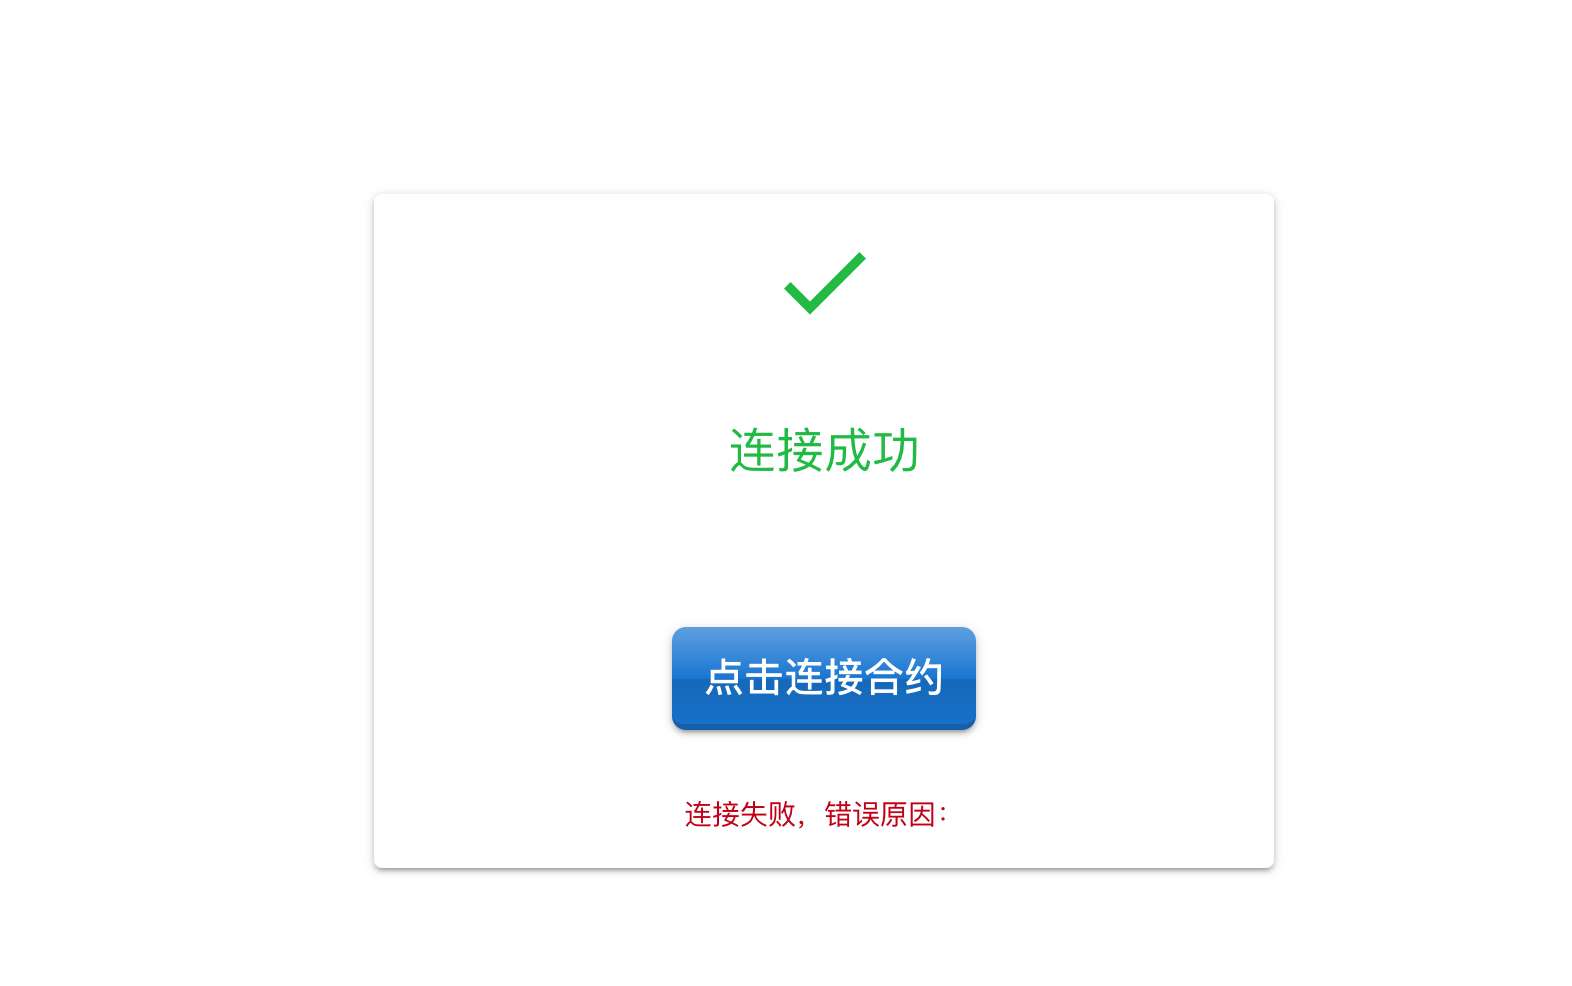
修改UI
<template>
  <q-page class="flex flex-center">
    <q-card class="text-center main-card">
      <q-card-section class="text-positive">
        <q-icon name="check" size="4em"></q-icon>
        <h5 class="text-h5 font-weight-bold">连接成功</h5>
      </q-card-section>
      <q-card-section>
        <q-btn size="lg" glossy push color="primary" label="点击连接合约"></q-btn>
      </q-card-section>
      <q-card-section class="text-small text-negative"> 连接失败,错误原因: </q-card-section>
    </q-card>
  </q-page>
</template>

<script>
import { defineComponent } from 'vue'
export default defineComponent({
  name: 'IndexPage',
})
</script>
<style>
.main-card {
  width: 450px;
}
</style>
运行如图:
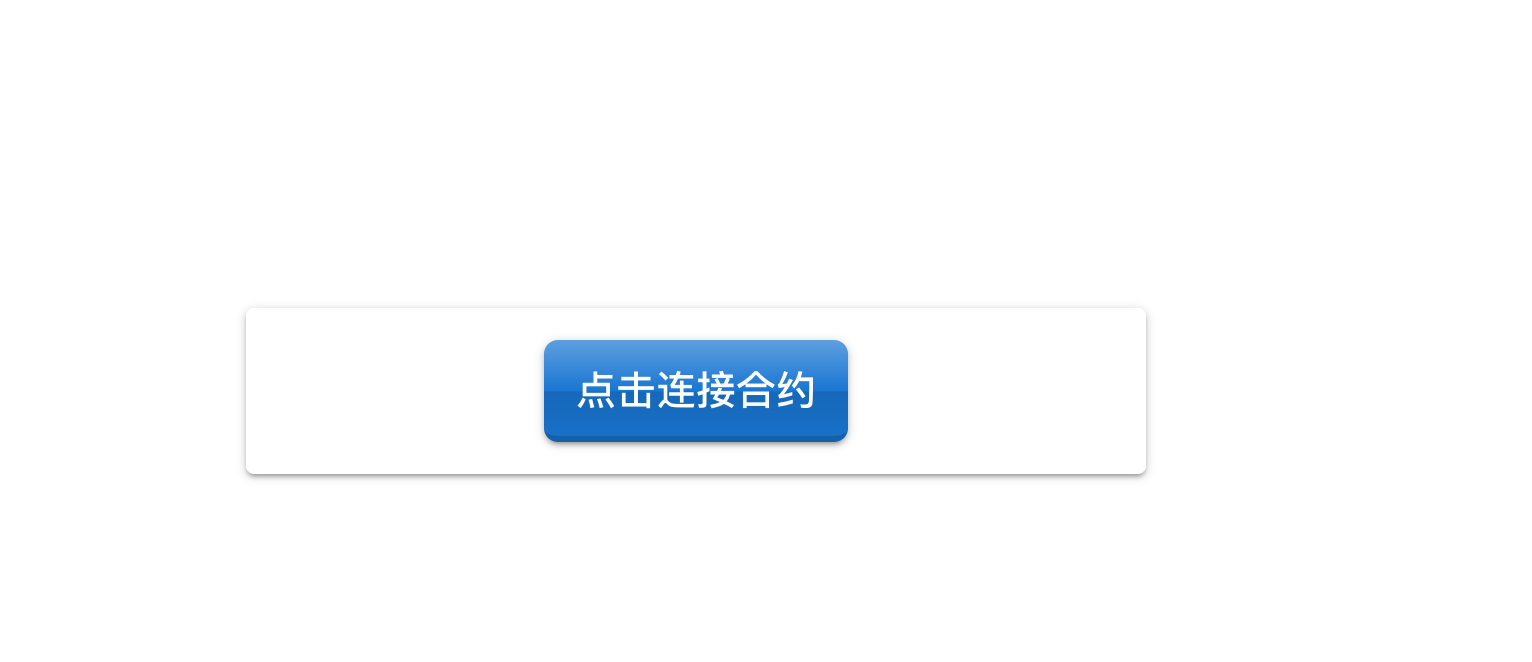
定义两个变量来控制显示
目前我们的所有元素都是全部显示的,我们要实现的应该是如果连接成功则显示连接成功和隐藏按钮,如果连接失败则显示连接失败以及错误原因,因此再改一下:
<template>
  <q-page class="flex flex-center">
    <q-card class="text-center main-card">
      <q-card-section class="text-positive" v-if="isConnected">
        <q-icon name="check" size="4em"></q-icon>
        <h5 class="text-h5 font-weight-bold">连接成功</h5>
      </q-card-section>
      <q-card-section v-if="!isConnected">
        <q-btn size="lg" glossy push color="primary" label="点击连接合约"></q-btn>
      </q-card-section>
      <q-card-section class="text-small text-negative" v-if="errorMessage !== ''">
        连接失败,错误原因:
      </q-card-section>
    </q-card>
  </q-page>
</template>

<script>
import { defineComponent } from 'vue'
export default defineComponent({
  name: 'IndexPage',
  data: function () {
    return {
      isConnected: false, //是否连接成功
      errorMessage: '', //是否报错
    }
  },
})
</script>
<style>
.main-card {
  width: 450px;
}
</style>
修改完成运行如图:
连接合约
我们先定义一个连接合约的函数,并将其绑定到按钮上:
<template>
  <q-page class="flex flex-center">
    <q-card class="text-center main-card">
      <q-card-section class="text-positive" v-if="isConnected">
        <q-icon name="check" size="4em"></q-icon>
        <h5 class="text-h5 font-weight-bold">连接成功</h5>
      </q-card-section>
      <q-card-section v-if="!isConnected">
        <!-- 点击连接 -->
        <q-btn @click="connect" size="lg" glossy push color="primary" label="点击连接合约"></q-btn>
      </q-card-section>
      <q-card-section class="text-small text-negative" v-if="errorMessage !== ''">
        连接失败,错误原因:
      </q-card-section>
    </q-card>
  </q-page>
</template>

<script>
import { defineComponent } from 'vue'
export default defineComponent({
  name: 'IndexPage',
  data: function () {
    return {
      isConnected: false, //是否连接成功
      errorMessage: '', //是否报错
    }
  },
  methods: {
    // 定义连接函数
    connect: function () {},
  },
})
</script>
<style>
.main-card {
  width: 450px;
}
</style>
之后开始编码连接:
web3方法:
new web3.eth.Contract(jsonInterface[, address][, options])1.jsonInterface
ABI对象:至于什么是abi可以查看《基础知识补充篇:认识智能合约的ABI》。
2.address
合约地址。
3.options
其他参数,目前用不到。
连接USDT合约
点此前往区块链浏览器查看合约
这里我们连接eth链的usdt合约,参数如下:
address:0xdac17f958d2ee523a2206206994597c13d831ec7
abi json 如下:
[
    {
        "constant": true,
        "inputs": [],
        "name": "name",
        "outputs": [
            {
                "name": "",
                "type": "string"
            }
        ],
        "payable": false,
        "stateMutability": "view",
        "type": "function"
    },
    {
        "constant": false,
        "inputs": [
            {
                "name": "_upgradedAddress",
                "type": "address"
            }
        ],
        "name": "deprecate",
        "outputs": [],
        "payable": false,
        "stateMutability": "nonpayable",
        "type": "function"
    },
    {
        "constant": false,
        "inputs": [
            {


![大模型本地部署系列(3) Ollama部署QwQ[阿里云通义千问]](https://i-blog.csdnimg.cn/img_convert/79e9a055724e4064361ae20da1f5fda3.webp?x-oss-process=image/format,png)