此示例产生了一些令人印象深刻的结果,但实际上非常简单。
它使用其他几个示例演示的 ImageAttribute 技术来快速操作图像的颜色。
下面的AdjustColor方法启动图像着色的过程。
// Adjust the image's colors.
private Image AdjustColor(Image image)
{
    // Make the ColorMatrix.
    ColorMatrix cm = GetColorMatrix();
    ImageAttributes attributes = new ImageAttributes();
    attributes.SetColorMatrix(cm);

    // Make the result image.
    return image.CopyImage(attributes);
}
此方法调用稍后描述的GetColorMatrix方法来获取一个ColorMatrix对象,该对象保存您在文本框中输入的值。然后,它创建一个ImageAttribute对象,并使用其SetColorMatrix方法将ColorMatrix存储在ImageAttribute对象中。最后,它调用CopyImage扩展方法(稍后描述)将颜色矩阵应用于图像并返回结果。
以下代码显示GetColorMatrix方法。
// Return the matrix entered by the user.
private ColorMatrix GetColorMatrix()
{
    float[][] values = GetMatrix();
    if (values == null) return null;
    return new ColorMatrix(values);
}
GetColorMatrix 方法调用GetMatrix方法来获取一个float[][],其中包含您在程序的文本框中输入的值。以下代码显示GetMatrix方法。
private float[][] GetMatrix()
{
    float[][] values = new float[][]
    {
        new float[5],
        new float[5],
        new float[5],
        new float[5],
        new float[5],
    };
    for (int i = 0; i < 5; i++)
    {
        for (int j = 0; j < 5; j++)
        {
            float value;
            if (!float.TryParse(TextBoxes[i][j].Text, out value))
            {
                MessageBox.Show("Invalid entry");
                TextBoxes[i][j].Focus();
                return null;
            }
            values[i][j] = value;
        }
    }

    return values;
}
此方法创建一个float[][] ,然后通过循环遍历TextBoxes数组的行和列来填充它,该数组保存对程序的TextBox控件的引用。
以下代码显示程序如何初始化TextBoxes数组。
private TextBox[][] TextBoxes;

// Display the image converted to sepia tone.
private void Form1_Load(object sender, EventArgs e)
{
    TextBoxes = new TextBox[][]
    {
        new TextBox[] {txt00, txt01, txt02, txt03, txt04},
        new TextBox[] {txt10, txt11, txt12, txt13, txt14},
        new TextBox[] {txt20, txt21, txt22, txt23, txt24},
        new TextBox[] {txt30, txt31, txt32, txt33, txt34},
        new TextBox[] {txt40, txt41, txt42, txt43, txt44},
    };
}
程序在类级别声明了TextBoxes数组。其Form_Load事件处理程序初始化该数组。
快速回顾一下,GetColorMatrix调用GetMatrix来获取您输入的浮点值,并使用该数组创建和返回ColorMatrix对象。GetMatrix方法循环遍历TextBoxes数组以填充它返回的数组。
复制图像
.NET Image类提供了几种创建图像副本的方法。最省事的方法是调用其Clone方法。不幸的是,该方法返回一个通用oobject ,因此如果您想将其用作Image,则需要将其转换为Image。
复制图像是我经常做的事情,所以我决定创建以下两种扩展方法来使其更容易。
public static class Extensions
{
    public static Image CopyImage(this Image image)
    {
        return (Image)image.Clone();
    }

    public static Image CopyImage(this Image image, ImageAttributes attributes)
    {
        Bitmap result = new Bitmap(image.Width, image.Height);
        using (Graphics gr = Graphics.FromImage(result))
        {
            Rectangle rect = new Rectangle(
                0, 0, image.Width, image.Height);
            gr.DrawImage(image, rect,
                0, 0, image.Width, image.Height,
                GraphicsUnit.Pixel, attributes);
        }
        return result;
    }
}
第一个方法克隆图像,将结果重新转换为Image并返回结果。您可以像以下代码一样使用它。
Image copy_of_image = original_image.CopyImage();第二种方法复制图像,同时将ImageAttributes对象应用于该图像。这就是本示例为图像着色的方式。
第二种方法创建一个与原始图像大小相同的新Bitmap对象,并创建一个关联的Graphics对象。它创建一个大小适合图像的Rectangle ,然后调用Graphics对象的DrawImage方法将图像绘制到新的Bitmap上。(这就是我想要制作扩展方法的原因之一。将图像绘制到另一幅图像上的方法很不方便。使用这种方法,我不必费心创建一个Rectangle并将坐标、宽度和高度传递给DrawImage方法。)
前面显示的AdjustColor 方法在以下语句中 使用了CopyImage的第二个版本。
// Make the result image.
return image.CopyImage(attributes);
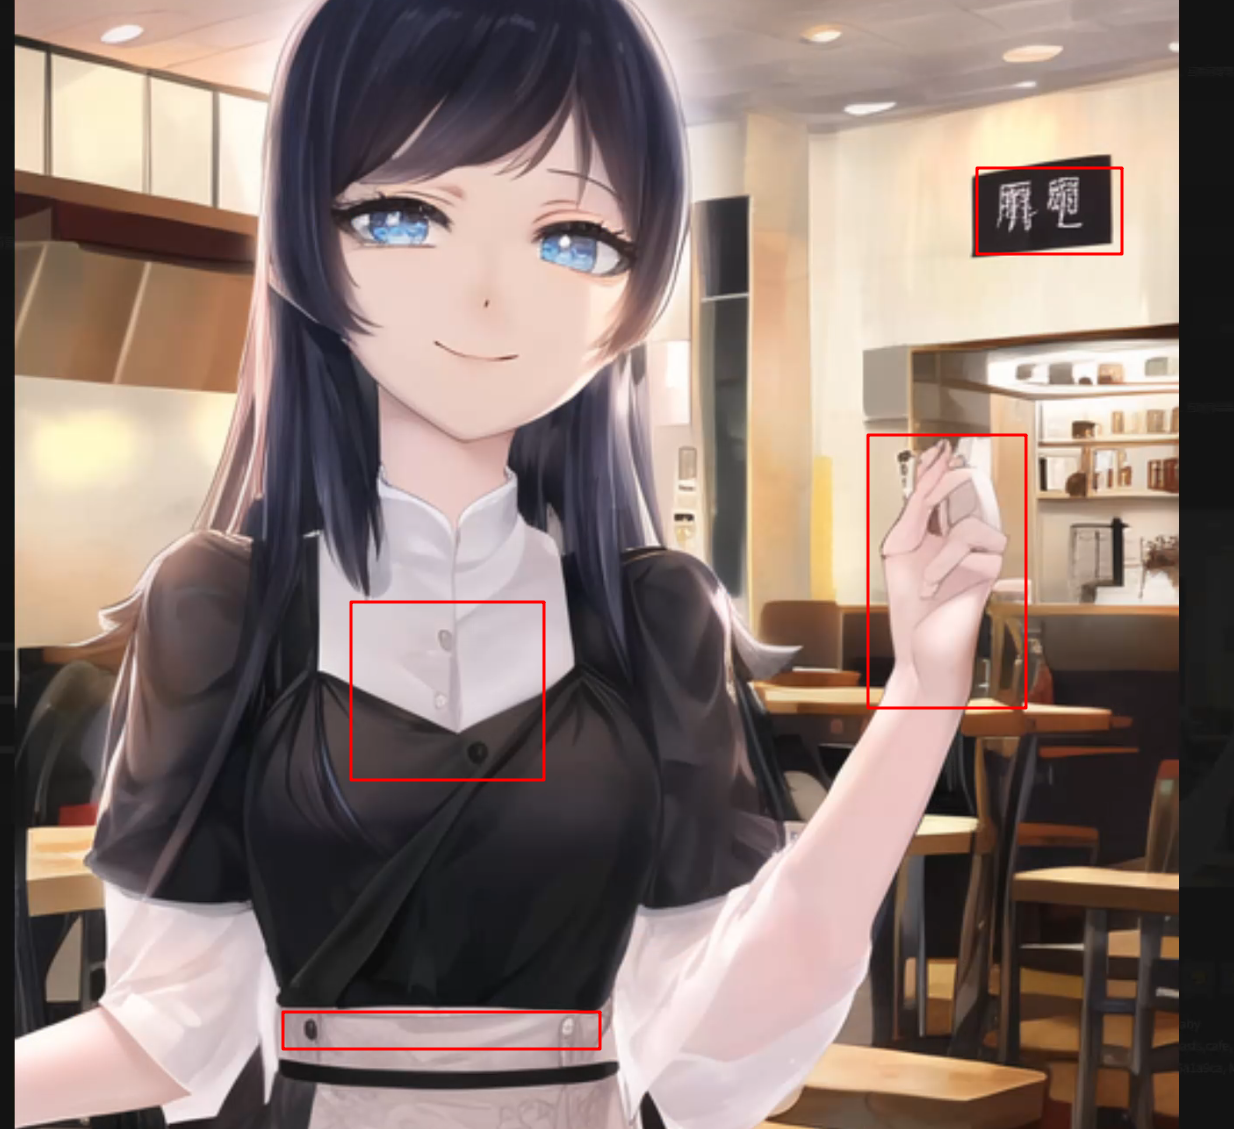
示例程序还包括其他一些细节,例如打开和保存文件的代码,以及填充特定颜色(例如红色、绿色、棕褐色等)矩阵值的菜单项。(文章顶部的图片显示了转换为棕褐色调的图像。)
完整源码:
https://download.csdn.net/download/ljygood2/90104001


