一、实现
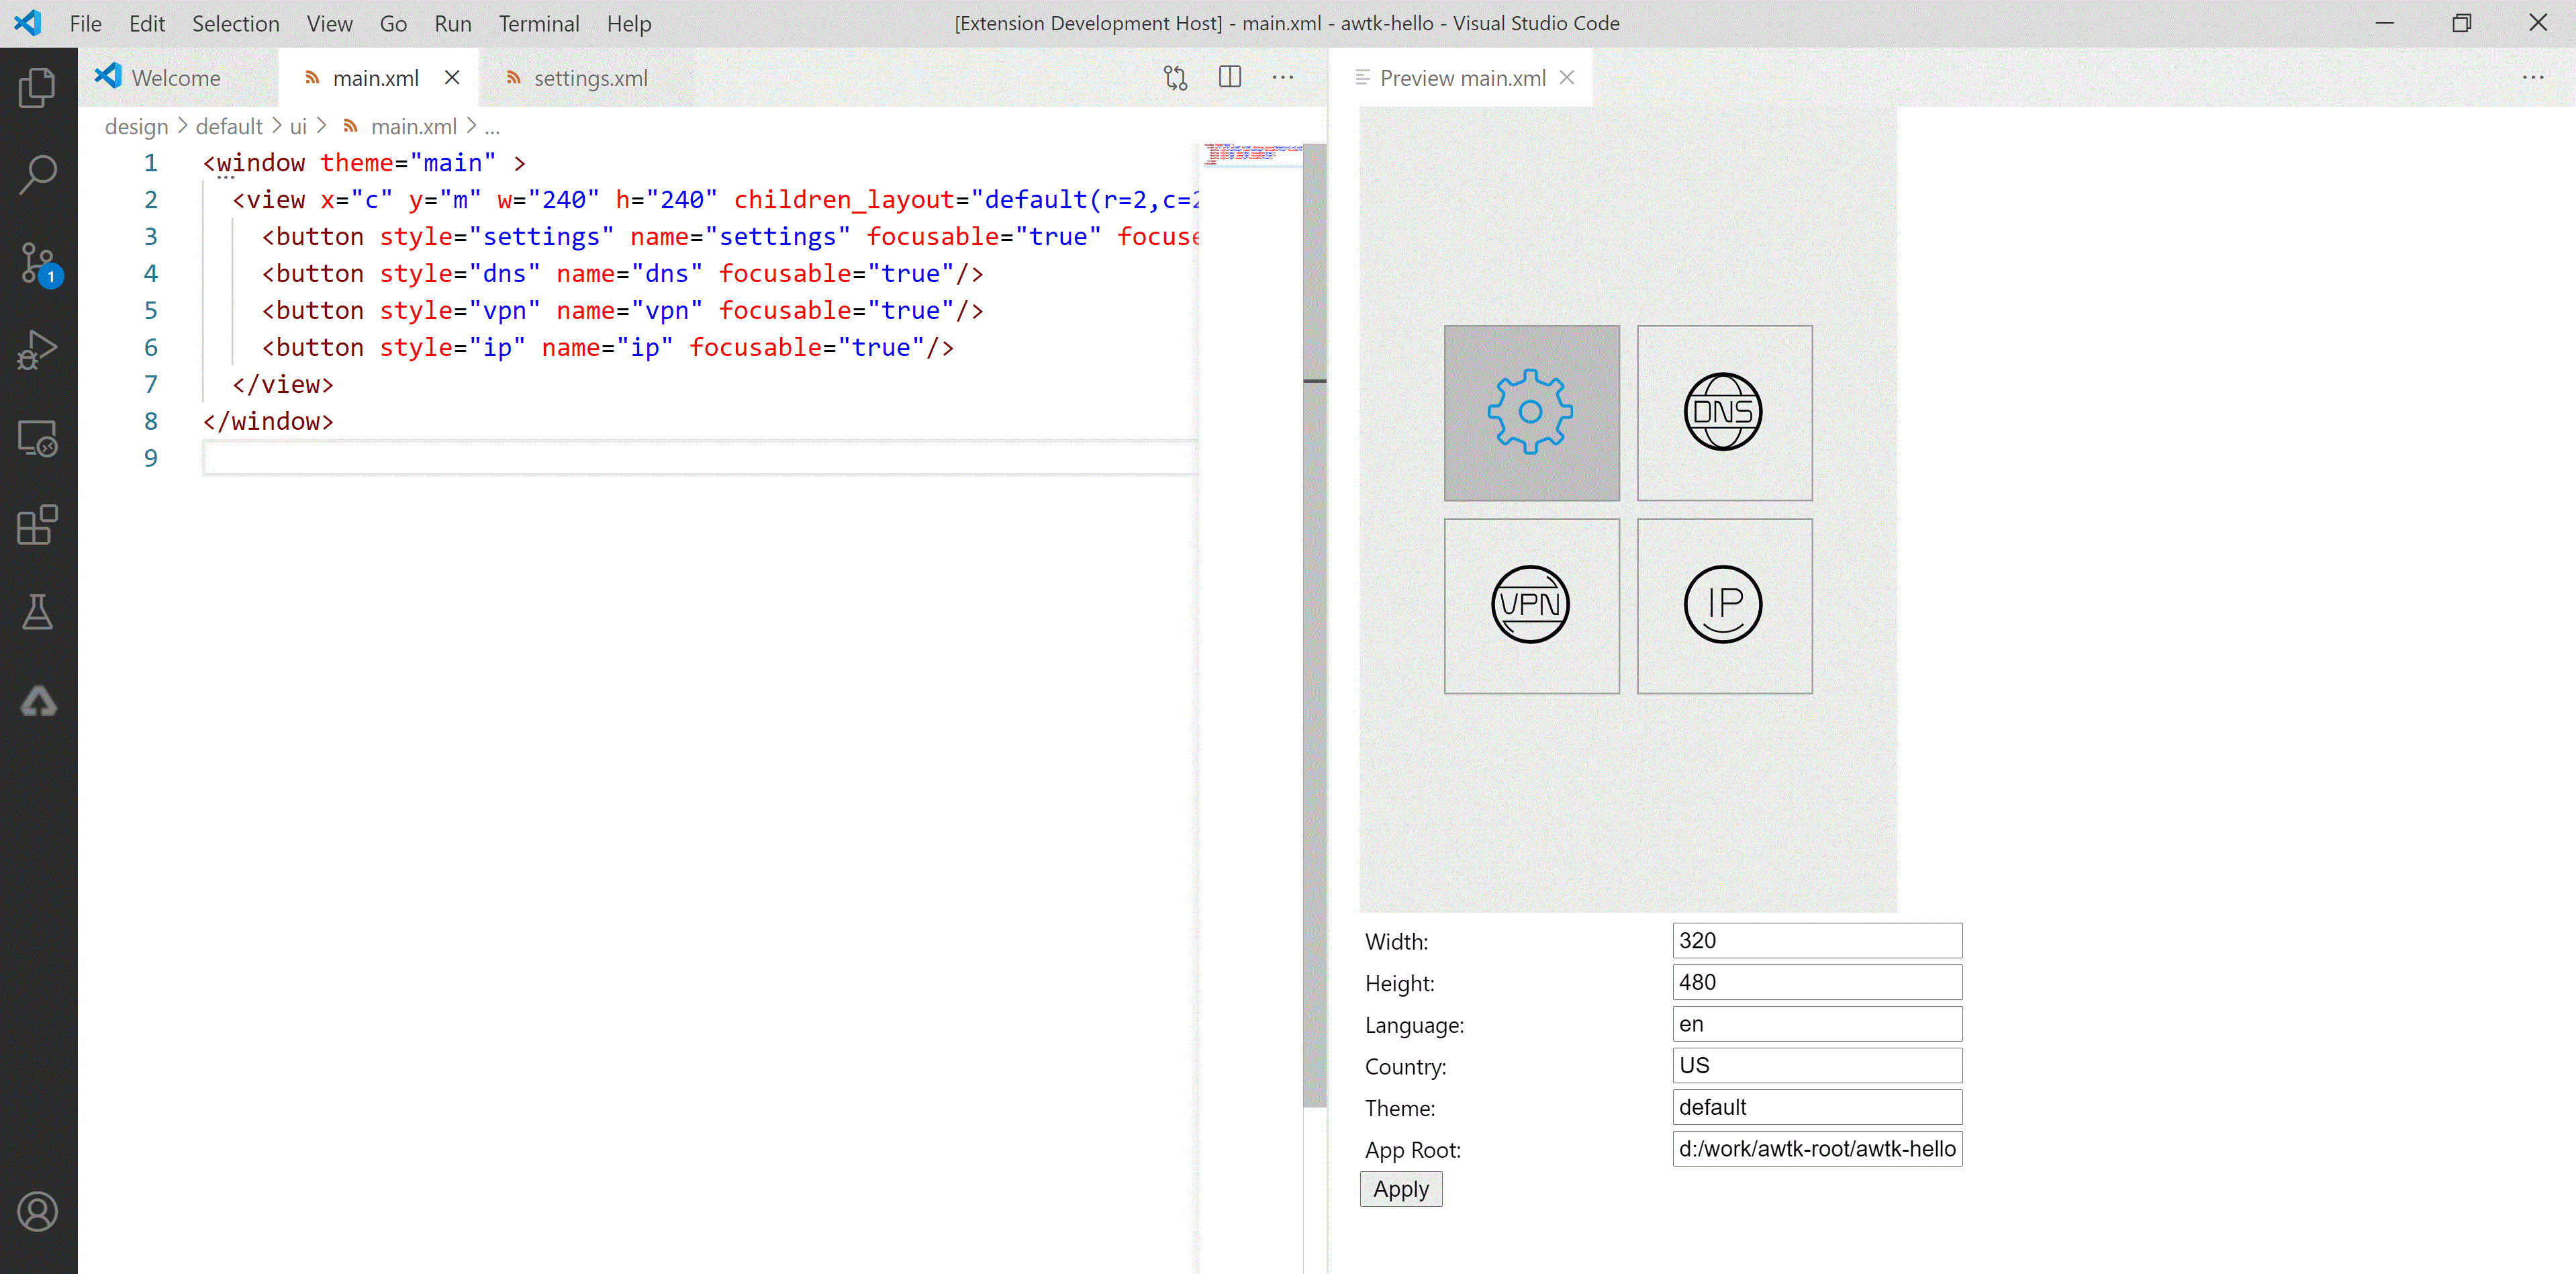
文件夹目录结构:
templates
-----upload.html
faiss_app.py
前端代码:
<!DOCTYPE html>
<html lang="en">
<head>
    <meta charset="UTF-8">
    <meta name="viewport" content="width=device-width, initial-scale=1.0">
    <title>Search and Show Multiple Images</title>
    <style>
        #image-container {
            display: flex;
            flex-wrap: wrap;
        }
        #image-container img {
            max-width: 150px;
            margin: 10px;
        }
    </style>
</head>
<body>
    <h1>Search Images</h1>
     <!-- 上传表单 -->
     <form id="upload-form" enctype="multipart/form-data">
        <input type="file" id="file-input" name="file" accept="image/*" required>
        <input type="submit" value="Upload">
    </form>

    <!-- 搜索框 -->
    <form id="search-form">
        <input type="text" id="search-input" name="query" placeholder="Enter search term" required>
        <input type="submit" value="Search">
    </form>

    <h2>Search Results</h2>
    <!-- 显示搜索返回的多张图片 -->
    <div id="image-container"></div>

    <!-- 使用JS处理表单提交 -->
    <script>
        document.getElementById('search-form').addEventListener('submit', async function(event) {
            event.preventDefault();  // 阻止表单默认提交行为

            const query = document.getElementById('search-input').value;  // 获取搜索框中的输入内容

            try {
                // 发送GET请求,将搜索关键词发送到后端
                const response = await fetch(`/search?query=${encodeURIComponent(query)}`, {
                    method: 'GET',
                });

                // 确保服务器返回JSON数据
                const data = await response.json();

                // 清空图片容器
                const imageContainer = document.getElementById('image-container');
                imageContainer.innerHTML = '';

                // 遍历后端返回的图片URL数组,动态创建<img>标签并渲染
                data.image_urls.forEach(url => {
                    const imgElement = document.createElement('img');
                    imgElement.src = url;  // 设置图片的src属性为返回的URL
                    imageContainer.appendChild(imgElement);  // 将图片添加到容器中
                });
            } catch (error) {
                console.error('Error searching for images:', error);
            }
        });
        document.getElementById('upload-form').addEventListener('submit', async function(event) {
            event.preventDefault();  // 阻止表单默认提交行为

            const fileInput = document.getElementById('file-input');
            const formData = new FormData();
            formData.append('file', fileInput.files[0]);  // 获取用户上传的图片文件

            try {
                // 发送POST请求,将图片发送到后端
                const response = await fetch('/search_by_images', {
                    method: 'POST',
                    body: formData
                });

                // 确保服务器返回JSON数据
                const data = await response.json();

                // 清空图片容器
                const imageContainer = document.getElementById('image-container');
                imageContainer.innerHTML = '';

                // 遍历后端返回的图片URL数组,动态创建<img>标签并渲染
                data.image_urls.forEach(url => {
                    const imgElement = document.createElement('img');
                    imgElement.src = url;  // 设置图片的src属性为返回的URL
                    imageContainer.appendChild(imgElement);  // 将图片添加到容器中
                });
            } catch (error) {
                console.error('Error uploading file:', error);
            }
        });
    </script>
</body>
</html>
后端代码:
from sentence_transformers import SentenceTransformer, util
from torchvision import models, transforms
from PIL import Image
from flask import Flask, request, jsonify, current_app, render_template, send_from_directory, url_for
from werkzeug.utils import secure_filename
import faiss
import os, glob
import numpy as np
from markupsafe import escape
import shutil

#Load CLIP model
model = SentenceTransformer('clip-ViT-B-32')
IMAGE_EXTENSIONS = {'.jpg', '.jpeg', '.png', '.gif', '.bmp'}

UPLOAD_FOLDER = 'uploads/'
IMAGES_PATH  = "C:\\Users\\cccc\\Pictures\\cls_auto_config"

def generate_clip_embeddings(images_path, model):
    image_paths = []
    # 使用 os.walk 遍历所有子目录和文件
    for root, dirs, files in os.walk(images_path):
        for file in files:
            # 获取文件的扩展名并转换为小写
            ext = os.path.splitext(file)[1].lower()
            # 判断是否是图片文件
            if ext in IMAGE_EXTENSIONS:
                image_paths.append(os.path.join(root, file))
    embeddings = []
    for img_path in image_paths:
        image = Image.open(img_path)
        embedding = model.encode(image)
        embeddings.append(embedding)

    return embeddings, image_paths

def generate_res50_embeddings(images_path):
    # Load the pretrained model
    res50_model = models.resnet50(pretrained=True)
    res50_model = res50_model.eval()

    # Define the image transformations
    transform = transforms.Compose([
        transforms.Resize(256),
        transforms.CenterCrop(224),
        transforms.ToTensor(),
        transforms.Normalize(mean=[0.485, 0.456, 0.406], std=[0.229, 0.224, 0.225]),
    ])

    image_paths = []
    # 使用 os.walk 遍历所有子目录和文件
    for root, dirs, files in os.walk(images_path):
        for file in files:
            # 获取文件的扩展名并转换为小写
            ext = os.path.splitext(file)[1].lower()
            # 判断是否是图片文件
            if ext in IMAGE_EXTENSIONS:
                image_paths.append(os.path.join(root, file))
    embeddings = []
    for img_path in image_paths:
        image = Image.open(img_path)
        # Apply the transformations and get the image vector
        image = transform(image).unsqueeze(0)
        image_vector = res50_model(image).detach().numpy()
        embeddings.append(image_vector[0])
    return embeddings, image_paths

def create_faiss_index(embeddings, image_paths, output_path):

    dimension = len(embeddings[0])

    # 分情况创建Faiss索引对象
    if len(image_paths) < 39 * 256:
        # 如果条目很少,直接用最普通的L2索引
        faiss_index = faiss.IndexFlatL2(dimension)
    elif len(image_paths) < 39 * 4096:
        # 如果条目少于39 × 4096,就只用PQ量化,不使用IVF
        faiss_index = faiss.index_factory(dimension, 'OPQ64_256,PQ64x8')
    else:
        # 否则就加上IVF
        faiss_index = faiss.index_factory(dimension, 'OPQ64_256,IVF4096,PQ64x8')
    res = faiss.StandardGpuResources()
    co = faiss.GpuClonerOptions()
    co.useFloat16 = True
    faiss_index = faiss.index_cpu_to_gpu(res, 0, faiss_index, co)

    #index = faiss.IndexFlatIP(dimension)
    faiss_index = faiss.IndexIDMap(faiss_index)

    vectors = np.array(embeddings).astype(np.float32)

    # Add vectors to the index with IDs
    faiss_index.add_with_ids(vectors, np.array(range(len(embeddings))))

    # Save the index
    faiss_index = faiss.index_gpu_to_cpu(faiss_index)
    faiss.write_index(faiss_index, output_path)
    print(f"Index created and saved to {output_path}")

    # Save image paths
    with open(output_path + '.paths', 'w') as f:
        for img_path in image_paths:
            f.write(img_path + '\n')

    return faiss_index

def load_faiss_index(index_path):
    faiss_index = faiss.read_index(index_path)
    with open(index_path + '.paths', 'r') as f:
        image_paths = [line.strip() for line in f]
    print(f"Index loaded from {index_path}")
    if not faiss_index.is_trained:
            raise RuntimeError(f'从[{index_path}]加载的Faiss索引未训练')
    res = faiss.StandardGpuResources()
    co = faiss.GpuClonerOptions()
    co.useFloat16 = True
    faiss_index = faiss.index_cpu_to_gpu(res, 0, faiss_index, co)
    return faiss_index, image_paths


def retrieve_similar_images(query, model, index, image_paths, top_k=3):

    # query preprocess:
    if query.endswith(('.png', '.jpg', '.jpeg', '.tiff', '.bmp', '.gif')):
        query = Image.open(query)

    query_features = model.encode(query)
    query_features = query_features.astype(np.float32).reshape(1, -1)

    distances, indices = index.search(query_features, top_k)

    retrieved_images = [image_paths[int(idx)] for idx in indices[0]]

    return query, retrieved_images

def retrieve_res50_similar_images(query, index, image_paths, top_k=3):
    # query preprocess:
    if query.endswith(('.png', '.jpg', '.jpeg', '.tiff', '.bmp', '.gif')):
        image = Image.open(query)
        # Load the pretrained model
        res50_model = models.resnet50(pretrained=True)
        res50_model = res50_model.eval()

        # Define the image transformations
        transform = transforms.Compose([
            transforms.Resize(256),
            transforms.CenterCrop(224),
            transforms.ToTensor(),
            transforms.Normalize(mean=[0.485, 0.456, 0.406], std=[0.229, 0.224, 0.225]),
        ])

        # Apply the transformations and get the image vector
        image = transform(image).unsqueeze(0)
        query_features = res50_model(image).detach().numpy()
        query_features = query_features[0]
        query_features = query_features.astype(np.float32).reshape(1, -1)

        distances, indices = index.search(query_features, top_k)

        retrieved_images = [image_paths[int(idx)] for idx in indices[0]]

        return query, retrieved_images

# 检查文件扩展名是否允许
def allowed_file(filename):
    return '.' in filename and "." + filename.rsplit('.', 1)[1].lower() in IMAGE_EXTENSIONS

def search():
    query = request.args.get('query')  # 获取搜索关键词
    safe_query = escape(query)

    if not query:
        return jsonify({"error": "No search query provided"}), 400
    index, image_paths = None, []
    OUTPUT_INDEX_PATH = f"{app.config['UPLOAD_FOLDER']}/vector.index"
    if os.path.exists(OUTPUT_INDEX_PATH):
        index, image_paths = load_faiss_index(OUTPUT_INDEX_PATH)
    else:
        # embeddings, image_paths = generate_clip_embeddings(IMAGES_PATH, model)
        embeddings, image_paths = generate_res50_embeddings(IMAGES_PATH)
        index = create_faiss_index(embeddings, image_paths, OUTPUT_INDEX_PATH)
    query, retrieved_images = retrieve_similar_images(query, model, index, image_paths, top_k=5)


    image_urls = []
    for path in retrieved_images:
        base_name = os.path.basename(path)
        shutil.copy(path, os.path.join(app.config['UPLOAD_FOLDER'], base_name))
        image_urls.append(url_for('uploaded_file_path', filename=base_name))

    return jsonify({"image_urls": image_urls})


def search_by_images():
    # 检查请求中是否有文件
    if 'file' not in request.files:
        return jsonify({"error": "No file part"}), 400
    file = request.files['file']

    # 检查文件是否为空
    if file.filename == '':
        return jsonify({"error": "No selected file"}), 400
    print(file.filename)
    if file and allowed_file(file.filename):
        filename = secure_filename(file.filename)
        filepath = os.path.join(app.config['UPLOAD_FOLDER'], filename)
        file.save(filepath)

        index, image_paths = None, []
        OUTPUT_INDEX_PATH = f"{app.config['UPLOAD_FOLDER']}/images_vector.index"
        if os.path.exists(OUTPUT_INDEX_PATH):
            index, image_paths = load_faiss_index(OUTPUT_INDEX_PATH)
        else:
            embeddings, image_paths = generate_res50_embeddings(IMAGES_PATH)
            index = create_faiss_index(embeddings, image_paths, OUTPUT_INDEX_PATH)
        filepath, retrieved_images = retrieve_res50_similar_images(filepath, index, image_paths, top_k=5)

        image_urls = []
        for path in retrieved_images:
            base_name = os.path.basename(path)
            shutil.copy(path, os.path.join(app.config['UPLOAD_FOLDER'], base_name))
            image_urls.append(url_for('uploaded_file_path', filename=base_name))

        return jsonify({"image_urls": image_urls})
    else:
        return jsonify({"error": "Invalid file"}), 400


def index():
    return render_template('upload.html')

# 提供静态文件的访问路径
def uploaded_file_path(filename):
    return send_from_directory(app.config['UPLOAD_FOLDER'], filename)

if __name__ == "__main__":
    app = Flask(__name__)
    app.config['UPLOAD_FOLDER'] = UPLOAD_FOLDER
    if not os.path.exists(UPLOAD_FOLDER):
        os.makedirs(UPLOAD_FOLDER)
    # 主页显示上传表单
    app.route('/')(index)
    app.route('/search', methods=['GET'])(search)
    app.route('/uploads/images/<filename>')(uploaded_file_path)
    app.route('/search_by_images', methods=['POST'])(search_by_images)
    app.run(host='0.0.0.0', port=8080, debug=True)
二、实现效果

三、参考文章
1. https://towardsdatascience.com/building-an-image-similarity-search-engine-with-faiss-and-clip-2211126d08fa
2.向量数据库Faiss的搭建与使用 - 很久8899 - 博客园


