在监控和视频分析领域,实时采样视频流中的图像数据是十分重要的。本文将介绍一个基于Python和Tkinter构建的RTSP流图片采样助手的设计与实现,旨在简化RTSP流的采样过程,并支持根据用户定义的特殊标签进行筛选。
项目概述
该项目的主要功能包括:
- 从多个RTSP流中实时采样图像。
- 根据用户定义的特殊标签筛选并保存图像。
- 提供友好的图形用户界面(GUI)以便于用户操作。
技术栈
- Python: 主要编程语言。
- OpenCV: 用于视频流处理和图像处理。
- Tkinter: 用于创建图形用户界面。
- PyTorch: 用于加载和使用深度学习模型进行目标检测。
- Subprocess: 用于ping测试IP地址的连通性。
关键功能实现
1、GUI设计
使用Tkinter创建用户界面,用户可以输入多个IP地址、密码、特殊标签和取样间隔时间。以下是创建GUI的代码片段:
root = tk.Tk()
root.title("RTSP流图片取样助手")

tk.Label(root, text="IP地址(每行一个):").pack()
ip_entry = scrolledtext.ScrolledText(root, height=15, width=50)
ip_entry.pack()

tk.Label(root, text="密码(每行一个):").pack()
password_entry = scrolledtext.ScrolledText(root, height=15, width=50)
password_entry.pack()

tk.Label(root, text="特殊标签(以逗号分隔):").pack()
special_items_entry = tk.Entry(root, width=50)
special_items_entry.pack()
special_items_entry.insert(0, "person")

tk.Label(root, text="取样间隔时间(秒):").pack()
interval_entry = tk.Entry(root, width=10)
interval_entry.pack()
interval_entry.insert(0, "5")

model_var = StringVar(root)
model_var.set("未选择模型")
model_button = Button(root, text="选择模型", command=select_model)
model_button.pack()

status_text = tk.Text(root, height=10, width=50)
status_text.pack()

start_button = Button(root, text="开始采样", command=lambda: start_detection_thread(stop_event, status_text))
start_button.pack()

stop_button = Button(root, text="停止采样", command=lambda: stop_detection(stop_event))
stop_button.pack()

root.mainloop()
2、视频流处理
通过OpenCV打开RTSP流并读取视频帧。以下是处理视频流的代码片段:
cap = cv2.VideoCapture(rtsp_url)
if not cap.isOpened():
    print(f"Error: Could not open video stream {rtsp_url}")
    return

while not stop_event.is_set():
    ret, frame = cap.read()
    if not ret:
        print("Error: Failed to read frame from the video stream.")
        break
3、目标检测
集成深度学习模型进行目标检测。在每一帧中,我们使用模型识别物体并绘制边框。以下是模型推理的代码:
if model is not None:
    boxes = detect(imgsz, conf_thres, iou_thres, model, infer_frame, stride, device)
    save_frame = False

    for box in boxes:
        if float(box[4]) > conf_thres:
            x1, y1, x2, y2, label_id = int(box[0]), int(box[1]), int(box[2]), int(box[3]), int(box[5])
            label = _names[int(label_id)]
            plot_one_box(x1, y1, x2, y2, plot_frame, conf_or_proportion=conf_thres, label_cls_id=label, line_thickness=3, color=globalColors[int(label_id)])
            if label in special_items:
                save_frame = True
4.、图像保存逻辑
根据用户输入的特殊标签筛选图像并保存。以下是相关代码:
current_time = time.time()
if (model is None or save_frame) and (current_time - last_save_time) >= sample_interval:
    frame_filename = os.path.join(ip_folder, f"detected_{int(current_time)}.jpg")
    cv2.imwrite(frame_filename, infer_frame)
    print(f"Saved frame: {frame_filename}")
    last_save_time = current_time
5.、多线程处理
为了能够同时处理多个RTSP流,我们使用线程来管理每个流的采样。这样可以确保主线程始终响应用户的操作。以下是创建线程的示例代码:
threads = []
for index, (ip, password) in enumerate(zip(ip_list, password_list)):
    rtsp_url = rtsp_base_url.format("admin", password, ip)
    thread = threading.Thread(target=start, args=(rtsp_url, index, imgsz, conf_thres, iou_thres, model, device, half, stride, special_items, _names, globalColors, save_special_items_name, stop_event, status_text, sample_interval, ip))
    thread.start()
    threads.append(thread)

for thread in threads:
    thread.join()
6、 停止采样
用户可以点击“停止采样”按钮来中断正在进行的采样操作。以下是实现该功能的代码:
def stop_detection(stop_event):
    stop_event.set()
    start_detection_thread.running = False
运行示例
运行程序后,用户需要在GUI中输入以下信息:
- IP地址: 监控摄像头的RTSP流地址(每行一个)。
- 密码: 对应的RTSP流密码(每行一个)。
- 特殊标签: 用户希望采样的物体标签(以逗号分隔)。
- 取样间隔时间: 图像采样的时间间隔(单位:秒)。
- 点击“开始采样”后,程序将开始处理指定的RTSP流并根据设置保存图像。如果需要停止采样,只需点击“停止采样”按钮。
源码
1、主程序
import subprocess
from tools import *  # 确保你有 tools.py 文件,包含所需的函数
import cv2
import os
import torch
import random
import time
import tkinter as tk
from tkinter import scrolledtext, messagebox, StringVar, Button, filedialog
import threading
import warnings

warnings.filterwarnings("ignore")


def ping_ip(ip):
    """Ping an IP address and return True if it is reachable, else False."""
    try:
        output = subprocess.check_output(['ping', '-n', '1', ip], stderr=subprocess.STDOUT, universal_newlines=True)
        return True
    except subprocess.CalledProcessError:
        return False


def start(rtsp_url, idx, imgsz, conf_thres, iou_thres, model, device, half, stride, special_items, _names, globalColors, save_special_items_name, stop_event, status_text, sample_interval, ip_address):
    if not ping_ip(ip_address):
        messagebox.showerror("Error", f"无法连接到 IP 地址: {ip_address}")
        return

    cap = cv2.VideoCapture(rtsp_url)
    if not cap.isOpened():
        print(f"Error: Could not open video stream {rtsp_url}")
        return

    status_text.insert(tk.END, f"正在采样视频流: {rtsp_url}_{idx}\n")
    last_save_time = time.time()
    ip_folder = os.path.join(save_special_items_name, f'{ip_address}_{str(idx)}')
    os.makedirs(ip_folder, exist_ok=True)

    while not stop_event.is_set():
        ret, frame = cap.read()
        if not ret:
            print("Error: Failed to read frame from the video stream.")
            break

        infer_frame = frame.copy()
        plot_frame = frame.copy()

        if model is not None:
            boxes = detect(imgsz, conf_thres, iou_thres, model, infer_frame, stride, device)
            save_frame = False

            for box in boxes:
                if float(box[4]) > conf_thres:
                    x1, y1, x2, y2, label_id = int(box[0]), int(box[1]), int(box[2]), int(box[3]), int(box[5])
                    label = _names[int(label_id)]
                    plot_one_box(x1, y1, x2, y2, plot_frame, conf_or_proportion=conf_thres, label_cls_id=label, line_thickness=3, color=globalColors[int(label_id)])
                    if label in special_items:
                        save_frame = True

        current_time = time.time()
        if (model is None or save_frame) and (current_time - last_save_time) >= sample_interval:
            frame_filename = os.path.join(ip_folder, f"detected_{int(current_time)}.jpg")
            cv2.imwrite(frame_filename, infer_frame)
            print(f"Saved frame: {frame_filename}")
            last_save_time = current_time

        cv2.imshow(f'Detection - {rtsp_url}_{idx}', plot_frame)
        if cv2.waitKey(1) & 0xFF == ord('q'):
            break

    cap.release()
    cv2.destroyAllWindows()
    status_text.insert(tk.END, f"视频流 {rtsp_url}_{idx} 已停止采样。\n")


def run_detection(ip_list, password_list, special_items, model_path, stop_event, status_text, sample_interval):
    rtsp_base_url = "rtsp://{}:{}@{}:554/Streaming/Channels/101"
    conf_thres = 0.25
    iou_thres = 0.5
    imgsz = 640
    save_special_items_name = "special_items_datasets"

    device = select_device("0" if torch.cuda.is_available() else "cpu")
    half = device.type != 'cpu'
    model = None
    if model_path:
        model = torch.load(model_path, map_location=device)['model'].float()
        model.to(device).eval()
        if half:
            model.half()

    if not os.path.exists(save_special_items_name):
        os.makedirs(save_special_items_name)

    img = torch.zeros((1, 3, imgsz, imgsz), device=device)
    if model is not None:
        _ = model(img.half() if half else img) if device.type != 'cpu' else None
        _names = model.module.names if hasattr(model, 'module') else model.names
        globalColors = [[random.randint(0, 255) for _ in range(3)] for _ in _names]
        stride = max(int(model.stride.max()), 32)
    else:
        _names = []
        globalColors = []
        stride = 32

    threads = []
    for index, (ip, password) in enumerate(zip(ip_list, password_list)):
        rtsp_url = rtsp_base_url.format("admin", password, ip)
        thread = threading.Thread(target=start, args=(rtsp_url, index, imgsz, conf_thres, iou_thres, model, device, half, stride, special_items, _names, globalColors, save_special_items_name, stop_event, status_text, sample_interval, ip))
        thread.start()
        threads.append(thread)

    for thread in threads:
        thread.join()
    start_detection_thread.running = False


def start_detection_thread(stop_event, status_text):
    if hasattr(start_detection_thread, 'running') and start_detection_thread.running:
        messagebox.showwarning("Warning", "Detection is already running.")
        return

    stop_event.clear()  # 重置 stop_event
    start_detection_thread.running = True
    status_text.delete(1.0, tk.END)
    status_text.insert(tk.END, "开始采样...\n")

    ip_list = ip_entry.get("1.0", tk.END).strip().split("\n")
    password_list = password_entry.get("1.0", tk.END).strip().split("\n")
    special_items = special_items_entry.get().strip().split(",")
    model_path = model_var.get() if model_var.get() != "未选择模型" else None
    sample_interval = int(interval_entry.get())

    if len(ip_list) != len(password_list):
        messagebox.showerror("Error", "IP addresses and passwords must match.")
        start_detection_thread.running = False
        return

    detection_thread = threading.Thread(target=run_detection, args=(ip_list, password_list, special_items, model_path, stop_event, status_text, sample_interval))
    detection_thread.start()

    status_text.insert(tk.END, "采样正在进行中...\n")


def stop_detection(stop_event):
    stop_event.set()
    start_detection_thread.running = False


def select_model():
    model_path = filedialog.askopenfilename(title="选择模型文件", filetypes=[("PyTorch Model", "*.pt")])
    if model_path:
        model_var.set(model_path)


if __name__ == '__main__':
    # Tkinter GUI
    root = tk.Tk()
    root.title("RTSP流图片取样助手")

    tk.Label(root, text="IP地址(每行一个):").pack()
    ip_entry = scrolledtext.ScrolledText(root, height=15, width=50)
    ip_entry.pack()

    tk.Label(root, text="密码(每行一个):").pack()
    password_entry = scrolledtext.ScrolledText(root, height=15, width=50)
    password_entry.pack()

    tk.Label(root, text="特殊标签(以逗号分隔):").pack()
    special_items_entry = tk.Entry(root, width=50)
    special_items_entry.pack()
    special_items_entry.insert(0, "person")

    tk.Label(root, text="取样间隔时间(秒):").pack()
    interval_entry = tk.Entry(root, width=10)
    interval_entry.pack()
    interval_entry.insert(0, "5")

    model_var = StringVar(root)
    model_var.set("未选择模型")
    model_button = Button(root, text="选择模型", command=select_model)
    model_button.pack()

    stop_event = threading.Event()

    status_text = tk.Text(root, height=10, width=50)
    status_text.pack()

    start_button = Button(root, text="开始采样", command=lambda: start_detection_thread(stop_event, status_text))
    start_button.pack()

    stop_button = Button(root, text="停止采样", command=lambda: stop_detection(stop_event))
    stop_button.pack()

    root.mainloop()
2、工具程序
# !/usr/bin/python3
# -*- coding:utf-8 -*-
# cython: language_level=3
import os.path
import random
import shutil
import time
from pathlib import Path
import cv2
import numpy as np
import torch
from tqdm import tqdm
from utils.augmentations import letterbox
from utils.general import non_max_suppression, scale_boxes
from utils.torch_utils import select_device
NUM_THREADS = min(8, max(1, os.cpu_count() - 1))  # number of YOLO multiprocessing threads


def img_transpose(img0, img_size, stride):
    assert img0 is not None, 'Image Not Found '
    img = letterbox(img0, img_size, stride=stride)[0]
    img = img[:, :, ::-1].transpose(2, 0, 1)
    img = np.ascontiguousarray(img)
    return img


def calculate_box_area(x1, y1, x2, y2):
    return (x2 - x1) * (y2 - y1)


def detect(img_size, conf_thres, iou_thres, model, img0, stride, device):
    imgsz = img_size
    img = img_transpose(img0, imgsz, stride)
    img = torch.from_numpy(img).to(device)  # 移动到与模型相同的设备
    img = img.float()  # 确保是全精度
    img /= 255.0

    if img.ndimension() == 3:
        img = img.unsqueeze(0)

    pred = model(img, augment=False)[0]
    pred = non_max_suppression(pred, conf_thres, iou_thres, classes=None, agnostic=False)

    for i, det in enumerate(pred):
        if det is not None and len(det):
            det[:, :4] = scale_boxes(img.shape[2:], det[:, :4], img0.shape).round()
    return det


def plot_one_box(x1, y1, x2, y2, img, conf_or_proportion=None, label_cls_id=None, line_thickness=None, color=None):
    tl = line_thickness or round(0.002 * (img.shape[0] + img.shape[1]) / 2) + 1
    c1, c2 = (x1, y1), (x2, y2)
    cv2.rectangle(img, c1, c2, color, thickness=tl, lineType=cv2.LINE_AA)

    if label_cls_id:
        full_label = str(label_cls_id) + (f'_{conf_or_proportion}' if conf_or_proportion is not None else '')
        tf = max(tl - 1, 1)  # font thickness
        t_size = cv2.getTextSize(full_label, 0, fontScale=tl / 3, thickness=tf)[0]

        # Compute the size of the label background based on the full label text size
        c2 = c1[0] + t_size[0], c1[1] - t_size[1] - 3
        cv2.rectangle(img, c1, (c2[0], c1[1] - t_size[1] - 3), color, -1, cv2.LINE_AA)

        # Draw label text above the rectangle background
        bottom_left_corner_of_text = (c1[0], c1[1] - 2)
        cv2.putText(img, full_label, bottom_left_corner_of_text, 0, tl / 3, [225, 255, 255], thickness=tf,
                    lineType=cv2.LINE_AA)
3、代码依赖
将以上两个代码放在yolov5-7.0的根目录运行即可
4、程序打包(参考我的博客《使用 PyInstaller 打包 Python 应用程序时解决 FileNotFoundError 的问题》)
spec代码:
# -*- mode: python ; coding: utf-8 -*-


block_cipher = None


a = Analysis(['pic.py'],
             pathex=['C:\\Users\\linds\\anaconda3\\envs\\py36\\Lib\\site-packages\\torch\\lib'],
             binaries=[
             (r'.\utils\general.pyc', r'.\utils' ),
             (r'C:\\Users\\linds\\anaconda3\\envs\\py36\\Lib\\site-packages\\torch\\lib\\*', 'torch\\lib'),
             (r'C:\\Users\\linds\\anaconda3\\envs\\py36\\Lib\\site-packages\\torchvision\\*.dll', 'torchvision')

    ],
             datas=[(r'utils/general.py', 'utils'), ('utils/general.pyc', 'utils')],
             hiddenimports=['torch', 'torchvision', 'PIL'],  # 添加隐藏导入
             hookspath=[],
             hooksconfig={},
             runtime_hooks=[],
             excludes=[],
             win_no_prefer_redirects=False,
             win_private_assemblies=False,
             cipher=block_cipher,
             noarchive=False)


for d in a.datas:
	if 'cp36-win_amd64.pyd' in d[0]:
		a.datas.remove(d)
		break

for d in a.datas:
	if 'cp36-win_amd64.pyd' in d[0]:
		a.datas.remove(d)
		break


pyz = PYZ(a.pure, a.zipped_data,
             cipher=block_cipher)

exe = EXE(pyz,
          a.scripts,
          a.binaries,
          a.zipfiles,
          a.datas,
          [],
          name='pic',
          debug=False,
          bootloader_ignore_signals=False,
          strip=False,
          upx=True,
          upx_exclude=[],
          runtime_tmpdir=None,
          console=True,
          disable_windowed_traceback=False,
          target_arch=None,
          codesign_identity=None,
          entitlements_file=None )
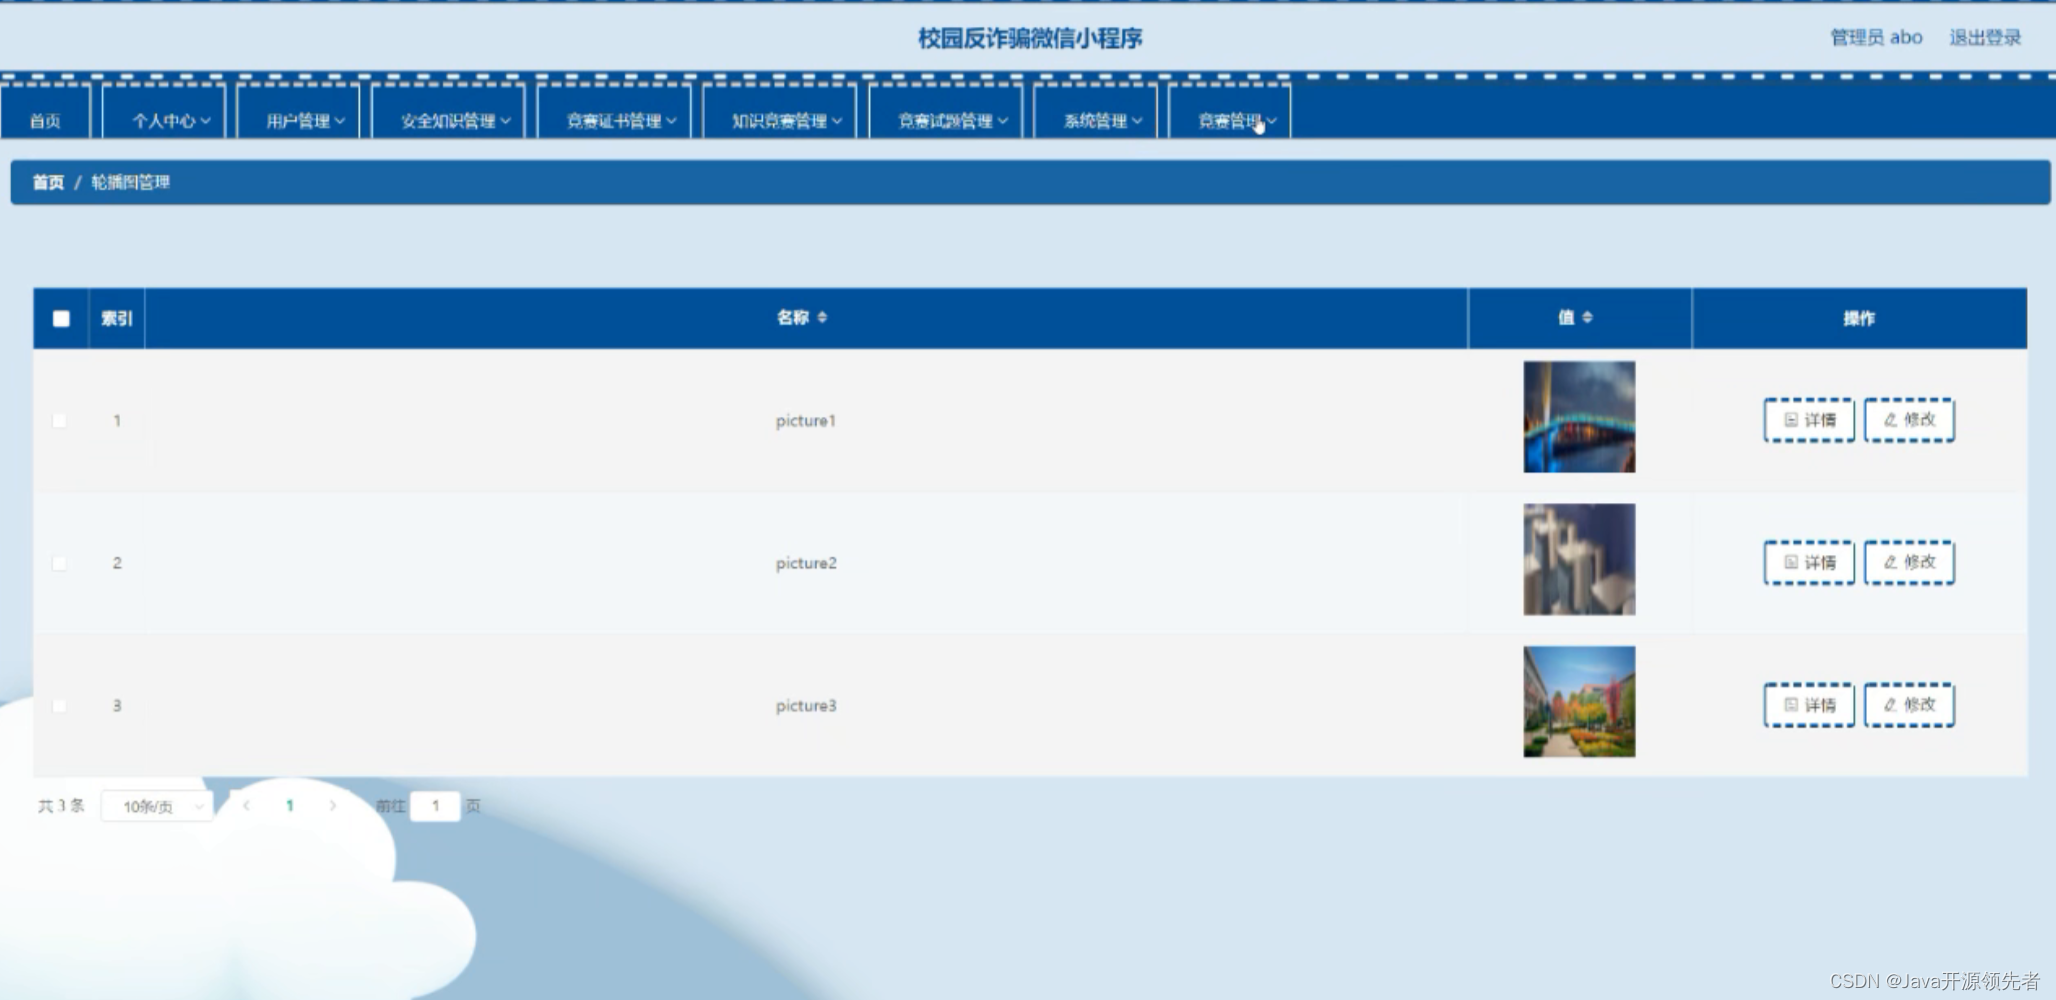
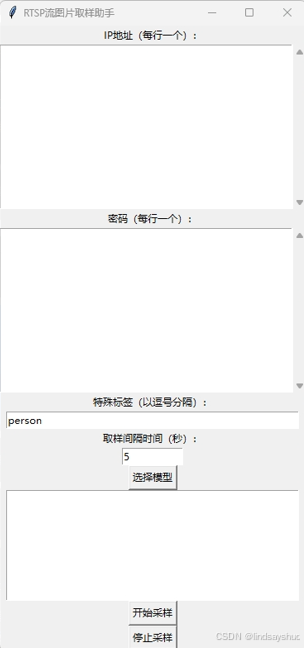
5、软件截图
总结
本项目展示了如何使用Python、OpenCV和Tkinter构建一个功能强大的RTSP流图片采样助手。该工具可用于监控、视频分析和机器学习等多个领域,能够帮助用户实时采样并保存感兴趣的图像数据。
通过这个项目,您可以更好地理解视频流处理、目标检测以及多线程编程的基本概念。希望这个项目能为您提供灵感,欢迎随时反馈与交流!