概述
要用Blender进行程序生成,数学计算是少不了的,Python支持一些常规的表达式计算,而另外一些相关的数学函数则在math模块中。
一些基础的运算
取余、除法、整除
>>> 21 % 4
1

>>> 21 / 4
5.25

>>> 21 // 4
5
%是取余,/是除法,//是整除,不保留小数
乘法
>>> 3 * 3
9

>>> 3 * 3.0
9.0

>>> 3 * "="
'==='

>>> 3 * "._"
'._._._'

>>> 3 * C.active_object
Traceback (most recent call last):
  File "<blender_console>", line 1, in <module>
TypeError: unsupported operand type(s) for *: 'int' and 'Object'
- 整数与整数相乘,结果还是一个整数
- 整数与浮点数相乘,结果是一个浮点数
- 字符或字符串乘以一个整数,结果返回其重复多次组成的字符串
- 数字类型乘以对象或其他不能相乘的类型,会返回类型错误
>>> 2 * 5
10

>>> 2 ** 5
32

>>> 2 ** 5 ** 6
Traceback (most recent call last):
  File "<blender_console>", line 1, in <module>
ValueError: Exceeds the limit (4300 digits) for integer string conversion; use sys.set_int_max_str_digits() to increase the limit

>>> (2 ** 5 ) ** 6
1073741824
*代表乘法,**代表幂运算,例如:2 ** 5代表$ 2^5
。
‘
(
2
∗
∗
5
)
∗
∗
6
‘
代表
。`(2 ** 5 ) ** 6`代表
。‘(2∗∗5)∗∗6‘代表 (25)6
。要表示
。要表示
。要表示 2{56} $则需要表示为2 ** (5 ** 6 )。
math模块
具体可以参考:Python math 模块 | 菜鸟教程 (runoob.com)。这里只专注于最常用的三角函数部分。
两个常量
首先是两个三角函数相关的常量:
import bpy
import math

print(math.pi)  # 代表π = 3.141592653589793
print(math.tau) # 代表2π = 6.283185307179586
在脚本文件中的print()并不会在脚本界面的Python控制台中输出内容。而是要打开Blender的系统控制台。

打开后可以看到输出的信息:

角度和弧度转换
<font style="color:rgb(0, 0, 0);">degrees()</font>和<font style="color:rgb(0, 0, 0);">radians()</font>用于角度和弧度的转换
import bpy
import math

print(math.degrees(math.pi))   # 180.0
print(math.degrees(math.tau))  # 360.0
print(math.radians(90))        # 1.5707963267948966
print(math.radians(180))       # 3.141592653589793
利用三角函数实现环形阵列
import bpy
import math

# 环形阵列
def circle_array(r,steps):
    ang = math.tau/steps
    for i in range(steps):
        i_ang = ang * i
        pos = (r * math.cos(i_ang),r * math.sin(i_ang),0)
        bpy.ops.mesh.primitive_cube_add(location=pos)


circle_array(10,6)
执行后的效果:
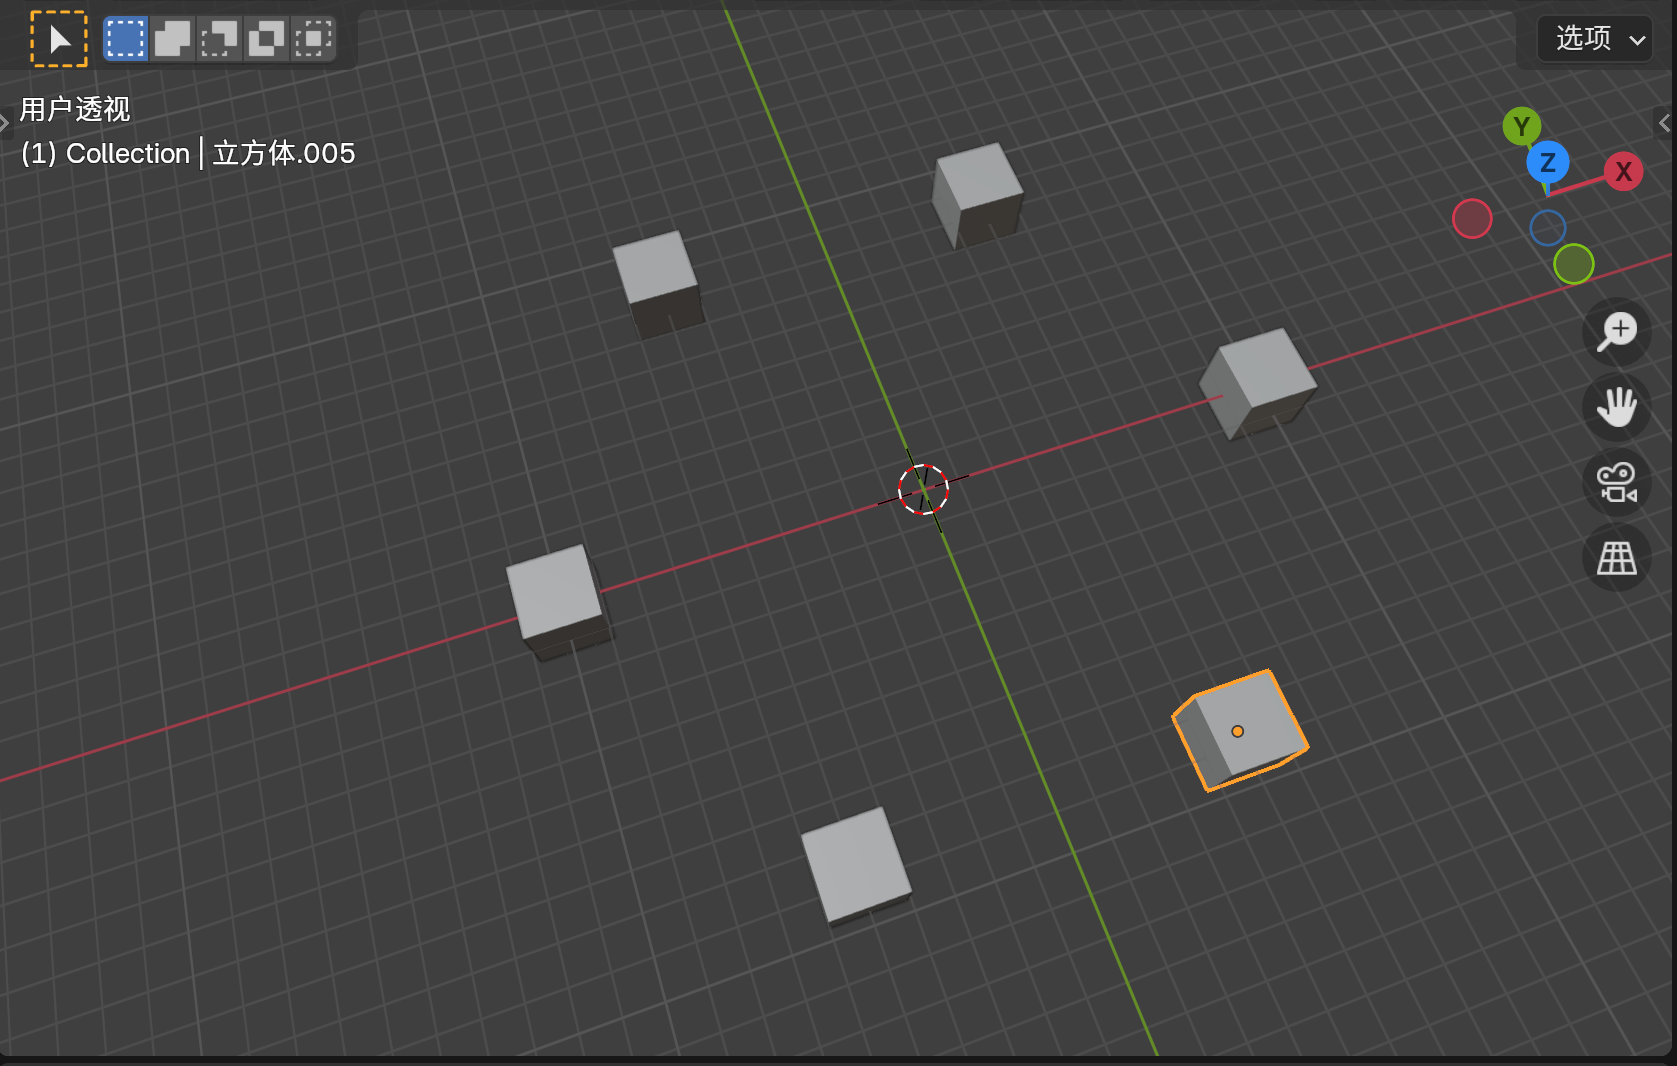
可以看到在XY平面上,环形阵列了6个立方体。
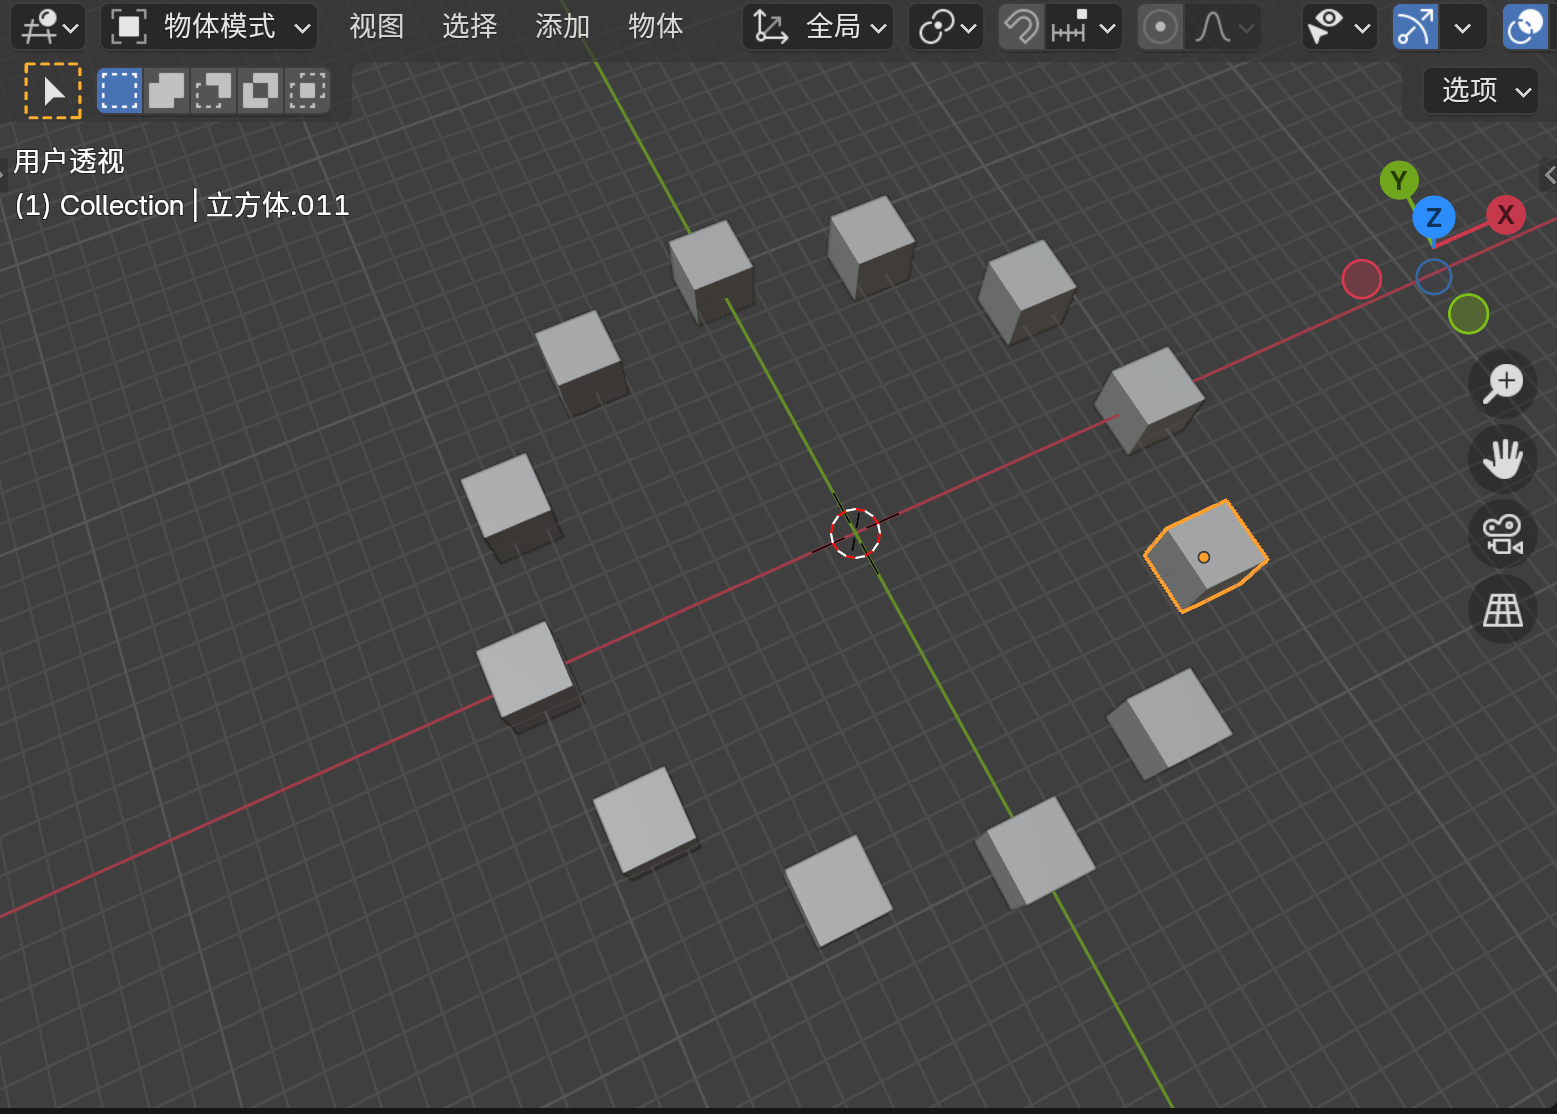
circle_array(10,12)
让立方体跟随旋转
上面的环形阵列,立方体并没有跟随阵列进行旋转。
import bpy
import math

# 环形阵列
def circle_array(r,steps):
    ang = math.tau/steps
    for i in range(steps):
        i_ang = ang * i
        pos = (r * math.cos(i_ang),r * math.sin(i_ang),0)
        bpy.ops.mesh.primitive_cube_add(location=pos)
        bpy.context.object.rotation_euler.z = i_ang

circle_array(10,12)
改进后,可以看到立方体跟随阵列进行了旋转。
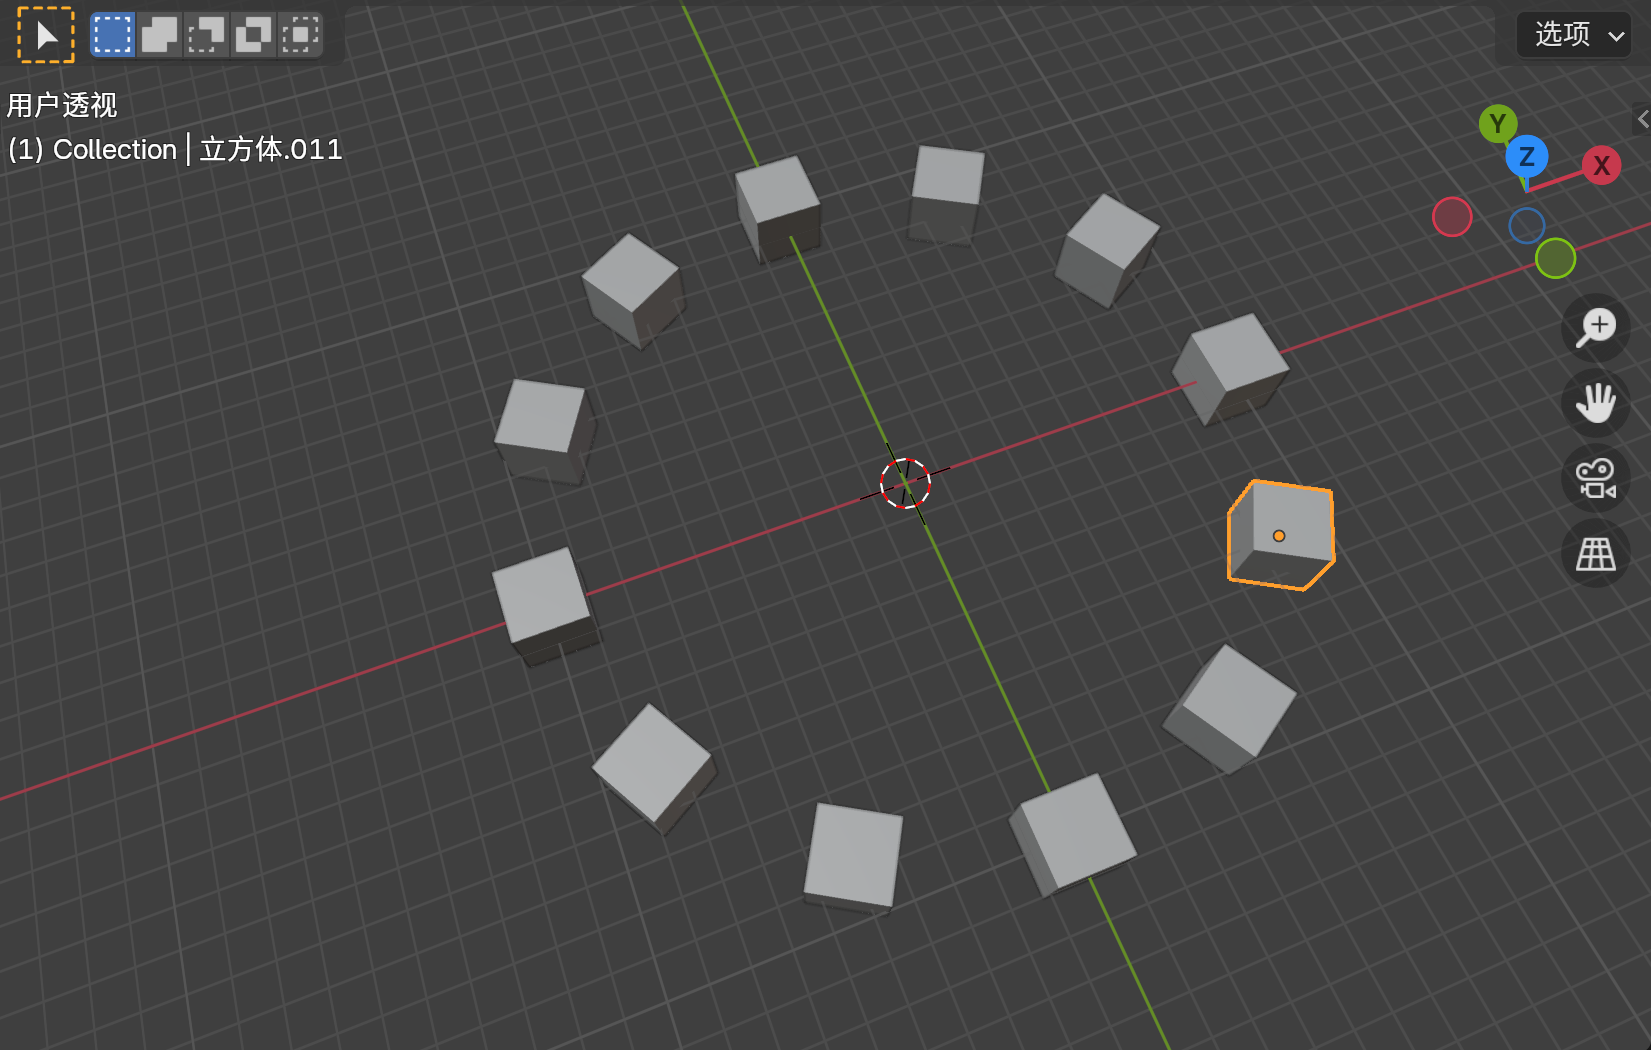
可以看到三角函数还是很重要的,尤其是在从方到圆,以及旋转上的应用。
随机
除了三角函数,随机在程序生成中也是很重要的,Python中的随机数生成由<font style="color:rgb(17, 17, 17);">random</font>模块掌管,具体可参考Python 随机数生成 | 菜鸟教程 (runoob.com)。
这里结合环形阵列,添加一个随机范围的高度。
import bpy
import math
import random

# 环形阵列 + 随机高度
def circle_array(r,steps,min_z,max_z):
    ang = math.tau/steps
    for i in range(steps):
        i_ang = ang * i
        pos = (r * math.cos(i_ang),r * math.sin(i_ang),random.randint(min_z, max_z))
        bpy.ops.mesh.primitive_cube_add(location=pos)
        bpy.context.object.rotation_euler.z = i_ang

circle_array(10,12,-5,5)
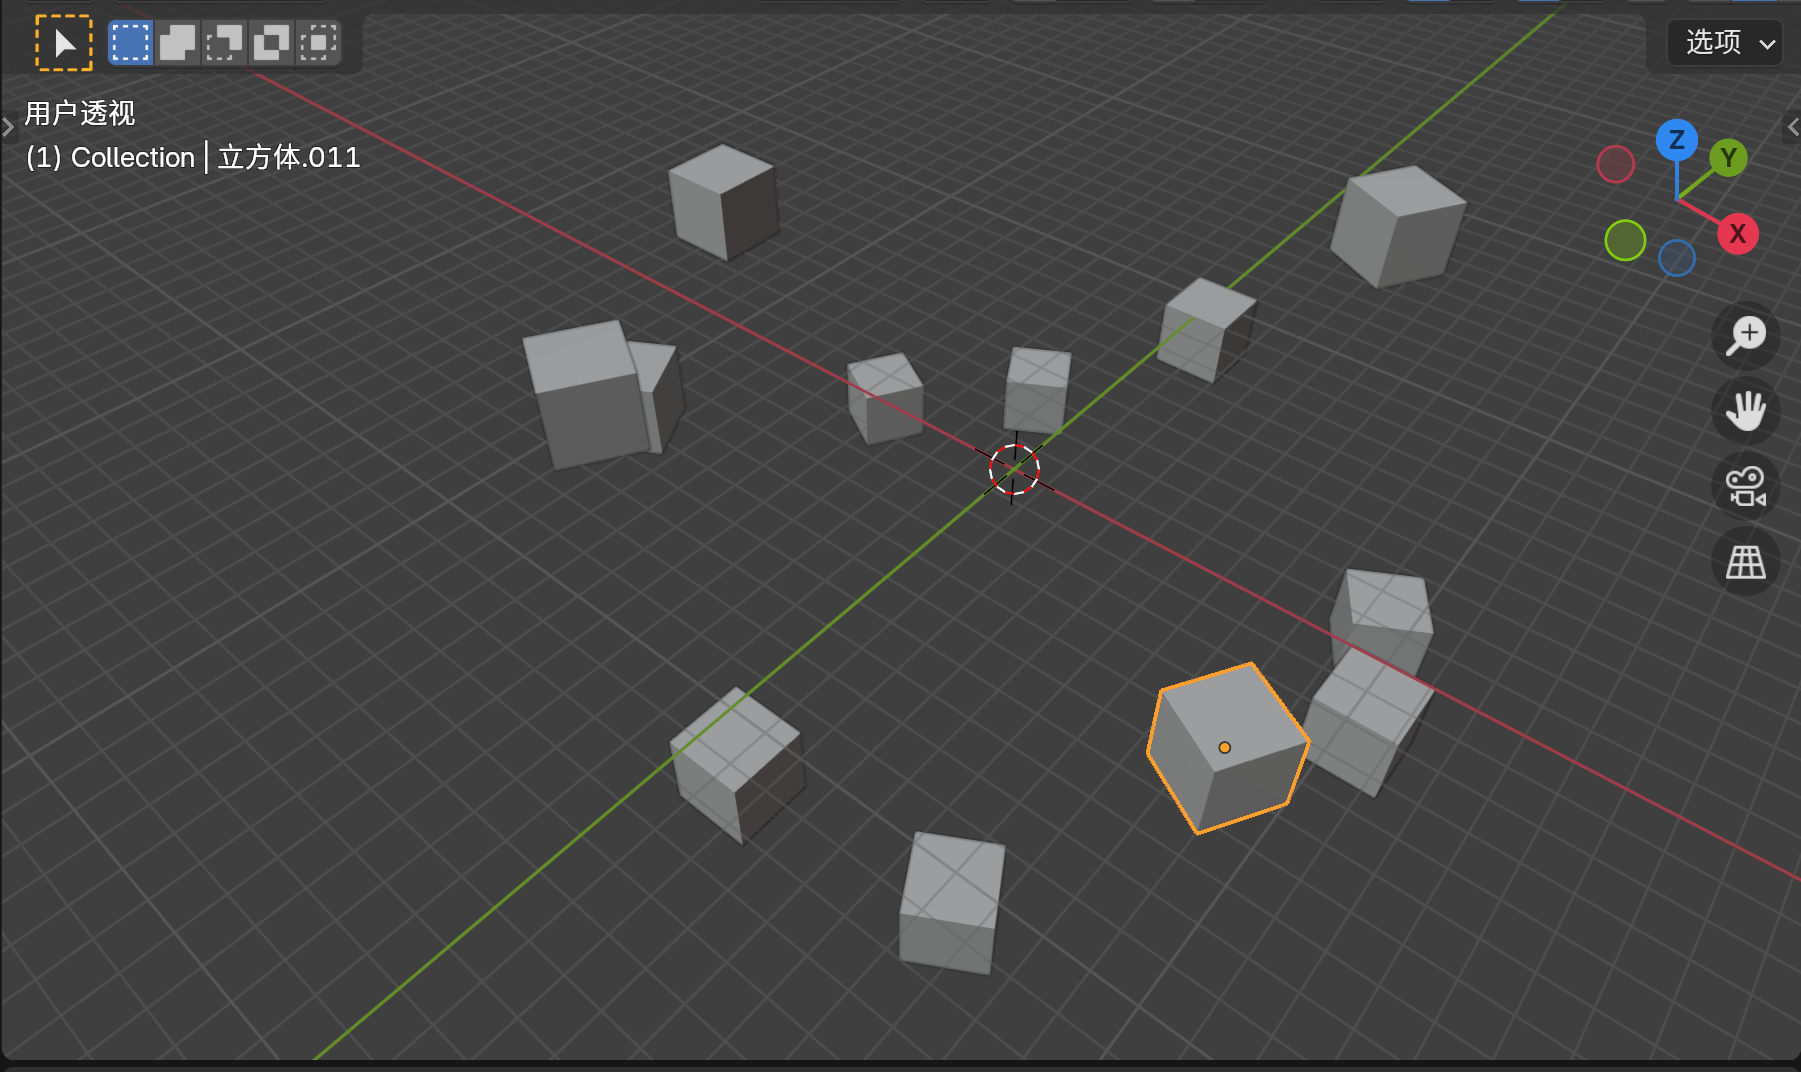
circle_array(10,12,-1,1)

一点小改进
之前编写的代码,执行前都需要手动全选和删除场景中原来的对象。很是麻烦。所以这节我们改进一下。首先是添加清除当前场景中的所有物体的指令,然后是编写主函数,执行操作。
import bpy
import math
import random

# 环形阵列 + 随机高度
def circle_array(r,steps,min_z,max_z):
    ang = math.tau/steps
    for i in range(steps):
        i_ang = ang * i
        pos = (r * math.cos(i_ang),r * math.sin(i_ang),random.randint(min_z, max_z))
        bpy.ops.mesh.primitive_cube_add(location=pos)
        bpy.context.object.rotation_euler.z = i_ang


# 主函数
if __name__ == '__main__':
    # 清除当前场景中的所有物体
    bpy.ops.object.select_all(action='SELECT')
    bpy.ops.object.delete()
    # 执行环形阵列
    circle_array(10,12,-1,1)
我们通过if __name__ == '__main__':设定主函数,并在其中执行清除当前场景中的所有物体以及调用环形阵列函数的代码。
则点击运行按钮时,每次都会执行主函数内容,而不再需要手动全选和删除。
总结
本节内容,介绍了一些基础运算的细节,以及引入程序生成必备的三角函数和随机。不详之处后改后补。


