一、实验目的
1.实现一个流重组器——一个将字节流的小块 (称为子串或段 )按正确顺序组装成连续的字节流的模块;
2.深入理解 TCP 协议的工作方式。
二、实验内容
编写一个名为"StreamReassembler"的数据结构,它负责重新组装数据。该结构将接收子串(由一串字节和大数据流中该串的第一个字节的索引组成),并提供一个名为"ByteStream"的输出,其中所有的数据都被正确排序。
三、实验过程
在minnow目录下,输入 git fetch 更新本地源仓库,此处显示更新失败是因为本次实验开始时源仓库已经最新,无需再次更新

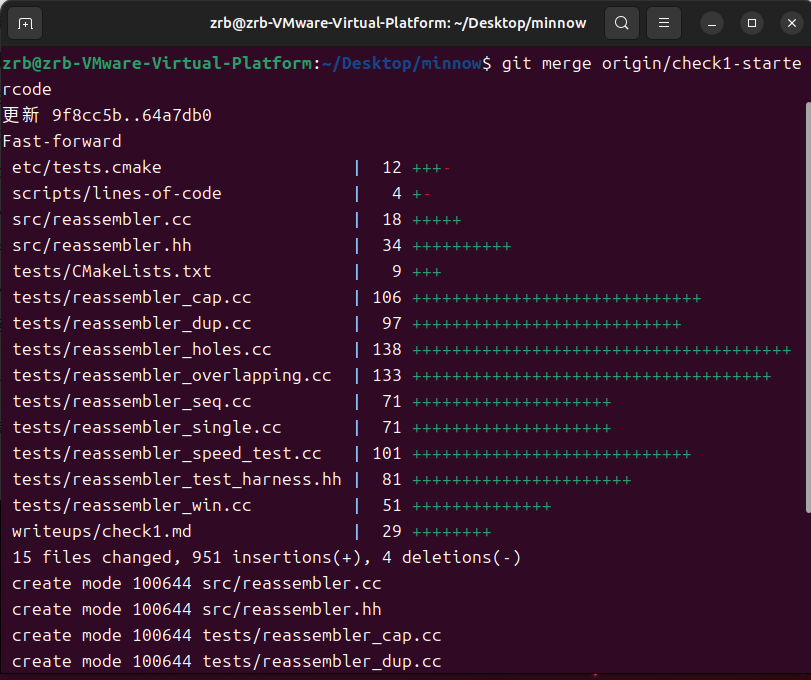
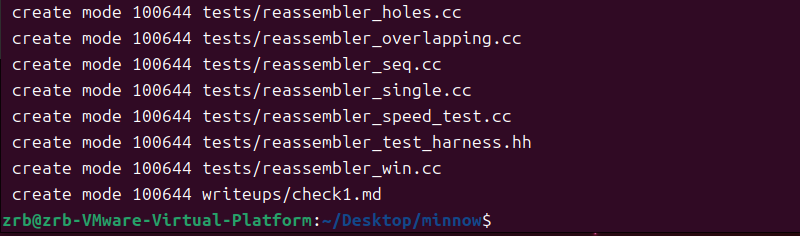
输入git merge origin/check1-startercode获取Lab1
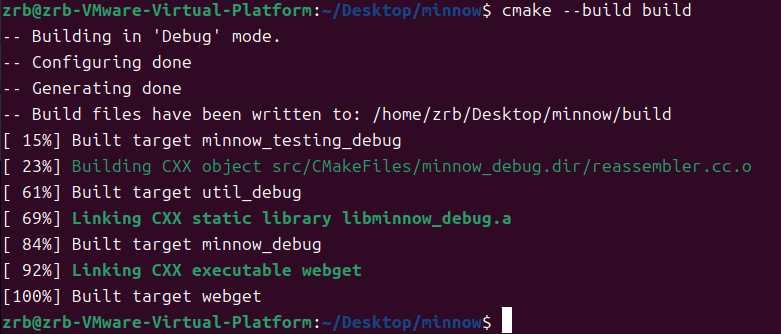
获取后输入cmake --build build来判断代码目前是否正常,结果为正常
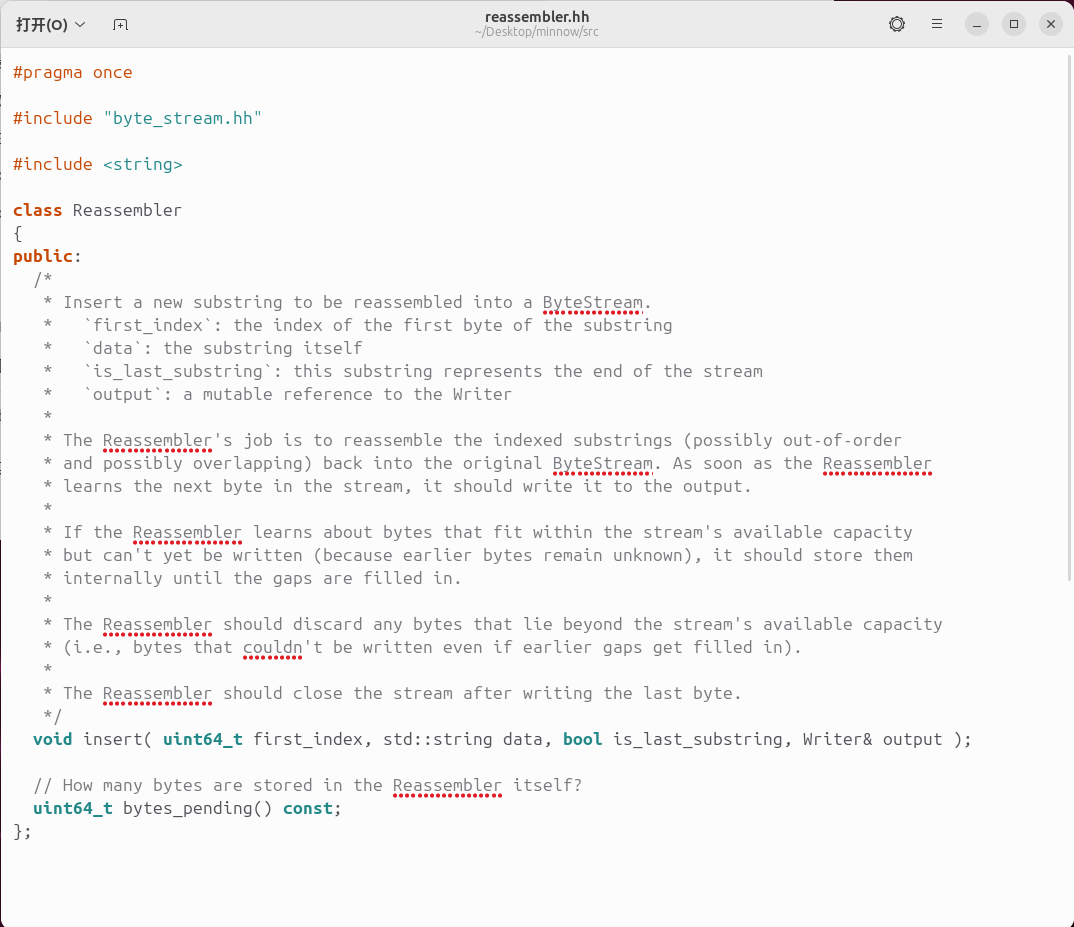
用文本编辑器查看./src/reassembler.hh
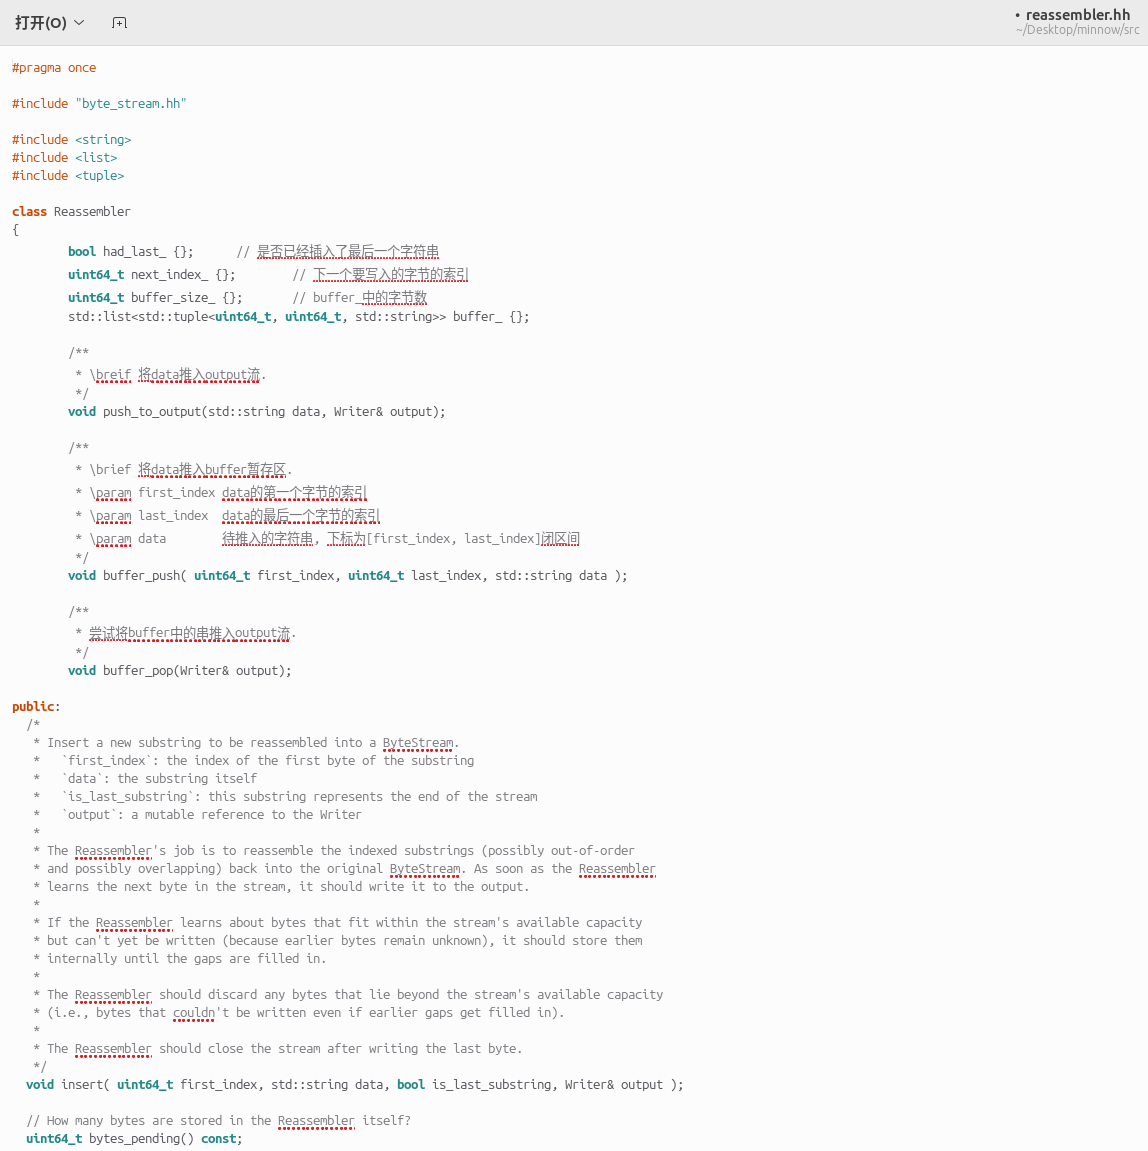
修改代码,代码分析见注释
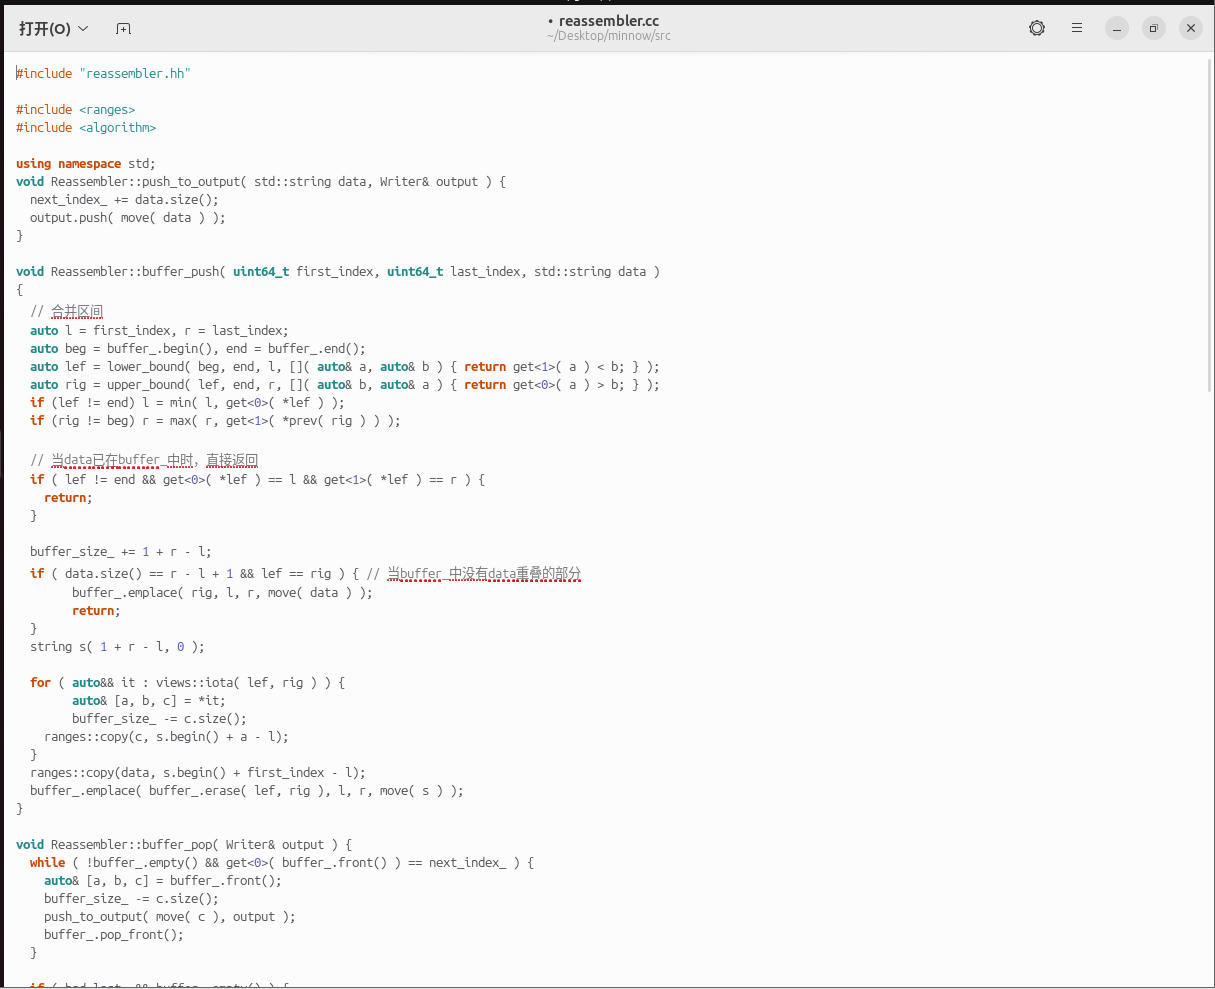
用文本编辑器查看./src/reassembler.cc

修改代码,代码分析见注释
保存并编译
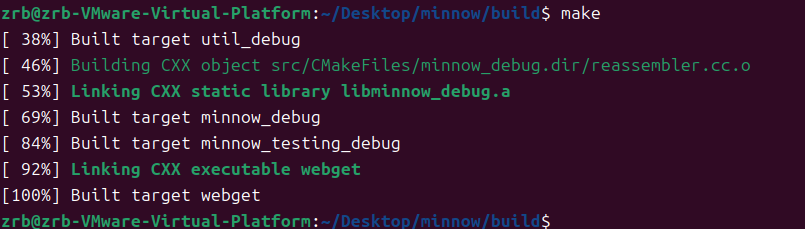
输入make check1测试程序

全部通过
四、实验体会
1.下图完整地显示了CS144 这门实验的结构
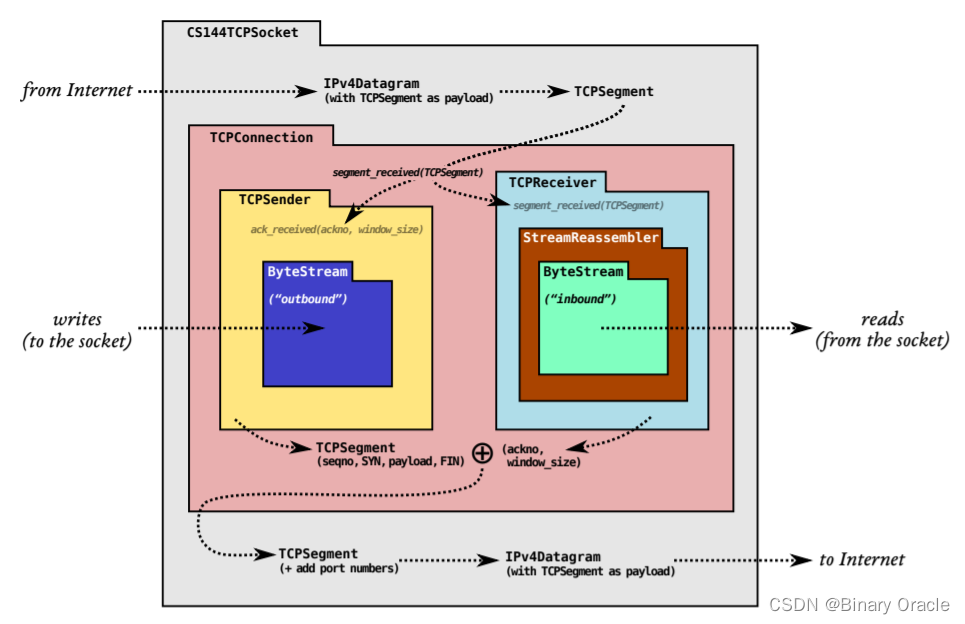
ByteStream 是我们已经在 Lab0 中实现完成的。
我们在Lab1 中实现一个流重组器,一个将字节流的字串或者小段按照正确顺序来拼接回连续字节流的模块。
2.流重组器在 TCP 起到了相当重要的作用。迫于网络环境的限制,TCP 发送者会将数据切割成一个个小段的数据分批发送。但这就可能带来一些新的问题:数据在网络中传输时可能丢失、重排、多次重传等等。而TCP接收者就必须通过流重组器,将接收到的这些重排重传等等的数据包重新组装成新的连续字节流。
3.在调试的时候,所有的评测程序位于build/tests/中,进入此位置进行调试。
五、代码附录
reassembler.hh
#pragma once

#include "byte_stream.hh"

#include <string>
#include <list>
#include <tuple>

class Reassembler
{
	bool had_last_ {};	// 是否已经插入了最后一个字符串
	uint64_t next_index_ {};	// 下一个要写入的字节的索引
	uint64_t buffer_size_ {};	// buffer_中的字节数
	std::list<std::tuple<uint64_t, uint64_t, std::string>> buffer_ {};

	/**
	 * \breif 将data推入output流.
	 */
	void push_to_output(std::string data, Writer& output);

	/**
	 * \brief 将data推入buffer暂存区.
	 * \param first_index data的第一个字节的索引
	 * \param last_index  data的最后一个字节的索引
	 * \param data        待推入的字符串, 下标为[first_index, last_index]闭区间
	 */
	void buffer_push( uint64_t first_index, uint64_t last_index, std::string data );

	/**
	 * 尝试将buffer中的串推入output流.
	 */
	void buffer_pop(Writer& output);

public:
  /*
   * Insert a new substring to be reassembled into a ByteStream.
   *   `first_index`: the index of the first byte of the substring
   *   `data`: the substring itself
   *   `is_last_substring`: this substring represents the end of the stream
   *   `output`: a mutable reference to the Writer
   *
   * The Reassembler's job is to reassemble the indexed substrings (possibly out-of-order
   * and possibly overlapping) back into the original ByteStream. As soon as the Reassembler
   * learns the next byte in the stream, it should write it to the output.
   *
   * If the Reassembler learns about bytes that fit within the stream's available capacity
   * but can't yet be written (because earlier bytes remain unknown), it should store them
   * internally until the gaps are filled in.
   *
   * The Reassembler should discard any bytes that lie beyond the stream's available capacity
   * (i.e., bytes that couldn't be written even if earlier gaps get filled in).
   *
   * The Reassembler should close the stream after writing the last byte.
   */
  void insert( uint64_t first_index, std::string data, bool is_last_substring, Writer& output );

  // How many bytes are stored in the Reassembler itself?
  uint64_t bytes_pending() const;
};
reassembler.cc
#include "reassembler.hh"

#include <ranges>
#include <algorithm>

using namespace std;
void Reassembler::push_to_output( std::string data, Writer& output ) {
  next_index_ += data.size();
  output.push( move( data ) );
}

void Reassembler::buffer_push( uint64_t first_index, uint64_t last_index, std::string data )
{
  // 合并区间
  auto l = first_index, r = last_index;
  auto beg = buffer_.begin(), end = buffer_.end();
  auto lef = lower_bound( beg, end, l, []( auto& a, auto& b ) { return get<1>( a ) < b; } );
  auto rig = upper_bound( lef, end, r, []( auto& b, auto& a ) { return get<0>( a ) > b; } );
  if (lef != end) l = min( l, get<0>( *lef ) );
  if (rig != beg) r = max( r, get<1>( *prev( rig ) ) );
  // 当data已在buffer_中时,直接返回
  if ( lef != end && get<0>( *lef ) == l && get<1>( *lef ) == r ) {
    return;
  }

  buffer_size_ += 1 + r - l;
  if ( data.size() == r - l + 1 && lef == rig ) { // 当buffer_中没有data重叠的部分
	buffer_.emplace( rig, l, r, move( data ) );
	return;
  }
  string s( 1 + r - l, 0 );

  for ( auto&& it : views::iota( lef, rig ) ) {
	auto& [a, b, c] = *it;
	buffer_size_ -= c.size();
    ranges::copy(c, s.begin() + a - l);
  }
  ranges::copy(data, s.begin() + first_index - l);
  buffer_.emplace( buffer_.erase( lef, rig ), l, r, move( s ) );
}

void Reassembler::buffer_pop( Writer& output ) {
  while ( !buffer_.empty() && get<0>( buffer_.front() ) == next_index_ ) {
    auto& [a, b, c] = buffer_.front();
    buffer_size_ -= c.size();
    push_to_output( move( c ), output );
    buffer_.pop_front();
  }

  if ( had_last_ && buffer_.empty() ) {
    output.close();
  }
}

void Reassembler::insert( uint64_t first_index, string data, bool is_last_substring, Writer& output )
{
  if ( data.empty() ) {
    if ( is_last_substring ) {
      output.close();
    }
    return;
  }
  auto end_index = first_index + data.size();                  // data: [first_index, end_index)
  auto last_index = next_index_ + output.available_capacity(); // 可用范围: [next_index_, last_index)
  if ( end_index < next_index_ || first_index >= last_index ) {
    return; // 不在可用范围内, 直接返回
  }

  // 调整data的范围
  if ( last_index < end_index ) {
    end_index = last_index;
    data.resize( end_index - first_index );
    is_last_substring = false;
  }
  if ( first_index < next_index_ ) {
    data = data.substr( next_index_ - first_index );
    first_index = next_index_;
  }

  // 若data可以直接写入output, 则直接写入
  if ( first_index == next_index_ && ( buffer_.empty() || end_index < get<1>( buffer_.front() ) + 2 ) ) {
    if ( buffer_.size() ) { // 若重叠, 则调整data的范围
      data.resize( min( end_index, get<0>( buffer_.front() ) ) - first_index );
    }
    push_to_output( move( data ), output );
  } else { // 否则, 将data插入buffer_
    buffer_push( first_index, end_index - 1, data );
  }
  had_last_ |= is_last_substring;
  // 尝试将buffer_中的数据写入output
  buffer_pop(output);
}

uint64_t Reassembler::bytes_pending() const
{
  return buffer_size_;
}