layui+thymeleaf+jquery实现多图片,多视频的上传、预览、放大、编辑功能

news2024/11/24 10:00:50

layui+thymeleaf+jquery实现多图片,多视频的上传、预览、放大、编辑功能


在这里插入图片描述

html:

<!--多图片上传-->
<div class="layui-row layui-col-space10">
    <div class="layui-form-item">
        <div class="layui-form-item layui-form-text">
            <label class="pm-form-label">多图片上传</label>
            <div class="pm-input-block">
                <button type="button" class="layui-btn" id="ID-upload-demo-btn-photo">
                    <i class="layui-icon layui-icon-upload"></i> 多图片上传
                </button>
                <blockquote class="layui-elem-quote layui-quote-nm" style="margin-top: 11px;">
                    预览图:
                    <div class="layui-upload-list" id="upload-demo-preview-photo">
                        <th:block th:if="${pmRepair!=null}">
                            <th:block th:each="photo:${pmRepair.photoUrlList }">
                                <div class="photo-item-box">
                                    <img class="video-item enlarge-img" th:src="${photo}"  alt="" style="width: 100px; height: 100px;">
                                    <div class="photo-item-del"  th:ids="${photo}">删除</div>
                                </div>
                            </th:block>
                        </th:block>
                    </div>
                    <!--放大镜-->
                    <div id="enlarge-div">
                        <div id="inner-div">
                            <img id="big-img" src=""/>
                        </div>
                    </div>
                </blockquote>
            </div>
        </div>
    </div>
</div>

<!--多视频上传-->
<div class="layui-row layui-col-space10">
    <div class="layui-form-item">
        <div class="layui-form-item layui-form-text">
            <label class="pm-form-label">多视频上传</label>
            <div class="pm-input-block">
                <button type="button" class="layui-btn" id="ID-upload-demo-btn-video">
                    <i class="layui-icon layui-icon-upload"></i> 多视频上传
                </button>
                <blockquote class="layui-elem-quote layui-quote-nm" style="margin-top: 11px;">
                    预览图:
                    <div class="layui-upload-list" id="upload-demo-preview-video">
                        <th:block th:if="${pmRepair!=null}">
                            <th:block  th:each="video:${pmRepair.videoUrlList }">

                                <div class="video-item-box">
                                    <video class="video-item" controls controlslist="" width="100px" height="100px" >
                                        <source th:src="${video}" type="video/mp4" />
                                    </video>
                                    <div class="video-item-del"  th:ids="${video}">删除</div>
                                </div>
                            </th:block>
                        </th:block>
                    </div>
                </blockquote>
            </div>
        </div>
    </div>
</div>

js:

<script th:inline="javascript">
	// 多图片上传
	var photoUrlList=[[${pmRepair?.photoUrlList}]] ? [[${pmRepair?.photoUrlList}]] :[];
	// 多视频上传
	var videoUrlList=[[${pmRepair?.videoUrlList}]] ? [[${pmRepair?.videoUrlList}]] : [];
	
	
	// 多图片上传
	upload.render({
	   elem: '#ID-upload-demo-btn-photo',
	   url: '/comm/xxxxx', // 上传接口。
	   multiple: true,
	   accept:'images',
	   before: function(obj){
	       // 预读本地文件示例,不支持ie8
	       obj.preview(function(index, file, result){
	           $('#upload-demo-preview-photo').append(
	               `
	               <div class="photo-item-box">
	                   <img class="video-item enlarge-img" src="${result}" alt="" style="width: 100px; height: 100px;">
	                   <div class="photo-item-del"  ids="">删除</div>
	               </div>
	               `)
	       });
	   },
	   done: function(res){
	       // 上传完毕
	       photoUrlList.push(res.backurl)
	
	       // 删除标签上重新赋予地址
	       $(".photo-item-del").each(function (index,item){
	           // 重新渲染地址到删除标签上
	           for(let i=0;i<photoUrlList.length;i++){
	               if(index==i){
	                   $(this).attr("ids",photoUrlList[i])
	               }
	           }
	       })
	
	       $(".enlarge-img").click(function () {
	           $("#big-img").attr("src", $(this).attr("src"));//设置#big-img元素的src属性
	
	           $("#enlarge-div").fadeIn("fast");//显示弹出层
	
	           $("#enlarge-div").click(function () {//关闭弹出层
	               $(this).fadeOut("fast");
	           });
	       })
	   }
	});
	
	// 多视频上传
	upload.render({
	   elem: '#ID-upload-demo-btn-video',
	   url: '/comm/xxxxxxxx', // 上传接口。
	   multiple: true,
	   accept:'video',
	   before: function(obj){
	       // 预读本地文件示例,不支持ie8
	       obj.preview(function(index, file, result){
	           $('#upload-demo-preview-video').append(
	               `
	               <div class="video-item-box">
	                   <video class="video-item" controls width="100px" height="100px" >
	                       <source src="${result}" type="video/mp4" />
	                   </video>
	                   <div class="video-item-del" ids="">删除</div>
	               </div>
	               `
	           )
	       });
	   },
	   done: function(res){
	       // 上传完毕
	       videoUrlList.push(res.backurl)
	
	       // 删除标签上重新赋予地址
	       $(".video-item-del").each(function (index,item){
	           // 重新渲染地址到删除标签上
	           for(let i=0;i<videoUrlList.length;i++){
	              if(index==i){
	                  $(this).attr("ids",videoUrlList[i])
	              }
	           }
	       })
	   }
	});
	
	// 图片删除
	$(document).on("click",".photo-item-del",function (){
	   let ids=$(this).attr("ids");
	   let index=photoUrlList.indexOf(ids);
	   if(index!=-1){
	       photoUrlList.splice(index,1)
	       $(this).parent().remove()
	   }
	})
	
	
	// 视频删除
	$(document).on("click",".video-item-del",function (){
	   let ids=$(this).attr("ids");
	   let index=videoUrlList.indexOf(ids);
	   if(index!=-1){
	       videoUrlList.splice(index,1)
	       $(this).parent().remove()
	   }
	})
	
	
	// 图片放大效果
	$(".enlarge-img").click(function () {
	   $("#big-img").attr("src", $(this).attr("src"));//设置#big-img元素的src属性
	
	   $("#enlarge-div").fadeIn("fast");//显示弹出层
	
	   $("#enlarge-div").click(function () {//关闭弹出层
	       $(this).fadeOut("fast");
	   });
	})
</script>

css:

blockquote{
    margin-left: 60px;
    margin-right: 60px;
}

.video-item-box,.photo-item-box{
    display: inline-block;
    width: 100px;
    height: 136px;
    text-align: center;
    border: 1px solid #eee;
}
.video-item-del,.photo-item-del{
    color: #0B7500;
    cursor: pointer;
}
.photo-item-del{
   margin-top: 6px;
}


/*放大镜效果*/
#enlarge-div {
    position: fixed;
    top: 0;
    left: 0;
    background: rgba(0, 0, 0, 0.7);
    z-index: 2;
    width: 100%;
    height: 100%;
    display: none;
}

#enlarge-div:hover {
    cursor: zoom-out;
}

#enlarge-div #inner-div {
    width: 80%;
    height: 85%;
    margin: 0 auto;
    position: relative;
    top: 50%;
    transform: translateY(-50%);
}

#enlarge-div #inner-div #big-img {
    /*width: 100%;*/
    /*height: 100%;*/
    max-width: 100%;
    max-height: 100%;
    position: absolute;
    left: 50%;
    top: 50%;
    transform: translateY(-50%) translateX(-50%);
}


.enlarge-img {
    cursor: zoom-in;
    transition: all 0.6s;
    border: 1px solid #eee;
}

.enlarge-img:hover {
    transform: scale(1.4);
}
本文来自互联网用户投稿,该文观点仅代表作者本人,不代表本站立场。本站仅提供信息存储空间服务,不拥有所有权,不承担相关法律责任。如若转载,请注明出处:http://www.coloradmin.cn/o/1942110.html

如若内容造成侵权/违法违规/事实不符,请联系多彩编程网进行投诉反馈,一经查实,立即删除!

相关文章

证书上的服务器名错误解决方法

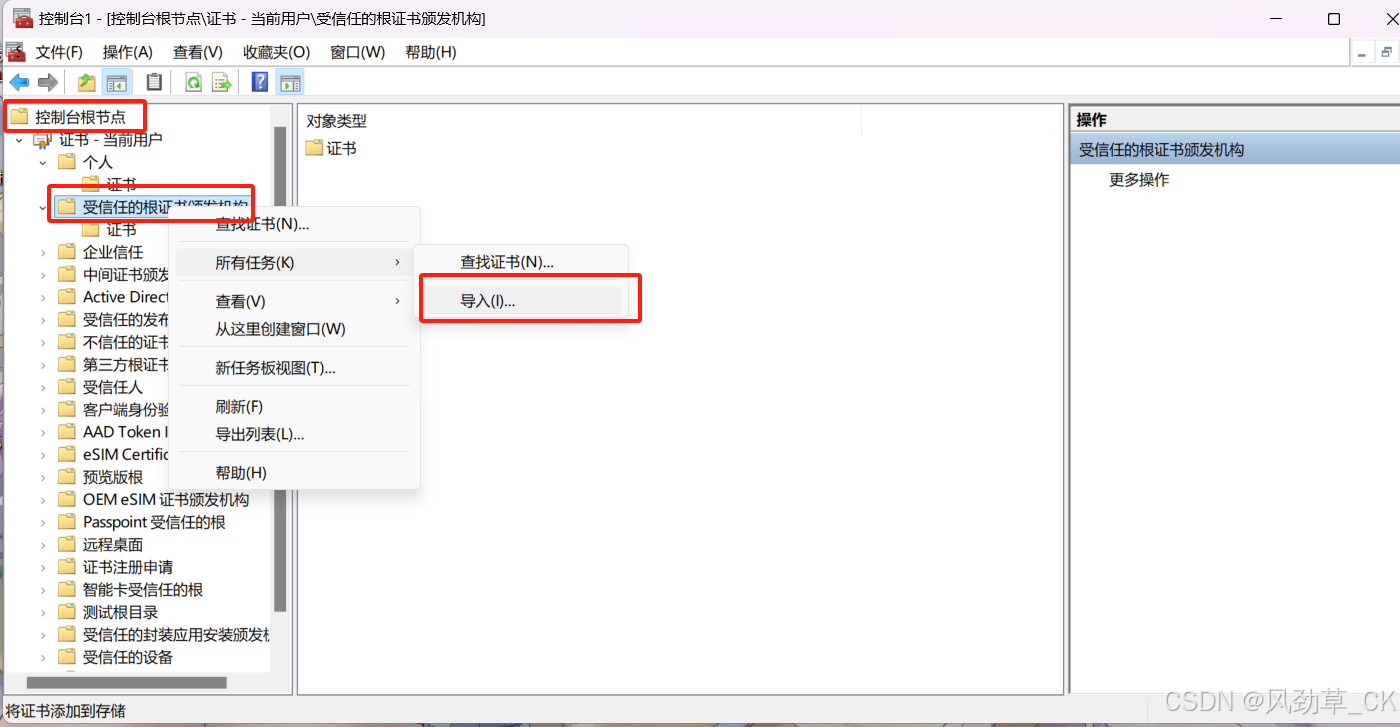
方法 win r &#xff0c;输入mmc 点击文件——>添加/删除管理单元 找到证书——> 添加 根据自己的存放选择存放位置 点击控制台根节点——> 受信任的根证书颁发机构——>导入 若还出现问题&#xff0c;则参考https://blog.csdn.net/mm120138687/article/details/…

【BUG】已解决:The above exception was the direct cause of the following exception:

The above exception was the direct cause of the following exception: 目录 The above exception was the direct cause of the following exception: 【常见模块错误】 【解决方案】 欢迎来到英杰社区https://bbs.csdn.net/topics/617804998 欢迎来到我的主页&#xff0c…

uniapp中出现Uncaught runtime errors

项目中运行出现上面的错误信息&#xff0c;使用uniapp发现&#xff0c;其实我只是跨域了&#xff0c;控制台报错&#xff0c;但是不想屏幕上显示&#xff1b; 解决办法是在vue.config.js增加如下配置即可 devServer: {client: {overlay: false,errors:true},}, 错误信息也不想…

求职学习day8

7/21回顾&#xff1a; 用面试鸭的意义可能就在于将知识点用问答的形式具象化在脑海&#xff0c;不然可能只停留在听说过的感觉 7.21 玩了一天。一个很不好的信号。今天下午要试试把 mall 项目的代码运行过一遍。 项目运行问题&#xff1a; 问题 1 &#xff1a;两个门服务器…

Modbus转BACnet/IP网关的技术实现与应用

引言 随着智能建筑和工业自动化的快速发展&#xff0c;不同通信协议之间的数据交换也变得日益重要。Modbus和BACnet/IP是两种广泛应用于自动化领域的通信协议&#xff0c;Modbus以其简单性和灵活性被广泛用于工业自动化&#xff0c;而BACnet/IP则在楼宇自动化系统中占据主导地…

昇思25天学习打卡营第18天| DCGAN生成漫画头像

DCGAN&#xff0c;全称深度卷积对抗生成网络&#xff08;Deep Convolutional Generative Adversarial Networks&#xff09;&#xff0c;是一种通过对抗训练生成图像的技术。它在判别器和生成器中都使用了卷积和转置卷积层。 训练分为两个部分&#xff1a;训练判别器和训练生成…

在spyder中使用arcgis pro的包

历时2天终于搞定了 目标&#xff1a;在anconda中新建一个arcpyPro环境&#xff0c;配置arcgispro3.0中的arcpy 一、安装arcgispro3.0 如果安装完之后打开arcgispro3.0闪退&#xff0c;就去修改注册表&#xff08;在另一台电脑安装arcgispro遇到过&#xff09; 安装成功后可…

【影刀】自动化办公介绍与RPA机器人实例

影刀介绍 影刀RPA是杭州分叉智能科技有限公司开发的一款自动化办公软件。 它是基于Machine Behavior Learning(机器行为学习)技术&#xff0c;为各行业提供行为自动化办公机器人。 影刀能做什么&#xff1f; 有逻辑、规则的工作都能完成操作。 影刀RPA可以在任何应用程式上…

K8S 上部署 Prometheus + Grafana

文章目录 一、使用 Helm 安装 Prometheus1. 配置源2. 下载 prometheus 包3. 安装 prometheus4. 卸载 二、使用 Helm 安装 Grafana1. 配置源2. 安装 grafana3. 访问4. 卸载 一、使用 Helm 安装 Prometheus 1. 配置源 地址&#xff1a;https://artifacthub.io/packages/helm/pro…

Nginx 如何实现请求的缓存过期策略?

&#x1f345;关注博主&#x1f397;️ 带你畅游技术世界&#xff0c;不错过每一次成长机会&#xff01; 文章目录 Nginx 如何实现请求的缓存过期策略&#xff1f;一、缓存的重要性与基本概念二、Nginx 缓存过期策略的原理三、设置 Nginx 缓存过期时间四、基于变量的动态缓存过…

rv1126利用rkmedia、opencv、rockx……完成人脸识别

一、总体框架 视频采集、处理使用rkmedia&#xff1a;vi模块进行视频输入、rga模块进行视频处理 人脸识别&#xff1a;先获取rga输出码流&#xff0c;再调用rkmedia的模型对人脸进行推理&#xff08;线程1&#xff09; 打框框&#xff1a;opencv&#xff08;线程2&#xff0…

go-kratos 学习笔记(2) 创建api

proto 声明SayHi 先删除go.mod 从新初始化一下 go mod init xgs_kratosgo mod tidy 编辑 api/helloword/v1/greeter.proto 新声明一个方法 rpc SayHi (HelloHiRequest) returns (HelloHiReply) {option (google.api.http) {post: "/hi"body: "*"};} …

Leetcode之string

目录 前言1. 字符串相加2. 仅仅反转字母3. 字符串中的第一个唯一字符4. 字符串最后一个单词的长度5. 验证回文串6. 反转字符串Ⅱ7. 反转字符串的单词Ⅲ8. 字符串相乘9. 打印日期 前言 本篇整理了一些关于string类题目的练习, 希望能够学以巩固. 博客主页: 酷酷学!!! 点击关注…

llama 2 改进之 RMSNorm

RMSNorm 论文&#xff1a;https://openreview.net/pdf?idSygkZ3MTJE Github&#xff1a;https://github.com/bzhangGo/rmsnorm?tabreadme-ov-file 论文假设LayerNorm中的重新居中不变性是可有可无的&#xff0c;并提出了均方根层归一化(RMSNorm)。RMSNorm根据均方根(RMS)将…

DolphinScheduler安装教程

DolphinScheduler安装教程 前期准备工作 jdk 1.8mysql 5zookeeper 3.4.6hadoop 2.6psmisc yum -y install psmisc 解压安装包 # 将安装包apache-dolphinscheduler-2.0.8-bin.tar.gz放置/opt/download目录下 # 解压缩 tar -zxvf apache-dolphinscheduler-2.0.8-bin.tar.gz -C …

MYSQL 第二次作业

要求&#xff1a; mysgl>create database mydb8 worker; mysq> use mydb8 worker; mysgl>create table t worker( department id int(11)not null comment部门号, worker id int(11)primary key not null comment职工号, worker date date not null comment工作时间,…

使用wireshark第一次捕获数据包

打开wireshark&#xff1a; 点击捕获&#xff0c;选项。 这里我选择以太网&#xff0c;然后点开始&#xff1a; 然后就成这样了&#xff1a; 点击左上角那个红色的按钮&#xff0c;可以暂停捕获&#xff0c;就变成了下面的样子&#xff1a; 这三个框有自己的名字&…

Nginx 怎样处理请求的重试机制?

&#x1f345;关注博主&#x1f397;️ 带你畅游技术世界&#xff0c;不错过每一次成长机会&#xff01; 文章目录 Nginx 怎样处理请求的重试机制&#xff1f;一、为何需要重试机制&#xff1f;二、Nginx 中的重试机制原理三、Nginx 重试机制的配置参数四、Nginx 重试机制的实际…

【MySQL进阶之路 | 高级篇】范式概述与第一范式

1. 范式简介 在关系型数据库中&#xff0c;关于数据表的设计的基本原则&#xff0c;规则就称为范式。可以理解为&#xff0c;一张数据表的设计结果需要满足的某种设计标准的级别。要想设计一个结构合理的关系型数据库&#xff0c;必须满足一定的范式。 范式的英文名是Normal …

MongoDB教程(十八):MongoDB MapReduce

&#x1f49d;&#x1f49d;&#x1f49d;首先&#xff0c;欢迎各位来到我的博客&#xff0c;很高兴能够在这里和您见面&#xff01;希望您在这里不仅可以有所收获&#xff0c;同时也能感受到一份轻松欢乐的氛围&#xff0c;祝你生活愉快&#xff01; 文章目录 引言一、MapRed…