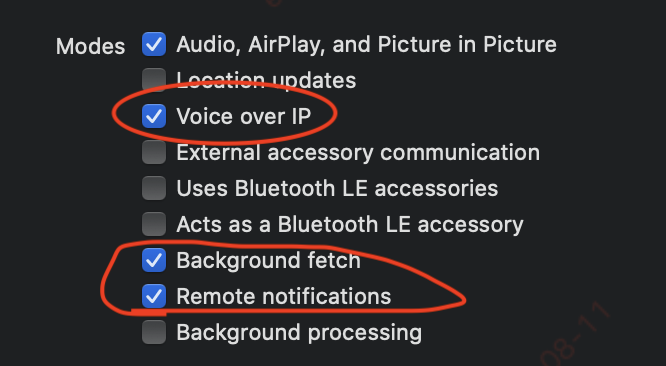
一、介绍
VOIP的推送证书的创建方式和普通的证书的创建方式基本一致。
二、步骤
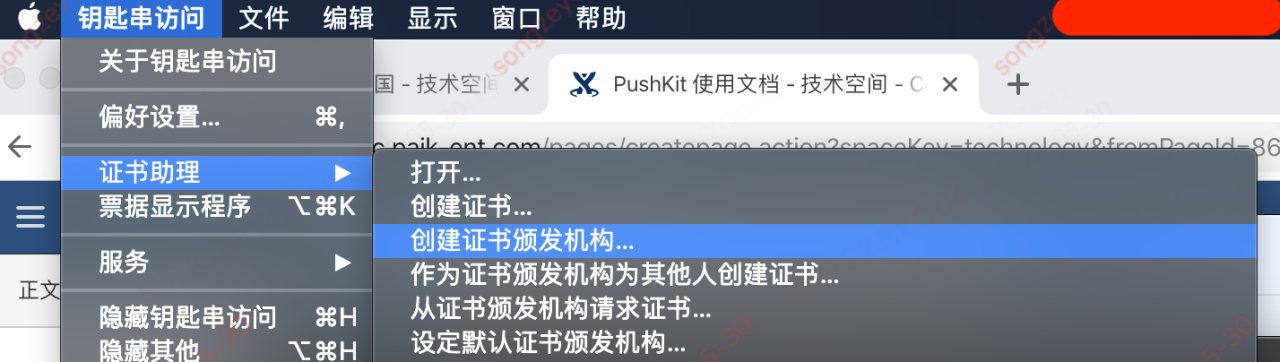
首先需要生成证书签名的请求文件CerSingingRequest,打开钥匙串应用,点击钥匙串访问->证书助理->从证书颁发机构请求
输入电子邮件和名称后保存到本地

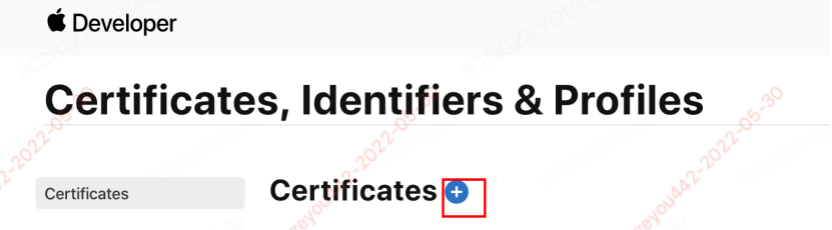
3.在developer.apple.com后台新增voip证书
添加证书:
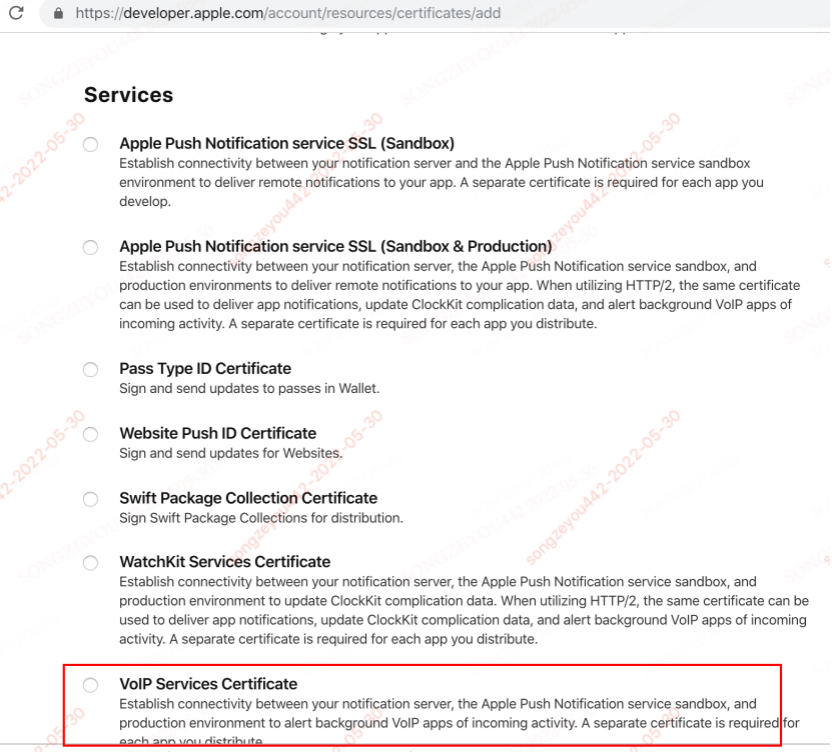
选择证书类型:
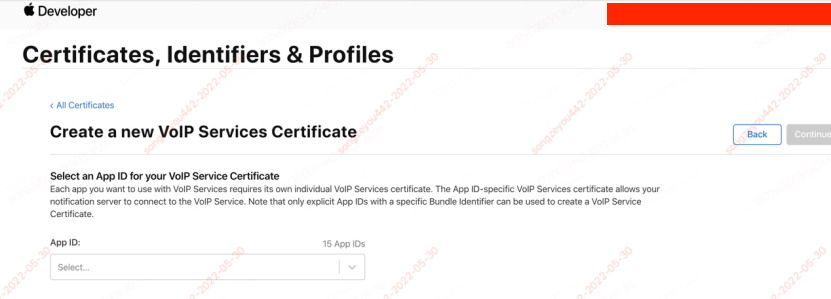
绑定bundleID:
三、推送测试与证书配置
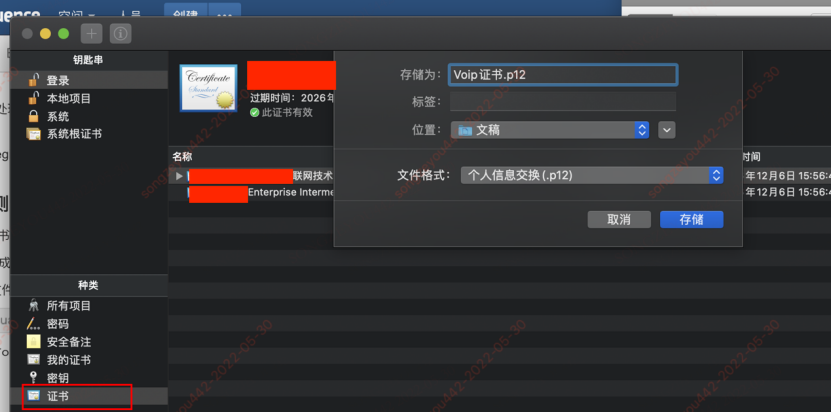
1、生成p12证书
安装步骤一生成的VOIP证书
在钥匙串访问中找到该证书
右键选择导出
选择文件格式为个人信息交换
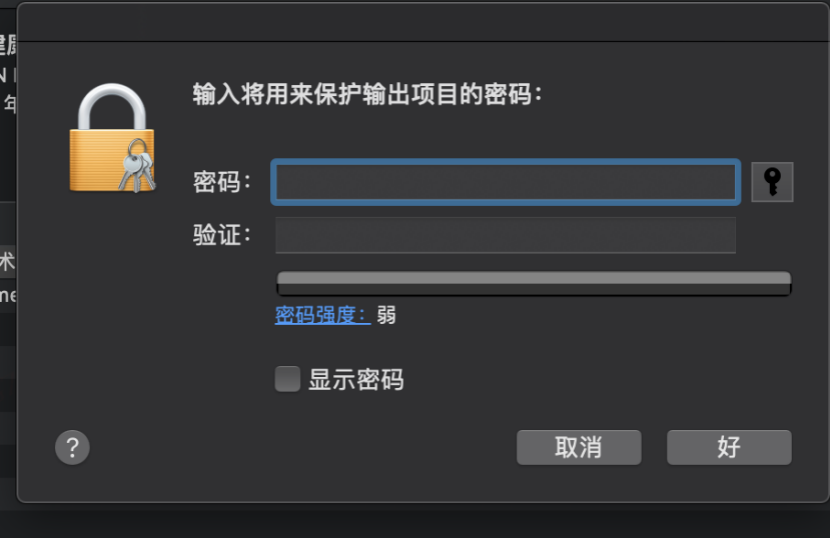
输入证书密码(可以不输入密码保存)
2、修改脚本文件为自己项目的相关配置
# Note: You MUST have curl 7.47+ with http/2 support compiled in


curl -v \

-d '{

    "aps" : {

        "alert" : "Your message here.",

        "badge" : 10,

        "sound" : "default"

    },

    "acme1" : "bar",

    "acme2" : 42

}' \

-H "apns-topic: 你的BundleID.voip" \

-H "apns-priority: 10" \

-H "apns-push-type: voip" \

--http2 \

--cert-type P12 --cert 你的p12证书名称.p12:你的P12证书密码 \

https://api.development.push.apple.com/3/device/你的设备Token

#备注---开发环境:api.development.push.apple.com,生产环境:api.push.apple.com
3.打开终端,跳转到sh脚本目录文件并是p12文件在同级目录执行脚本文件就可以在pushkit的代理方法中收到通知了,用户不打开推送和锁屏都可以收到相应通知。
sh voip_push.sh四、app内配置