🍁安装常见服务
🌲安装nginx
🧊1、搜索镜像
Ⅰ.hub docker上查询:https://hub.docker.com/_/nginx
Ⅱ. 命令查询:docker search nginx
🧊2、下载镜像
命令:docker pull nginx
🧊3、启动镜像
- 1、运行容器
docker run -d --name nginx01 -p 3344:80 nginx

参数解析:
-d: 这将容器以守护进程(后台)模式运行

--name nginx01:为新容器指定一个名称。在这个例子中,容器将被命名为 nginx01。

-p 3344:80:用于端口映射。它将主机的端口 3344 映射到容器的端口 80。(nginx默认端口为80)
格式为 主机端口:容器端口。

nginx:指定要运行的镜像名称。Docker 将使用这个镜像来创建容器。如果本地不存在该镜像,Docker 将从 Docker Hub 拉取最新版本的 nginx 镜像。
- 2、查看正在运行的容器列表
docker ps

beihai@beihai-pc:~/桌面$ docker ps
CONTAINER ID   IMAGE     COMMAND                   CREATED       STATUS          PORTS                                   NAMES
9c4e338dbe67   nginx     "/docker-entrypoint.…"   9 hours ago   Up 47 minutes   0.0.0.0:3344->80/tcp, :::3344->80/tcp   nginx01
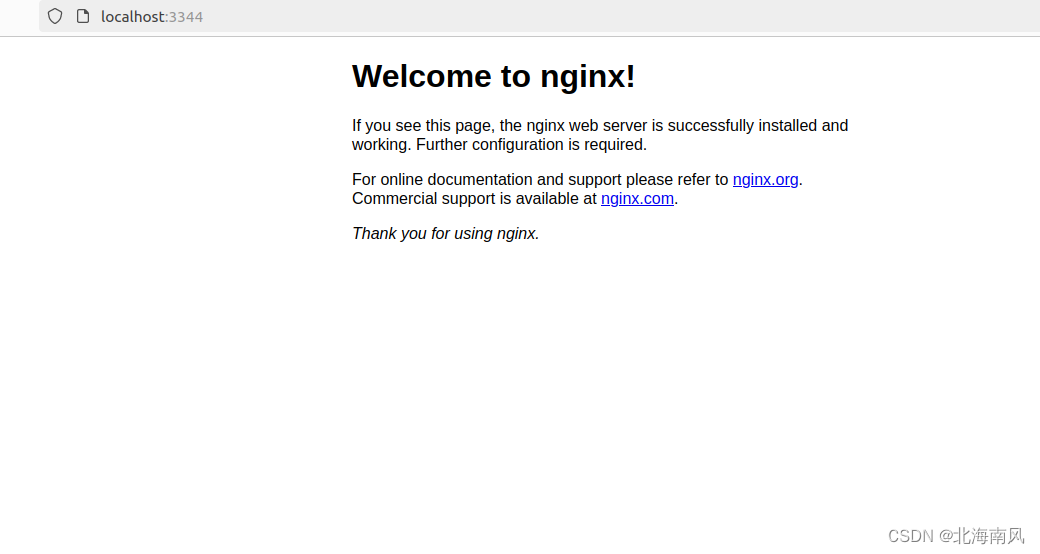
- 3、查看运行结果
- 命令查看
curl localhost:3344

beihai@beihai-pc:~/桌面$ curl localhost:3344
<!DOCTYPE html>
<html>
<head>
<title>Welcome to nginx!</title>
<style>
html { color-scheme: light dark; }
body { width: 35em; margin: 0 auto;
font-family: Tahoma, Verdana, Arial, sans-serif; }
</style>
</head>
<body>
<h1>Welcome to nginx!</h1>
<p>If you see this page, the nginx web server is successfully installed and
working. Further configuration is required.</p>

<p>For online documentation and support please refer to
<a href="http://nginx.org/">nginx.org</a>.<br/>
Commercial support is available at
<a href="http://nginx.com/">nginx.com</a>.</p>

<p><em>Thank you for using nginx.</em></p>
</body>
</html>
- 浏览器查看
- 4、进入容器里面进行交互
# 所用命令(依次执行):
docker exec -it nginx01 /bin/bash  # 与nginx01进行交互
whereis nginx				# 查找nginx 可执行文件及其相关的配置文件、源代码和文档的位置。
cd /etc/nginx				# 进入nginx的配置文件路径
ls							# 查看配置文件路径下的所有文件

beihai@beihai-pc:~/桌面$ docker exec -it nginx01 /bin/bash
root@9c4e338dbe67:/# whereis nginx
nginx: /usr/sbin/nginx /usr/lib/nginx /etc/nginx /usr/share/nginx
root@9c4e338dbe67:/# cd /etc/nginx
root@9c4e338dbe67:/etc/nginx# ls
conf.d	fastcgi_params	mime.types  modules  nginx.conf  scgi_params  uwsgi_params

================================
nginx: /usr/sbin/nginx /usr/lib/nginx /etc/nginx /usr/share/nginx

解析:

/usr/sbin/nginx:
这是 nginx 的可执行文件路径。你可以在这里找到 nginx 程序,运行 nginx 命令时就是调用这个文件。

/usr/lib/nginx:
这是 nginx 的库文件路径。它可能包含 nginx 模块和其他相关库文件。

/etc/nginx:
这是 nginx 的配置文件路径。nginx.conf 和其他配置文件通常位于此目录中,这是你配置和管理 nginx 的主要地方。

/usr/share/nginx:
这是 nginx 的共享文件路径。它通常包含默认的网页文件、示例配置文件等。
🌲安装tomcat
🧊1、搜索镜像
Ⅰ.hub docker上查询:https://hub.docker.com/_/tomcat
Ⅱ. 命令查询:docker search tomcat
🧊2、下载镜像
命令:docker pull nginx
🧊3、启动镜像
- 1、运行容器
docker run -d -p 3355:8080 --name tomcat01 tomcat
- 2、查看正在运行的容器列表
docker ps

beihai@beihai-pc:~/桌面$ docker ps
CONTAINER ID   IMAGE     COMMAND             CREATED       STATUS       PORTS                                       NAMES
ce687058d599   tomcat    "catalina.sh run"   9 hours ago   Up 9 hours   0.0.0.0:3355->8080/tcp, :::3355->8080/tcp   tomcat01
- 3、查看运行结果
- 命令查看
curl localhost:3344

beihai@beihai-pc:~/桌面$ curl localhost:3355
<!doctype html><html lang="en"><head><title>HTTP Status 404 – Not Found</title><style type="text/css">body {font-family:Tahoma,Arial,sans-serif;} h1, h2, h3, b {color:white;background-color:#525D76;} h1 {font-size:22px;} h2 {font-size:16px;} h3 {font-size:14px;} p {font-size:12px;} a {color:black;} .line {height:1px;background-color:#525D76;border:none;}</style></head><body><h1>HTTP Status 404 – Not Found</h1><hr class="line" /><p><b>Type</b> Status Report</p><p><b>Description</b> The origin server did not find a current representation for the target resource or is not willing to disclose that one exists.</p><hr class="line" /><h3>Apache Tomcat/10.0.14</h3></body></html>
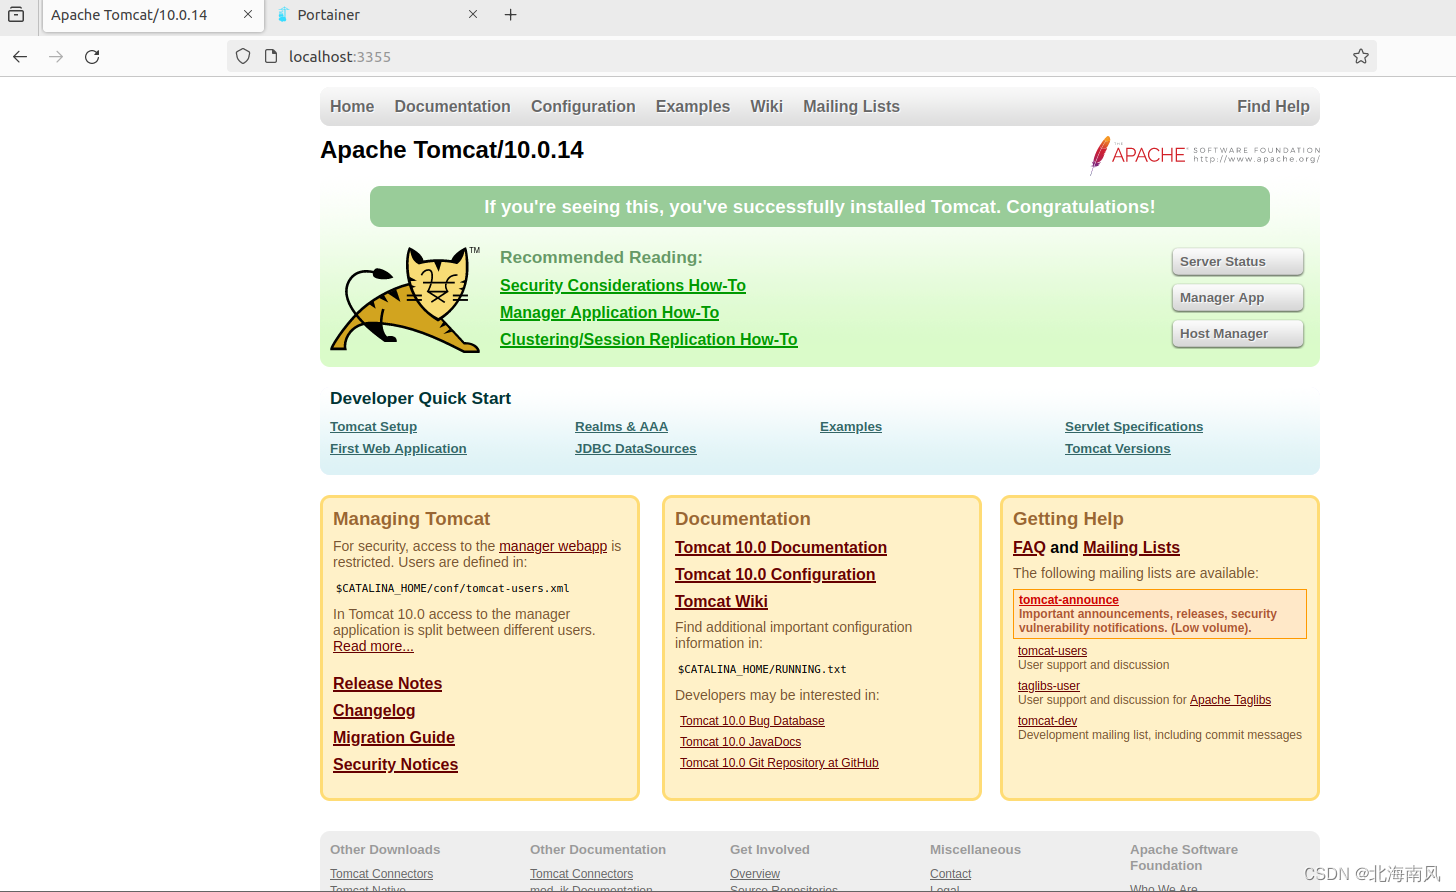
- 浏览器查看
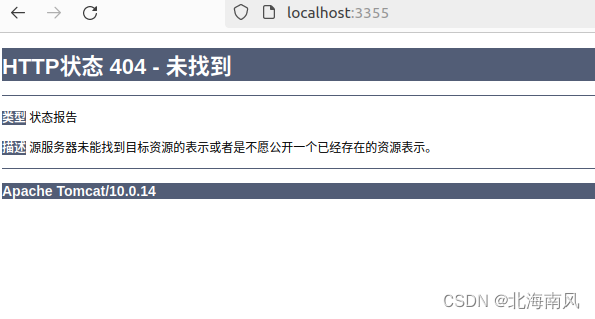
这时我们发现,虽然能访问tomcat,但是资源路径webapps下是空的,这是因为阿里云镜像的原因,默认是最小镜像,把它认为不必要的东西都剔除掉了。我们此时需要进入容器里面交互,找回webapps的资源。
- 4、进入容器里面进行交互
# 所用命令(依次执行):
docker exec -it tomcat01 /bin/bash
ls -al					# 查看tomcat当前路径下文件。
cd webapps				# 进入webapps资源文件
ls						# 查看文件下东西,会发现webapps下是空的
cd ../					# 返回上一级
cd webapps.dist			# 进入webapps.dist资源文件
ls						# 查看文件下东西,会发现之前我们熟悉的ROOT之类的资源文件在这里
cd ../					# 返回上一级
cp -r webapps.dist/* webapps  # 将webapps.dist下的资源,拷贝到webapps下

beihai@beihai-pc:~/桌面$ docker exec -it tomcat01 /bin/bash

root@f9c67ad620e8:/usr/local/tomcat# ls -al
total 176
drwxr-xr-x 1 root root  4096 Dec 22  2021 .
drwxr-xr-x 1 root root  4096 Dec 22  2021 ..
-rw-r--r-- 1 root root 18994 Dec  2  2021 BUILDING.txt
-rw-r--r-- 1 root root  6210 Dec  2  2021 CONTRIBUTING.md
-rw-r--r-- 1 root root 60269 Dec  2  2021 LICENSE
-rw-r--r-- 1 root root  2333 Dec  2  2021 NOTICE
-rw-r--r-- 1 root root  3378 Dec  2  2021 README.md
-rw-r--r-- 1 root root  6905 Dec  2  2021 RELEASE-NOTES
-rw-r--r-- 1 root root 16517 Dec  2  2021 RUNNING.txt
drwxr-xr-x 2 root root  4096 Dec 22  2021 bin
drwxr-xr-x 1 root root  4096 Jun 18 19:02 conf
drwxr-xr-x 2 root root  4096 Dec 22  2021 lib
drwxrwxrwx 1 root root  4096 Jun 18 19:02 logs
drwxr-xr-x 2 root root  4096 Dec 22  2021 native-jni-lib
drwxrwxrwx 2 root root  4096 Dec 22  2021 temp
drwxr-xr-x 2 root root  4096 Dec 22  2021 webapps
drwxr-xr-x 7 root root  4096 Dec  2  2021 webapps.dist
drwxrwxrwx 2 root root  4096 Dec  2  2021 work

root@f9c67ad620e8:/usr/local/tomcat# cd webapps

root@f9c67ad620e8:/usr/local/tomcat/webapps# ls

root@f9c67ad620e8:/usr/local/tomcat/webapps# cd ../

root@f9c67ad620e8:/usr/local/tomcat# cd webapps.dist

root@f9c67ad620e8:/usr/local/tomcat/webapps.dist# ls
ROOT  docs  examples  host-manager  manager

root@f9c67ad620e8:/usr/local/tomcat/webapps.dist# cd ../

root@f9c67ad620e8:/usr/local/tomcat# cp -r webapps.dist/* webapps


================================
此时,再次访问,即可恢复熟悉的tomcat首页了
