1、网络聊天室综合案例
客户端初始代码:
@Slf4j
public class ChatClient {
    public static void main(String[] args) {
        NioEventLoopGroup group = new NioEventLoopGroup();
        LoggingHandler LOGGING_HANDLER = new LoggingHandler(LogLevel.DEBUG);
        MessageCodecSharable MESSAGE_CODEC = new MessageCodecSharable();
        try {
            Bootstrap bootstrap = new Bootstrap();
            bootstrap.channel(NioSocketChannel.class);
            bootstrap.group(group);
            bootstrap.handler(new ChannelInitializer<SocketChannel>() {
                @Override
                protected void initChannel(SocketChannel ch) throws Exception {
                    ch.pipeline().addLast(new ProcotolFrameDecoder());
                    ch.pipeline().addLast(LOGGING_HANDLER);
                    ch.pipeline().addLast(MESSAGE_CODEC);
                }
            });
            Channel channel = bootstrap.connect("localhost", 8080).sync().channel();
            channel.closeFuture().sync();
        } catch (Exception e) {
            log.error("client error", e);
        } finally {
            group.shutdownGracefully();
        }
    }
}
服务器初始代码:
@Slf4j
public class ChatServer {
    public static void main(String[] args) {
        NioEventLoopGroup boss = new NioEventLoopGroup();
        NioEventLoopGroup worker = new NioEventLoopGroup();
        LoggingHandler LOGGING_HANDLER = new LoggingHandler(LogLevel.DEBUG);
        MessageCodecSharable MESSAGE_CODEC = new MessageCodecSharable();
        try {
            ServerBootstrap serverBootstrap = new ServerBootstrap();
            serverBootstrap.channel(NioServerSocketChannel.class);
            serverBootstrap.group(boss, worker);
            serverBootstrap.childHandler(new ChannelInitializer<SocketChannel>() {
                @Override
                protected void initChannel(SocketChannel ch) throws Exception {
                    ch.pipeline().addLast(new ProcotolFrameDecoder());
                    ch.pipeline().addLast(LOGGING_HANDLER);
                    ch.pipeline().addLast(MESSAGE_CODEC);
                }
            });
            Channel channel = serverBootstrap.bind(8080).sync().channel();
            channel.closeFuture().sync();
        } catch (InterruptedException e) {
            log.error("server error", e);
        } finally {
            boss.shutdownGracefully();
            worker.shutdownGracefully();
        }
    }
}
1.1、登录业务
业务流程:
- 客户端流水线上新增一个入站处理器,处理登录逻辑,有连接建立时触发的channelActive事件(处理登录逻辑)和channelRead事件(获取服务器返回登录的结果)。
- 入站处理器中异步操作,封装LoginRequestMessage消息请求对象,通过ctx.writeAndFlush发送给服务器,并且触发该入站处理器之前的所有出站处理器(消息编解码器,日志打印),然后陷入阻塞等待服务器返回结果
- 服务器创建一个自定义的Handle,专门监听客户端的LoginRequestMessage消息请求对象。
- 服务器对登录信息进行校验,如果登录信息正确则临时保存(将用户的channel和用户名绑定)。
- 服务器封装LoginResponseMessage消息响应对象,通过channelHandlerContext.writeAndFlush方法将消息发送给客户端,并且触发该入站处理器前的所有出站处理器(消息编解码器,日志打印)。
- 将自定义的Handle注册到服务器的流水线上。
- 客户端channelRead接收到服务器返回的结果,将结果记录,并且结束阻塞(无论是否登录成功)
- 客户端根据结果执行不同的业务逻辑,成功则让用户选择菜单,失败则断开连接。
客户端,在流水线上新增一个入站处理器,专门处理登录相关逻辑:
注意点:
- 使用channelActive,确保该入站处理器是在连接建立时触发。
- 并非在Netty的主线程中处理登录相关逻辑,而是新开启一个线程异步地处理,相应地,线程间的通信使用countDownLatch (判断是否拿到服务器端的返回结果)和 AtomicBoolean (判断服务器端返回的结果,是否登录成功)。
成员位置:
CountDownLatch countDownLatch = new CountDownLatch(1);
AtomicBoolean loginResult = new AtomicBoolean(false);
//编写登录逻辑
ch.pipeline().addLast(new ChannelInboundHandlerAdapter() {
/**
* 连接建立时触发,输入用户名和密码,传给后端校验
* @param ctx
* @throws Exception
*/
@Override
public void channelActive(ChannelHandlerContext ctx) throws Exception {
new Thread(() -> {
Scanner sc = new Scanner(System.in);
System.out.println("请输入用户名");
String username = sc.nextLine();
System.out.println("请输入密码");
String password = sc.nextLine();
LoginRequestMessage requestMessage = new LoginRequestMessage(username, password, null);
//发送给后端 后端有一个专门的处理器去处理请求信息并且返回结果
ctx.writeAndFlush(requestMessage);
try {
countDownLatch.await();
} catch (InterruptedException e) {
e.printStackTrace();
}
boolean result = loginResult.get();
//登录成功
if (result) {
while (true) {
System.out.println("==================================");
System.out.println("send [username] [content]");
System.out.println("gsend [group name] [content]");
System.out.println("gcreate [group name] [m1,m2,m3...]");
System.out.println("gmembers [group name]");
System.out.println("gjoin [group name]");
System.out.println("gquit [group name]");
System.out.println("quit");
System.out.println("==================================");
String command = sc.nextLine();
String[] s = command.split(" ");
switch (s[0]) {
case "send":
ctx.writeAndFlush(new ChatRequestMessage(username, s[1], s[2]));
break;
case "gsend":
ctx.writeAndFlush(new GroupChatRequestMessage(username, s[1], s[2]));
break;
case "gcreate":
Set<String> set = new HashSet<>(Arrays.asList(s[2].split(",")));
set.add(username); // 加入自己
ctx.writeAndFlush(new GroupCreateRequestMessage(s[1], set));
break;
case "gmembers":
ctx.writeAndFlush(new GroupMembersRequestMessage(s[1]));
break;
case "gjoin":
ctx.writeAndFlush(new GroupJoinRequestMessage(username, s[1]));
break;
case "gquit":
ctx.writeAndFlush(new GroupQuitRequestMessage(username, s[1]));
break;
case "quit":
ctx.channel().close();
return;
}
}
} else {
//密码错误就关闭连接,触发 channel.closeFuture().sync();
ctx.channel().close();
}
}, "login").start();
}
/**
* 接受后端返回的登录校验结果
* @param ctx
* @param msg
* @throws Exception
*/
@Override
public void channelRead(ChannelHandlerContext ctx, Object msg) throws Exception {
log.debug("登录结果:{}", msg);
//记录状态
if (msg instanceof LoginResponseMessage) {
LoginResponseMessage responseMessage = (LoginResponseMessage) msg;
if (responseMessage.isSuccess()) {
loginResult.compareAndSet(false, true);
}
countDownLatch.countDown();
}
}
});服务器端:
注意点:
- 自定义一个Handler,继承SimpleChannelInboundHandler,只关注客户端发送的登录请求。
- 登录成功后,将当前会话信息临时进行保存。
@ChannelHandler.Sharable
@Slf4j
public class LoginRequesHandler extends SimpleChannelInboundHandler<LoginRequestMessage> {
    @Override
    protected void channelRead0(ChannelHandlerContext channelHandlerContext, LoginRequestMessage loginRequestMessage) throws Exception {
        String username = loginRequestMessage.getUsername();
        String password = loginRequestMessage.getPassword();
        boolean loginSuccess = UserServiceFactory.getUserService().login(username, password);
        LoginResponseMessage responseMessage = null;
        if (loginSuccess) {
            //保存会话信息 key channel value 当前登录人 zhangsan lisi
            Channel channel = channelHandlerContext.channel();
            SessionFactory.getSession().bind(channel, loginRequestMessage.getUsername());
            responseMessage = new LoginResponseMessage(true, "登录成功!");
            log.info("账号:{}登录成功,绑定的交换机:{}",username,channel);
        } else {
            responseMessage = new LoginResponseMessage(false, "登录失败!");
        }
        //将结果返回给前端
        channelHandlerContext.writeAndFlush(responseMessage);
    }
}
将自定义Handler注册到流水线上:
//接受前端传递的用户名和密码并校验,然后返回给前端登录结果
//指定关注的消息类型为LoginRequestMessage
ch.pipeline().addLast(new LoginRequesHandler());
1.2、发送消息(单聊)
客户端:
如果用户在菜单中选择send,则触发单聊功能。
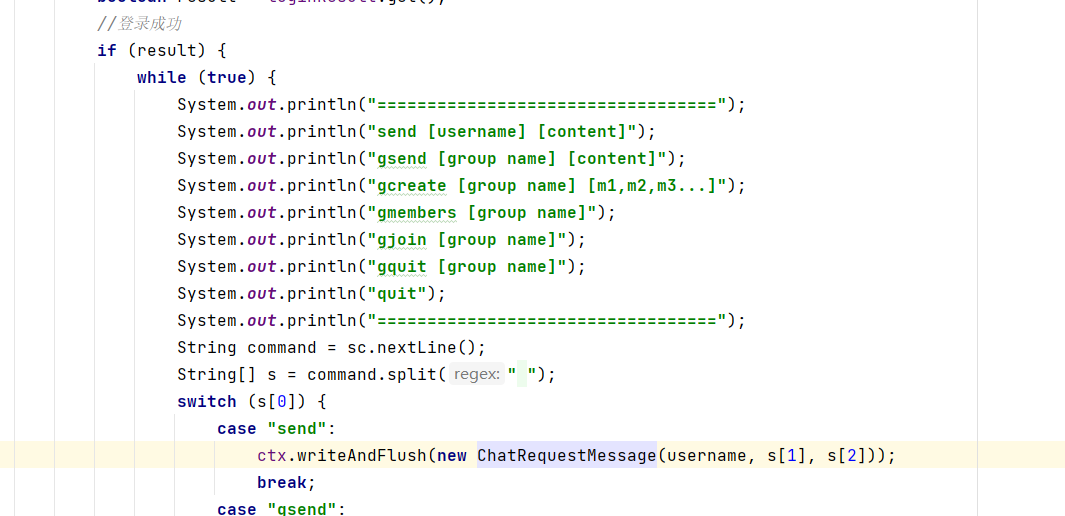
通过ctx.writeAndFlush发送封装好的单聊消息请求,并且触发在这之前的所有出站消息。
ctx.writeAndFlush(new ChatRequestMessage(username, s[1], s[2]));服务器端:
注册一个ChatRequestHandler处理器,继承SimpleChannelInboundHandler,专门处理客户端传递的单聊请求。
注意点:
- 发送消息之前需要检查收件人是否在线,通过用户名去查询对应的channel是否存在(如果该用户已登录,必定会将自己的用户名和channel绑定)
- 拿到收件人的channel后,利用收件人的channel向收件人的客户端发送消息。

1.3、创建聊天群组
客户端:
如果用户在菜单中选择gcreate,则触发创建聊天群组功能:
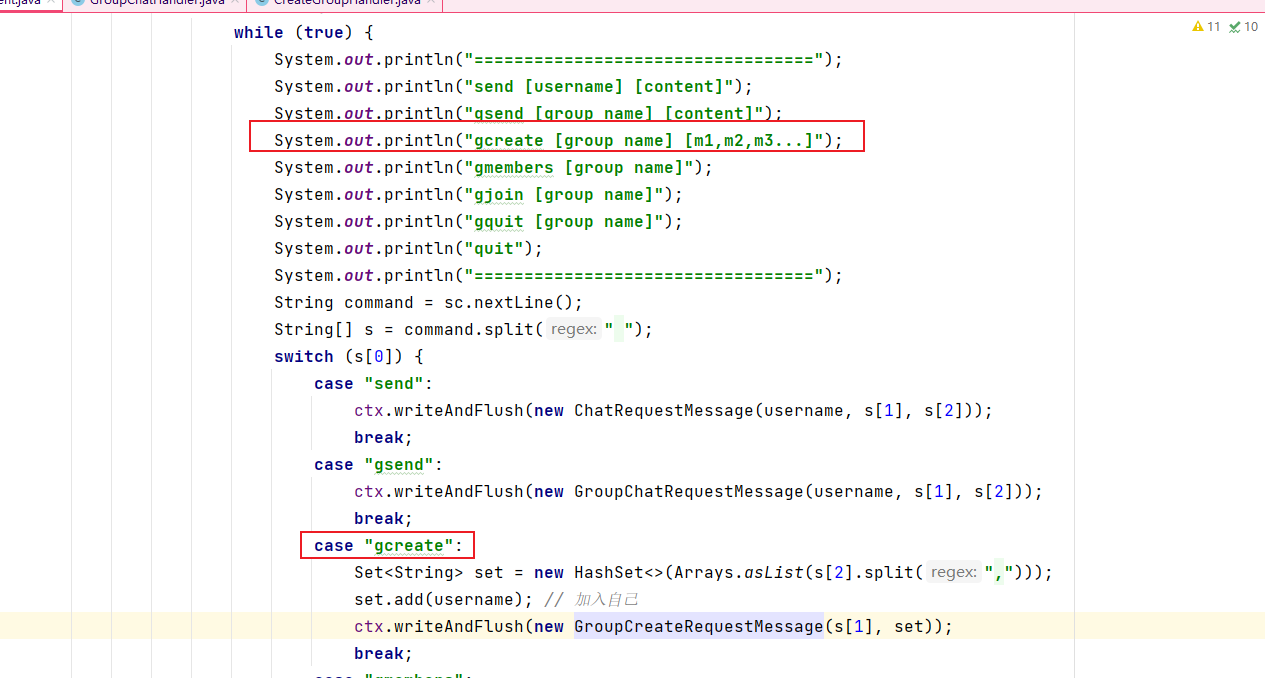
封装GroupCreateRequestMessage创建聊天群组请求对象,并且调用ctx.writeAndFlush触发之前所有的出站处理器。
ctx.writeAndFlush(new GroupCreateRequestMessage(s[1], set));服务器端:
创建一个自定义的Handler,继承SimpleChannelInboundHandler,专门监听客户端的GroupCreateRequestMessage。
注意点:
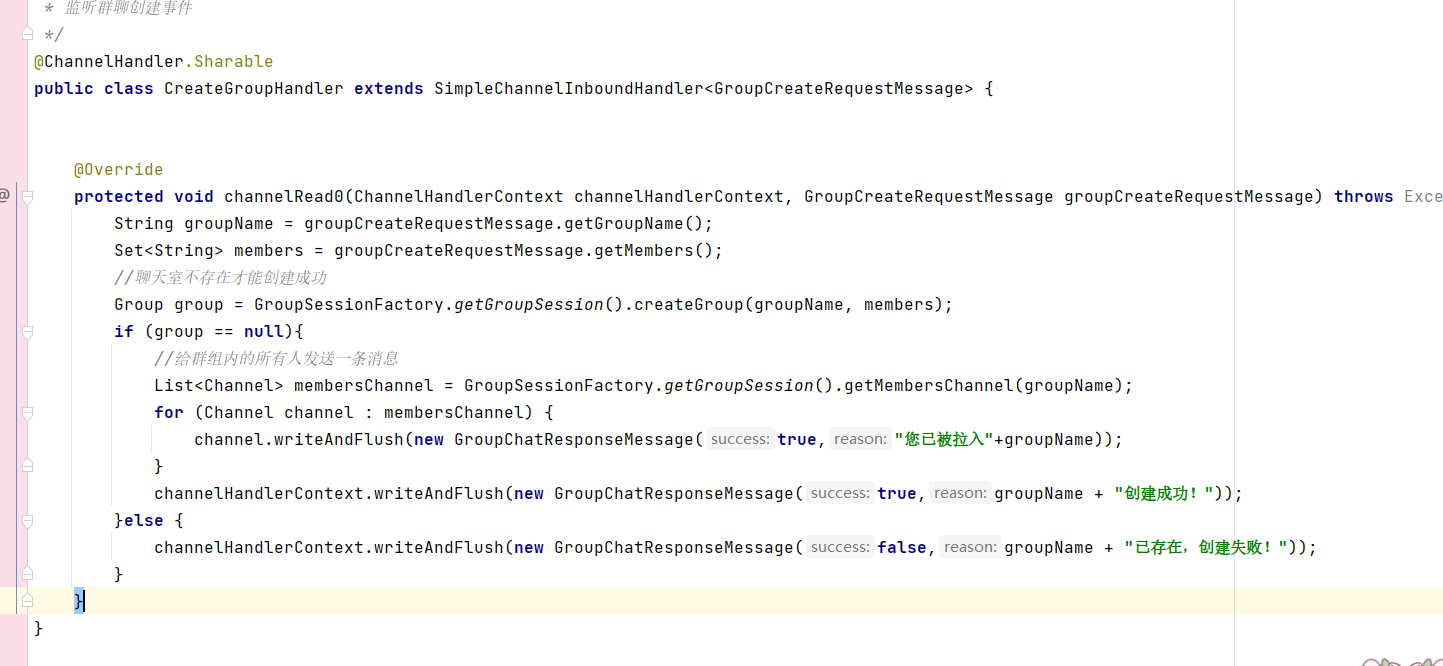
- 首先需要判断群聊是否存在,如果存在就不能重复创建。
- 创建成功后拿到所有群组成员的channel,向各自的客户端发送GroupChatResponseMessage消息响应对象。
1.4、发送消息(群聊)
客户端:
如果用户在菜单中选择gsend,则触发创建聊天群组功能: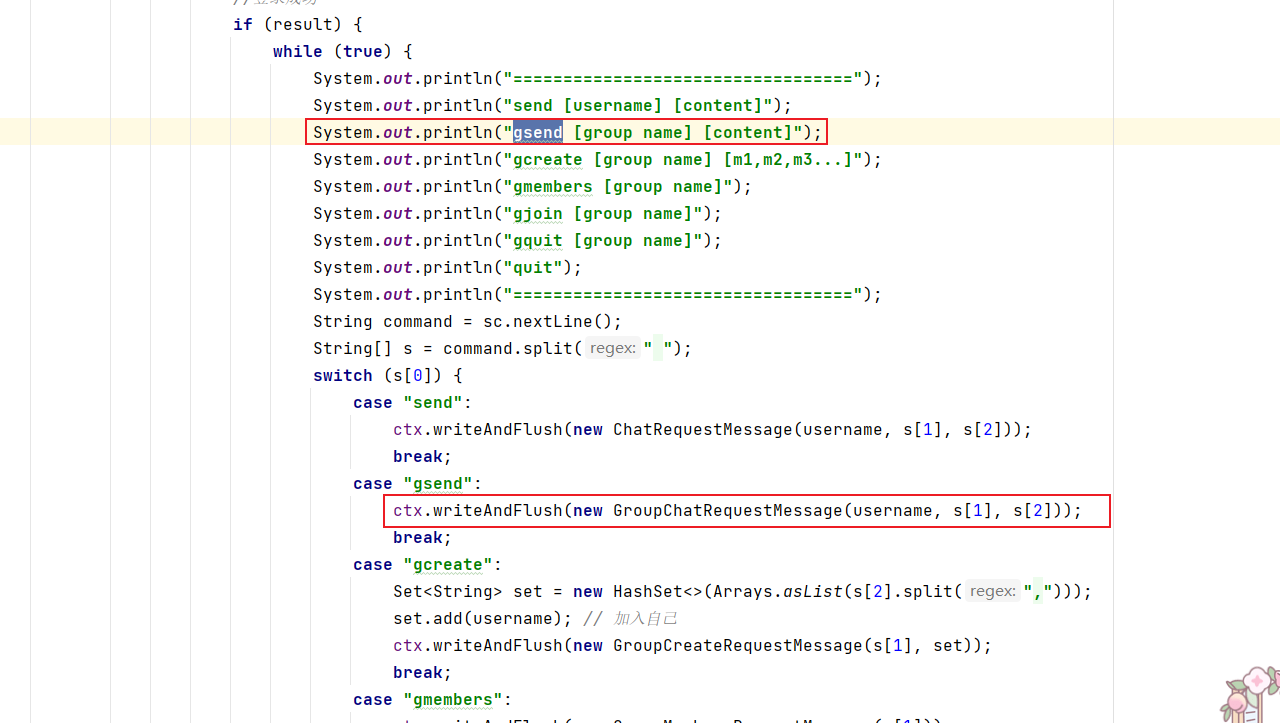
封装GroupChatRequestMessage创建群聊请求对象,并且调用ctx.writeAndFlush触发之前所有的出站处理器。
ctx.writeAndFlush(new GroupChatRequestMessage(username, s[1], s[2]));服务器端:
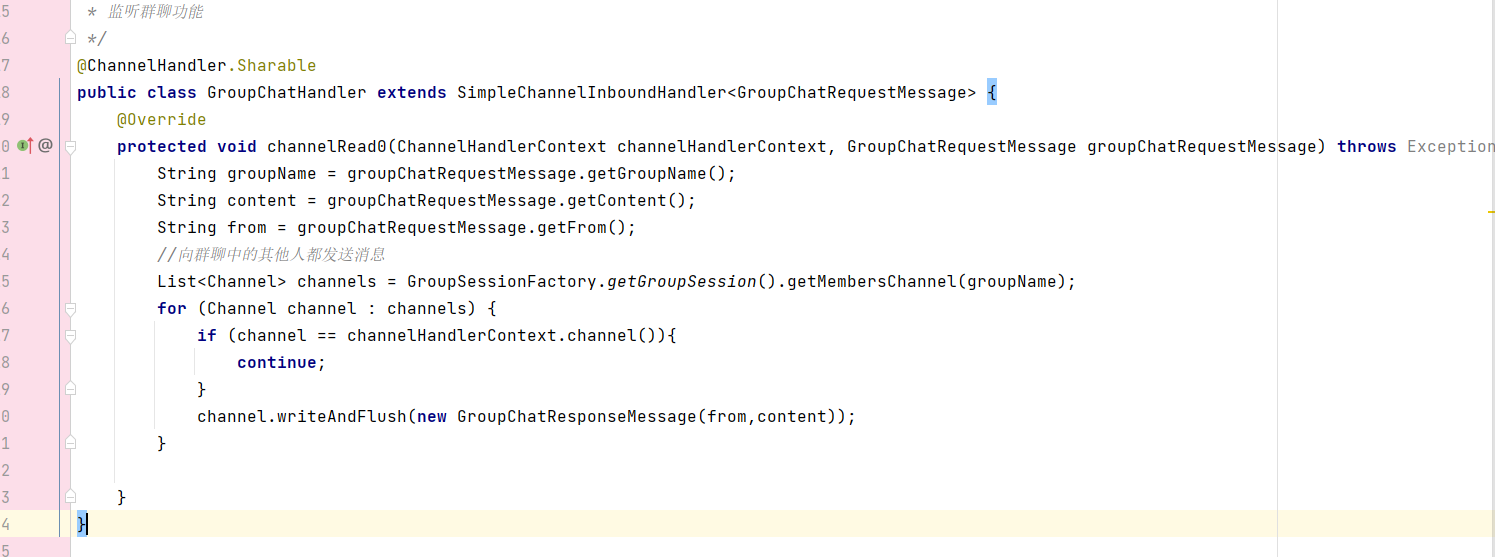
创建一个Handler继承SimpleChannelInboundHandler专门监听GroupChatRequestMessage群聊消息请求。
1.5、心跳消息监测
有时服务器长时间没有接收到客户端发出的消息,可能是因为网络设备出现故障, 网络不稳定,应用程序发生阻塞等原因,称之为连接假死。
这时我们应该及时地去释放资源,那么如何去判定是否发生连接假死?如果通过常规的超时机制难以判定,因为连接本身并没有断开,但数据无法正常传输。
可以通过心跳监测机制去实现。客户端和服务器之间定期互相发送心跳消息,对方在一定时间内收到心跳消息后,会发送一个确认消息,表示连接仍然正常。如果一方在指定时间内未收到对方的心跳消息,就认为连接可能已经中断或假死。
心跳机制通常运用于分布式系统和实时通信中,eureka运用的便是心跳检测机制。
如果需要在Netty框架中使用心跳消息监测,需要在服务器端的流水线上加入:
- IdleStateHandler:是 Netty 提供的一个处理器,用于检测连接的空闲状态,可以分为读空闲,写空闲和读写空闲。
- ChannelDuplexHandler:是一个入站/出站双向的处理器,在其中加入userEventTriggered,它是一个自定义的处理器,当IdleStateHandler检测到空闲事件后,会触发IdleStateEvent,被userEventTriggered捕获。
服务器端关注的是读空闲。
                    //空闲检测
                    ch.pipeline().addLast(new IdleStateHandler(5, 0, 0));
//                    //双向监测 入站和出站
                    ch.pipeline().addLast(new ChannelDuplexHandler() {
                        /**
                         * 用户自定义事件
                         * @param ctx
                         * @param evt
                         * @throws Exception
                         */
                        @Override
                        public void userEventTriggered(ChannelHandlerContext ctx, Object evt) throws Exception {
                            if (evt instanceof IdleStateEvent) {
                                IdleStateEvent event = (IdleStateEvent) evt;
                                if (event.state().equals(IdleState.READER_IDLE)) {
                                    log.debug("已经5s未读取到数据了");
                                    ctx.channel().close();
                                }
                            }
                        }
});同时在客户端中加入,客户端关注的是写空闲,如果一定时间内没有向客户端发送消息,就发送默认的心跳消息确认双方都是存活的。
                    //如果三秒内没有向服务器写出数据,就发送心跳消息
                    ch.pipeline().addLast(new IdleStateHandler(0, 3, 0));
//                    双向监测 入站和出站
                    ch.pipeline().addLast(new ChannelDuplexHandler() {
                        /**
                         * 用户自定义事件
                         * @param ctx
                         * @param evt
                         * @throws Exception
                         */
                        @Override
                        public void userEventTriggered(ChannelHandlerContext ctx, Object evt) throws Exception {
                            if (evt instanceof IdleStateEvent) {
                                IdleStateEvent event = (IdleStateEvent) evt;
                                if (event.state().equals(IdleState.WRITER_IDLE)) {
                                    log.debug("已经3s未写入数据了,发送默认消息");
                                    ctx.writeAndFlush(new PingMessage());
                                }
                            }
                        }
                    });
如果超过一定的时间,客户端没有向服务器发送消息或心跳,则服务器默认客户端已经假死,就会断开连接释放资源。
1.6、退出
退出分为在客户端选择quit正常退出,以及异常退出的情况,服务器端为了处理这两种情况,需要在流水线上加入一个自定义的QuitHandler:
创建一个自定义的QuitHandler,继承ChannelInboundHandlerAdapter接口,重写其中的
channelInactive和exceptionCaught方法
  // 当连接断开时触发 inactive 事件
    @Override
    public void channelInactive(ChannelHandlerContext ctx) throws Exception {
        SessionFactory.getSession().unbind(ctx.channel());
        log.debug("{} 已经断开", ctx.channel());
    }

	// 当出现异常时触发
    @Override
    public void exceptionCaught(ChannelHandlerContext ctx, Throwable cause) throws Exception {
        SessionFactory.getSession().unbind(ctx.channel());
        log.debug("{} 已经异常断开 异常是{}", ctx.channel(), cause.getMessage());
    }
2、扩展序列化算法
在自定义通讯协议时,消息的传输使用到了序列化算法,当时使用的是JDK默认的序列化算法:
序列化:
// 6. 获取内容的字节数组
ByteArrayOutputStream bos = new ByteArrayOutputStream();
ObjectOutputStream oos = new ObjectOutputStream(bos);
oos.writeObject(msg);
byte[] bytes = bos.toByteArray();
反序列化:
int length = in.readInt();
byte[] bytes = new byte[length];
in.readBytes(bytes, 0, length);
ObjectInputStream ois = new ObjectInputStream(new ByteArrayInputStream(bytes));
Message message = (Message) ois.readObject();
这里介绍一种不需要修改代码,只需要修改配置文件达成序列化方式切换的思路:
application.properties
serializer.algorithm=JSON创建一个接口,定义序列化和反序列化方法的模版:
public interface Serialized {

    /**
     * 序列化
     *
     * @param object 将要序列化的对象
     * @param <T>
     * @return 序列化后的byte数组
     */
    <T> byte[] serialized(T object);


    /**
     * 反序列化
     *
     * @param clazz 将要反序列化成的对象的类型
     * @param bytes 序列化的byte数组
     * @param <T>
     * @return 反序列化后的对象
     */
    <T> T deSerialized(Class<T> clazz, byte[] bytes);


}
定义一个枚举类,实现接口,分别编写使用JDK自带的方式序列化以及使用JSON序列化的逻辑:
enum Algorithm implements Serialized {

        JAVA {
            @Override
            public <T> byte[] serialized(T object) {
                try {
                    ByteArrayOutputStream bos = new ByteArrayOutputStream();
                    ObjectOutputStream oos = new ObjectOutputStream(bos);
                    oos.writeObject(object);
                    return bos.toByteArray();
                } catch (IOException e) {
                    e.printStackTrace();
                    throw new RuntimeException("序列化失败!");
                }
            }

            @Override
            public <T> T deSerialized(Class<T> clazz, byte[] bytes) {
                try {
                    ObjectInputStream ois = new ObjectInputStream(new ByteArrayInputStream(bytes));
                    return (T) ois.readObject();
                } catch (IOException | ClassNotFoundException e) {
                    e.printStackTrace();
                    throw new RuntimeException("反序列化失败!");
                }
            }
        },
        JSON {
            @Override
            public <T> byte[] serialized(T object) {
                Gson gson = new Gson();
                String str = gson.toJson(object);
                return str.getBytes(StandardCharsets.UTF_8);
            }

            @Override
            public <T> T deSerialized(Class<T> clazz, byte[] bytes) {
                Gson gson = new Gson();
                return gson.fromJson(new String(bytes, StandardCharsets.UTF_8), clazz);
            }
        }
    }
再定义一个读取 application.properties 文件的配置类,如果配置文件中未配置,就按照默认的JDK序列化方式实现:
/**
 * 序列化配置类
 */
public class SerializedConfig {

    static Properties properties;

    static {
        //从application.properties配置文件中读取
        try (InputStream is = SerializedConfig.class.getResourceAsStream("/application.properties")) {
            properties = new Properties();
            properties.load(is);
        } catch (IOException e) {
            throw new ExceptionInInitializerError(e);
        }
    }

    public static int getServerPort() {
        //从配置文件中读取键为server.port的值
        String value = properties.getProperty("server.port");
        if (value == null) {
            return 8080;
        } else {
            return Integer.parseInt(value);
        }
    }

    public static Serialized.Algorithm getSerializedAlgorithm() {
        //从配置文件中读取键为serializer.algorithm的值
        String value = properties.getProperty("serializer.algorithm");
        if (value == null) {
            return Serialized.Algorithm.JAVA;
        } else {
            return Serialized.Algorithm.valueOf(value);
        }
    }

}
改造自定义协议类:
编码主要有两处需要修改,一处是设定字节的序列化方式(获取的是序列化方式 java json 在枚举类中的位置 0,1):
out.writeByte(SerializedConfig.getSerializedAlgorithm().ordinal());另一处是将消息序列化的逻辑:
byte[] bytes = SerializedConfig.getSerializedAlgorithm().serialized(msg);解码也有两处需要修改:
第一处是确定反序列化的算法:
Serialized.Algorithm[] values = Serialized.Algorithm.values();
//确定反序列化算法
Serialized.Algorithm algorithm = values[serializerType];
第二处是确定消息类型,并且解码:
//确定消息类型
Class<? extends Message> messageClass = Message.getMessageClass(messageType);
Object message = algorithm.deSerialized(messageClass, bytes)