主要参考:https://blog.csdn.net/qq_40784418/article/details/105586644
其它介绍:
https://blog.csdn.net/great_yzl/article/details/120127962
https://blog.csdn.net/onepunch_k/article/details/115480904
cv2.matchTemplate
-
https://docs.opencv.org/3.4/d4/dc6/tutorial_py_template_matching.html
-
https://docs.opencv.org/3.4/df/dfb/group__imgproc__object.html#gga3a7850640f1fe1f58fe91a2d7583695dac5babb7dfda59544e3e31ea928f8cb16
-
https://blog.csdn.net/liyuanbhu/article/details/49837661
-
https://blog.csdn.net/m0_37579176/article/details/116950903
import cv2
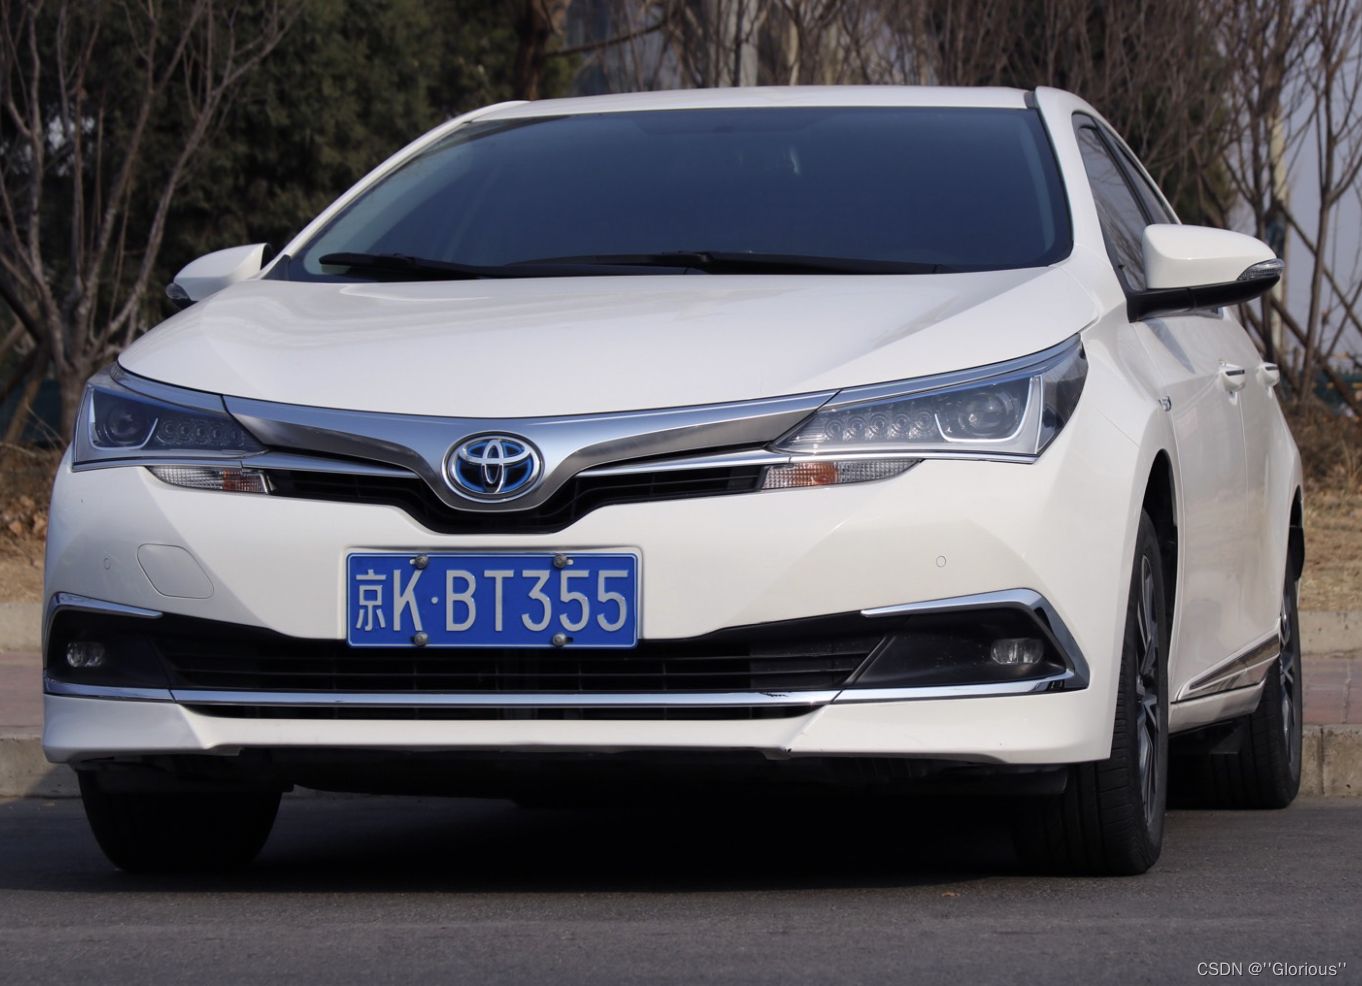
old_img = cv2.imread('che1.png')
temp_img = old_img.copy()
# cv2.imshow('img',old_img)
# cv2.waitKey(1000)
img = old_img.copy()
img = cv2.GaussianBlur(img,(3,3),0)
img_gray = cv2.cvtColor(img, cv2.COLOR_BGR2GRAY)
sobel_x = cv2.Sobel(img_gray,cv2.CV_16S,1,0)
img_edge = cv2.convertScaleAbs(sobel_x)
_, img = cv2.threshold(img_edge,0,255,cv2.THRESH_OTSU)
kernelX = cv2.getStructuringElement(cv2.MORPH_RECT,(30,10))
img = cv2.morphologyEx(img,cv2.MORPH_CLOSE,kernelX,iterations=1)
kernelX = cv2.getStructuringElement(cv2.MORPH_RECT,(50,1))
kernelY = cv2.getStructuringElement(cv2.MORPH_RECT,(1,20))
img = cv2.dilate(img,kernelX)
img = cv2.erode(img,kernelX)
img = cv2.erode(img,kernelY)
img = cv2.dilate(img,kernelY)
img = cv2.medianBlur(img,21)
_, contours, _ = cv2.findContours(img,cv2.RETR_EXTERNAL,cv2.CHAIN_APPROX_SIMPLE)
boxes = []
for contour in contours:
rect = cv2.boundingRect(contour)
x,y,w,h = rect
if w*h < 100: continue
if (w>h*2) and (w<h*4):
boxes.append([x,y,w,h])
cv2.rectangle(old_img, (x,y), (x+w, y+h), (255, 0, 0), 2)
boxes.sort(key=lambda i:i[1], reverse=True)
cv2.imshow('img',old_img)
cv2.waitKey(5000)
x,y,w,h = boxes[0]
img_crop = temp_img[y:y+h,x:x+w]
old_crop = img_crop.copy()
backup_crop = img_crop.copy()
cv2.imshow('img',img_crop)
cv2.waitKey(5000)
img_crop = cv2.GaussianBlur(img_crop,(3,3),0)
crop_gray = cv2.cvtColor(img_crop, cv2.COLOR_BGR2GRAY)
_, crop_bin = cv2.threshold(crop_gray,0,255,cv2.THRESH_OTSU)
kernel = cv2.getStructuringElement(cv2.MORPH_RECT,(2,2))
crop_bin = cv2.dilate(crop_bin,kernel)
cv2.imshow('img',crop_bin)
cv2.waitKey(5000)
_, contours, _ = cv2.findContours(crop_bin,cv2.RETR_EXTERNAL,cv2.CHAIN_APPROX_SIMPLE)
zi_box = []
for contour in contours:
rect = cv2.boundingRect(contour)
x,y,w,h = rect
# if w*h < 200 or w*h>3000: continue
if (h>1.5*w) and (h<3*w):
zi_box.append([x,y,w,h])
cv2.rectangle(old_crop, (x,y), (x+w, y+h), (0, 0, 255), 2)
cv2.imshow('img',old_crop)
cv2.waitKey(5000)
zi_box.sort(key=lambda i:i[0],reverse=False)
print(zi_box)
x,y,w,h= zi_box[1]
zi_crop = backup_crop[y:y+h,x:x+w]
print(zi_crop.shape)
cv2.imwrite('H.jpg',zi_crop)
cv2.imshow('img',zi_crop)
cv2.waitKey(5000)
cv2.destroyAllWindows()
import os
import cv2

template_dir = './refer1'
template_body = []
for cls_name in os.listdir(template_dir):
    template_body.extend([[cls_name,template_dir+'/'+cls_name+'/'+i] for i in os.listdir(template_dir+'/'+cls_name)])
# print(template_body[0])

img = cv2.imread('H.jpg',cv2.COLOR_BGR2GRAY)
img = cv2.cvtColor(img,cv2.COLOR_BGR2GRAY)
w,h = img.shape
for index,item in enumerate(template_body):
    template = cv2.imread(item[1])
    template = cv2.cvtColor(template,cv2.COLOR_BGR2GRAY)
    template = cv2.resize(template,(h,w))
    score = cv2.matchTemplate(img,template,cv2.TM_CCOEFF)[0,0]
    template_body[index].insert(0,score)
# print(template_body[0])
template_body.sort(key=lambda i:i[0],reverse=True)
print(template_body[0:3])
H.jpg
[[3810410.2, '桂', './refer1/桂/桂_70.jpg'],
 [3645890.0, 'B', './refer1/B/58.jpg'],
[3608947.2, '0', './refer1/0/n24.jpg']]
9.jpg
[[3954204.5, '9', './refer1/9/10-0.jpg'],
[3737860.2, '9', './refer1/9/3_0.855008_gray_12816_5036_step5_recog_3_9_0.976258_0.834708.jpg'],
 [3673604.2, '9', './refer1/9/5_0.950823_gray_3683_1554_step5_recog_5_9_0.991150_0.942408.jpg']]
沪.jpg
[[3371885.8, '沪', './refer1/沪/沪_220.jpg'],
[3197117.8, '沪', './refer1/沪/沪_222.jpg'],
[3157204.8, '沪', './refer1/沪/沪_221.jpg']]
TM_CCOEFF
import cv2
import numpy as np

old_img = cv2.imread('che1.png')
img = cv2.resize(old_img,(100,120))
template = cv2.resize(old_img,(50,60))
result = cv2.matchTemplate(img,template,cv2.TM_CCOEFF)
print(result.shape)
print(result[0:2,0:2])

i_rows,i_cols,_ = img.shape
h,w,_ = template.shape
diy = np.zeros((i_rows-h+1,i_cols-w+1))

template_mean = np.mean(template,axis=(0,1),keepdims=True)
template_new = template - template_mean
template_line = template_new.reshape(-1,)

for row_index in range(i_rows-h+1):
    for col_index in range(i_cols-w+1):
        img_crop = img[row_index:row_index+h,col_index:col_index+w]
        img_crop_mean = np.mean(img_crop,axis=(0,1),keepdims=True)
        img_crop_new = img_crop - img_crop_mean
        pixes_line = img_crop_new.reshape(-1,)
        diy[row_index,col_index] = np.dot(pixes_line,template_line)
print(diy.shape)
print(diy[0:2,0:2])
输出效果
(61, 51)
[[4881797. 4958400.]
 [5048702. 5272232.]]
(61, 51)
[[4881795.811      4958397.90766667]
 [5048704.82233333 5272229.10133333]]
GRAY
import cv2
import numpy as np

old_img = cv2.imread('che1.png')
old_img = cv2.cvtColor(old_img,cv2.COLOR_BGR2GRAY)

img = cv2.resize(old_img,(100,120))
template = cv2.resize(old_img,(50,60))
result = cv2.matchTemplate(img,template,cv2.TM_CCOEFF)
print(result.shape)
print(result[10:12,10:12])
# print(result)

i_rows,i_cols = img.shape
h,w = template.shape
diy = np.zeros((i_rows-h+1,i_cols-w+1))

template_mean = np.sum(template)/(w*h)
template_new = template - template_mean
template_line = template_new.reshape(-1,)

for row_index in range(i_rows-h+1):
    for col_index in range(i_cols-w+1):
        img_crop = img[row_index:row_index+h,col_index:col_index+w]
        img_crop_mean = np.sum(img_crop)/(w*h)
        img_crop_new = img_crop - img_crop_mean
        pixes_line = img_crop_new.reshape(-1,)
        diy[row_index,col_index] = np.dot(pixes_line,template_line)
print(diy.shape)
print(diy[10:12,10:12])
# print(diy)
输出效果
(61, 51)
[[1911522.9 2079905.1]
 [1861463.6 2019491.5]]
(61, 51)
[[1911525.84533333 2079907.06933333]
 [1861462.65066667 2019491.51733333]]