不惧怕任何环境配置
首先 clone 项目,然后查看开发者文档:https://github.com/OpenDevin/OpenDevin/blob/main/Development.md
make setup-config 自定义 LLM 配置
首先这个 devin 写的是支持自定义的 LLM 配置,并且提供了交互式命令供我们选择,直接在项目根目录下 make setup-config
➜  OpenDevin git:(main) make setup-config

Setting up config.toml...
make[1]: 进入目录“/home/zhangzhe/LLM/OpenDevin”
Enter your workspace directory (as absolute path) [default: ./workspace]:
Do you want to persist the sandbox container? [true/false] [default: true]:
Enter a password for the sandbox container: zhangzhe2023
Enter your LLM model name, used for running without UI. Set the model in the UI after you start the app. (see https://docs.litellm.ai/docs/providers for full list) [default: gpt-4o]: qwen72b
Enter your LLM api key: EMPTY
Enter your LLM base URL [mostly used for local LLMs, leave blank if not needed - example: http://localhost:5001/v1/]: http://215.49:8000/v1
Enter your LLM Embedding Model
Choices are:
  - openai
  - azureopenai
  - Embeddings available only with OllamaEmbedding:
    - llama2
    - mxbai-embed-large
    - nomic-embed-text
    - all-minilm
    - stable-code
  - Leave blank to default to 'BAAI/bge-small-en-v1.5' via huggingface
> openai
make[1]: 离开目录“/home/zhangzhe/LLM/OpenDevin”
Config.toml setup completed.
但是我这样配置了,好像没有生效哦
make build
这里面干的东西比较多,配置 python,前端的 node_modules 下载,也是遇到了不少坑。先粗略放一个日志感受一下。
➜  OpenDevin git:(main) make build

Building project...
Checking dependencies...
Checking system...
Linux detected.
Checking Python installation...
Python 3.11.9 is already installed.
Checking npm installation...
npm 10.5.2 is already installed.
Checking Node.js installation...
Node.js 20.13.1 is already installed.
Checking Docker installation...
Docker version 24.0.5, build 24.0.5-0ubuntu1~20.04.1 is already installed.
Checking Poetry installation...
Poetry (version 1.8.3) is already installed.
Dependencies checked successfully.
Pulling Docker image...
Using default tag: latest
latest: Pulling from opendevin/sandbox
3c645031de29: Downloading  15.76MB/29.53MB
8429b0886fe2: Downloading  25.36MB/184.7MB
05a8e69e51e3: Download complete
78a1e71658b2: Download complete

  - Installing retry (0.9.2)
  - Installing ruff (0.4.8)
  - Installing seaborn (0.13.2)
  - Installing streamlit (1.35.0)
  - Installing swebench (1.1.5 7b0c4b1)
  - Installing termcolor (2.4.0)
  - Installing types-toml (0.10.8.20240310)
  - Installing whatthepatch (1.0.5)

Installing the current project: opendevin (0.1.0)
Running playwright install --with-deps chromium...
Installing dependencies...
Switching to root user to install dependencies...
[sudo] 的密码:
命中:1 https://mirrors.aliyun.com/kubernetes/apt kubernetes-xenial InRelease
忽略:2 https://download.docker.com/linux/ubuntu foc
这 node 又出问题
主要是报错有一个包安装不成功,这个时候我就知道要使用官方源了。
➜  frontend git:(main) npm config list
; "user" config from /home/zhangzhe/.npmrc

registry = "https://registry.npm.taobao.org/"

; "project" config from /home/zhangzhe/LLM/OpenDevin/frontend/.npmrc

enable-pre-post-scripts = true
public-hoist-pattern = ["*@nextui-org/*"]

; node bin location = /usr/bin/node
; node version = v20.13.1
; npm local prefix = /home/zhangzhe/LLM/OpenDevin/frontend
; npm version = 10.5.2
; cwd = /home/zhangzhe/LLM/OpenDevin/frontend
; HOME = /home/zhangzhe
; Run `npm config ls -l` to show all defaults.
我换成官方的源之后,然后再开代理,就好了
先设置.npmrc
public-hoist-pattern[]=*@nextui-org/*
enable-pre-post-scripts=true
registry=https://registry.npmjs.org
然后
➜  frontend git:(main) export https_proxy=http://127.0.0.1:7890
➜  frontend git:(main) ✗ npm install

> opendevin-frontend@0.1.0 prepare
> cd .. && husky frontend/.husky


changed 1268 packages, and audited 1233 packages in 24s

281 packages are looking for funding
  run `npm fund` for details

found 0 vulnerabilities
devin 安装成功!
➜  OpenDevin git:(main) make build

Building project...
Checking dependencies...
Checking system...
Linux detected.
Checking Python installation...
Python 3.11.9 is already installed.
Checking npm installation...
npm 10.5.2 is already installed.
Checking Node.js installation...
Node.js 20.13.1 is already installed.
Checking Docker installation...
Docker version 24.0.5, build 24.0.5-0ubuntu1~20.04.1 is already installed.
Checking Poetry installation...
Poetry (version 1.8.3) is already installed.
Dependencies checked successfully.
Pulling Docker image...
Using default tag: latest
latest: Pulling from opendevin/sandbox
Digest: sha256:4bd05c581692e26a448bbc6771a21bb27002cb0e6bcf5034d0db91bb8704d0f0
Status: Image is up to date for ghcr.io/opendevin/sandbox:latest
ghcr.io/opendevin/sandbox:latest
Docker image pulled successfully.
Installing Python dependencies...
Using virtualenv: /home/zhangzhe/.cache/pypoetry/virtualenvs/opendevin-ypH5SPK--py3.11
Installing dependencies from lock file

No dependencies to install or update

Installing the current project: opendevin (0.1.0)
Setup already done. Skipping playwright installation.
Python dependencies installed successfully.
Setting up frontend environment...
Detect Node.js version...
Current Node.js version is 20.13.1, corepack is supported.
Installing frontend dependencies with npm...

> opendevin-frontend@0.1.0 prepare
> cd .. && husky frontend/.husky


up to date, audited 1233 packages in 3s

281 packages are looking for funding
  run `npm fund` for details

found 0 vulnerabilities
Running make-i18n with npm...

> opendevin-frontend@0.1.0 make-i18n
> node scripts/make-i18n-translations.cjs

Frontend dependencies installed successfully.
Installing pre-commit hooks...
pre-commit installed at .git/hooks/pre-commit
Pre-commit hooks installed successfully.
Building frontend...

> opendevin-frontend@0.1.0 build
> tsc && vite build

vite v5.3.1 building for production...
✓ 3009 modules transformed.
dist/index.html                         1.95 kB │ gzip:   0.91 kB
dist/assets/index-E7G9J2Py.css        221.98 kB │ gzip:  25.99 kB
dist/assets/web-vitals-DdRmOIVa.js      5.49 kB │ gzip:   2.05 kB
dist/assets/index-BsOxiPz-.js       2,860.40 kB │ gzip: 916.76 kB

(!) Some chunks are larger than 500 kB after minification. Consider:
- Using dynamic import() to code-split the application
- Use build.rollupOptions.output.manualChunks to improve chunking: https://rollupjs.org/configuration-options/#output-manualchunks
- Adjust chunk size limit for this warning via build.chunkSizeWarningLimit.
✓ built in 13.87s
Build completed successfully.
make run 运行
这里也是遇到了好几个坑。
ERROR:root:<class ‘RuntimeError’>: Your system has an unsupported version of sqlite3. Chroma requires sqlite3 >= 3.35.0.
最主要的还是这个。这里要升级 sqlite3 的版本,同时完成对应 python drvier 库的替换。
➜  OpenDevin git:(main) ✗ make run

Running the app...
Starting backend server...
Waiting for the backend to start...
Backend started successfully.
Starting frontend with npm...

> opendevin-frontend@0.1.0 start
> npm run make-i18n && vite --port 3001


> opendevin-frontend@0.1.0 make-i18n
> node scripts/make-i18n-translations.cjs


  VITE v5.3.1  ready in 4159 ms

  ➜  Local:   http://localhost:3001/
  ➜  Network: use --host to expose
  ➜  press h + enter to show help
ERROR:root:  File "/home/zhangzhe/LLM/OpenDevin/agenthub/monologue_agent/agent.py", line 29, in <module>
    from opendevin.memory.condenser import MemoryCondenser
  File "/home/zhangzhe/LLM/OpenDevin/opendevin/memory/__init__.py", line 3, in <module>
    from .memory import LongTermMemory
  File "/home/zhangzhe/LLM/OpenDevin/opendevin/memory/memory.py", line 3, in <module>
    import chromadb
  File "/home/zhangzhe/.cache/pypoetry/virtualenvs/opendevin-ypH5SPK--py3.11/lib/python3.11/site-packages/chromadb/__init__.py", line 83, in <module>
    raise RuntimeError(

ERROR:root:<class 'RuntimeError'>: Your system has an unsupported version of sqlite3. Chroma                     requires sqlite3 >= 3.35.0.
Please visit                     https://docs.trychroma.com/troubleshooting#sqlite to learn how                     to upgrade.
那我就手动升级 sqlite3 版本到最新
草,还得手动编译 sqlite3,升级版本
原来包都给我安装到这里了啊
File "/home/zhangzhe/.cache/pypoetry/virtualenvs/opendevin-ypH5SPK--py3.11/lib/python3.11/site-packages/chromadb/__init__.py", line 79, in <module>
https://stackoverflow.com/questions/64861331/how-can-i-install-or-upgrade-to-sqlite-3-33-0-on-ubuntu-18-04
上面这个教程无敌了。
升级完还不行,还得替换 Python 标准库中的 sqlite3 模块实现,用 pysqlite3 模块取而代之。
按照这个老哥的提示。
https://gist.github.com/defulmere/8b9695e415a44271061cc8e272f3c300?permalink_comment_id=4650539#gistcomment-4650539

这段代码的作用在于替换 Python 标准库中的
sqlite3模块实现,用pysqlite3模块取而代之。下面是对这段代码的逐行解析:
import('pysqlite3'): 这行代码动态地导入了pysqlite3模块。import是 Python 的一个内置函数,用于低级别的模块导入。这里直接通过字符串形式指定了要导入的模块名。导入后,pysqlite3模块会被添加到sys.modules字典中,该字典存储了所有已导入模块的引用。import sys: 导入 Python 的系统模块sys,这个模块提供了访问和控制 Python 解释器的一些变量和函数。sys.modules['sqlite3'] = sys.modules.pop('pysqlite3'): 这行代码完成了模块的替换工作。
sys.modules是一个字典,它保存了所有已经导入模块的引用,键是模块名,值是模块对象。sys.modules.pop('pysqlite3')这一部分是从sys.modules字典中移除键为'pysqlite3'的项,并返回对应的值(即pysqlite3模块的对象)。- 接着,这个
pysqlite3模块的对象被赋值给了sys.modules['sqlite3'],这意味着当你在代码中使用import sqlite3时,实际上加载的是pysqlite3模块,而非 Python 标准库中的sqlite3模块。
这样做的目的通常是因为pysqlite3可能提供了额外的功能或者与某些特定需求更加兼容,比如支持更多 SQLite 特性或性能上的优化。通过这种方式,开发者可以在不改变原有代码(即仍然使用import sqlite3)的情况下,使用pysqlite3模块的功能。
这里有一个坑需要注意一下,就是这俩库 都需要在 opendevin 的 venv 下面安装这几个包哦。要不然 import 的时候会找不到,会去用户默认的 site-package 里面找。
➜  bin ./pip install pysqlite3
Looking in indexes: https://pypi.tuna.tsinghua.edu.cn/simple
Installing collected packages: pysqlite3
Successfully installed pysqlite3-0.5.3
➜  bin ./pip install pysqlite3-binary
\Looking in indexes: https://pypi.tuna.tsinghua.edu.cn/simple
Collecting pysqlite3-binary
Installing collected packages: pysqlite3-binary
Successfully installed pysqlite3-binary-0.5.3
➜  bin pwd
/home/zhangzhe/.cache/pypoetry/virtualenvs/opendevin-ypH5SPK--py3.11/bin
运行成功!
> node scripts/make-i18n-translations.cjs


  VITE v5.3.1  ready in 4023 ms

  ➜  Local:   http://localhost:3001/
  ➜  Network: use --host to expose
  ➜  press h + enter to show help
INFO:     Started server process [1198078]
INFO:     Waiting for application startup.
INFO:     Application startup complete.
ERROR:    [Errno 98] error while attempting to bind on address ('127.0.0.1', 3000): address already in use
INFO:     Waiting for application shutdown.
INFO:     Application shutdown complete.
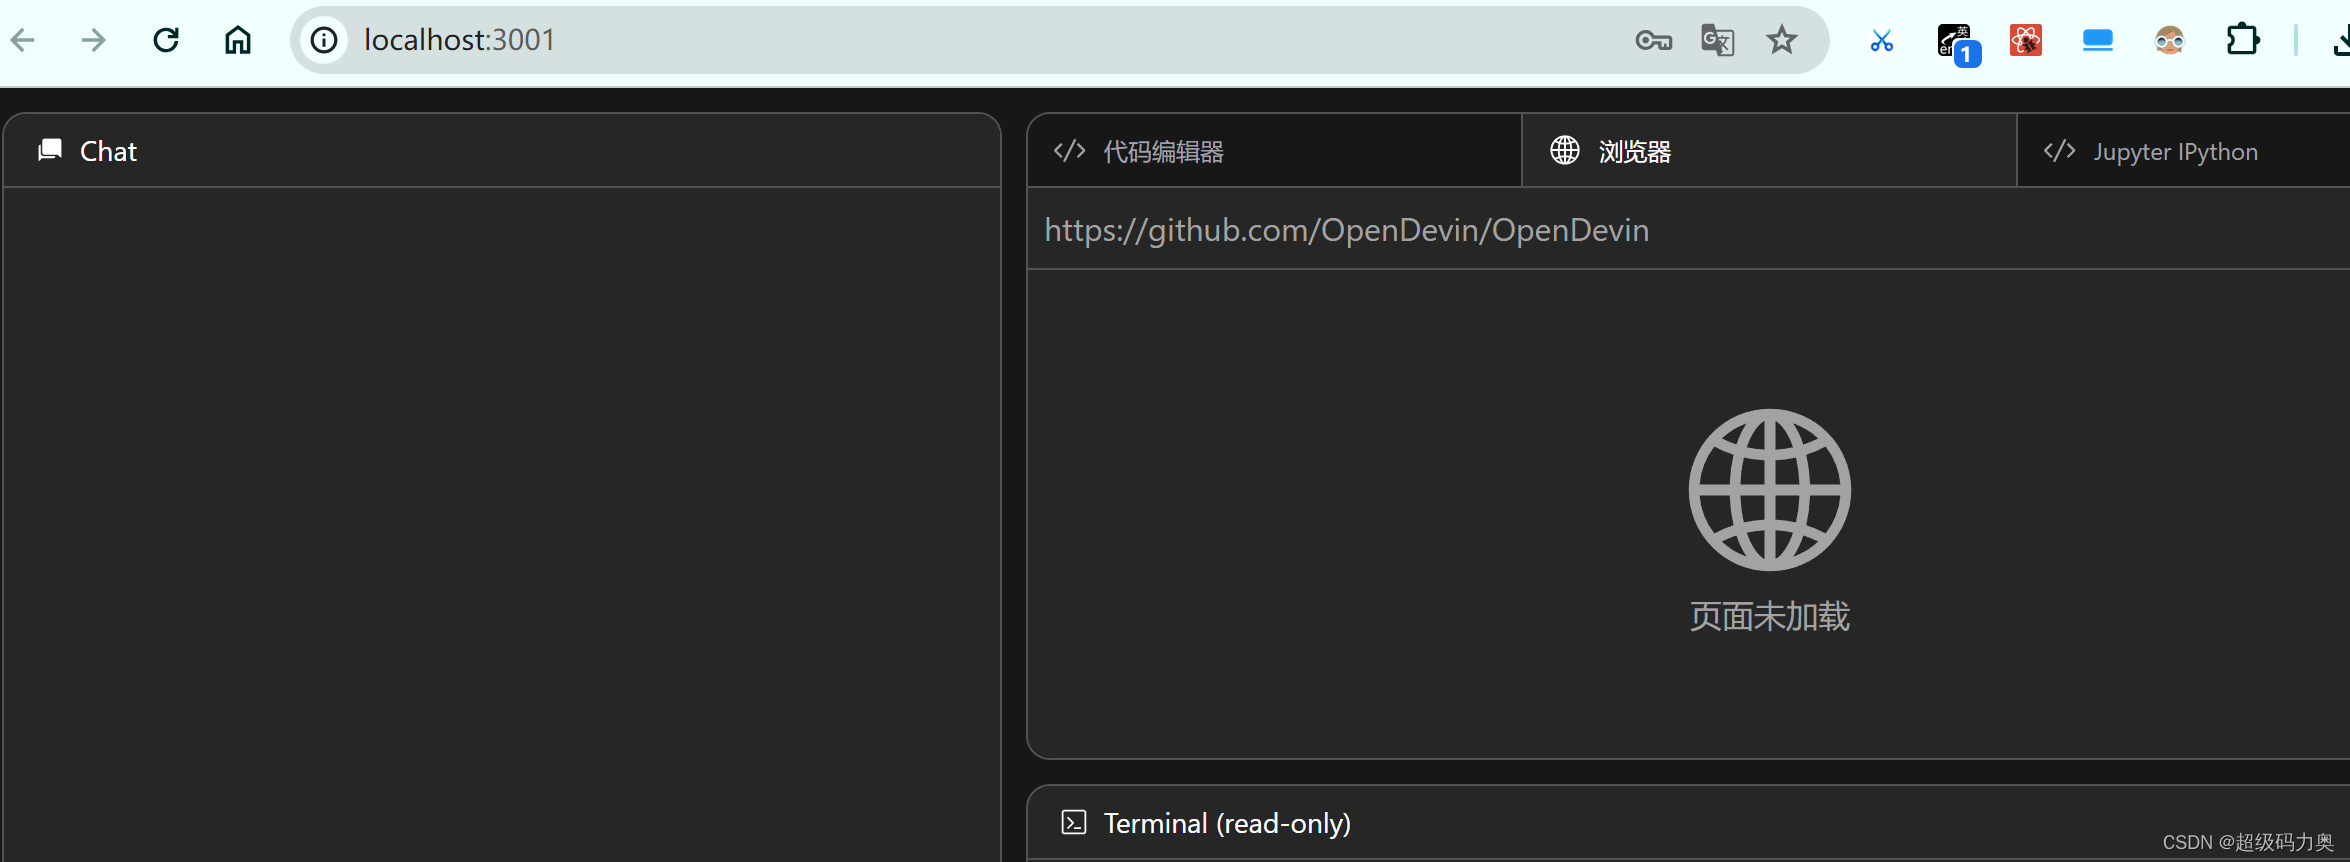
界面出来了
这个 devin 使用的是 poetry 提供的 venv
记得切换一下 Python 解释器路径,要不然代码索引有问题。


