一、多人脸提取
1.导包、设置窗口、选择文件夹里图片的函数和单人脸提取一致,此处省略(详情看‘单人脸提取’)
2.对图像进行处理,在窗口画布上显示出来
2.1定义名为tq的函数,在函数内部声明了三个全局变量file_path、face_image_labels和canvas
def tq():
    global file_path, face_image_labels, canvas
2.2如果file_path为真,则执行下面代码
if file_path:
2.3使用load_image_file函数加载file_path指定的图像文件;face_locations检测人脸的位置
 img = face_recognition.load_image_file(file_path)
    face_locations = face_recognition.face_locations(img, model='hog')
2.4遍历face_image_labels列表,然后从窗口移除之前的图像,便于展示新的图像
   for face_image_label in face_image_labels:
        face_image_label.destroy()
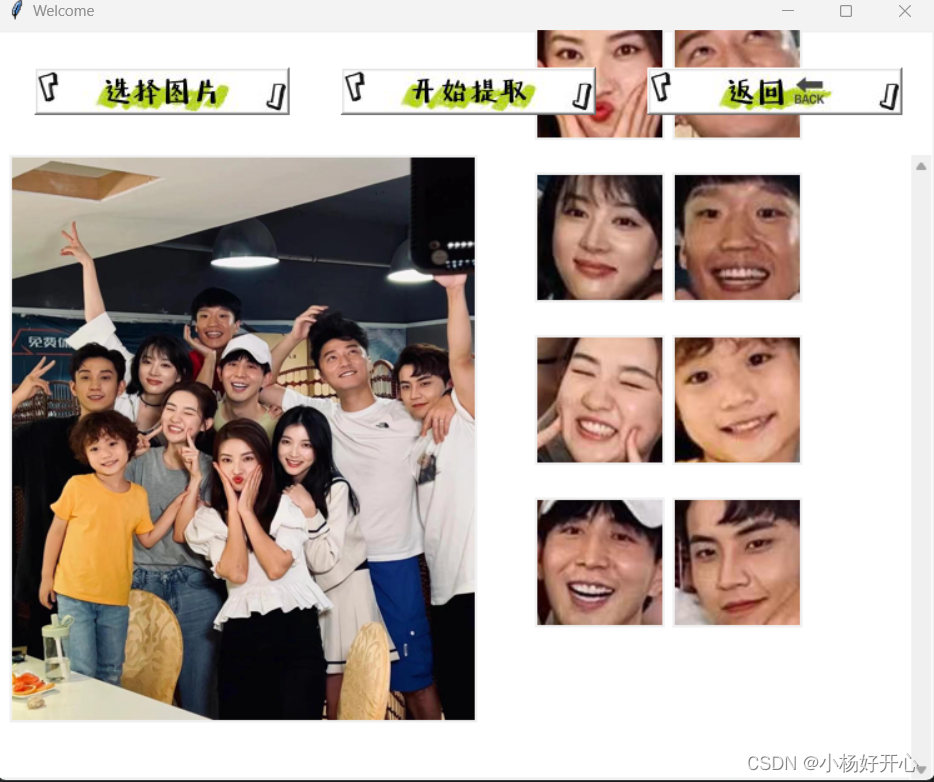
2.5设置提取后的人脸宽度为100,两个图像之间隔为10px
   face_width = 100
    spacing = 10
2.6通过上面这些宽度和间隔设置,计算画布的最小宽度
canvas_width = (face_width + spacing) * len(face_locations) - spacing
2.7将人脸数量*100得到画布的高度
canvas_height = len(face_locations) * 100
2.8将宽和高配置到画布上
canvas.config(width=canvas_width, height=canvas_height)
2.9创建一个滚动条,关联到win窗口
scrollbar = tk.Scrollbar(win, orient="vertical", command=canvas.yview)
2.10滚动条放置在窗口的(730, 100)位置,设置高度为500px
scrollbar.place(x=730, y=100, height=500)
2.11配置canvas的yscrollcommand属性,使得当画布内容超出显示区域时,可以使用滚动条来滚动显示
canvas.configure(yscrollcommand=scrollbar.set)
2.12初始化一个空列表,用于存储人脸图像的标签
face_image_labels = []
2.13设置图像在画布上的初始位置
x_p = 430
y_p = 90
2.14初始化,用于记录当前行的人脸图像数量
count = 0
2.15遍历列表,列表存储了识别的人脸的位置,enumerate函数会返回每个元素的索引i和值face_location (此处和但人脸提取的【4.5~4.11】部分相似)
  for i, face_location in enumerate(face_locations):
        top, right, bottom, left = face_location
        face_img = img[top:bottom, left:right]

        face_name = f"face_{i}.jpg"

        face_image = Image.fromarray(face_img)
        face_image = face_image.resize((100, 100))
        face_photo = ImageTk.PhotoImage(face_image)
2.16创建标签,使其在画布上显示图像
 face_image_label = tk.Label(canvas, image=face_photo)
    face_image_label.image = face_photo
2.17画布上创建一个窗口,放置人脸图像标签,设置其位置
canvas.create_window(x_p, y_p, anchor='nw', window=face_image_label)
2.18将新创建的人脸图像添加到列表中,使用append方法
face_image_labels.append(face_image_label)
2.19计数器的值+1,代表当前行增加了一张图像
count += 1
2.20当一行放两张图像后,则开始下一行,count重置为0
        if count == 2:  # 每放两张图片后增加间距
            x_p = 430  # 重置x_p
            y_p += 130  # 设置第一行和第二行之间的垂直间距为50像素
count = 0
2.21如果一行还未放满两张,则x坐标增加110px放置一行中的第二个图片
 else:
            x_p += 110
2.22调用了canvas的yview_scroll方法来滚动画布;滚动量/120,120是根据鼠标滚轮灵敏度调整的。*-1是为了反转滚动的方向,使得向上滚动时内容向上移动,向下滚动时内容向下移动。
def on_mouse_wheel(event):
    canvas.yview_scroll(-1 * (event.delta // 120), "units")  # 根据鼠标滚轮事件滚动Canvas
2.23鼠标光标在任何窗口上,只要滚动鼠标滚轮,就会调用on_mouse_wheel函数执行滚动
canvas.bind_all("<MouseWheel>", on_mouse_wheel) # 绑定鼠标滚轮事件
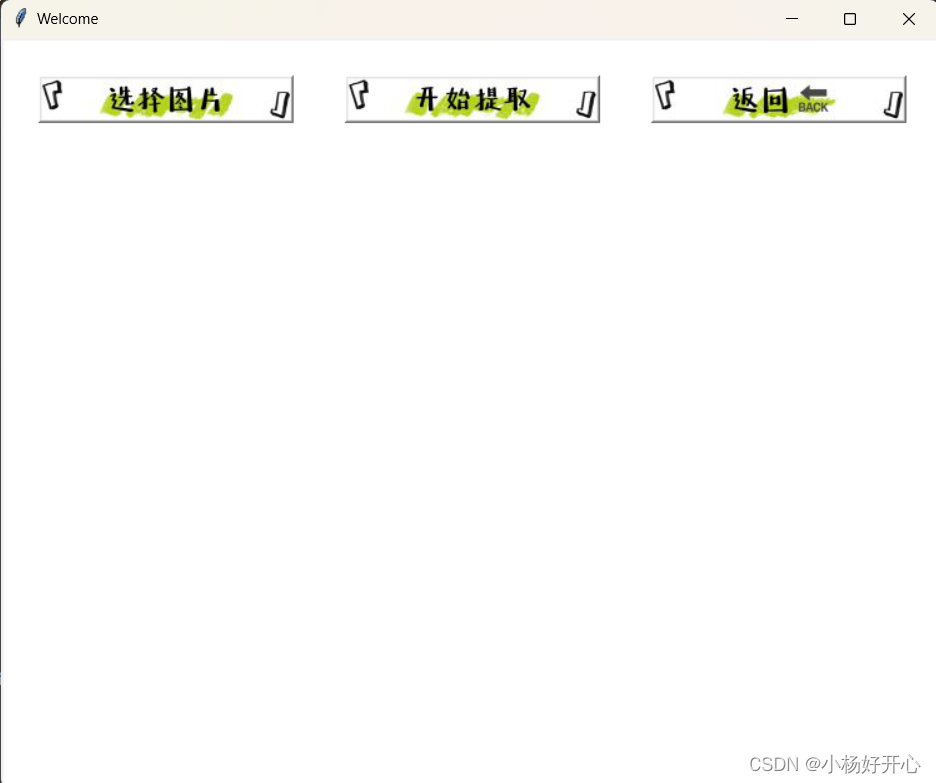
运行结果:


![[Spring Boot实战] 如何快速地创建spring boot项目](https://img-blog.csdnimg.cn/direct/7b8127d8e68e434ca84dc49c48e55dd5.png)
