目录
- 一、paas平台环境选择
- 二、代码环境准备
- 1.代码下载
- 2.环境安装
- modelsope
- transformers
- accelerate
- 3.常规pip安装
- 4.代码修改
- 4.代码修改
- 三.算法启动
一、paas平台环境选择
驱动选择:5.10.22及以上
镜像选择:pytorch2.1

二、代码环境准备
1.代码下载
git clone https://github.com/jianchang512/chatTTS-ui
python /torch/src/catch/tools/torch_gpu2mlu/torch_gpu2mlu.py -i chatTTS-ui/
2.环境安装
modelsope
git clone https://github.com/modelscope/modelscope.git
python /torch/src/catch/tools/torch_gpu2mlu/torch_gpu2mlu.py -i modelscope/
pip install -r modelscope/requirements/framework.txt
pip install -e ./modelscope_mlu/
transformers
git clone -b v4.39.2 https://githubfast.com/huggingface/transformers.git
pip install -e ./transformers/
accelerate
git clone https://githubfast.com/huggingface/accelerate.git
pip install -e ./accelerate/
3.常规pip安装
cd chatTTS-ui_mlu && pip install -r requirements.txt
4.代码修改
vocos/heads

 	+	mag = mag.cpu()
    +   x = x.cpu()
    +   y = y.cpu()
        S = mag * (x + 1j * y)
    +    mag = mag.mlu()
    +    x = x.mlu()
    +   y = y.mlu()
    +    S =S.mlu()
4.代码修改
三.算法启动
模型默认采用魔塔路径下载,这里不做模型下载教学
python app.py
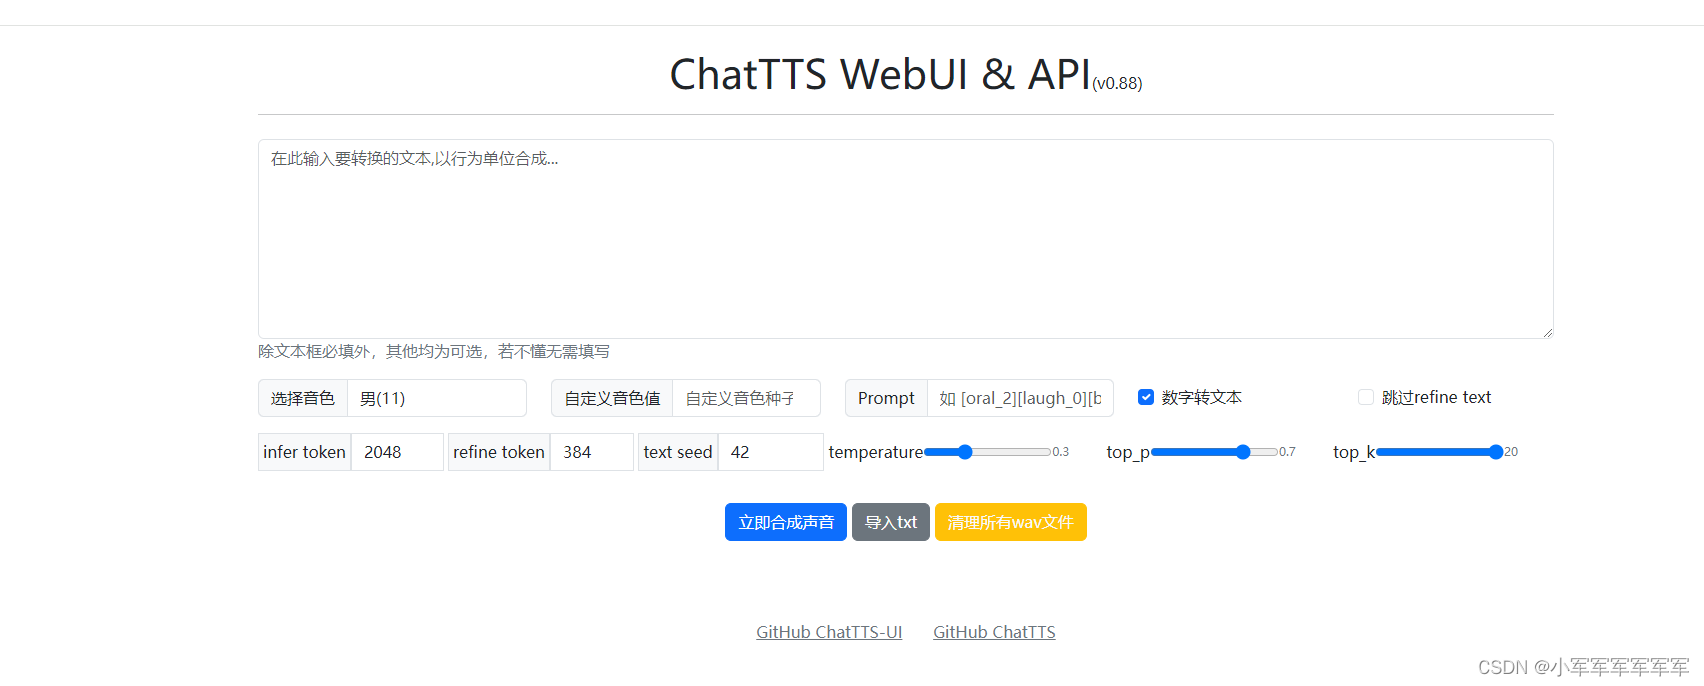
MLU体验感拉满了简直
、


![[Kubernetes] 容器运行时 Container Runtime](https://img-blog.csdnimg.cn/direct/b1382e49c21946a1bc0709286690affb.png)
