文章目录
- 引言
- 前言:IPFS网络部署
- 1.下载安装文件
- 2.安装及初始化
- 3.测试上传文件
- 引入IPFS 依赖包
- 初始化IPFS
- 创建接口类以及实现类
- 创建前端访问的控制类
- 前端设计及验证
引言
该篇文章是记录使用IPFS存储文件与java的Springboot项目连接的过程,前端简单地用了一个vue的文件传输组件,将本地的文件上传到IPFS中存储,并返回哈希值。
前言:IPFS网络部署
1.下载安装文件
ipfs官网地址:https://dist.ipfs.tech/
下载kubo(go-ipfs),安装列表中适配的操作系统进行下载对应的安装文件。
2.安装及初始化
#1.解压安装包
$tar -zxvf kubo_v0.21.0_linux-amd64.tar.gz
#2.进入解压后的目录
$cd kubo
#3.执行install.sh脚本
$./install.sh
#4.执行初始化
$ipfs init
#5.解决跨域问题
$ipfs config --json API.HTTPHeaders.Access-Control-Allow-Methods '["PUT", "GET", "POST", "OPTIONS"]'
$ipfs config --json API.HTTPHeaders.Access-Control-Allow-Origin '["*"]'
$ipfs config --json API.HTTPHeaders.Access-Control-Allow-Credentials '["true"]'
$ipfs config --json API.HTTPHeaders.Access-Control-Allow-Headers '["Authorization"]'
$ipfs config --json API.HTTPHeaders.Access-Control-Expose-Headers '["Location"]'
#6.启动ipfs
$ipfs daemon
#7.若启动时与本地服务端口发生冲突,可以在IPFS的配置中对端口进行重新指定
3.测试上传文件
在改目录下创建一个blockchain.txt文件,

ipfs 使用add 命令来添加内容到节点中, 在命令行输入:
$ipfs add blockchain.txt

当它文件添加到节点时,会为文件生成唯一的hash,可以使用ipfs cat 查看文件的内容:
$ipfs cat QmaXomPM2Kh1pNmhpvY1M5jFvThoZBHp2NckDJTbBnb6Xa

引入IPFS 依赖包
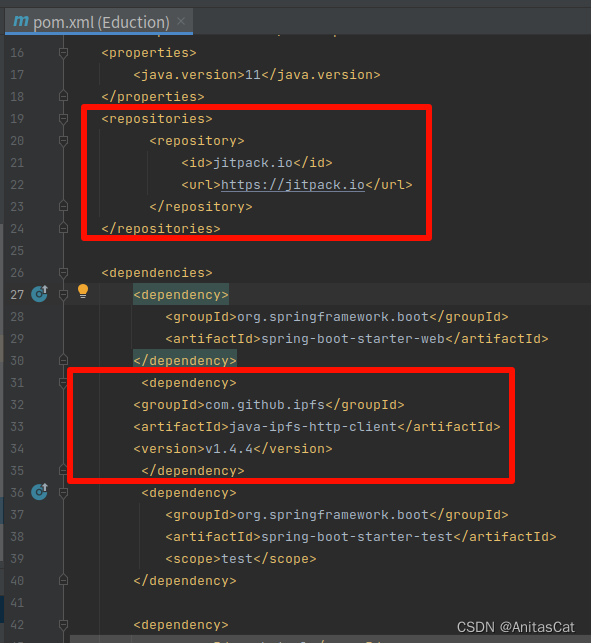
首先在创建的Springboot项目中的pom.xml文件中添加ipfs依赖,
<repositories>
		<repository>
			<id>jitpack.io</id>
			<url>https://jitpack.io</url>
		</repository>
</repositories>
<dependency>
		<groupId>com.github.ipfs</groupId>
		<artifactId>java-ipfs-http-client</artifactId>
		<version>v1.4.4</version>
</dependency>
初始化IPFS
初始化IPFS的过程主要是编写配置类,用于与本地你开启的IPFS节点进行连接,本篇文章只启动了一个IPFS节点,后续会进行多节点的连接。
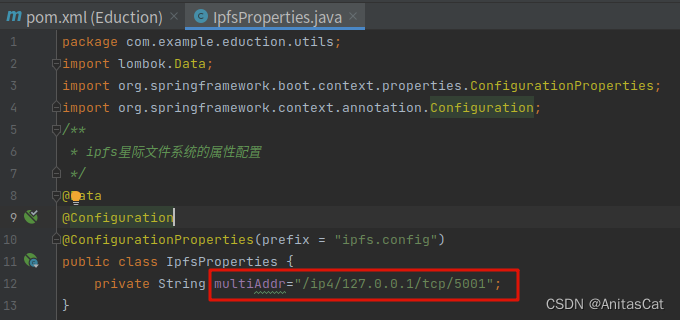
首先配置IPFS系统的属性配置类IpfsProperties,需要注意的是multiAddr的设置,multiAddr的值用于指定IPFS节点的网络地址和端口,这样客户端就可以通过这个地址连接到IPFS节点。
当我们用ipfs daemon启动节点之后,就可以在控制台看到,

package com.example.eduction.utils;
import lombok.Data;
import org.springframework.boot.context.properties.ConfigurationProperties;
import org.springframework.context.annotation.Configuration;
@Data
@Configuration
@ConfigurationProperties(prefix = "ipfs.config")
public class IpfsProperties {
    private String multiAddr="/ip4/127.0.0.1/tcp/5001";
}
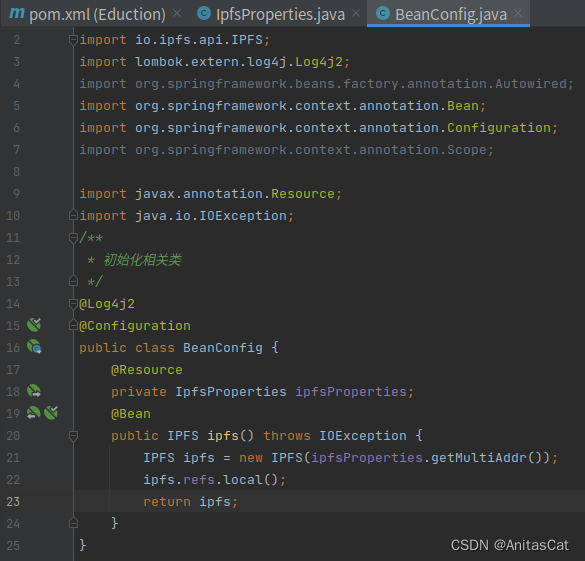
然后初始化相关类BeanConfig,
package com.example.eduction.utils;
import io.ipfs.api.IPFS;
import lombok.extern.log4j.Log4j2;
import org.springframework.context.annotation.Bean;
import org.springframework.context.annotation.Configuration;
import javax.annotation.Resource;
import java.io.IOException;
/**
 * 初始化相关类
 */
@Log4j2
@Configuration
public class BeanConfig {
    @Resource
    private IpfsProperties ipfsProperties;
    @Bean
    public IPFS ipfs() throws IOException {
        IPFS ipfs = new IPFS(ipfsProperties.getMultiAddr());
        ipfs.refs.local();
        return ipfs;
    }
}
以上的两个类的代码我感觉可以用IPFS ipfs = new IPFS("/ip4/127.0.0.1/tcp/5001"),这一行代码搞定,但还没有验证,后续可以试试。
创建接口类以及实现类
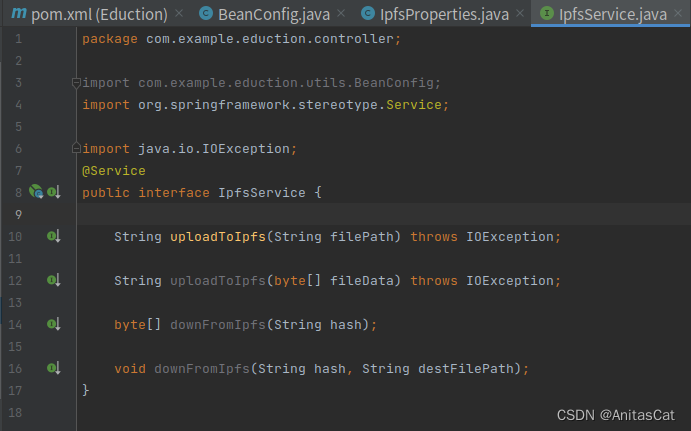
首先创建接口类IpfsService,
package com.example.eduction.controller;
import com.example.eduction.utils.BeanConfig;
import org.springframework.stereotype.Service;
import java.io.IOException;
@Service
public interface IpfsService {

    String uploadToIpfs(String filePath) throws IOException;

    String uploadToIpfs(byte[] fileData) throws IOException;

    byte[] downFromIpfs(String hash);

    void downFromIpfs(String hash, String destFilePath);
}
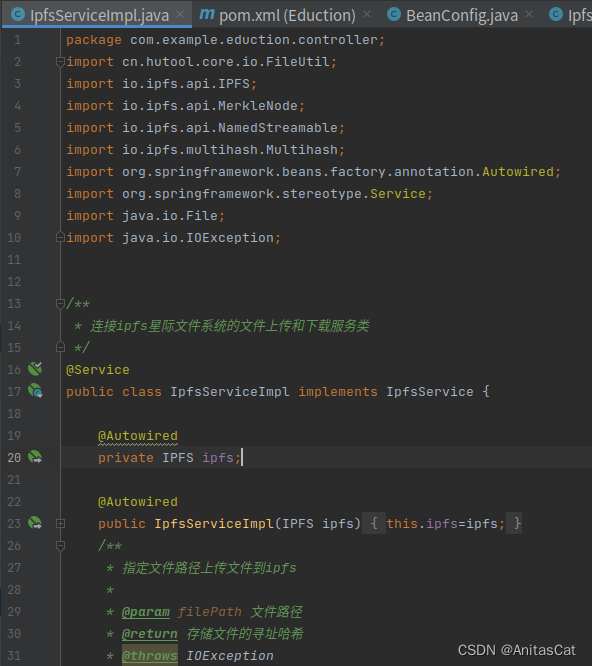
然后创建实现类IpfsServiceImpl,
package com.example.eduction.controller;
import cn.hutool.core.io.FileUtil;
import io.ipfs.api.IPFS;
import io.ipfs.api.MerkleNode;
import io.ipfs.api.NamedStreamable;
import io.ipfs.multihash.Multihash;
import org.springframework.beans.factory.annotation.Autowired;
import org.springframework.stereotype.Service;
import java.io.File;
import java.io.IOException;


/**
 * 连接ipfs星际文件系统的文件上传和下载服务类
 */
@Service
public class IpfsServiceImpl implements IpfsService {

    @Autowired
    private IPFS ipfs;

    @Autowired
    public IpfsServiceImpl(IPFS ipfs){
        this.ipfs=ipfs;
    }
    /**
     * 指定文件路径上传文件到ipfs
     *
     * @param filePath 文件路径
     * @return 存储文件的寻址哈希
     * @throws IOException
     */
    @Override
    public String uploadToIpfs(String filePath) throws IOException {
        NamedStreamable.FileWrapper file = new NamedStreamable.FileWrapper(new File(filePath));
        MerkleNode addResult = ipfs.add(file).get(0);
        String hash = addResult.hash.toString();
        return hash;
    }
    /**
     * 将byte格式的数据,上传至ipfs
     *
     * @param fileData
     * @return 存储文件的寻址哈希
     * @throws IOException
     */
    @Override
    public String uploadToIpfs(byte[] fileData) throws IOException {
        NamedStreamable.ByteArrayWrapper file = new NamedStreamable.ByteArrayWrapper(fileData);
        MerkleNode addResult = ipfs.add(file).get(0);
        return addResult.hash.toString();
    }
    /**
     * 根据Hash值,从ipfs下载内容,返回byte数据格式
     * @param hash 文件寻址哈希
     * @return
     */
    @Override
    public byte[] downFromIpfs(String hash) {
        byte[] data = null;
        try {
            data = ipfs.cat(Multihash.fromBase58(hash));
        } catch (IOException e) {
            e.printStackTrace();
        }
        return data;
    }

    /**
     * 根据Hash值,从ipfs下载内容,并写入指定文件destFilePath
     *
     * @param hash         文件寻址哈希
     * @param destFilePath 目标文件路径
     */
    @Override
    public void downFromIpfs(String hash, String destFilePath) {
        byte[] data = null;
        try {
            data = ipfs.cat(Multihash.fromBase58(hash));
        } catch (IOException e) {
            e.printStackTrace();
        }
        if (data != null && data.length > 0) {
            FileUtil.del(destFilePath);
            FileUtil.writeBytes(data, destFilePath);
        }
    }
}
创建前端访问的控制类
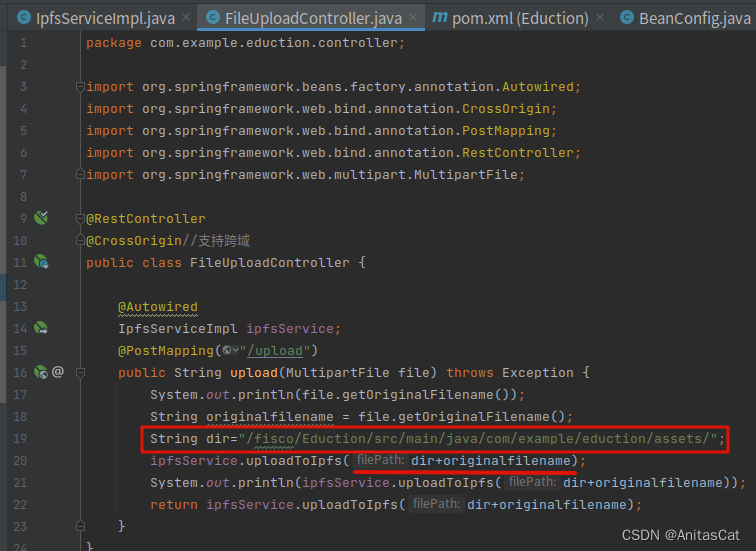
创建FileUploadController,我设置的调用路径为http://127.0.0.1:8423/upload , 这里文件上传接口编写需要注意的是文件的路径和名称,从前端上传的文件是以MultipartFile的形式传到后端的,然后我们利用getOriginalFilename()方法获取真实的文件名称,但这只是获取了文件的名称,而没有获取文件路径。这个文件路径是系统的绝对路径,因此我们要再加上dir前缀。
package com.example.eduction.controller;
import org.springframework.beans.factory.annotation.Autowired;
import org.springframework.web.bind.annotation.CrossOrigin;
import org.springframework.web.bind.annotation.PostMapping;
import org.springframework.web.bind.annotation.RestController;
import org.springframework.web.multipart.MultipartFile;

@RestController
@CrossOrigin//支持跨域
public class FileUploadController {

    @Autowired
    IpfsServiceImpl ipfsService;
    @PostMapping("/upload")
    public String upload(MultipartFile file) throws Exception {
        System.out.println(file.getOriginalFilename());
        String originalfilename = file.getOriginalFilename();
        String dir="/fisco/Eduction/src/main/java/com/example/eduction/assets/";
        ipfsService.uploadToIpfs(dir+originalfilename);
        System.out.println(ipfsService.uploadToIpfs(dir+originalfilename));
        return ipfsService.uploadToIpfs(dir+originalfilename);
    }
}
前端设计及验证
前端采用vue+elementui,随便写了一个接口。
<template>
  <el-card class="box-card">
    <div slot="header" class="clearfix">
      <span>学历存证</span>
<!--      <el-button style="float: right; padding: 3px 0" type="text">操作按钮</el-button>-->
    </div>
    <div class="text item">
      {{'下载学历数据填写表'}}<el-button type="primary" style="margin-left: 100px;text-align: left" @click="downloadTable">点击下载</el-button>
    </div>
    <div class="text item">
      {{'上传填写好的学历数据填写表'}}

      <el-upload
        class="upload-demo"
        action="http://localhost:8463/upload"
        :on-preview="handlePreview"
        :on-remove="handleRemove"
        :on-success="uploadsuccess"
        :before-remove="beforeRemove"
        multiple
        :limit="3"
        :on-exceed="handleExceed"
        :file-list="fileList">
        <el-button type="primary" >点击上传</el-button>
        <div slot="tip" class="el-upload__tip">只能上传txt文件,且不超过500kb</div>
      </el-upload>
    </div>
    <el-button type="success" @click="confirmSubmit">确认提交</el-button>
  </el-card>
</template>
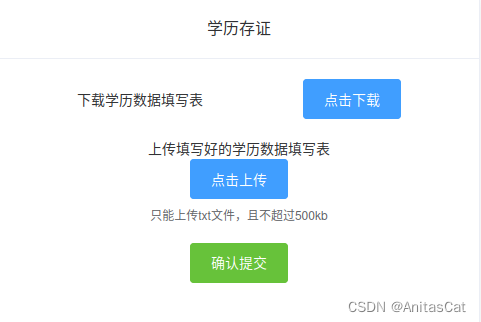
然后点击点击上传按钮,选择我自己的系统路径"/fisco/Eduction/src/main/java/com/example/eduction/assets/"下的文件,
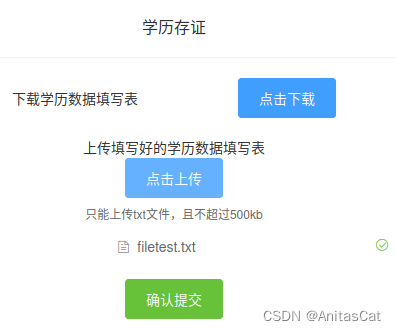
成功上传之后就会显示出来,
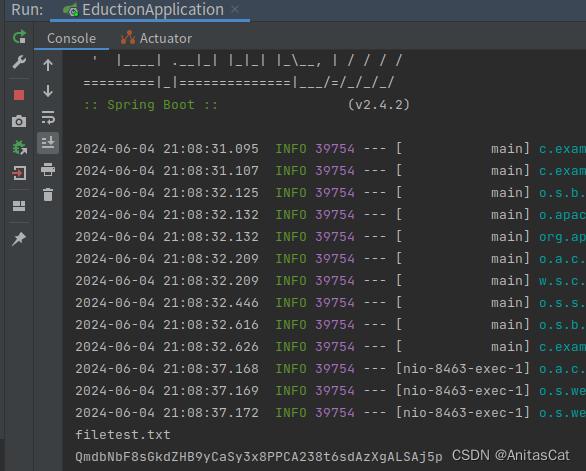
并且,我在后端控制台设置了文件存储在IPFS后打印hash值,因此我们可以再后端看到hash值打印出来,说明我们上传成功。
最后我们验证一下,使用改hash索引是否能够在ipfs返回我们所存的文件内容,

结果返回我们存在filetest.txt文件里面的内容8623。
参考文章:
IPFS 使用入门 | 登链社区 | 区块链技术社区 (learnblockchain.cn)
区块链 - 集成IPFS星际文件系统,并基于WeBASE-Front发送交易接口实现文件类上链存证的方案 - 个人文章 - SegmentFault 思否

