目录
数据库主机
安装Mariadb数据库服务
设置mariadb开机自动启动
Php主机
部署Apache服务器
设置apache服务开机自启
安装php
安装 phpMyAdmin
打开测试机
更新软件包列表:
首先,确保你的软件包列表是最新的。打开终端并输入以下命令:
sudo yum update
为了防止网页被禁止访问首先关闭两个主机的防火墙
systemctl stop firewalld
查看防火墙状态
systemctl status firewalld
数据库主机
安装Mariadb数据库服务
yum install mariadb-server mariadb
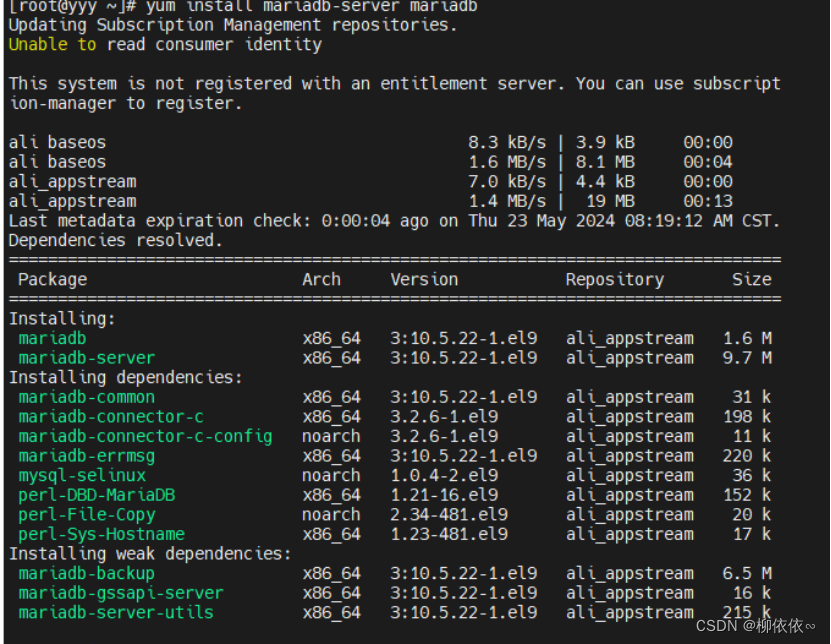
mariadb是mysql的一个分支,比起mysql具有更好的性能
启动数据库服务
sudo systemctl start mariadb
设置数据库密码
mysql_secure_installation
没有密码直接回车
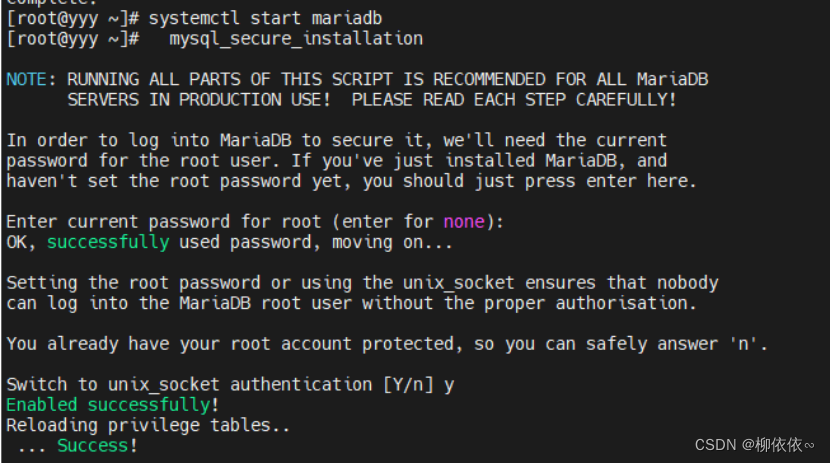
使用mysql -u root -p命令登录账户
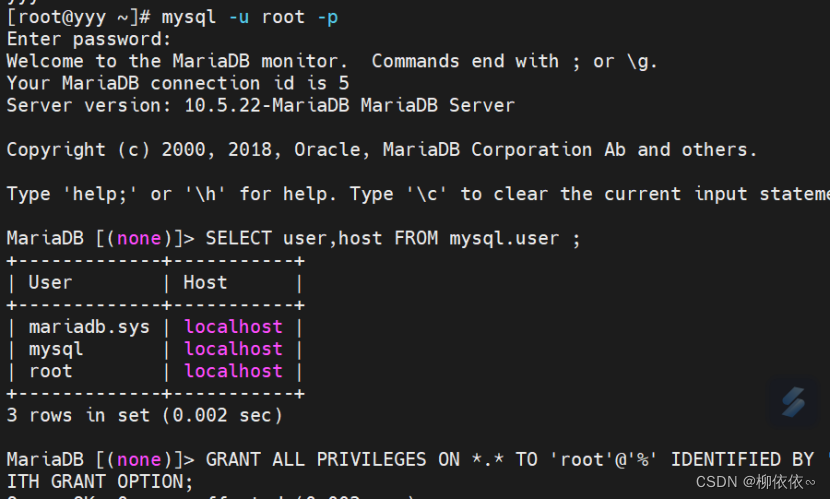
创建用户及设置密码和访问ip
GRANT ALL PRIVILEGES ON *.* TO 'root'@'%' IDENTIFIED BY '1234' WITH GRANT OPTION;
root :用户名
%:所有ip都可以访问可以改成固定ip
1234:密码
查看用户是否创建
SELECT user,host FROM mysql.user ;

exit退出
设置mariadb开机自动启动
systemctl enable mariadb

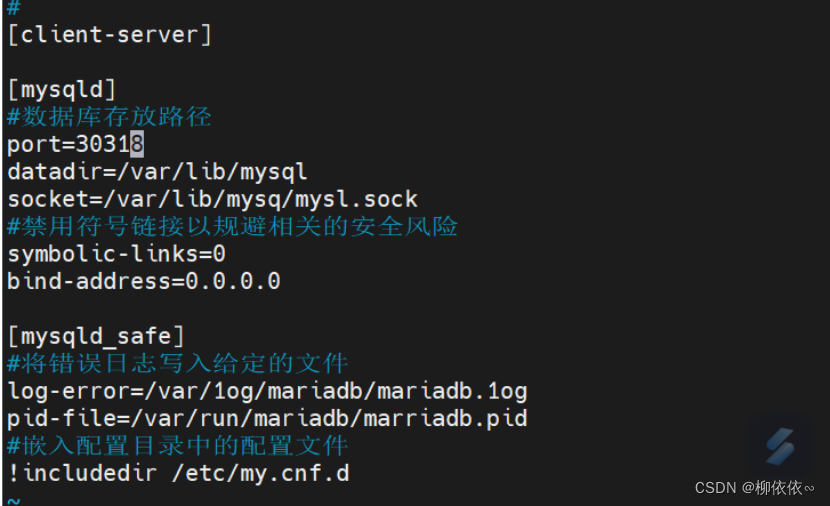
更改my.cnf配置文件(改端口)

修改文件(注意格式)
# This group is read both both by the client and the server
# use it for options that affect everything
#
[client-server]
[mysqld]
#数据库存放路径
port=30318
datadir=/var/lib/mysql
socket=/var/lib/mysq/mysl.sock
#禁用符号链接以规避相关的安全风险
symbolic-links=0
bind-address=0.0.0.0
[mysqld_safe]
#将错误日志写入给定的文件
log-error=/var/1og/mariadb/mariadb.1og
pid-file=/var/run/mariadb/marriadb.pid
#嵌入配置目录中的配置文件
!includedir /etc/my.cnf.d
[client-server]
Php主机
部署Apache服务器
安装Apache
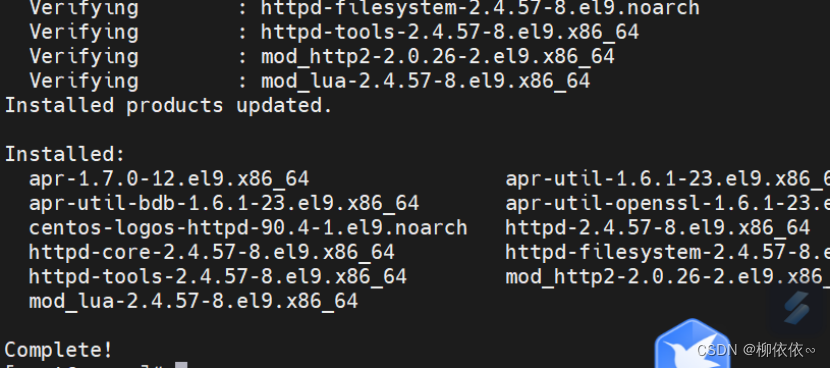
执行yum install httpd进行安装

启动apache
执行systemctl start httpd启动
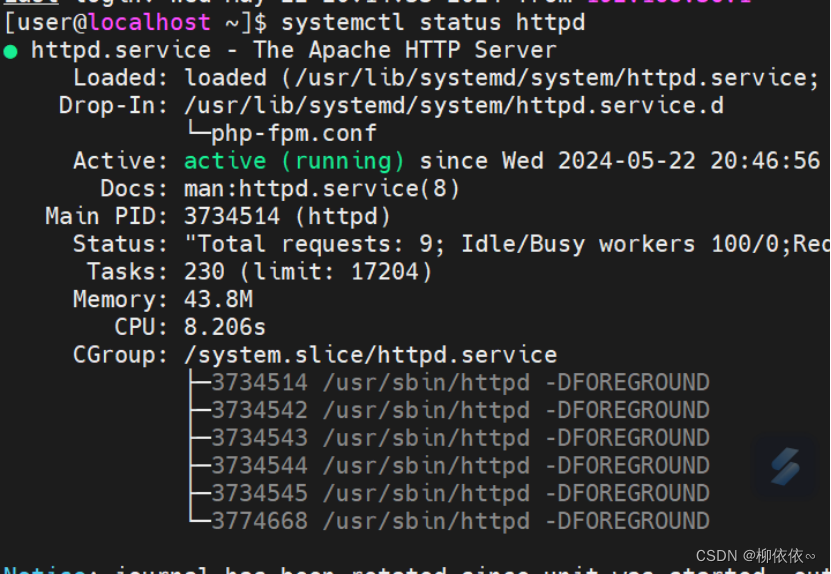
检查是否成功
systemctl status httpd
设置apache服务开机自启
systemctl enable httpd
如果需要更改apache端口
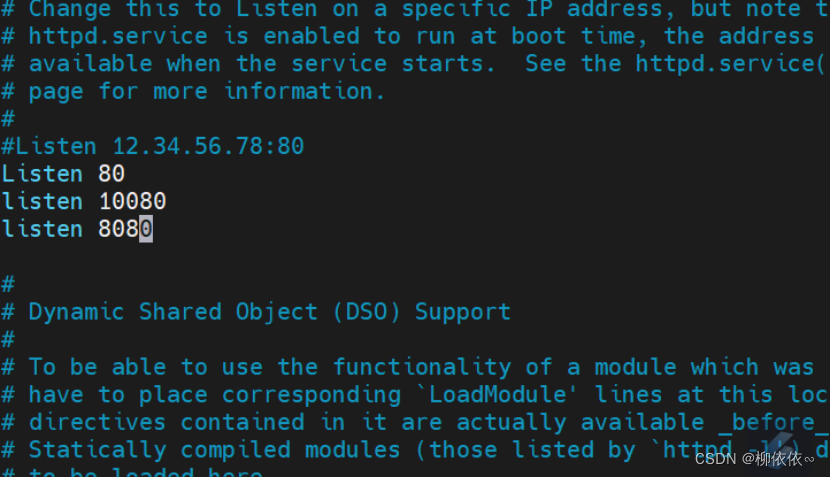
找到并编辑Apache配置文件
sudo vi /etc/httpd/conf/httpd.conf
要找到Listen指令,该指令指定了Apache服务器监听的端口号
- 管理web服务器
使用systemctl管理httpd
设置开机启动systemctl enable httpd.service
启动systemctl start httpd.service

在网页端输入ip显示如图则说明apache启动成功

安装php
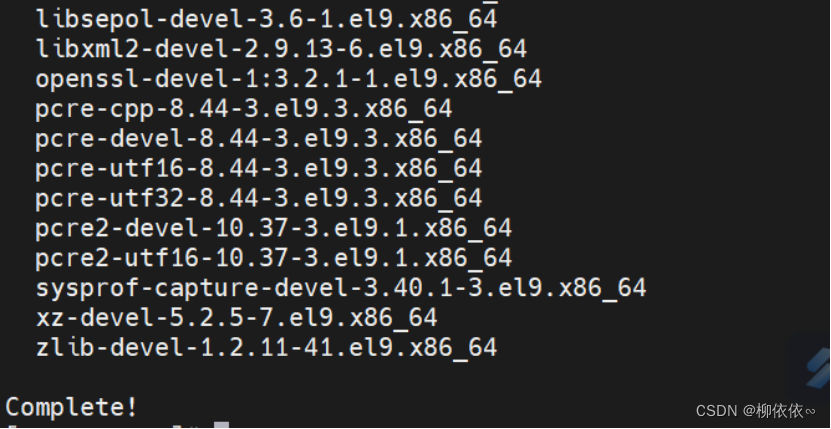
1、命令
yum install php
2、安装mysqli
yum install php-mysqli
3、重新启动 Apache 服务
systemctl restart httpd
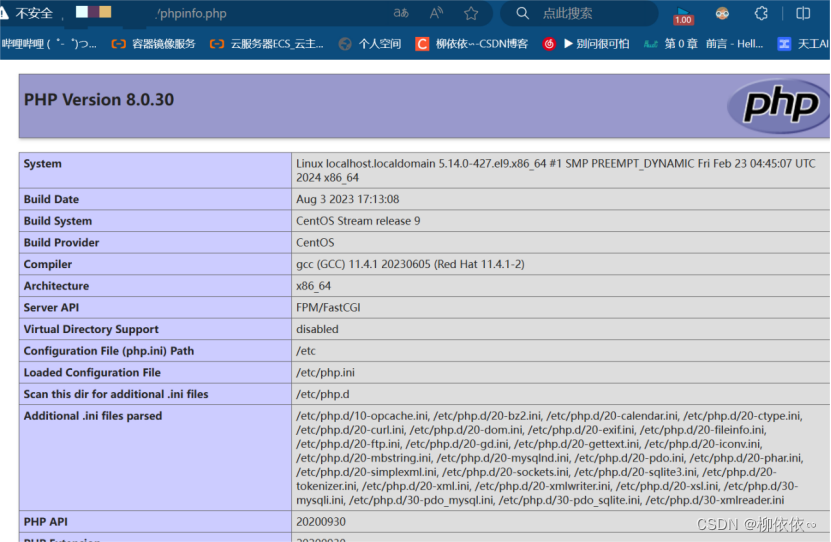
4、测试php是否正常安装
vim /var/www/html/phpinfo.php
将以下代码复制到新创建的文件中保存:
<?php
phpinfo();
?>

5、使用ip地址访问
IP地址/phpinfo.php
安装 phpMyAdmin
phpMyAdmin 是一种基于 Web 的数据库管理工具
1、安装依赖包
yum install php-mbstring php-xml -y
2、重启Apache服务
systemctl restart httpd
3、重启php-fpm
systemctl restart php-fpm
4、切换到网页目录
cd /var/www/html
- 下载phpmyadmin安装包
wget https://www.phpmyadmin.net/downloads/phpMyAdmin-latest-all-languages.tar.gz
6、解压文件
mkdir phpMyAdmin && tar -xvzf phpMyAdmin-latest-all-languages.tar.gz -C phpMyAdmin --strip-components 1
如果要两台主机相互连通则要修改phpMyAdmin 配置文件,名称是 config.sample.inc.php,你需要复制这个文件并重命名为 config.inc.php(移除 sample 部分)
使用以下命令复制并重命名文件:
cp /var/www/html/phpMyAdmin/config.sample.inc.php /var/www/html/phpMyAdmin/config.inc.php

输入cd /var/www/html/phpMyAdmin/

进入 config.inc.php()更改配置文件
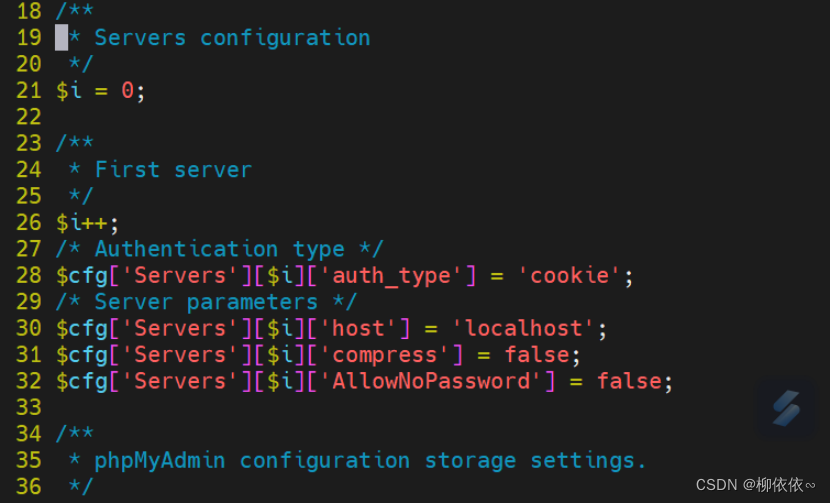
改为
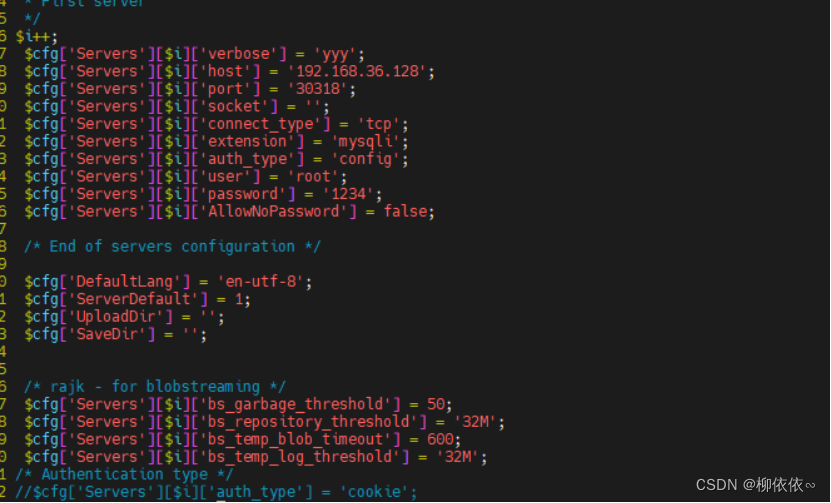
$cfg['Servers'][$i]['verbose'] = 'yyy'; //数据库用户名
$cfg['Servers'][$i]['host'] = '192.168.36.128'; //数据库IP地址
$cfg['Servers'][$i]['port'] = '30318'; //数据库端口号
$cfg['Servers'][$i]['socket'] = '';
$cfg['Servers'][$i]['connect_type'] = 'tcp';
$cfg['Servers'][$i]['extension'] = 'mysqli';
$cfg['Servers'][$i]['auth_type'] = 'config';
$cfg['Servers'][$i]['user'] = 'root'; //数据库用户
$cfg['Servers'][$i]['password'] = '1234'; //数据库密码
$cfg['Servers'][$i]['AllowNoPassword'] = false;
/* End of servers configuration */
$cfg['DefaultLang'] = 'en-utf-8';
$cfg['ServerDefault'] = 1;
$cfg['UploadDir'] = '';
$cfg['SaveDir'] = '';
/* rajk - for blobstreaming */
$cfg['Servers'][$i]['bs_garbage_threshold'] = 50;
$cfg['Servers'][$i]['bs_repository_threshold'] = '32M';
$cfg['Servers'][$i]['bs_temp_blob_timeout'] = 600;
$cfg['Servers'][$i]['bs_temp_log_threshold'] = '32M';
wq保存退出
输入下面命令重启php
systemctl restart httpd
systemctl restart php-fpm.service

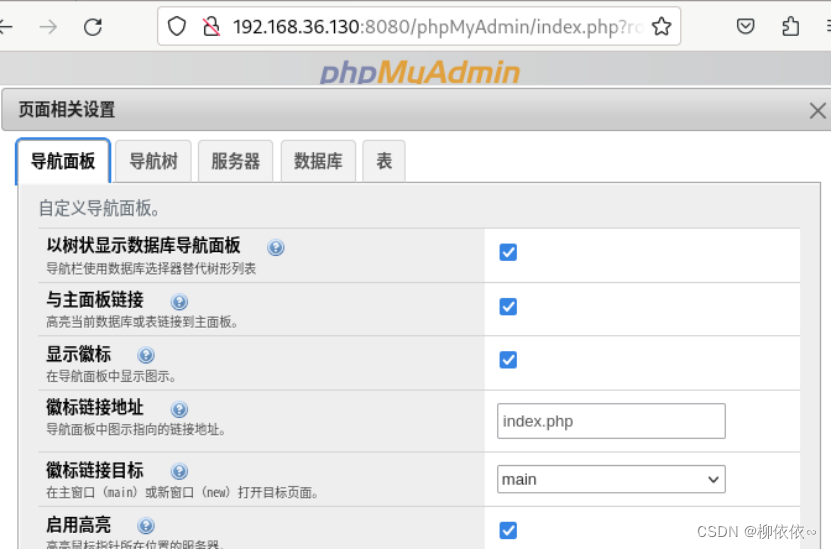
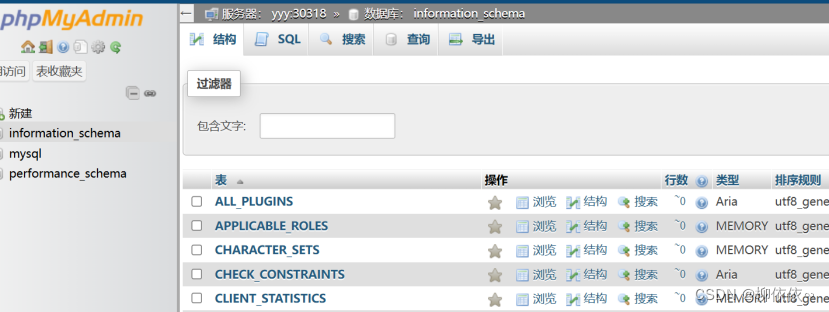
登陆phpmydmin
ip地址/phpMyAdmin
如果以上地址无法访问,出现404,可以在后面加上index.php
即ip地址/phpMyAdmin/index.php
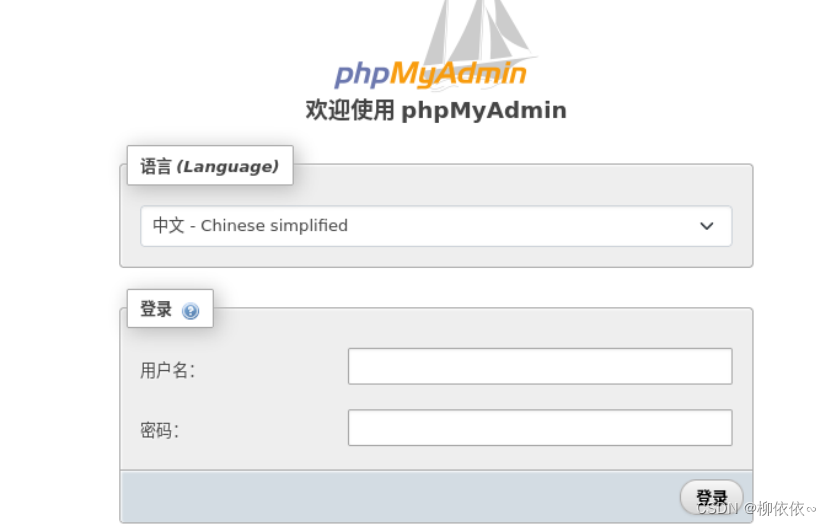
密码为数据库密码。
打开测试机
进入root用户输入代码修改防火墙规则
sudo firewall-cmd --zone=public --add-rich-rule='rule family="ipv4" source address="192.168.36.129" port protocol="tcp" port="10080" accept'

打开火狐输入
about:config
network.security.ports.banned.override
添加端口号

重新使用8080端口进入phpadmin
