创建带有公共头部的Electron窗口
创建一个公共头部的html文件
1.我们在项目根目录创建一个名为app-header的文件夹
2.在app-header创建一个文件名为header.html的文件
结构如下:

基本结构和脚本如下
<body>
<div class="header">
    <div class="left">
        <div class="back disabled" onclick="onBack()" id="backButton">
            <div class="backImg" id="backImgButton">
            </div>
        </div>
        <div class="forward disabled" onclick="onForward()" id="forwardButton">
            <div class="forwardImg" id="forwardImgButton">
            </div>
        </div>
        <div class="refresh" onclick="onRefresh()">
            <div class="refreshImg">
                <svg>...</svg>
            </div>
        </div>
    </div>
    <div class="center" id="centerName"></div>
    <div class="right">
        <div class="close" onclick="onCloseWindow()">
            <svg>...<svg>
        </div>
    </div>
</div>
<div class="lodings" id="lodings">
    <svg width="50%" height="50%" viewBox="0 0 50 50">
       ...
    </svg>
</div>
</body>

</html>
<script>

    function onBack() {
        window.electron.app.switchWindow(1);
    }

    function onForward() {
        window.electron.app.switchWindow(2);
    }

    function onRefresh() {
        window.electron.app.switchWindow(3);
    }
    //监听是否路由被改变 修改图标和点击状态
    window.electron.app.OnUpdateNavigationButtons((_event, args) => {
        if (args.canGoBack) {
            document.getElementById('backButton').classList.remove('disabled');
            document.getElementById('backImgButton').style.backgroundImage = 'url("./img/left_arrow.png")';
        } else {
            document.getElementById('backButton').classList.add('disabled');
            document.getElementById('backImgButton').style.backgroundImage = 'url("./img/left_arrow_tint.png")';
        }
        if (args.canGoForward) {
            document.getElementById('forwardButton').classList.remove('disabled');
            document.getElementById('forwardImgButton').style.backgroundImage = 'url("./img/right_arrow.png")';
        } else {
            document.getElementById('forwardButton').classList.add('disabled');
            document.getElementById('forwardImgButton').style.backgroundImage = 'url("./img/right_arrow_tint.png")';
        }

    })


    function onCloseWindow(){
        window.close()
    }
</script>
<style>
  /*
	省略
*/
</style>
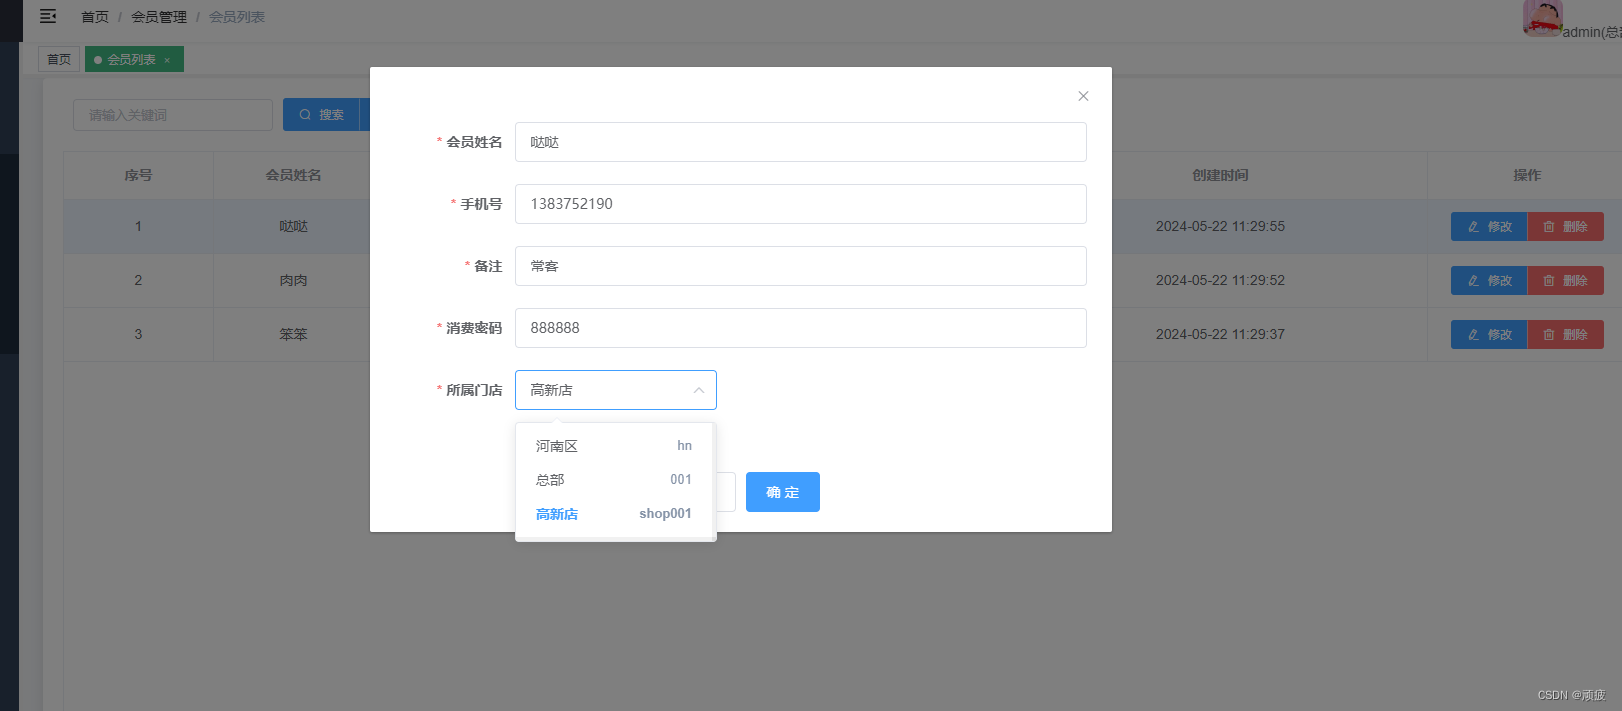
结果运行如下:
创建broseWindow并嵌入broseView
根据应用传入的窗口大小,创建对应的broseWindow,并且引入公共头部文件
    let options = JSON.parse(JSON.stringify(args.options))
    // 窗口最小宽高
    if (!options.minWidth) {
      options.minWidth = options.width
    }
    if (!options.minHeight) {
      options.minHeight = options.height
    }
    options.show = false
    //隐藏工具栏
    options.autoHideMenuBar = true
    options.frame = false
    if (!options.webPreferences) {
      options.webPreferences = {}
    }

    options.webPreferences = Object.assign(options.webPreferences, {
      preload: path.join(app.getAppPath(), 'preload.js'),
      // preload: '../screenShotApp/app-header/header.html',
      webSecurity: false,
    })

    const win = new BrowserWindow(options)
    win.loadFile('../screenShotApp/app-header/header.html')
然后把要打开的页面放进broseView中
    //应用本体
    const view: View = new BrowserView({
      webPreferences: {
        preload: path.join(app.getAppPath(), 'preload.js'),
        webSecurity: false,
      },
    })

    // 禁止使用 ctrl+r、  F5 等刷新
    win.webContents.on('before-input-event', (event, input) => {
      if ((input.control || input.meta) && input.key === 'r') {
        event.preventDefault();
      }
      if (input.key === 'f5') {
        event.preventDefault();
      }
    })


    view.webContents.loadURL('打开的页面地址')
将创建好的broseView添加到公共的broseWindows中,创建后的broseView 需要header头下偏移,不然会覆盖掉头部样式
 // view.setBounds({ x: 0, y: 45, width: options.width, height: options.height })
    win.on('ready-to-show', () => {
      win.show()
      win.addBrowserView(view);

      const bounds = win.getBounds()
      view.setBounds({ x: 0, y: 40, width: bounds.width, height: bounds.height - 35 })
    })

    win?.on('resize', () => {
      const bounds = win.getBounds()
      view.setBounds({ x: 0, y: 40, width: bounds.width, height: bounds.height - 35 })
    })
    win?.on('close', () => {
      view.webContents.close();
      win?.close();
    })
监听路由是否发生变化 改变左上角图标的状态
    // 监听子窗口路由变化
    view.webContents.on('did-navigate-in-page', (event, url) => {
      const canGoForward = view.webContents.canGoForward();
      const canGoBack = view.webContents.canGoBack();
      win.webContents?.send(channel.appUpdateNavigationButtons, { canGoForward, canGoBack, args });
    });

    BrowserWindow.getAllWindows()
    BrowserWindow.getFocusedWindow()
结果如下:

总结
本文通过将公共头部的HTML代码分离到一个独立的文件中,可以方便地在多个窗口之间共享和重用头部代码。这样的结构有助于保持代码的整洁和可维护性,同时使得界面设计更加一致。
– 欢迎点赞、关注、转发、收藏【我码玄黄】,gonghao同名
