文章目录
- 前言
- 要求
- 1.设置对象
- 1.1.图书
- 1.2.书架
- 2.管理员
- 3.功能的实现
- 2.搭建框架
- 2.1.登录(login)
- 2.2.菜单
- 2.3.操作方法的获取
- 3.操作方法的实现
- 3.1.退出系统(ExitOperation)
- 3.2.显示图书(ShowOperation)
- 3.3.查阅图书(FindOperation)
- 3.4.新增图书(AddOperation)
- 3.5.借出图书(BorrowOperation)
- 3.6.归还图书(ReturnOperation)
- 3.7.删除图书(DelOperation)
前言
前面足足有十篇博客,给大家讲解了Java的基础语法,尤其是面向对象以及其思想,是我们遇到的第一种障碍,为此咱们写一个图书管理系统进行巩固。
要求
这边是一个主要流程,其中具体的功能就不在此一一展示,等会在功能的实现中,具体再说
1.设置对象
1.1.图书
根据图上所示,我们可以发现,每一个图书的成员变量有五个:
书名,作者,价格,类型,以及借出情况。
并且我们不想要让别人直接得到,那么都需要用private修饰。
1.2.书架
每本书都要放到书架中,方才可以使用,当然还要直到当前图书的个数,以及如何取书和放书。
下来我们这两个放到一个包中,编写其内容,代码。
书架类
public class BookList {
    Book[]books=new Book[10];
    private int UseSize;
    public BookList(){
        this.books[0]=new Book("三国演义","罗贯中",9.9,"小说");
        this.books[1]=new Book("我与地坛","史铁生",23.9,"散文");
        this.books[2]=new Book("红楼梦","曹雪芹",9.9,"小说");
        this.UseSize=3;
    }
    public BookList(int useSize) {
        UseSize = useSize;
    }
    public Book getBook(int pos){
        return books[pos];
    }
    public void setBook(int pos,Book book){
        this.books[pos]=book;
    }

    public int getUseSize() {
        return UseSize;
    }

    public void setUseSize(int useSize) {
        UseSize = useSize;
    }
     public Book[] getBooks() {
        return books;
    }

    public void setBooks(Book[] books) {
        this.books = books;
    }
}
图书类
public class Book  {
    private String name;
    private String author;
    private double price;
    private String type;
    private boolean isBorrowed;

    public Book(String name, String author, double price, String type) {
        this.name = name;
        this.author = author;
        this.price = price;
        this.type = type;
    }

    public String getName() {
        return name;
    }

    public void setName(String name) {
        this.name = name;
    }

    public String getAuthor() {
        return author;
    }

    public void setAuthor(String author) {
        this.author = author;
    }

    public double getPrice() {
        return price;
    }

    public void setPrice(double price) {
        this.price = price;
    }

    public String getType() {
        return type;
    }

    public void setType(String type) {
        this.type = type;
    }

    public boolean isBorrowed() {
        return isBorrowed;
    }

    public void setBorrowed(boolean borrowed) {
        isBorrowed = borrowed;
    }

    @Override
    public String toString() {
        return "Book{" +
                "name='" + name + '\'' +
                ", author='" + author + '\'' +
                ", price=" + price +
                ", type='" + type + '\'' +
                (isBorrowed==false?"未借出":"已借出")+
                '}';
    }
}
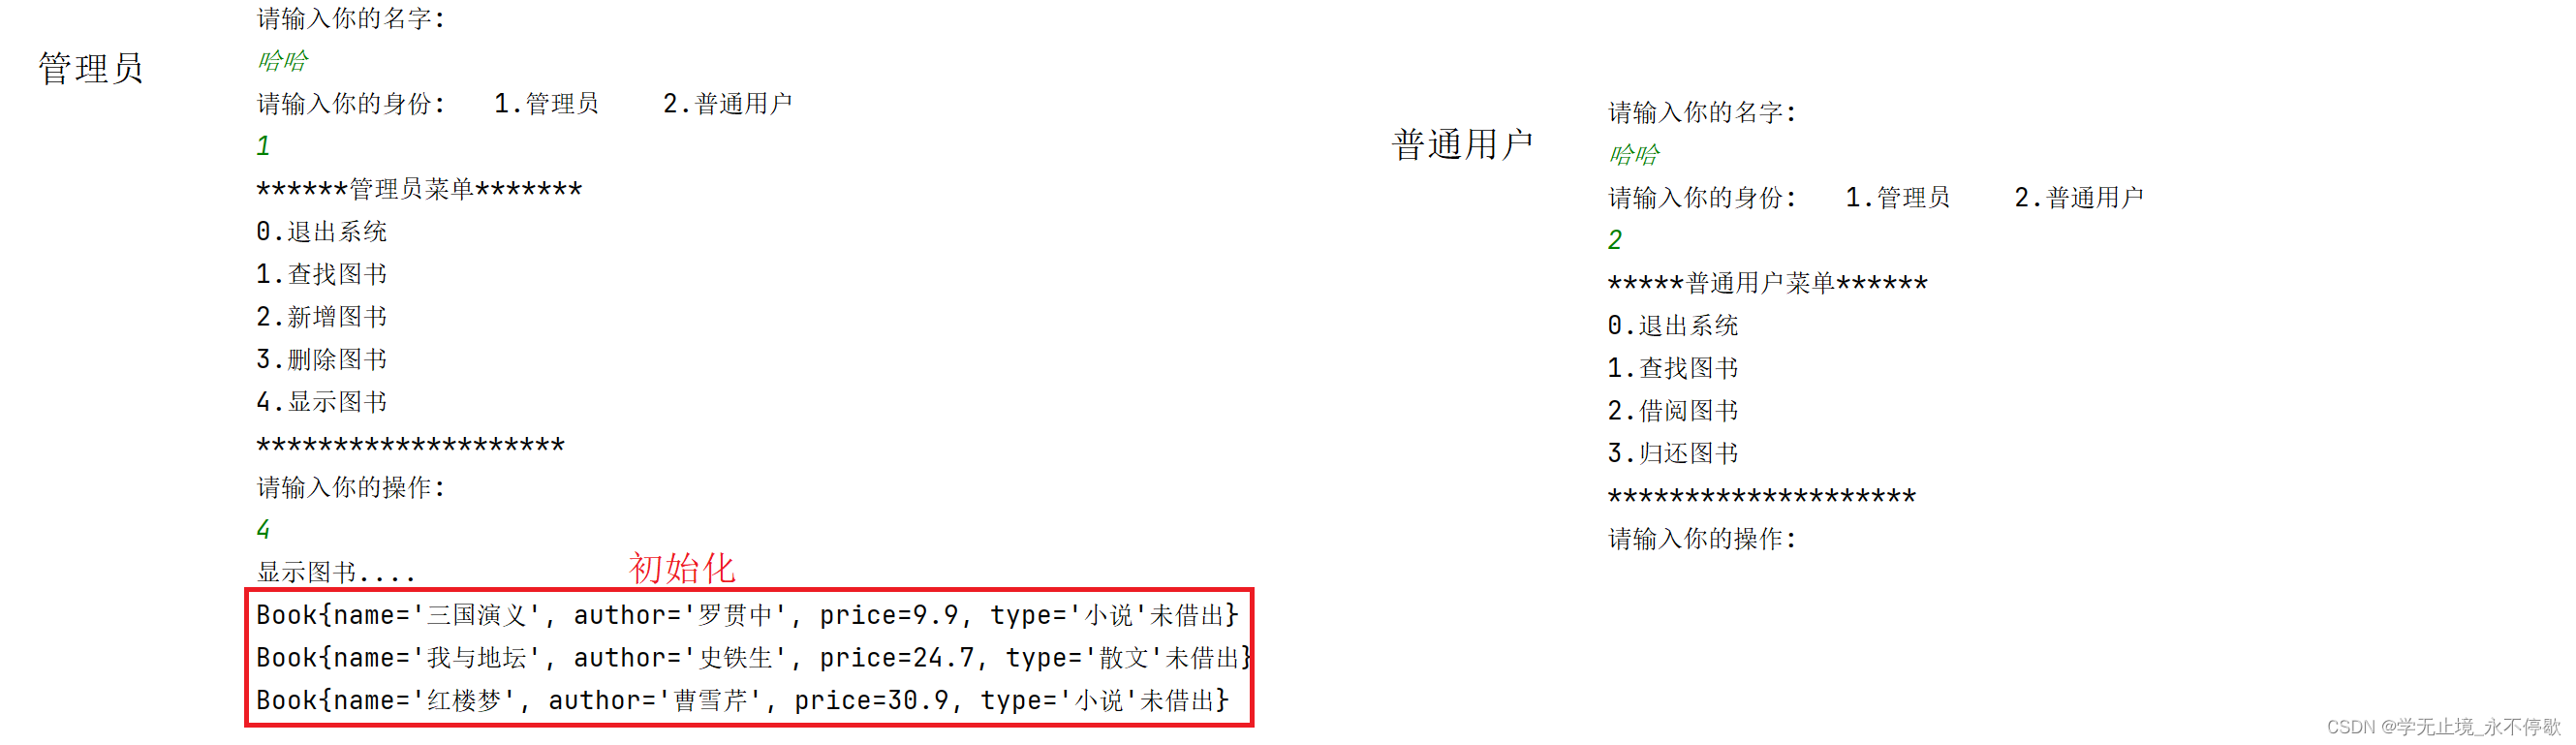
2.管理员
管理员分为两类,1.一种是普通用户,2。一种是管理员用户。
我们把这两种用户的相同点放到一个User抽象类中,再分别实现自己的功能,把这三个类放到一个包里。
User抽象类
public abstract class User {
    protected String name;

    public User(String name) {
        this.name = name;
    }
    public abstract void menu();
}
AdminUser类
public class AdminUser extends User {
    public AdminUser(String name) {
        super(name);
    }

    @Override
    public void menu() {

    }
}
NormalUser类
public class NormalUser extends User{
    public NormalUser(String name) {
        super(name);
    }

    @Override
    public void menu() {

    }
}
其中具体的实现,等会在写
3.功能的实现
我们通过上面的图,可以发现一共有7种操作方法,并且有一样的,首先我们会有2个问题:第一个问题:如何可以知道User的类型,第二种,如何可以该用户有哪些方法,并且如何去进行调用呢?这些方法等会都会进行解答,首先我们先把每个功能的框架搭建一下,在创建一个包(iOperation)。
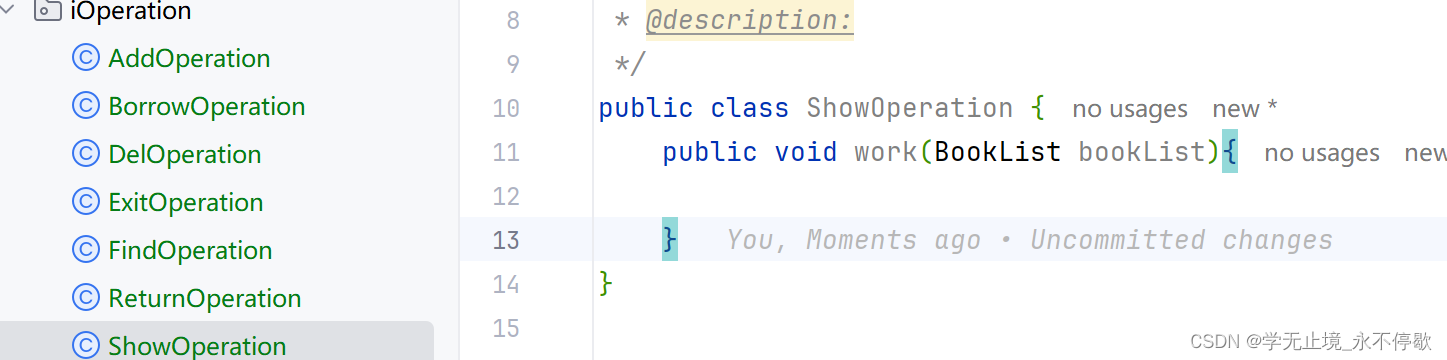
这边各种包的创建过程,其中有7大操作功能,内容和上面的都一样,大家下面自己去搭建一下。
具体内容,现在进行操作。
2.搭建框架
2.1.登录(login)
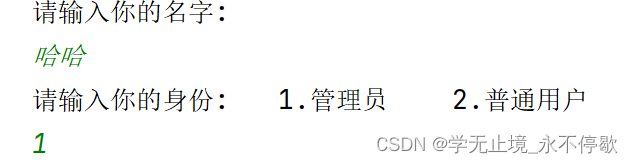
我们现在实现这个页面的内容。主要我们是要想返回值是什么?结合上面第一个问题,返回值是User,通过登录这个方法,我们可以确定目前是什么用户进行登录。
public static User login(){
        Scanner scanner=new Scanner(System.in);
        System.out.println("输入你的名字:");
        String name=scanner.nextLine();
        System.out.println("输入你的身份:   1.管理员    2.普通用户");
        int choice=scanner.nextInt();
        if(choice==1){
            return new AdminUser(name);
        }else {
            return new NormalUser(name);
        }
    }
2.2.菜单
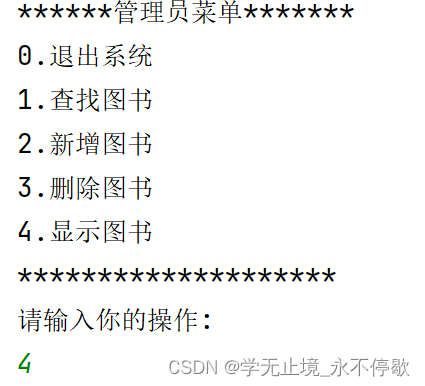
现在我们完成这个菜单页面,并且返回值又是什么?因为,我们已经知道身份了,那么就要知道操作方法的选择,因此返回值是int。
AdminUser类
public class AdminUser extends User {
    public AdminUser(String name) {
        super(name);
    }

    @Override
    public int menu() {
        System.out.println("****************");
        System.out.println("0.退出系统        ");
        System.out.println("1.查找图书        ") ;
        System.out.println("2.新增图书        ") ;
        System.out.println("3.删除图书        ") ;
        System.out.println("4.显示图书        ") ;
        System.out.println("****************");
        System.out.println("请输入你的操作:");
        Scanner scanner=new Scanner(System.in);
        int choice=scanner.nextInt();
        return choice;
    }
}
NormalUser类
public class NormalUser extends User{
    public NormalUser(String name) {
        super(name);
    }

    @Override
    public int  menu() {
        System.out.println("****************");
        System.out.println("0.退出系统        ");
        System.out.println("1.查找图书        ") ;
        System.out.println("2.借阅图书        ") ;
        System.out.println("3.归还图书        ") ;
        System.out.println("****************");
        System.out.println("请输入你的操作:");
        Scanner scanner=new Scanner(System.in);
        int choice=scanner.nextInt();
        return choice;
    }
}
User父类就是把原来menu的返回值改为int即可,我就在这不演示啦。
2.3.操作方法的获取
现在便是要解决最难得一个问题,如何让控制台得知,我们要进行那个操作,现在我们知道了用户类型,以及选择的方法,我们可以使用一个数组,每个下标都对应各自的方法,而我们要将7大操作方法,组合在一起,又要跟下标相关联,那一定是数组。并且,要让7大操作方法,都有一个共有的东西,使得在调用这个东西的时候,就是在调用他们自己的话,那就是接口啦!
为此我们在iOperation包中创建一个接口。
IOperation接口
public interface IOPeration {
    void work(BookList bookList);
}
创建完接口,下来就要在User中创建IOperation数组了,然后分别在AdminUser和NormalUser中,分别对数组进行初始化,与此同时,在User中创建一个方法,可以在Test中使用接口。
User抽象类
public abstract class User {
    protected String name;
    protected IOPeration[]ioPerations;
    public User(String name) {
        this.name = name;
    }
    public abstract int menu();
    public void doOperation(int choice, BookList bookList){
        ioPerations[choice].work(bookList);
    }
}
AdminUser类
public class AdminUser extends User {
   public AdminUser(String name) {
        super(name);
        this.ioPerations=new IOPeration[]{
            new ExitOperation(),
            new FindOperation(),
            new AddOperation(),
            new DelOperation(),
            new ShowOperation()
       };
    };
    @Override
    public int menu() {
        System.out.println("****************");
        System.out.println("0.退出系统        ");
        System.out.println("1.查找图书        ") ;
        System.out.println("2.新增图书        ") ;
        System.out.println("3.删除图书        ") ;
        System.out.println("4.显示图书        ") ;
        System.out.println("****************");
        System.out.println("请输入你的操作:");
        Scanner scanner=new Scanner(System.in);
        int choice=scanner.nextInt();
        return choice;
    }
}
NormalUser类
public class NormalUser extends User{
    public NormalUser(String name) {
        super(name);
        this.ioPerations=new IOPeration[]{
                new ExitOperation(),
                new FindOperation() ,
                new BorrowOperation(),
                new ReturnOperation()};
    };
    @Override
    public int  menu() {
        System.out.println("****************");
        System.out.println("0.退出系统        ");
        System.out.println("1.查找图书        ") ;
        System.out.println("2.借阅图书        ") ;
        System.out.println("3.归还图书        ") ;
        System.out.println("****************");
        System.out.println("请输入你的操作:");
        Scanner scanner=new Scanner(System.in);
        int choice=scanner.nextInt();
        return choice;
    }
}
Test类
public class Test {
    public static User login(){
        Scanner scanner=new Scanner(System.in);
        System.out.println("输入你的名字:");
        String name=scanner.nextLine();
        System.out.println("输入你的身份:   1.管理员    2.普通用户");
        int choice=scanner.nextInt();
        if(choice==1){
            return new AdminUser(name);
        }else {
            return new NormalUser(name);
        }
    }
    public static void main(String[] args) {
        BookList bookList=new BookList();
        User user=login();
        while (true){
            int choice=user.menu();
            user.doOperation(choice,bookList);
        }
    }
}
由此观之:将7大操作方法连接起来的的是接口,
将方法按照顺序让控制台知道我们的操作,是数组(也可以说是下标),将这两个结合起来,便是我们的创新的点子,最精彩的在上面,大家好好领悟,领悟完,再看每个操作方法的具体实现
3.操作方法的实现
3.1.退出系统(ExitOperation)
public class ExitOperation implements IOPeration{
    public void work(BookList bookList){
        System.out.println("退出系统...");
        System.exit(0);
    }
}
3.2.显示图书(ShowOperation)
public class ShowOperation implements IOPeration{
    public void work(BookList bookList){
    	System.out.println("显示图书...");
        int currentSize=bookList.getUseSize();
        for (int i = 0; i < currentSize; i++) {
            Book book=bookList.getBook(i);
            System.out.println(book);
        }
    }
}
3.3.查阅图书(FindOperation)
public class FindOperation implements IOPeration {
    public void work(BookList bookList){
        Scanner scanner=new Scanner(System.in);
        System.out.println("请输入你想查阅的书名");
        String name=scanner.nextLine();
        int currentSize=bookList.getUseSize();
        for (int i = 0; i < currentSize; i++) {
            Book book=bookList.getBook(i);
            if(book.getName().equals(name)){
                System.out.println("找到了图书:");
                System.out.println(book);
                return;
            }
        }
        System.out.println("没有找到你想查阅的书籍");
    }
}
3.4.新增图书(AddOperation)
public class AddOperation implements IOPeration{
    public void work(BookList bookList){
        //1.判满和判空
        System.out.println("新增图书...");
        int currentSize= bookList.getUseSize();
        if(currentSize==0){
            System.out.println("书架中已无书");
            return;
        }
        if(currentSize==bookList.getBooks().length){
            System.out.println("书架已放满书");
            return;
        }
        Scanner scanner=new Scanner(System.in);
        System.out.println("请输入书名:");
        String name=scanner.nextLine();
        System.out.println("请输入作者:");
        String author=scanner.nextLine();
        System.out.println("请输入类型:");
        String type=scanner.nextLine();
        System.out.println("请输入价格:");
        Double price= scanner.nextDouble();
        Book newbook=new Book(name,author,price,type);
        for (int i = 0; i < currentSize; i++) {
            Book book=bookList.getBook(i);
            if(book.getName().equals(name)){
                System.out.println("此书在书架上已存在...");
                return;
            }
        }
        //插入书籍
        bookList.setUseSize(currentSize+1);
        bookList.setBook(currentSize,newbook);
        System.out.println("新书增加成功...");
    }
}
3.5.借出图书(BorrowOperation)
public class BorrowOperation implements IOPeration {
    public void work(BookList bookList){
        System.out.println("借阅图书...");
        Scanner scanner=new Scanner(System.in);
        System.out.println("请输入你想借阅的书名:");
        String name=scanner.nextLine();
        int currentSize=bookList.getUseSize();
        for (int i=0;i<currentSize;i++){
            Book book=bookList.getBook(i);
            if(book.getName().equals(name)){
                if(book.isBorrowed()){
                    System.out.println("此书已经借出!");
                    return;
                }
                book.setBorrowed(true);
                System.out.println("借阅成功...");
                return;
            }
        }
        System.out.println("没有查到你要借阅的图书");
    }
}
3.6.归还图书(ReturnOperation)
借阅图书和归还图书本质是一样的
public class ReturnOperation implements IOPeration{
    public void work(BookList bookList){
        System.out.println("归还图书...");
        Scanner scanner=new Scanner(System.in);
        System.out.println("请输入你想归还的书名:");
        String name=scanner.nextLine();
        int currentSize=bookList.getUseSize();
        for (int i=0;i<currentSize;i++){
            Book book=bookList.getBook(i);
            if(book.getName().equals(name)){
                if(book.isBorrowed()){
                    book.setBorrowed(false);
                    System.out.println("归还成功...");
                    return;
                }
            }
        }
        System.out.println("没有查到你要归还的图书");
    }
}
3.7.删除图书(DelOperation)
这就需要数据结构的知识啦,可以利用画图来演示
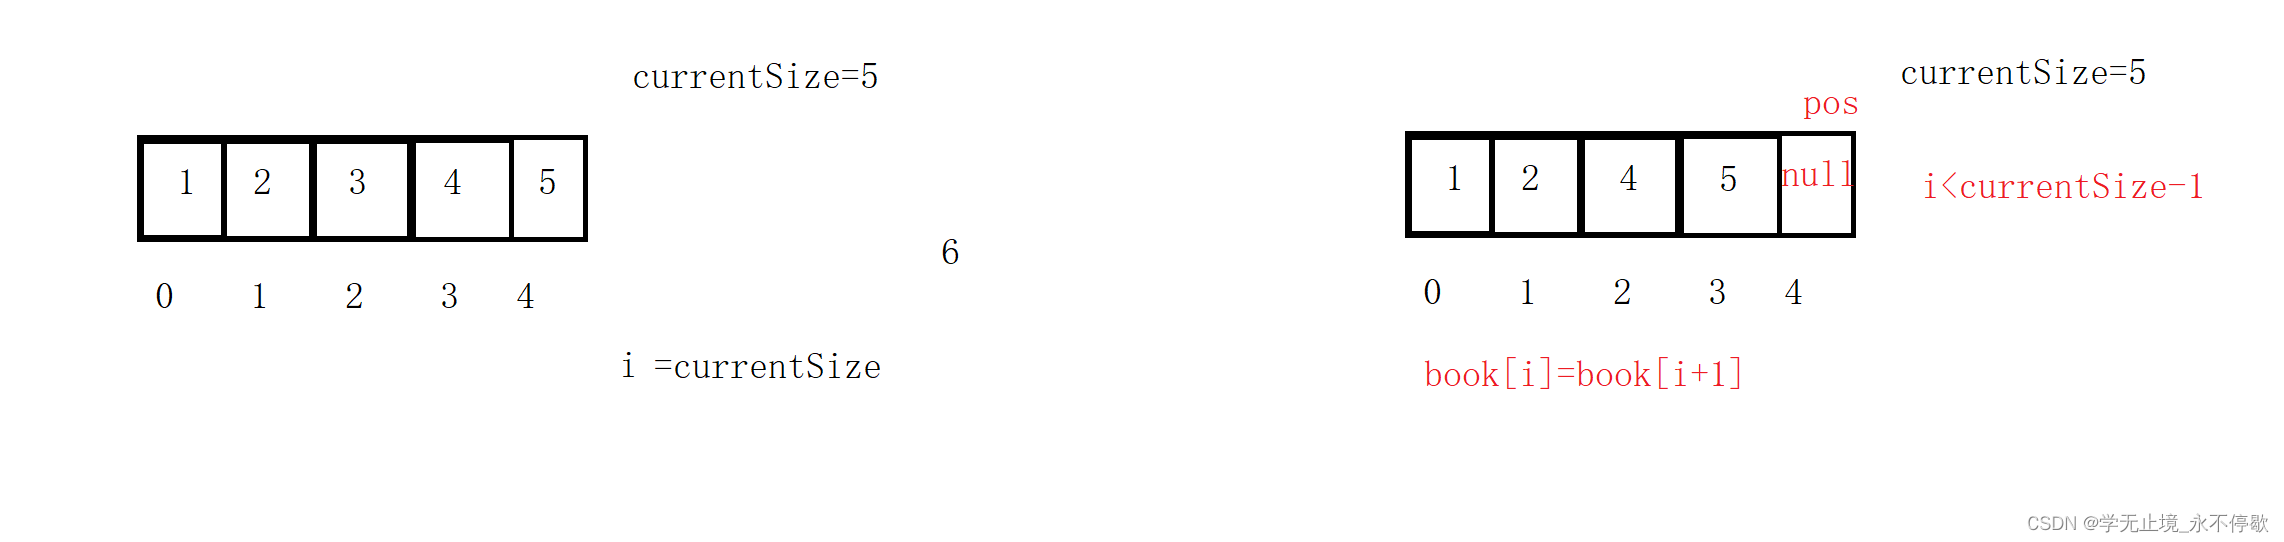
这里用数字代替图书
public class DelOperation implements IOPeration {
    public void work(BookList bookList){
        System.out.println("删除图书...");
        System.out.println("请输入你想删除的书名");
        Scanner scanner=new Scanner(System.in);
        String name=scanner.nextLine();
        int currentSize=bookList.getUseSize();
        int i=0;
        int pos=-1;
        for (;i<currentSize;i++){
            Book book=bookList.getBook(i);
            if(book.getName().equals(name)){
                pos=i;
                break;
            }
        }
        if(i==currentSize){
            System.out.println("没有找到你想删除的图书");
            return;
        }
        //删除图书
        for (int j=pos;j<currentSize-1;j++){
            Book book=bookList.getBook(j+1);
            bookList.setBook(j,book);
        }
        bookList.setBook(currentSize,null);
        bookList.setUseSize(currentSize-1);
        System.out.println("删除成功!");
    }
}
具体代码:请看大松鼠的码云
完


![[牛客网]——C语言刷题day5](https://img-blog.csdnimg.cn/direct/f1d55e3e7a1a42aeb93f9c0c68c0c1c9.png)