部署前准备
第一步:
创建seata-server需要的表,有现成的阿里云RDS,就直接在RDS上创建数据库了,方便后面统一管理。
具体的 SQL 参考script/server/db ,这里使用的是 MySQL 的脚本,数据库名称为 seata,还需要创建undo_log 表, 可以参考script/client/at/db/
第二步:
- 修改seata-server配置
将以下配置保存为config.txt
service.vgroupMapping.my_test_tx_group=default
store.mode=db
store.db.datasource=druid
store.db.dbType=mysql
store.db.driverClassName=com.mysql.jdbc.Driver
store.db.url=jdbc:mysql://xxx.mysql.rds.aliyuncs.com/seata?useUnicode=true
store.db.user=数据库的用户
store.db.password=数据库的密码
-
创建nacos目录,将nacos-config.sh存放到nacos目录,层级结构如上,执行shell脚本,将配置导入Nacos配置中心,具体添加方法可以参考script/config-center
-
执行shell
sh ./nacos/nacos-config.sh -h xx.xx.xx.xx -p 8848 -g SEATA_GROUP -u username -w password
参数说明:
-h: Nacos主机地址,默认是localhost
-p: Nacos主机端口,默认是8848
-g: 配置分组, the default value is 'SEATA_GROUP'.
-t: 租户信息, 与Nacos的 "命名空间ID" 字段相对应, the default value is ''.
-u: Nacos用户名, the default value is ''.
-w: Nacos密码, the default value is ''.
由于执行上面的shell脚本这种方式在nacos会生成一堆配置信息,看着比较乱,修改seata-server这步可以换成在nacos的配置管理-配置列表里导入配置

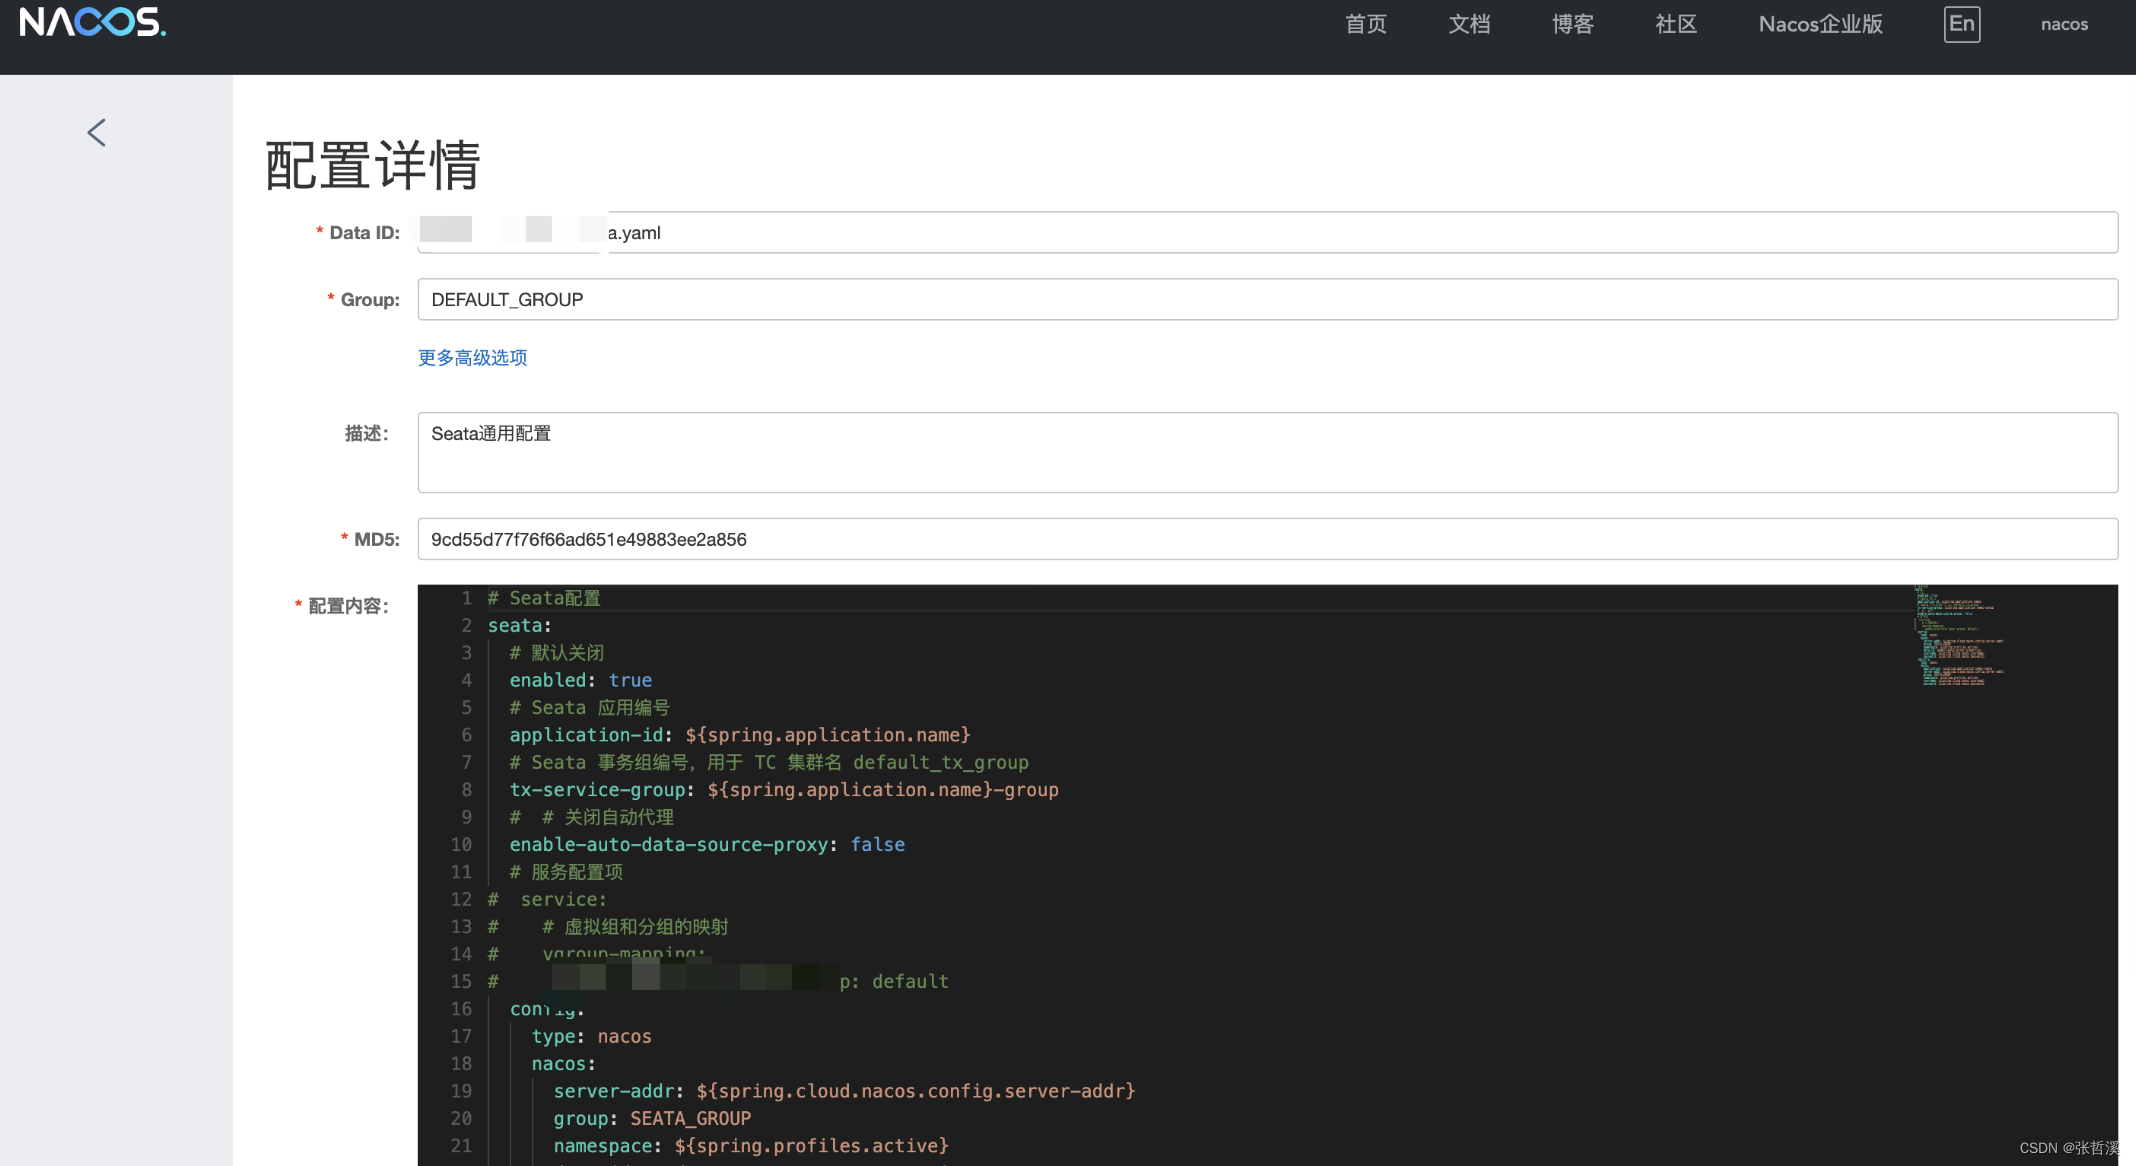
Data ID:xx-seata.yaml
Group: DEFAULT_GROUP
配置内容:
# Seata配置
seata:
  # 默认关闭
  enabled: true
  # Seata 应用编号
  application-id: ${spring.application.name}
  # Seata 事务组编号,用于 TC 集群名 default_tx_group
  tx-service-group: ${spring.application.name}-group
  #  # 关闭自动代理
  enable-auto-data-source-proxy: false
  # 服务配置项
#  service:
#    # 虚拟组和分组的映射
#    vgroup-mapping:
#      test-platform-layer-group: default
  config:
    type: nacos
    nacos:
      server-addr: ${spring.cloud.nacos.config.server-addr}
      group: SEATA_GROUP
      namespace: ${spring.profiles.active}
      data-id: xxx-seata-server.properties
      username: ${spring.cloud.nacos.username}
      password: ${spring.cloud.nacos.password}
  registry:
    type: nacos
    nacos:
      application: ${spring.application.name}-seata
      server-addr: ${spring.cloud.nacos.config.server-addr}
      group: SEATA_GROUP
      namespace: ${spring.profiles.active}
      username: ${spring.cloud.nacos.username}
      password: ${spring.cloud.nacos.password}
部署 seata-server 到 Kubernetes
由于新版本里启动配置文件把registry.conf和file.conf去掉了,现在新版本默认的配置文件只用到了application.yml文件,所以需要把application.yml文件挂载到seata-server 服务里的/seata-server/resources/目录下,替换掉服务默认的application.yml文件。
需要将application.yml从宿主机挂载到pod内,部署的全部yaml文件如下:
apiVersion: v1
kind: Service
metadata:
  name: seata-ha-server
  namespace: default
  labels:
    app.kubernetes.io/name: seata-ha-server
spec:
  type: NodePort
  ports:
    - port: 8091
      protocol: TCP
      targetPort: 8091
      name: http
  selector:
    app.kubernetes.io/name: seata-ha-server


---
apiVersion: apps/v1
kind: StatefulSet
metadata:
  name: seata-ha-server
  namespace: default
  labels:
    app.kubernetes.io/name: seata-ha-server
spec:
  serviceName: seata-ha-server
  replicas: 3
  selector:
    matchLabels:
      app.kubernetes.io/name: seata-ha-server
  template:
    metadata:
      labels:
        app.kubernetes.io/name: seata-ha-server
    spec:
      nodeSelector:
        app: seata
      containers:
      - name: seata-ha-server
        image: seataio/seata-server:1.5.2
        imagePullPolicy: IfNotPresent
        volumeMounts:
        - mountPath: /seata-server/resources/application.yml
          name: seata-ha-server-config
        ports:
          - name: http
            containerPort: 8091
            hostPort: 8091
            protocol: TCP
      volumes:
        - name: seata-ha-server-config
          hostPath:
            path: /root/seata/application.yml
            type: File
kubectl create -f seata-server.yaml
部署完以后,seata-server服务会注册到nacos上


