目录
一.添加依赖
效果
二.设置配置文件
认证
1.密码生成器 BCryptPasswordEncoder
配置文件中
2.inMemoryAuthentication内存认证方法
授权
效果
登录
效果
三.UserDetailsService认证授权方式
新建数据库
实体类
Role
User
接口
实现类
配置文件
效果
四.注销
配置
未使用前
使用后
前端页面
1.动态参数
2.sec:authorize
一.添加依赖
方法一:可以在新建项目时添加依赖
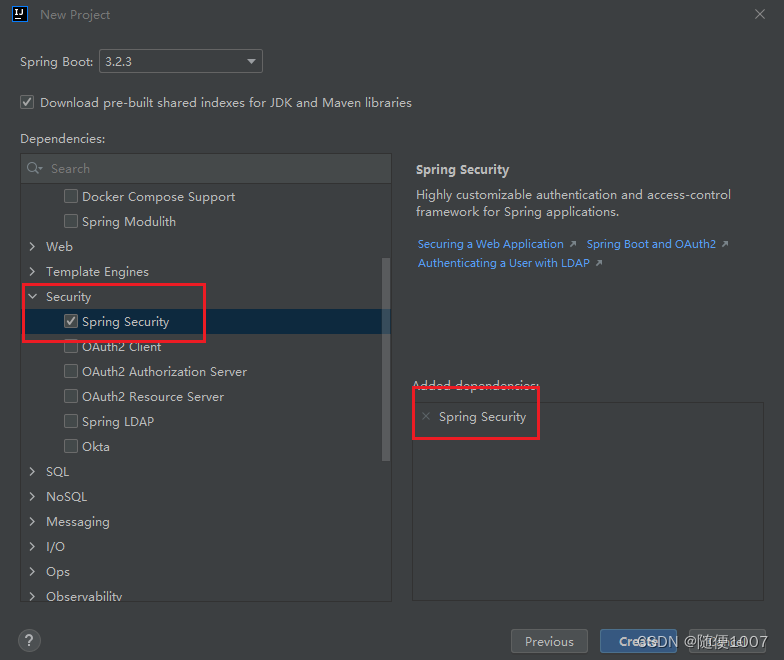
方法二:
在pom文件中添加依赖
<groupId>com.example</groupId>
    <artifactId>Security</artifactId>
    <version>0.0.1-SNAPSHOT</version>
    <name>Security</name>
效果
进入任何页面前,都会进入系统登录页面

二.设置配置文件
认证
1.密码生成器 BCryptPasswordEncoder
encode,密码编译的方法,可以将密码编码

matches,比较加密后密码和初始密码是否相同。
public class Time {

    public static void main(String[] args) {
        BCryptPasswordEncoder encoder = new BCryptPasswordEncoder();
//        加密
        String i="123456";
        String encode = encoder.encode(i);
        System.out.println(i);
        System.out.println(encode);
        matches(i,encode);
    }

    private static Boolean matches(String i, String encode) {
        BCryptPasswordEncoder bCryptPasswordEncoder = new BCryptPasswordEncoder();
        boolean matches = bCryptPasswordEncoder.matches(i, encode);
        System.out.println(matches);
        return matches;
    }
}
配置文件中
 @Autowired//自动调用该方法
    public void configuree(AuthenticationManagerBuilder auth) throws Exception {
        //设置密码编译器
        BCryptPasswordEncoder encoder = new BCryptPasswordEncoder();
        String encode1 = encoder.encode("111111");
        String encode2 = encoder.encode("222222");
2.inMemoryAuthentication内存认证方法
此时创建了用户名和密码,并且为用户附上权限。
//inMemoryAuthentication内存认证方法
        //创建了用户名和密码,还附上了权限  (此时用户名和密码全部写死)
        //用户1
        auth.inMemoryAuthentication()
                .passwordEncoder(encoder)
                .withUser("zhangsan")
                .password(encode1)
                .roles("common");
        //用户2
        auth.inMemoryAuthentication()
                .passwordEncoder(encoder)
                .withUser("lisi")
                .password(encode2)
                .roles("vip");
授权
需要给页面授权,不同的授权有不同的权限用户访问,此时一旦用户访问到权限不够的页面,则会出现403错误。
//2.再完成页面的授权
    @Bean
    SecurityFilterChain filterChain(HttpSecurity httpSecurity) throws Exception {
        //过滤请求
        httpSecurity.authorizeHttpRequests(authorize -> {
            //系统默认寻找static包下,所以直接写包下的路径
            //完全放开的接口
            authorize.requestMatchers("/userLogin", "/login", "/login/**","/index ","/img/css/**", "/login/img/**", "/detail/common/*")
                    .permitAll();
            //需要授权才能登录的页面
            authorize.requestMatchers("/detail/vip/*")//vip用户必须登录和授权
                    // .hasAnyRole("vip,admin")多权限授权
                    .hasAnyRole("vip")//授权
                    .anyRequest()//任何请求
                    .authenticated();//都要认证(登录)
        });
        return httpSecurity.build();
    }
效果
进入页面:
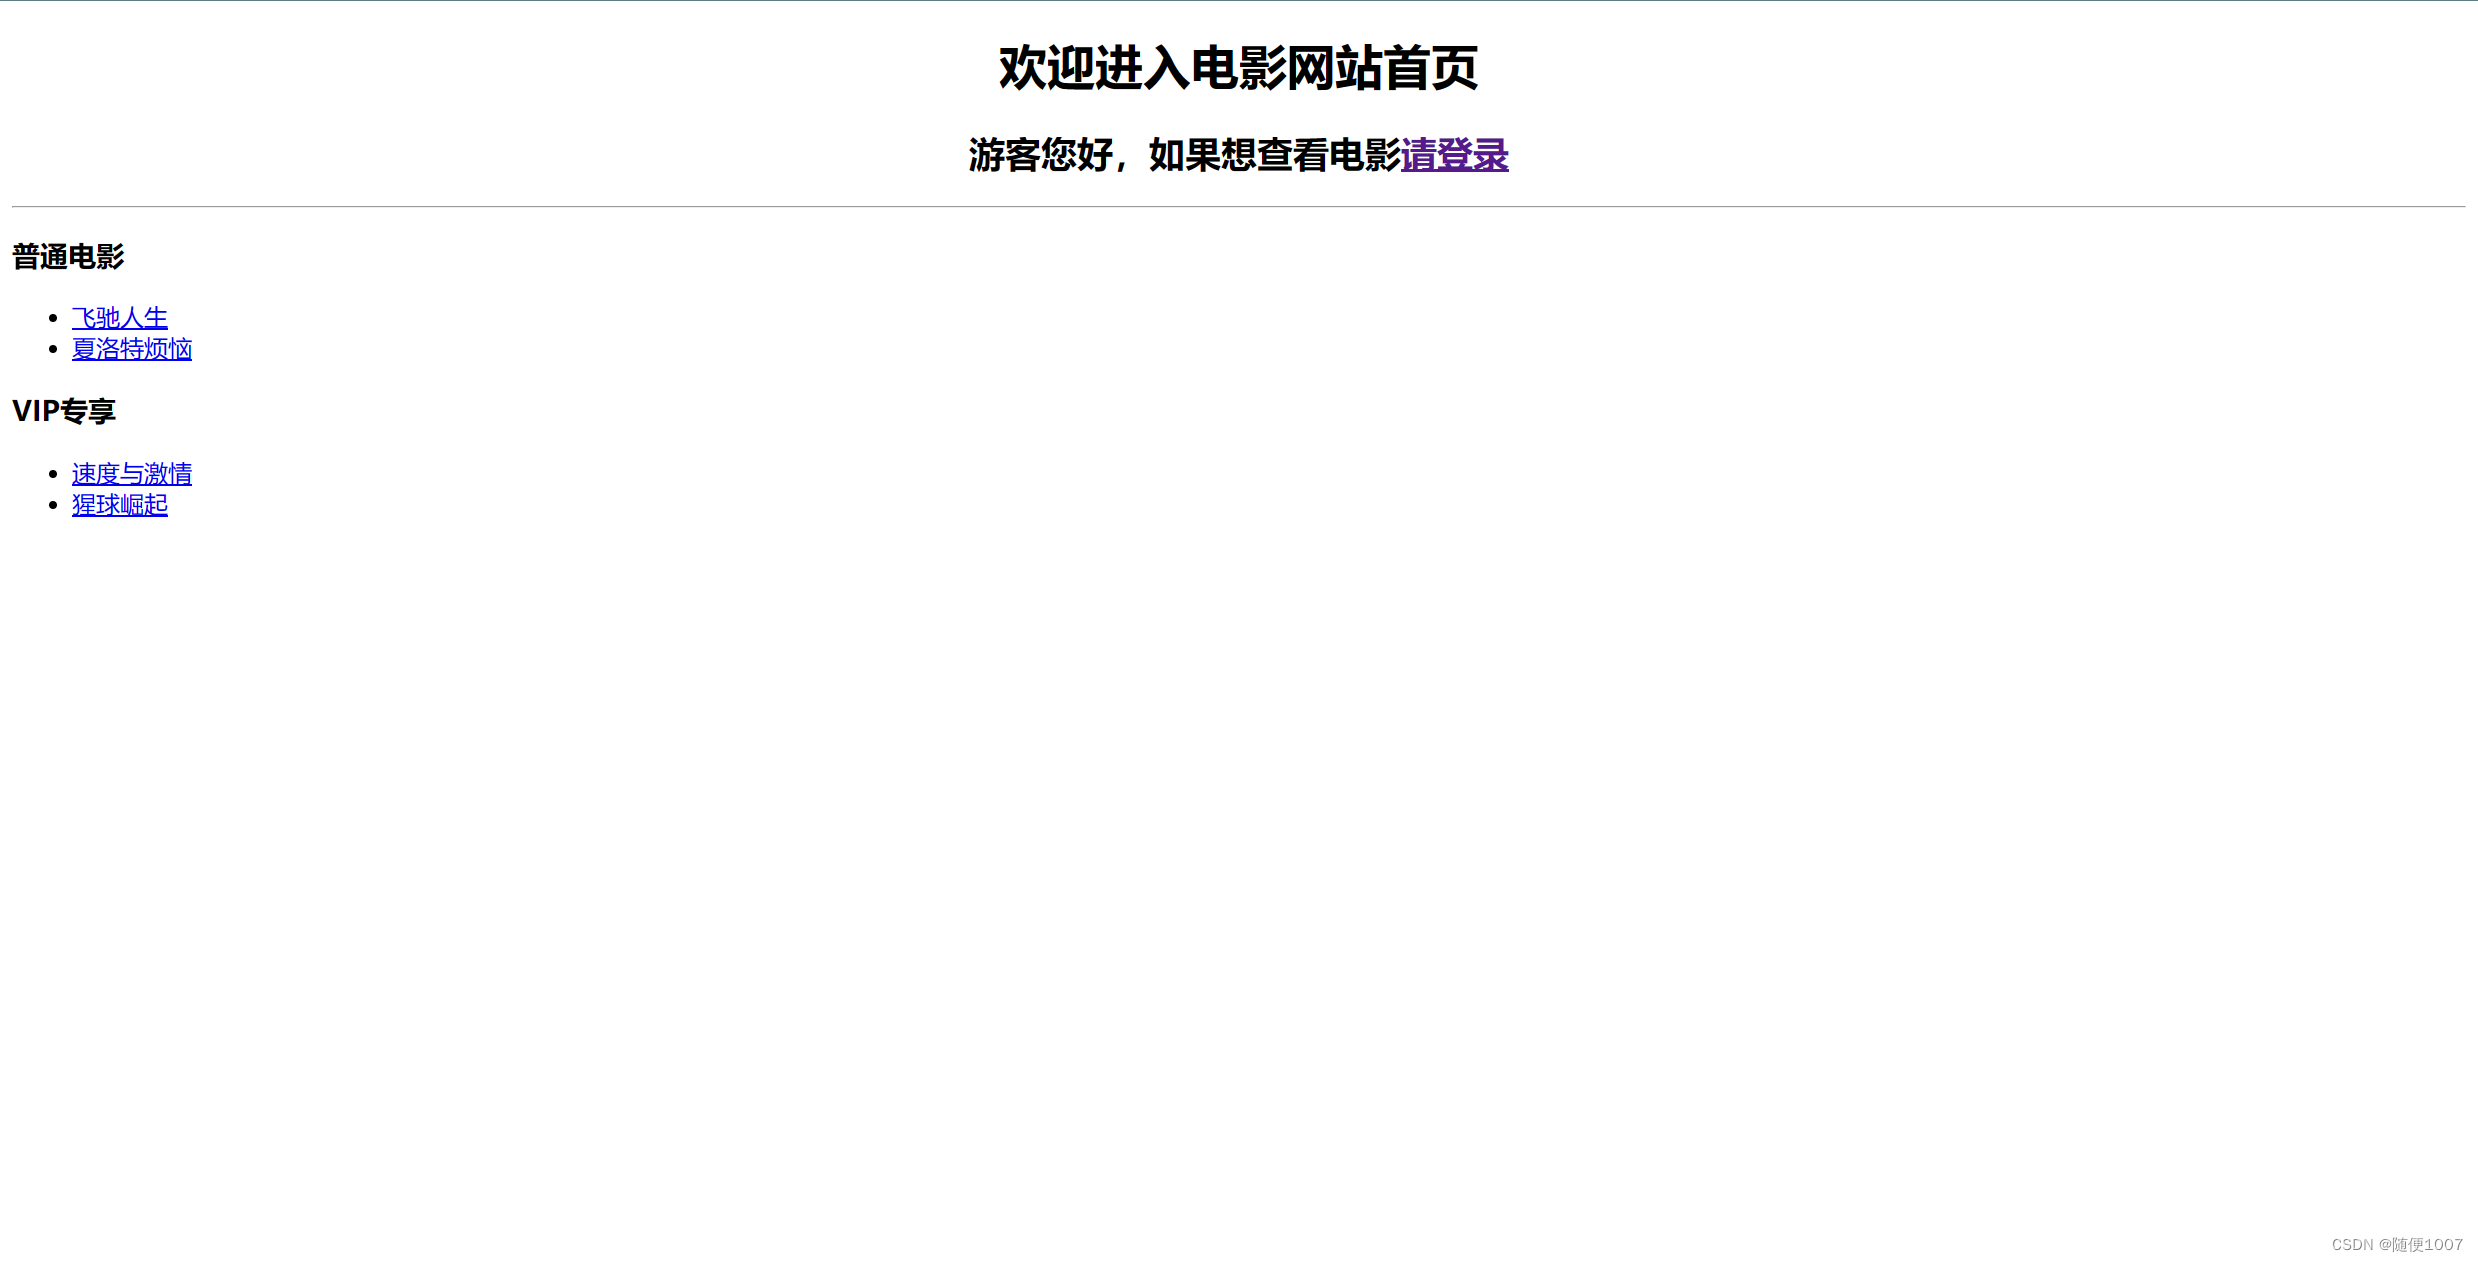
访问普通页面:

访问vip页面时:

登录
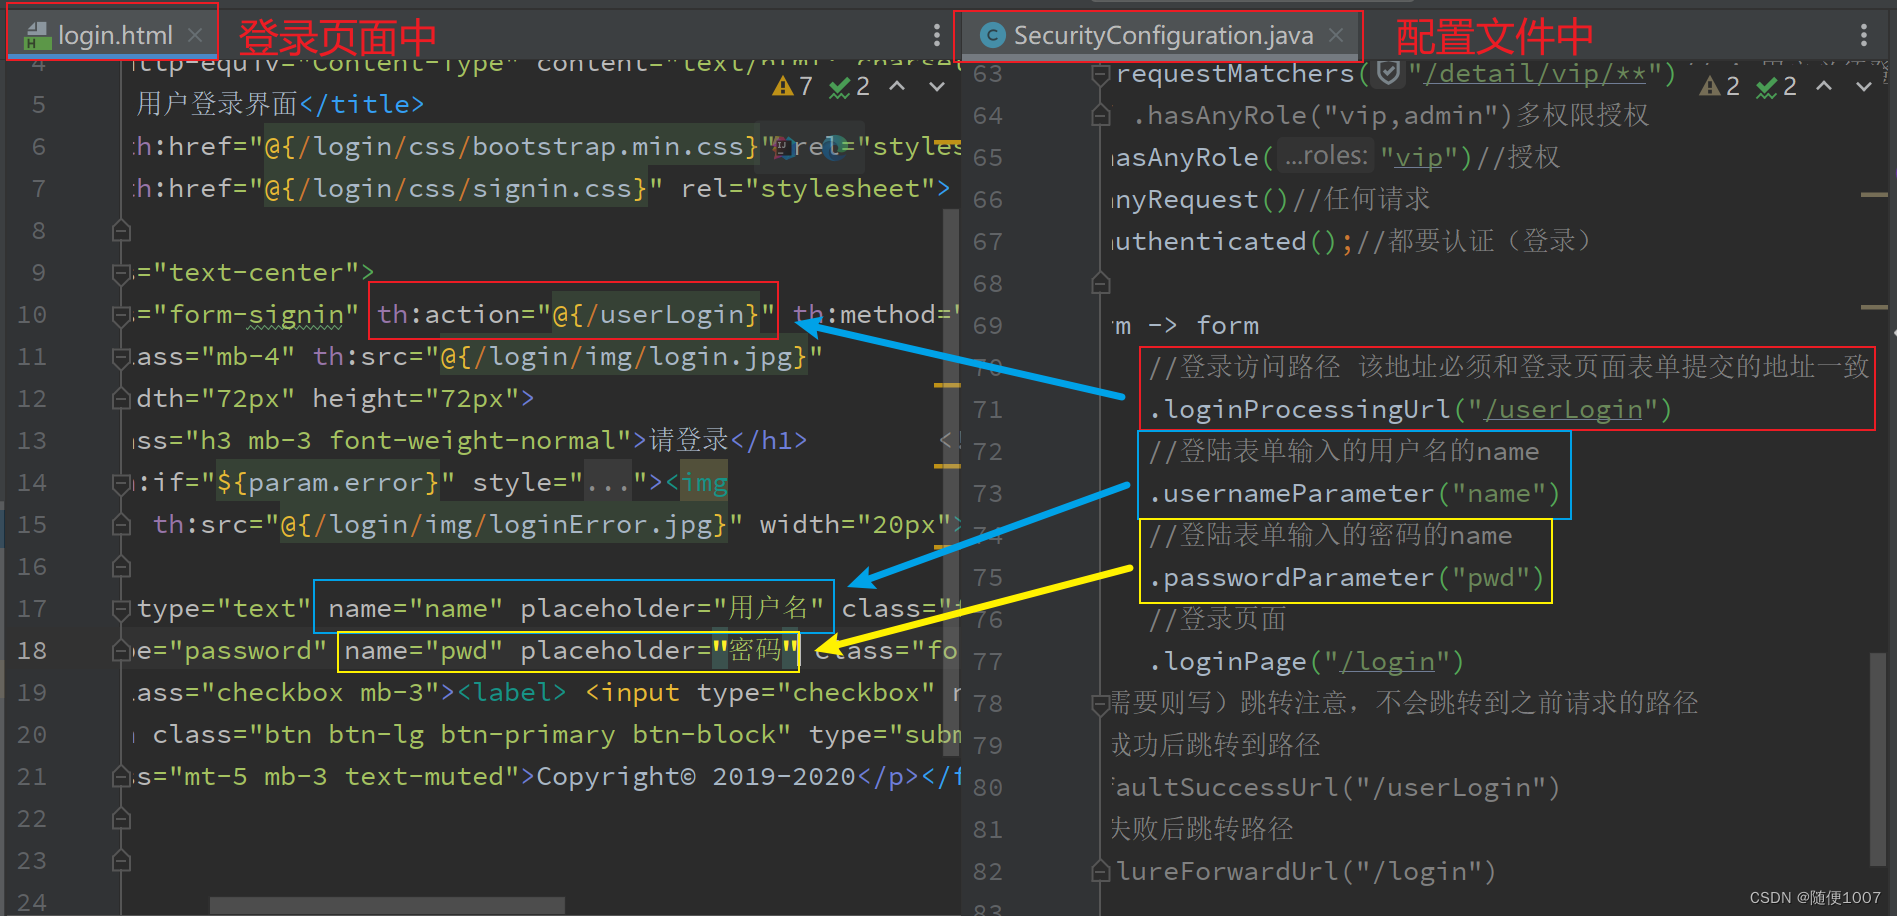
vip页面进入时必须要登陆vip账号,所以游客和普通用户不能查看vip中的内容,想要查看时,就必须登录才能查看。
.formLogin(form->form
                        //登录访问路径 该地址必须和登录页面表单提交的地址一致
                        .loginProcessingUrl("/userLogin")
                        //登陆表单输入的用户名的name
                        .usernameParameter("name")
                        //登陆表单输入的密码的name
                        .passwordParameter("pwd")
                        //登录页面
                        .loginPage("/login")
                        //(有需要则写)跳转注意,不会跳转到之前请求的路径
                        //登录成功后跳转到路径
                        //.defaultSuccessUrl("/userLogin")
                        //登录失败后跳转路径
                        //.failureForwardUrl("/login")
                );
效果
普通用户:
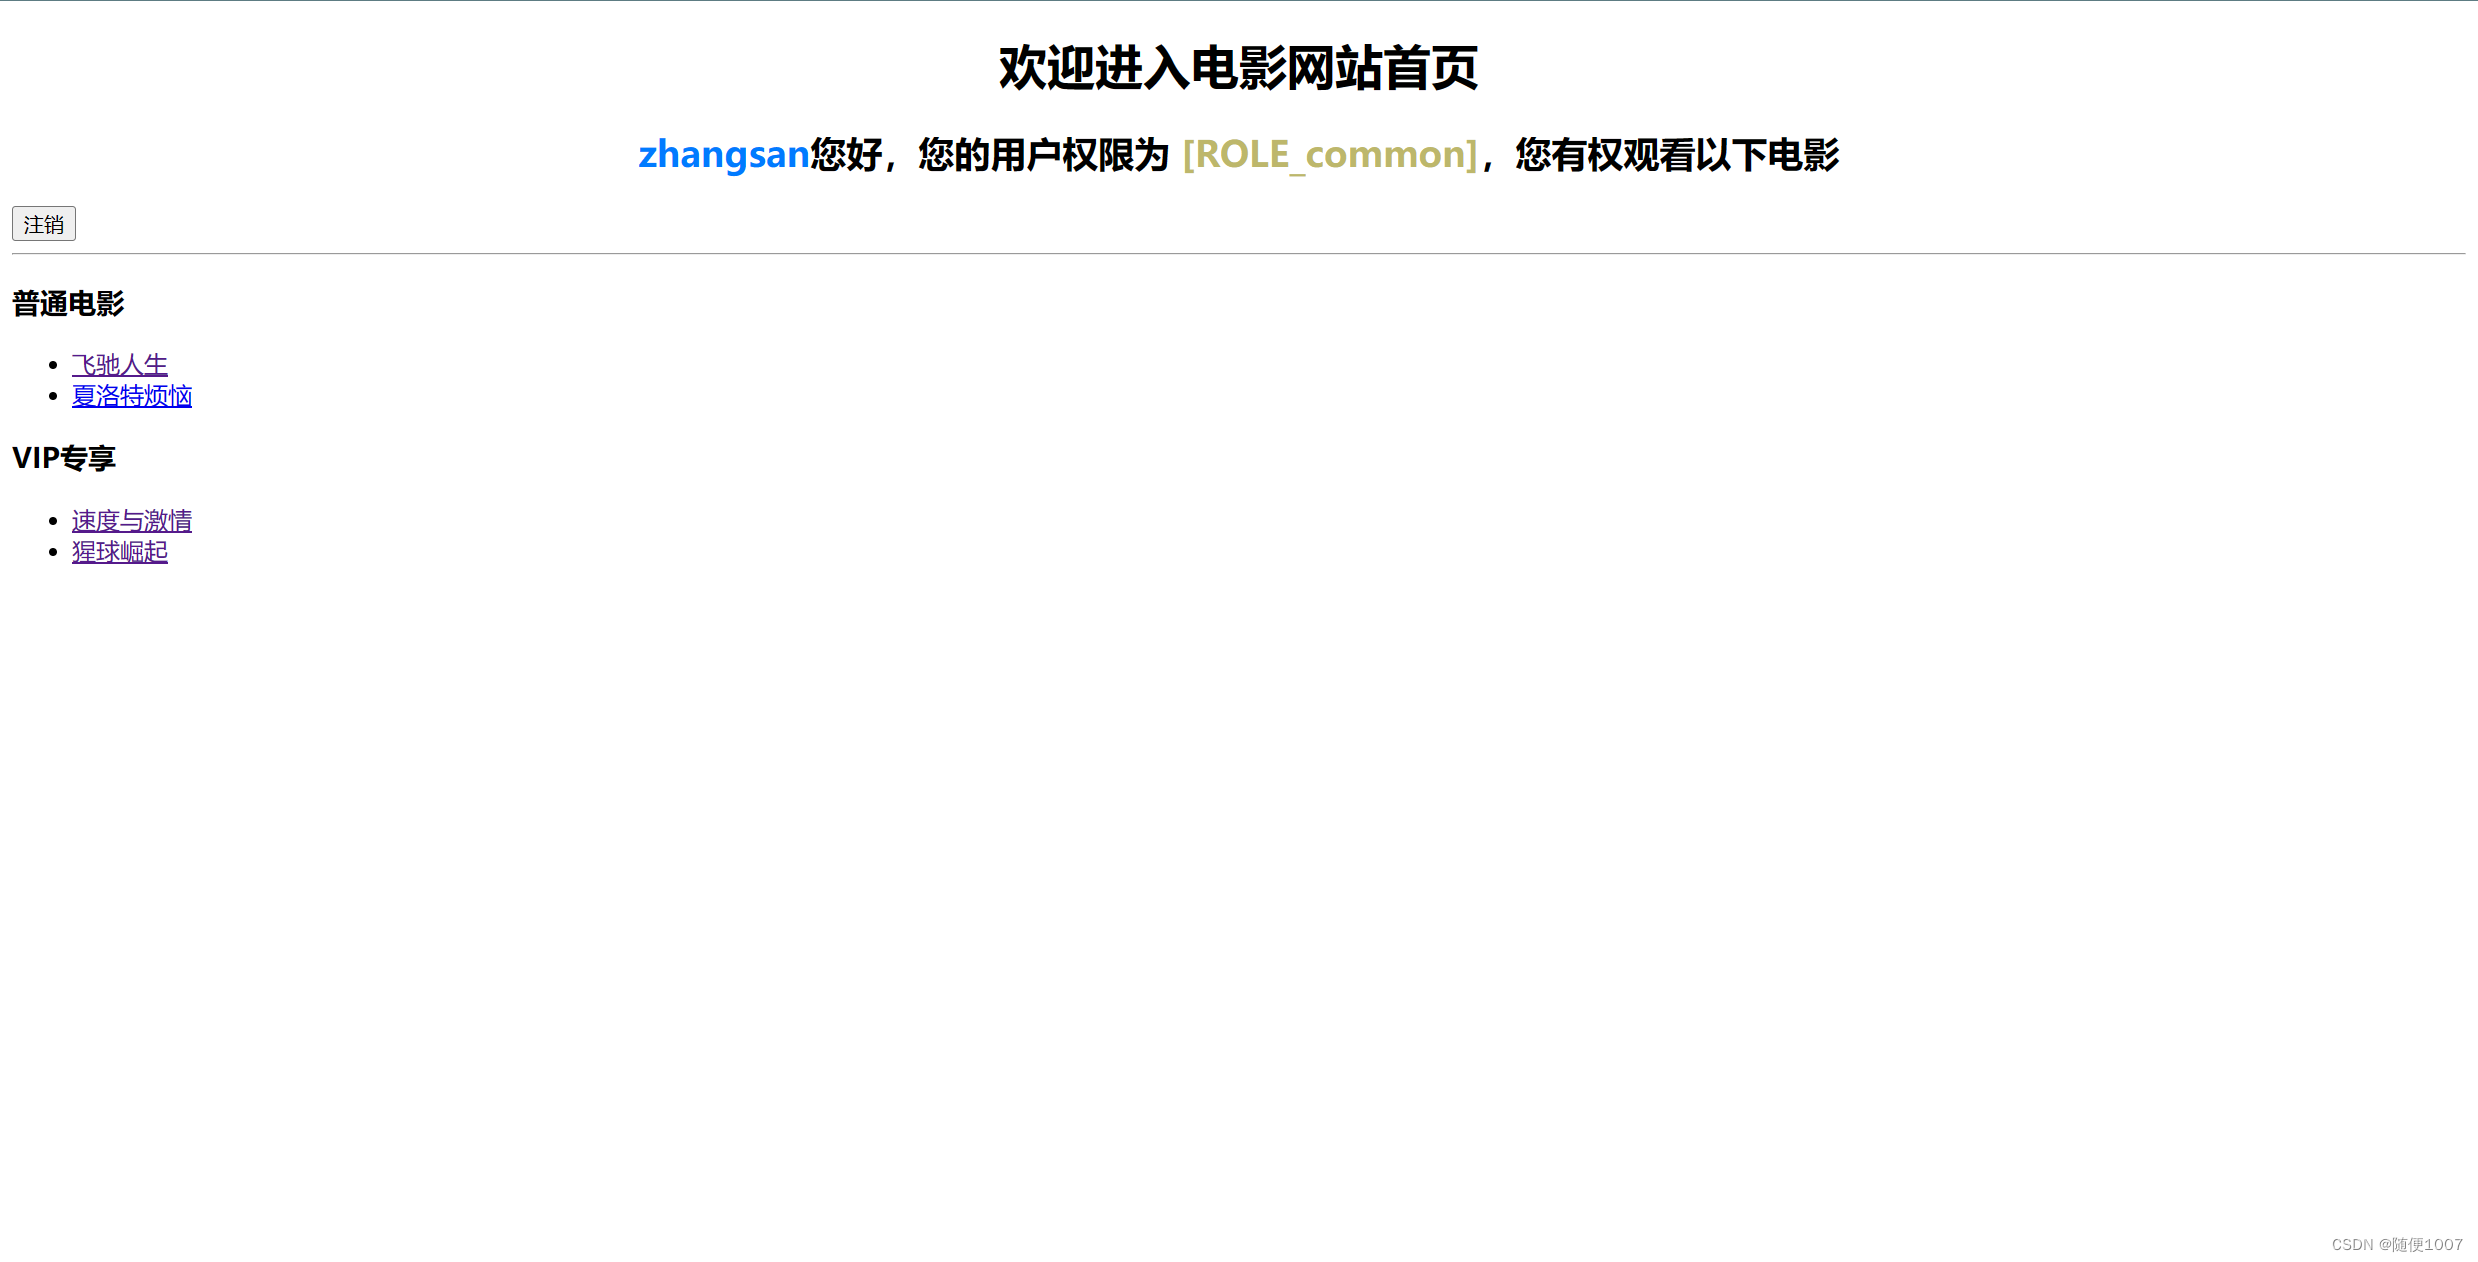
可以进入普通页面

不能进入vip页面

vip用户
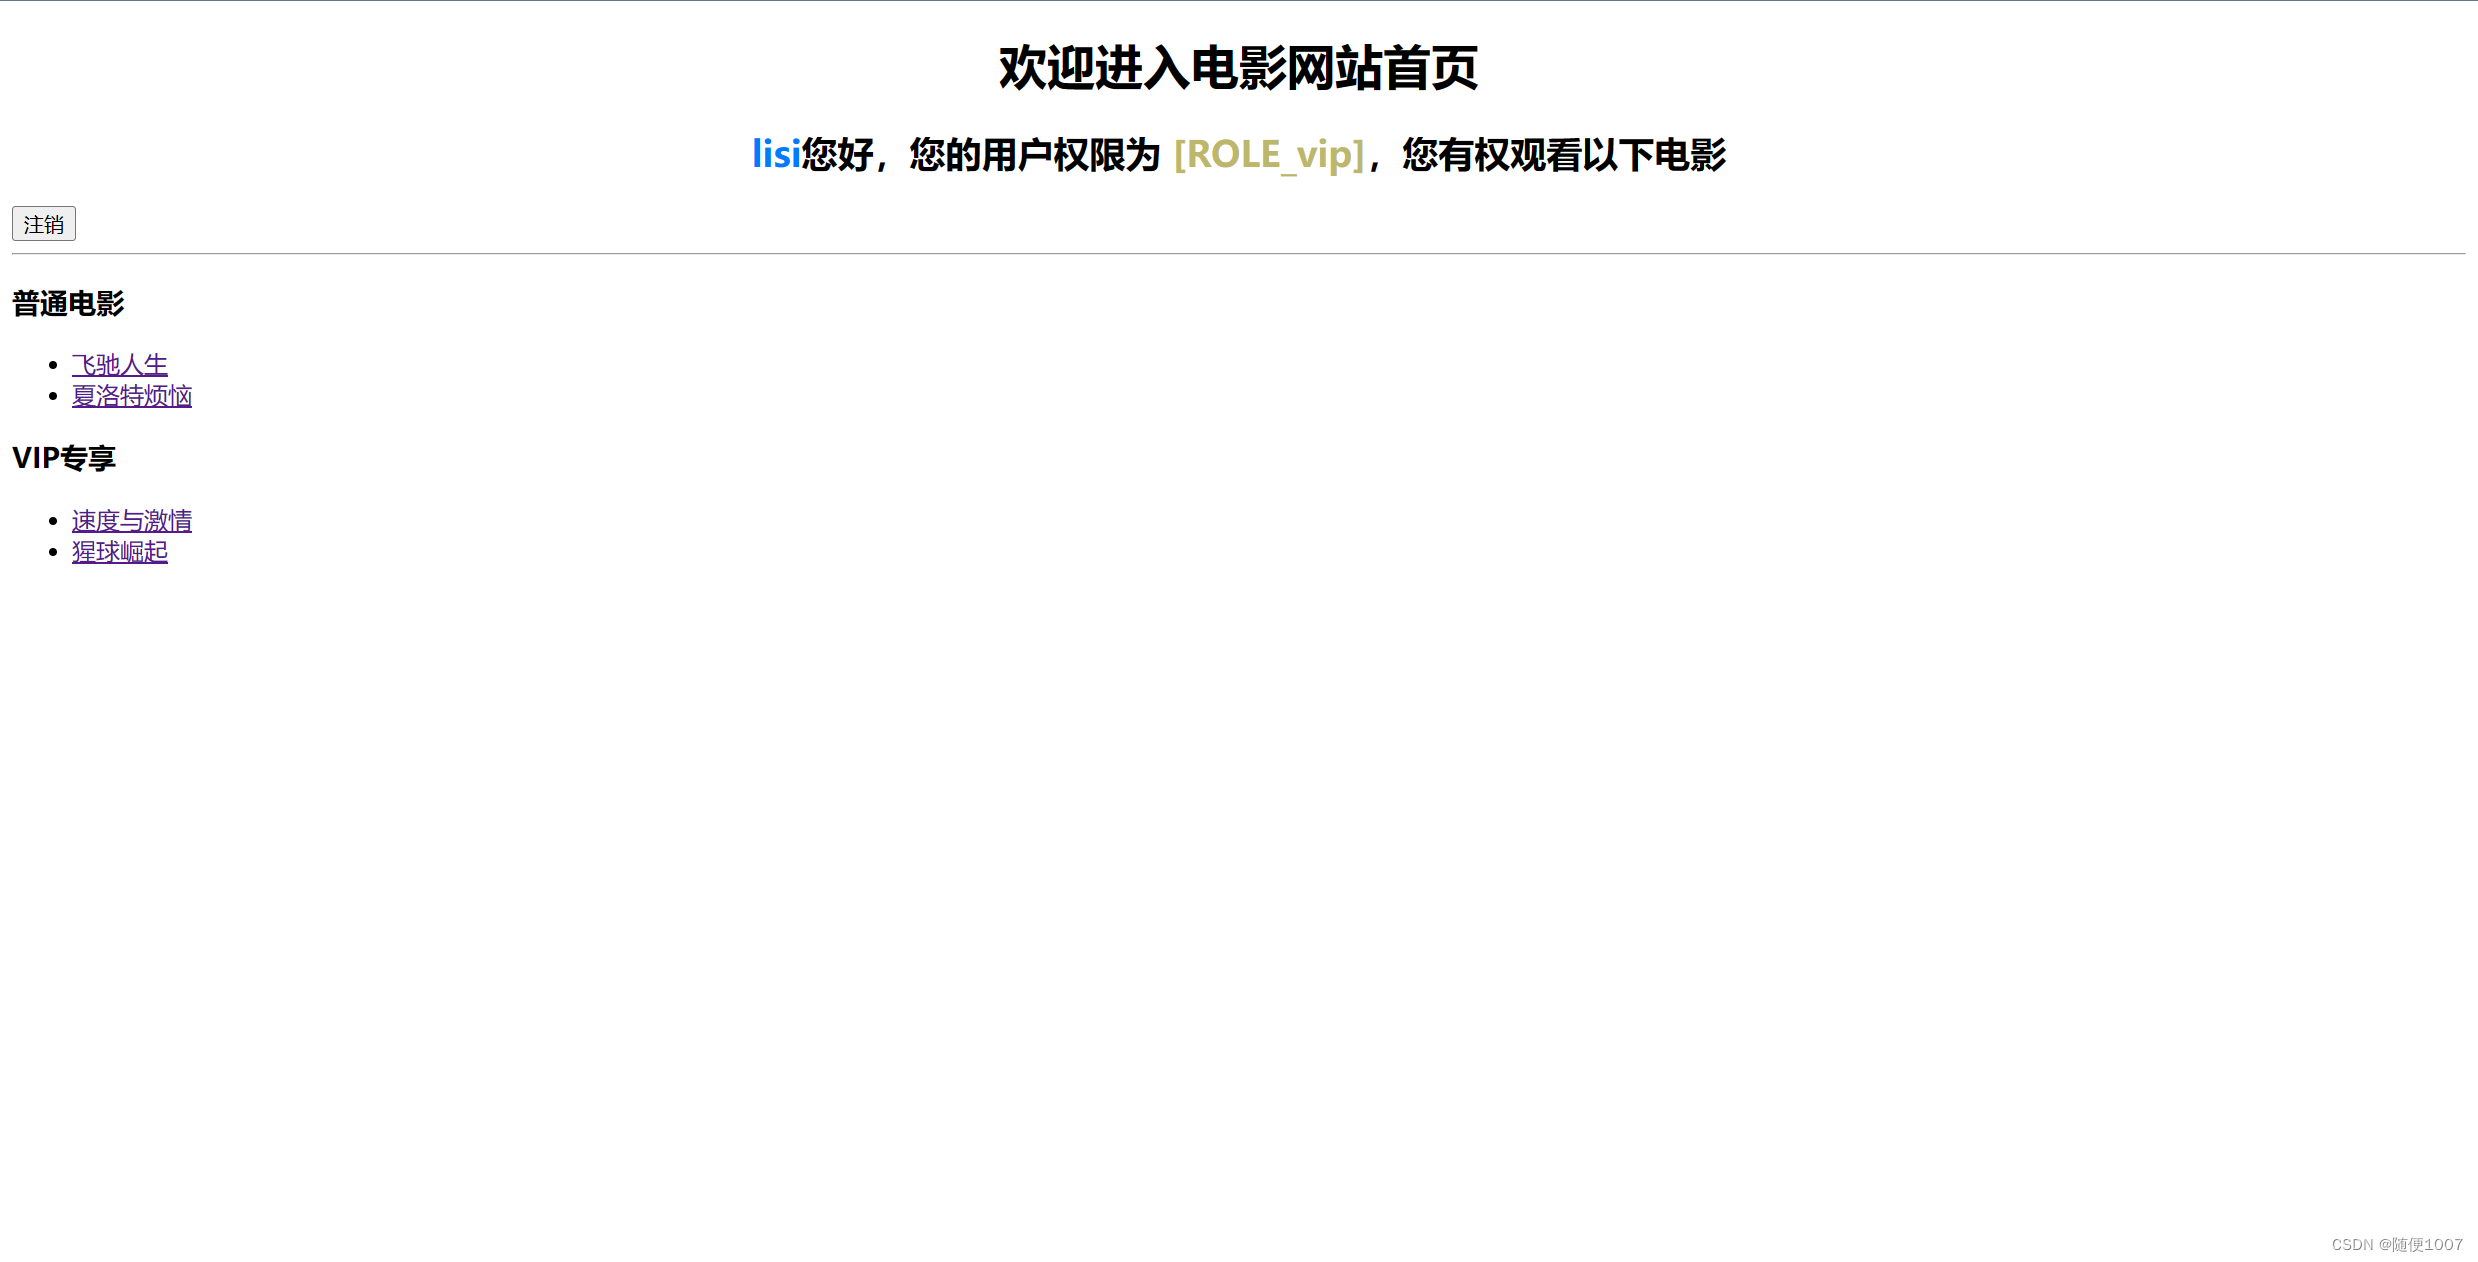
可以进入普通页面

也可以进入vip页面

三.UserDetailsService认证授权方式
这种方式将会连接数据库,将登录用户名和密码都存在数据库中。
新建数据库
create database security;
use security;
# 用户表
create table user
(
    id                    int(11) auto_increment primary key,
    username              varchar(32)  default null,
    #因为密码需要进行加密,加密后存入数据库,所以密码位数要长
        password              varchar(255) default null,
    enabled               tinyint(1)   default null,
    accountNonExpired     tinyint(1)   default null,
    accountNonLocked      tinyint(1)   default null,
    credentialsNonExpired tinyint(1)   default null
);
# 角色表
create table role
(
    id      int(11) auto_increment primary key,
    name    varchar(32) default null,
    name_zh varchar(32) default null
);
# 用户角色表
create table user_role
(
    id  int(11) auto_increment primary key,
    uid int(11) default null,
    rid int(11) default null
);

# 插入用户数据
insert into user
values (1, 'lisi', '$2a$10$5ooQI8dir8jv0/gCa1Six.GpzAdIPf6pMqdminZ/3ijYzivCyPlfK', 1, 1, 1, 1),
       (2, 'admin', '$2a$10$5ooQI8dir8jv0/gCa1Six.GpzAdIPf6pMqdminZ/3ijYzivCyPlfK', 1, 1, 1, 1),
       (3, 'zhangsan', '$2a$10$5ooQI8dir8jv0/gCa1Six.GpzAdIPf6pMqdminZ/3ijYzivCyPlfK', 1, 1, 1, 1);

# 插入角色数据
insert into role
values (1, 'ROLE_common', '一般用户'),
       (2, 'ROLE_admin', '系统管理员'),
       (3, 'ROLE_vip', 'vip用户');

#插入用户角色数据
insert into user_role
values (1, 1, 1),
       (2, 2, 2),
       (3, 3, 3);
实体类
Role
package com.example.security.entity;

import lombok.Data;

@Data
public class Role{

    private Integer id;

    private String name;

    private String nameZh;

}
User
package com.example.security.entity;

import lombok.Data;
import org.springframework.security.core.GrantedAuthority;
import org.springframework.security.core.authority.SimpleGrantedAuthority;
import org.springframework.security.core.userdetails.UserDetails;

import java.util.ArrayList;
import java.util.Collection;
import java.util.List;

@Data
//供用户信息的核心接口。接口实现仅仅存储用户的信息。后续会将该接口提供的用户信息封装到认证对象Authentication中去
public class User implements UserDetails {
    private Integer id;

    private String username;

    private String password;

    private Boolean enabled;

    private Boolean accountNonExpired;

    private Boolean accountNonLocked;

    private Boolean credentialsNonExpired;

    private List<Role> roles;


    @Override
    public Collection<? extends GrantedAuthority> getAuthorities() {
        List<GrantedAuthority> grantedAuthorities = new ArrayList<>();
        // 使用 Stream API 遍历用户的角色列表
        roles.stream().forEach(role -> {
            // 将每个角色转换为 GrantedAuthority 对象
            GrantedAuthority grantedAuthority = new SimpleGrantedAuthority(role.getName());
            // 添加到 grantedAuthorities 列表中
            grantedAuthorities.add(grantedAuthority);
        });

        return grantedAuthorities;
    }

    @Override
    public boolean isAccountNonExpired() {
        // 判断用户帐号是否过期
        return accountNonExpired;
    }

    @Override
    public boolean isAccountNonLocked() {
        // 判断用户帐号是否被锁定
        return accountNonLocked;
    }

    @Override
    public boolean isCredentialsNonExpired() {
        // 判断用户凭证是否过期
        return credentialsNonExpired;
    }

    @Override
    public boolean isEnabled() {
        // 判断用户是否启用
        return enabled;
    }
}
接口
//日期2024/3/20
package com.example.security.mapper;

import com.example.security.entity.Role;
import com.example.security.entity.User;
import org.apache.ibatis.annotations.Mapper;

import java.util.List;
@Mapper
public interface UserDao {
    //根据用户名查询用户
    User loadUserByUsername(String username);
    //根据用户id查询角色
    List<Role> getRolesByUid(Integer uid);
}

实现类
//日期2024/3/20
package com.example.security.service;

import com.example.security.entity.User;
import com.example.security.mapper.UserDao;
import org.springframework.beans.factory.annotation.Autowired;
import org.springframework.security.core.userdetails.UserDetails;
import org.springframework.security.core.userdetails.UserDetailsService;
import org.springframework.security.core.userdetails.UsernameNotFoundException;
import org.springframework.security.crypto.bcrypt.BCryptPasswordEncoder;
import org.springframework.stereotype.Component;
import org.springframework.util.ObjectUtils;

@Component
public class MyUserDetailService implements UserDetailsService {
    private final UserDao userDao;

    @Autowired
    public MyUserDetailService(UserDao userDao) {
        this.userDao = userDao;
    }

    @Override
    public UserDetails loadUserByUsername(String username) throws UsernameNotFoundException {
        User user = userDao.loadUserByUsername(username);
        if (ObjectUtils.isEmpty(user)) throw new RuntimeException("用户不存在");
        user.setRoles(userDao.getRolesByUid(user.getId()));
        return user;
    }

    private String encoder(String password) {
        BCryptPasswordEncoder encoder = new BCryptPasswordEncoder();
        boolean b = encoder.matches("123456", password);
        System.out.println(b);
        return password;
    }
}
配置文件
只需要改变认证部分其他部分不变
  @Autowired
    public UserDetailsService userDetailsService;

    @Autowired
    public void configureGlobal(AuthenticationManagerBuilder auth) throws Exception {
        //创建一个 PasswordEncoder 接口的实现类,并将其设置为密码加密器
        auth.userDetailsService(userDetailsService).passwordEncoder(new BCryptPasswordEncoder());
    }
效果
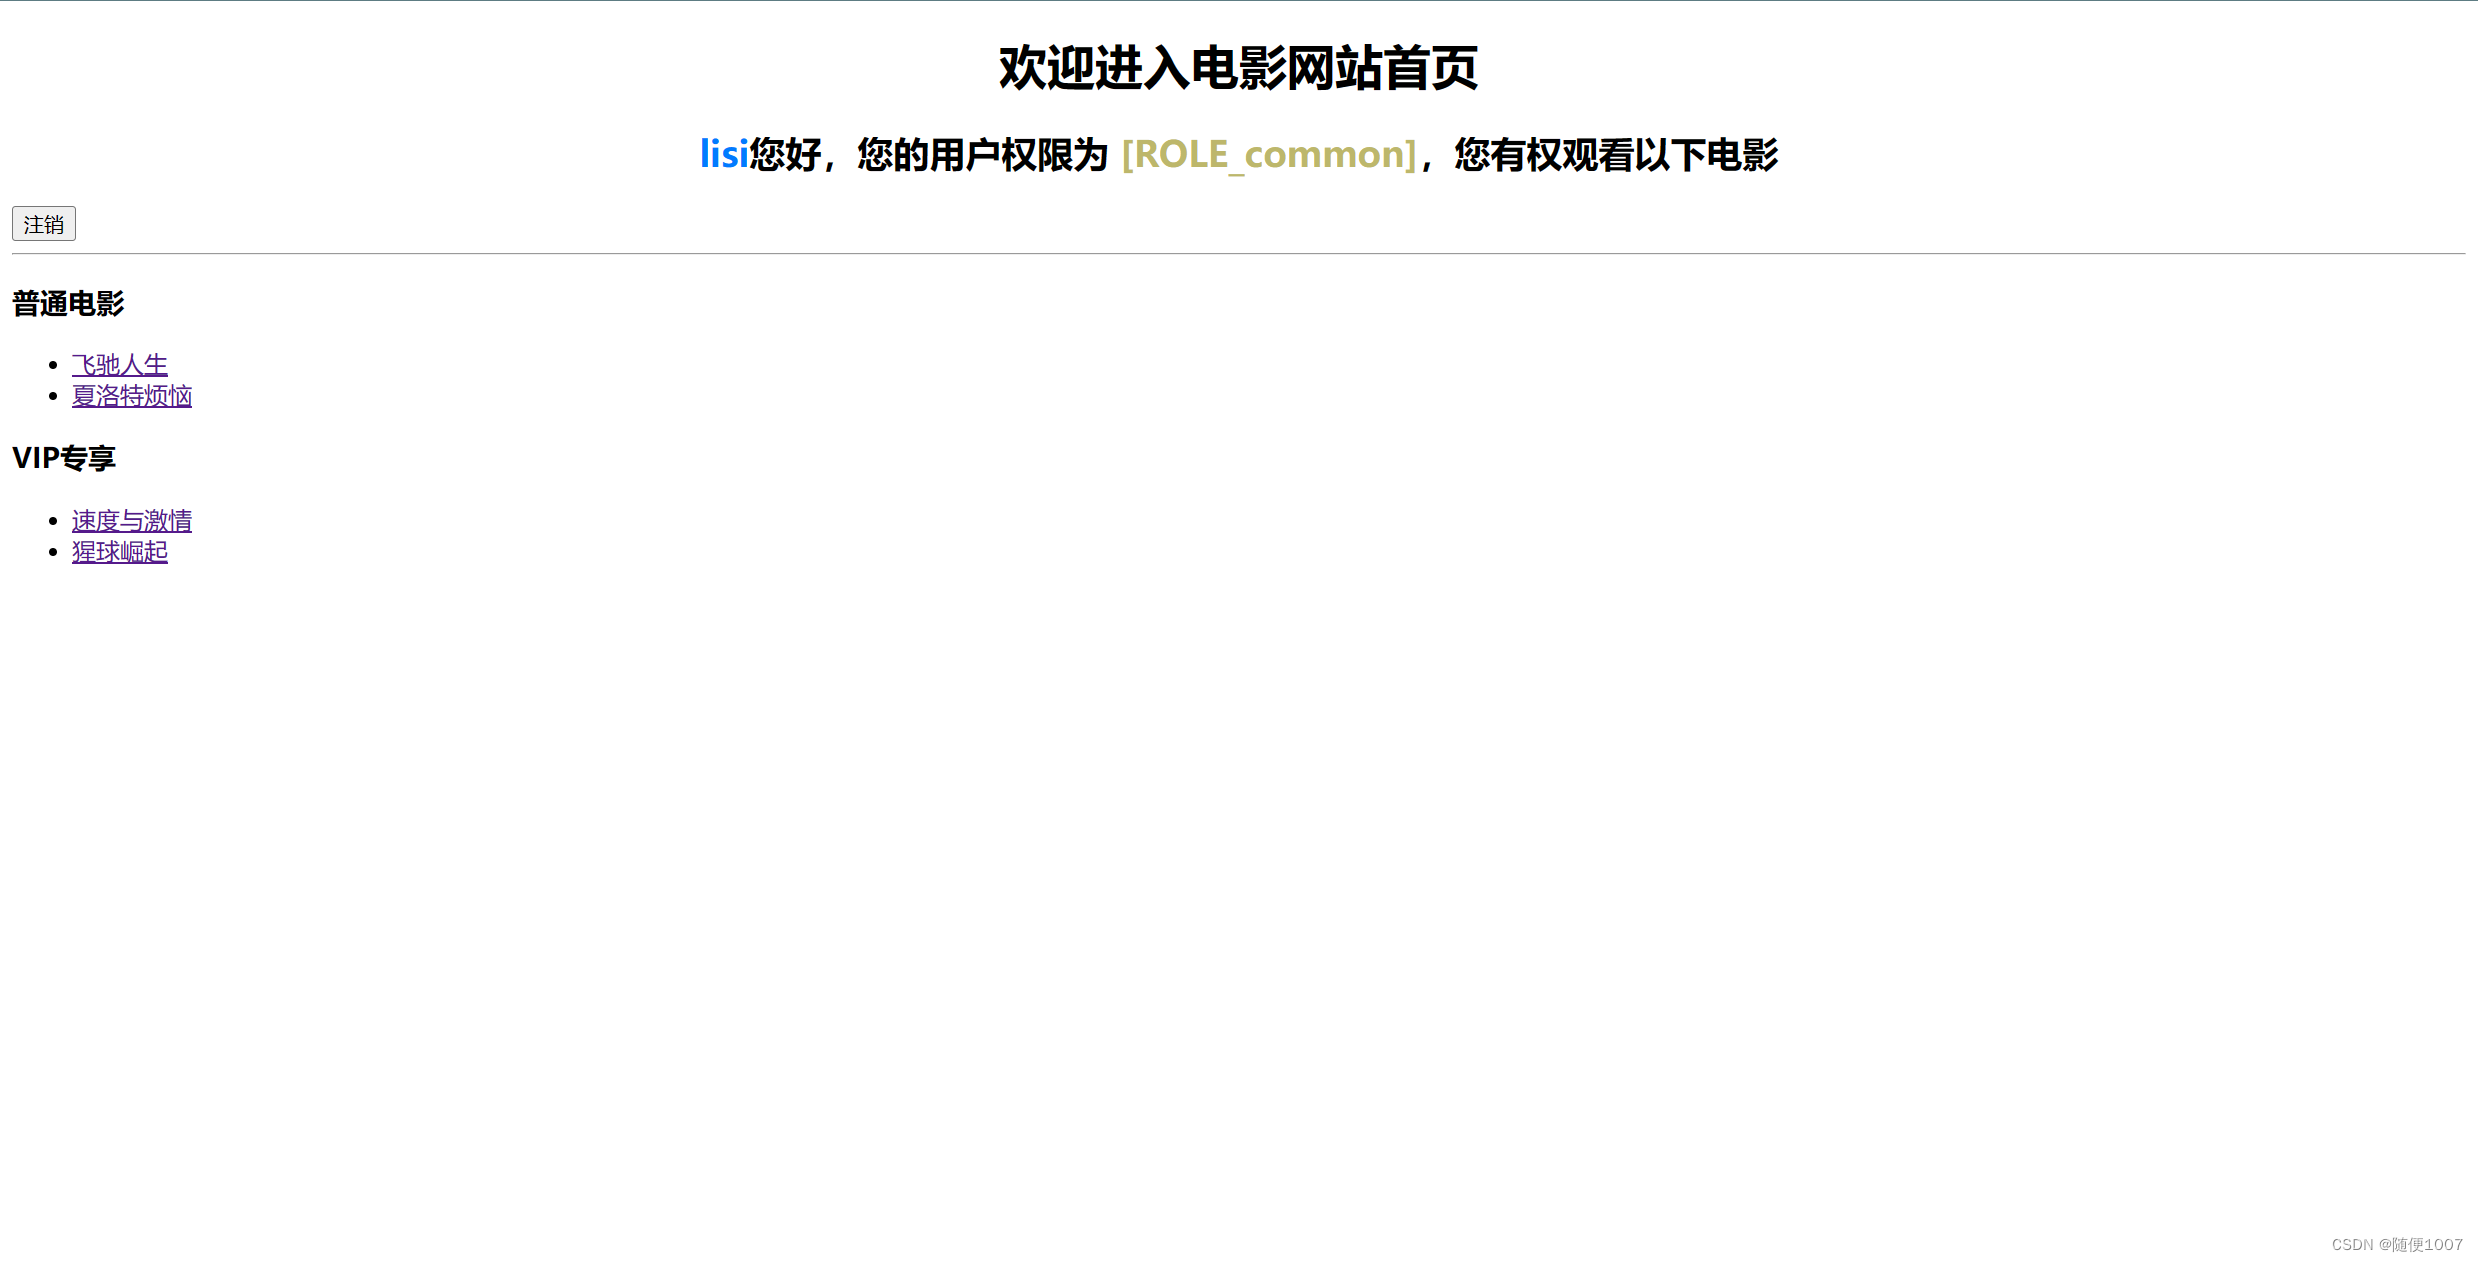
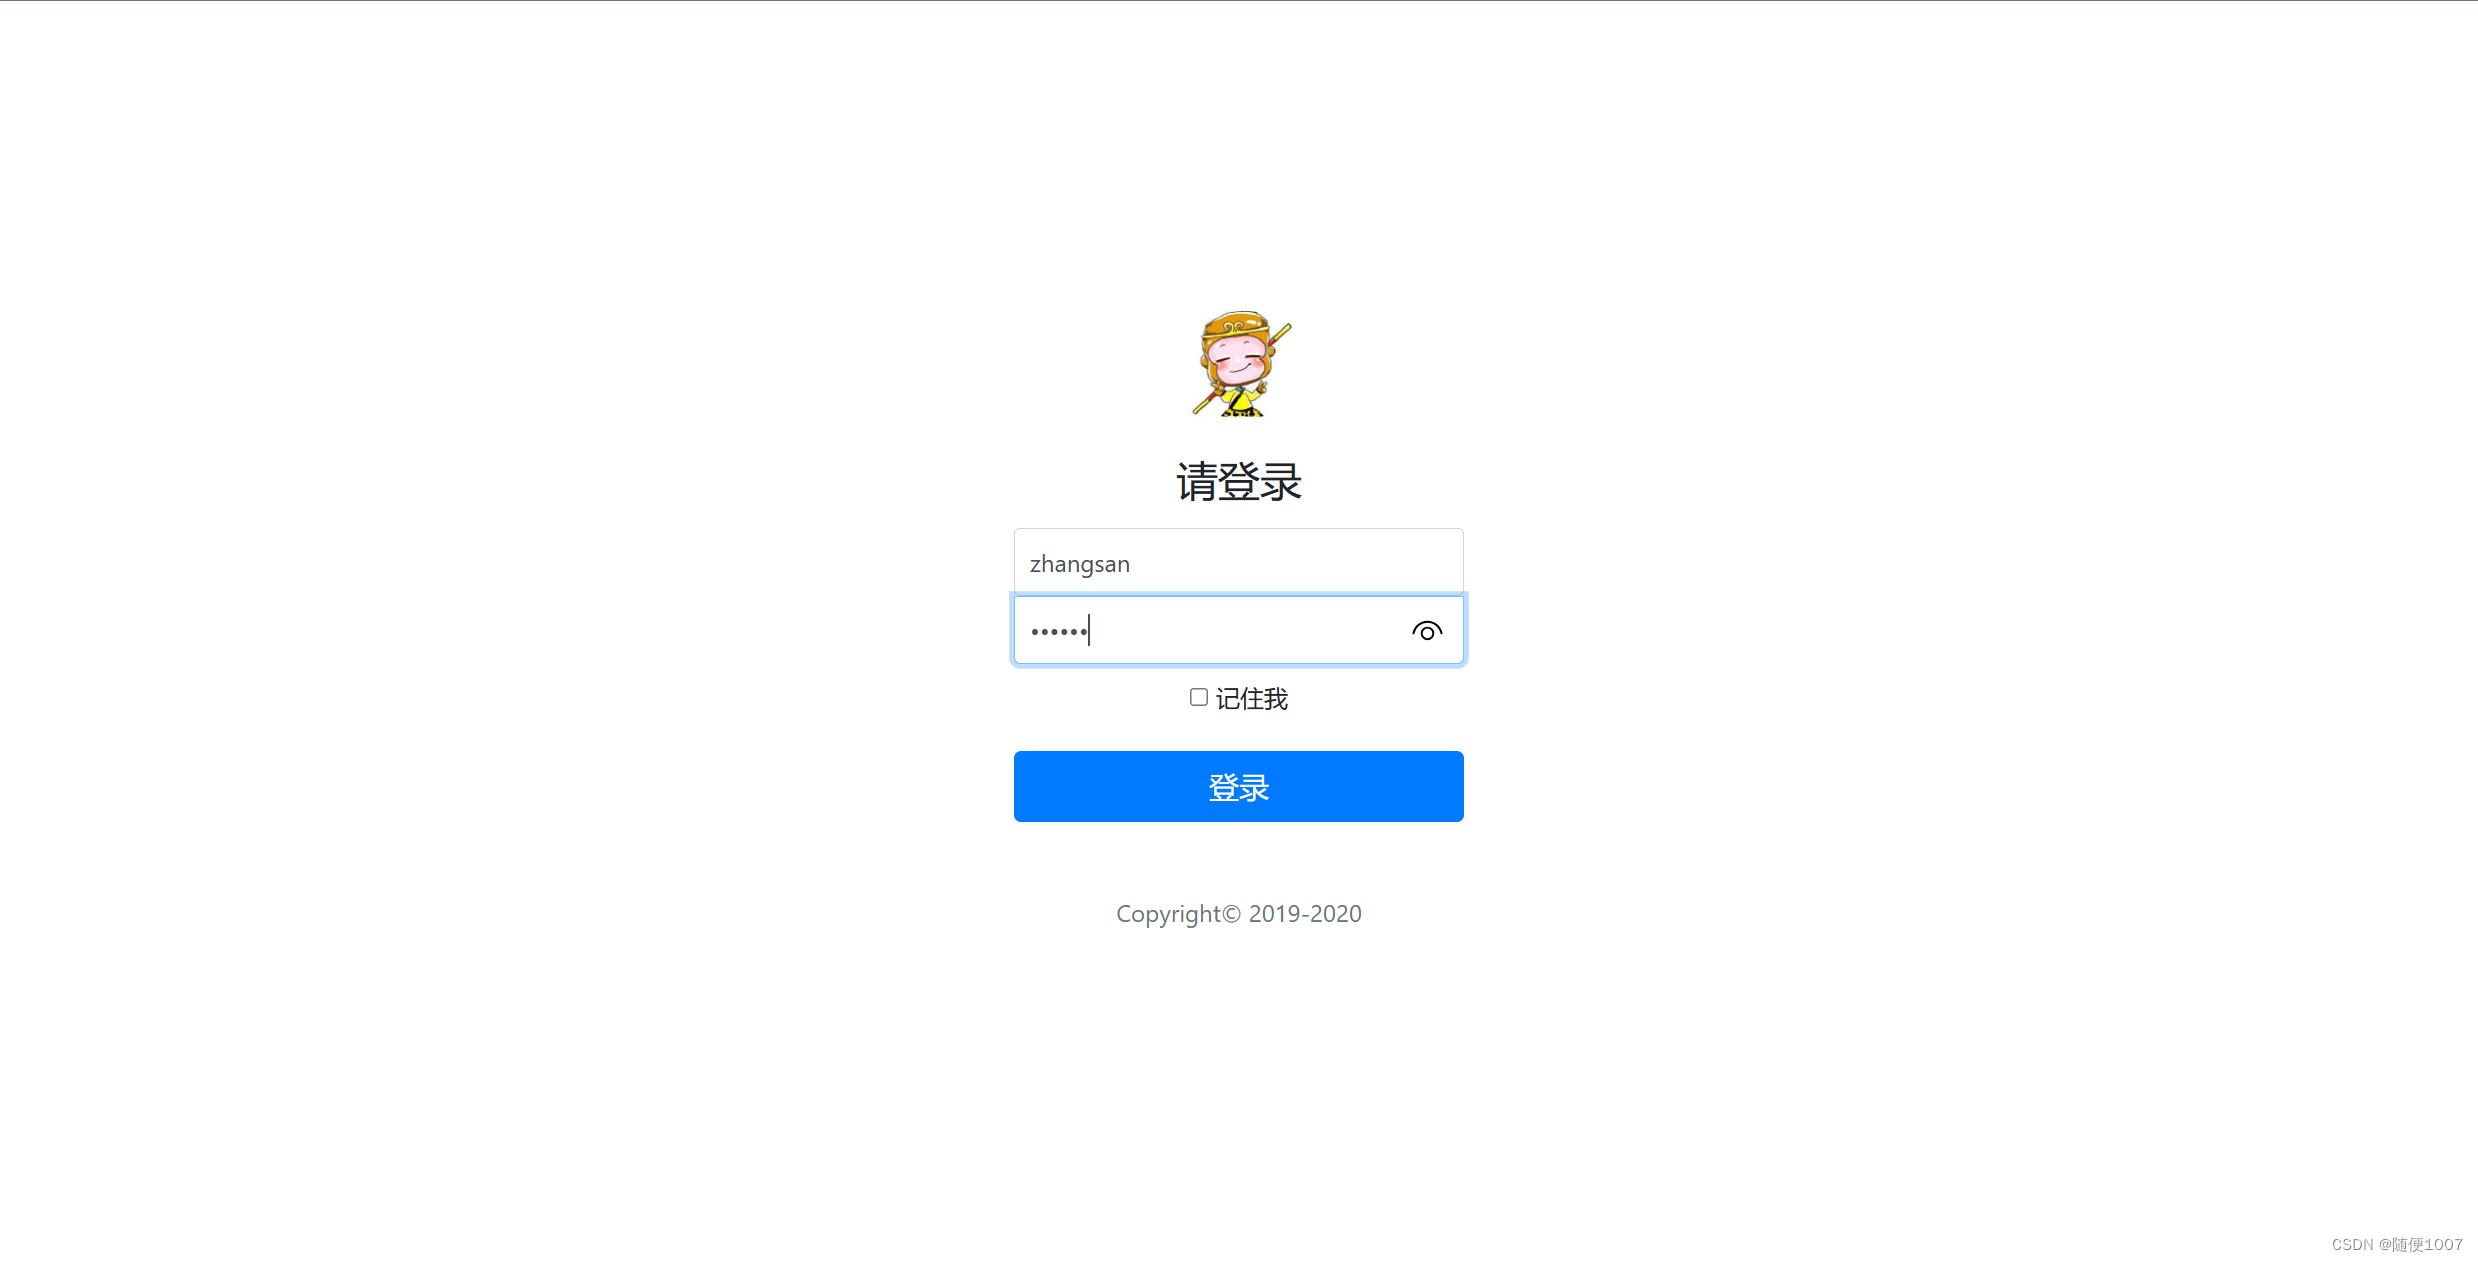
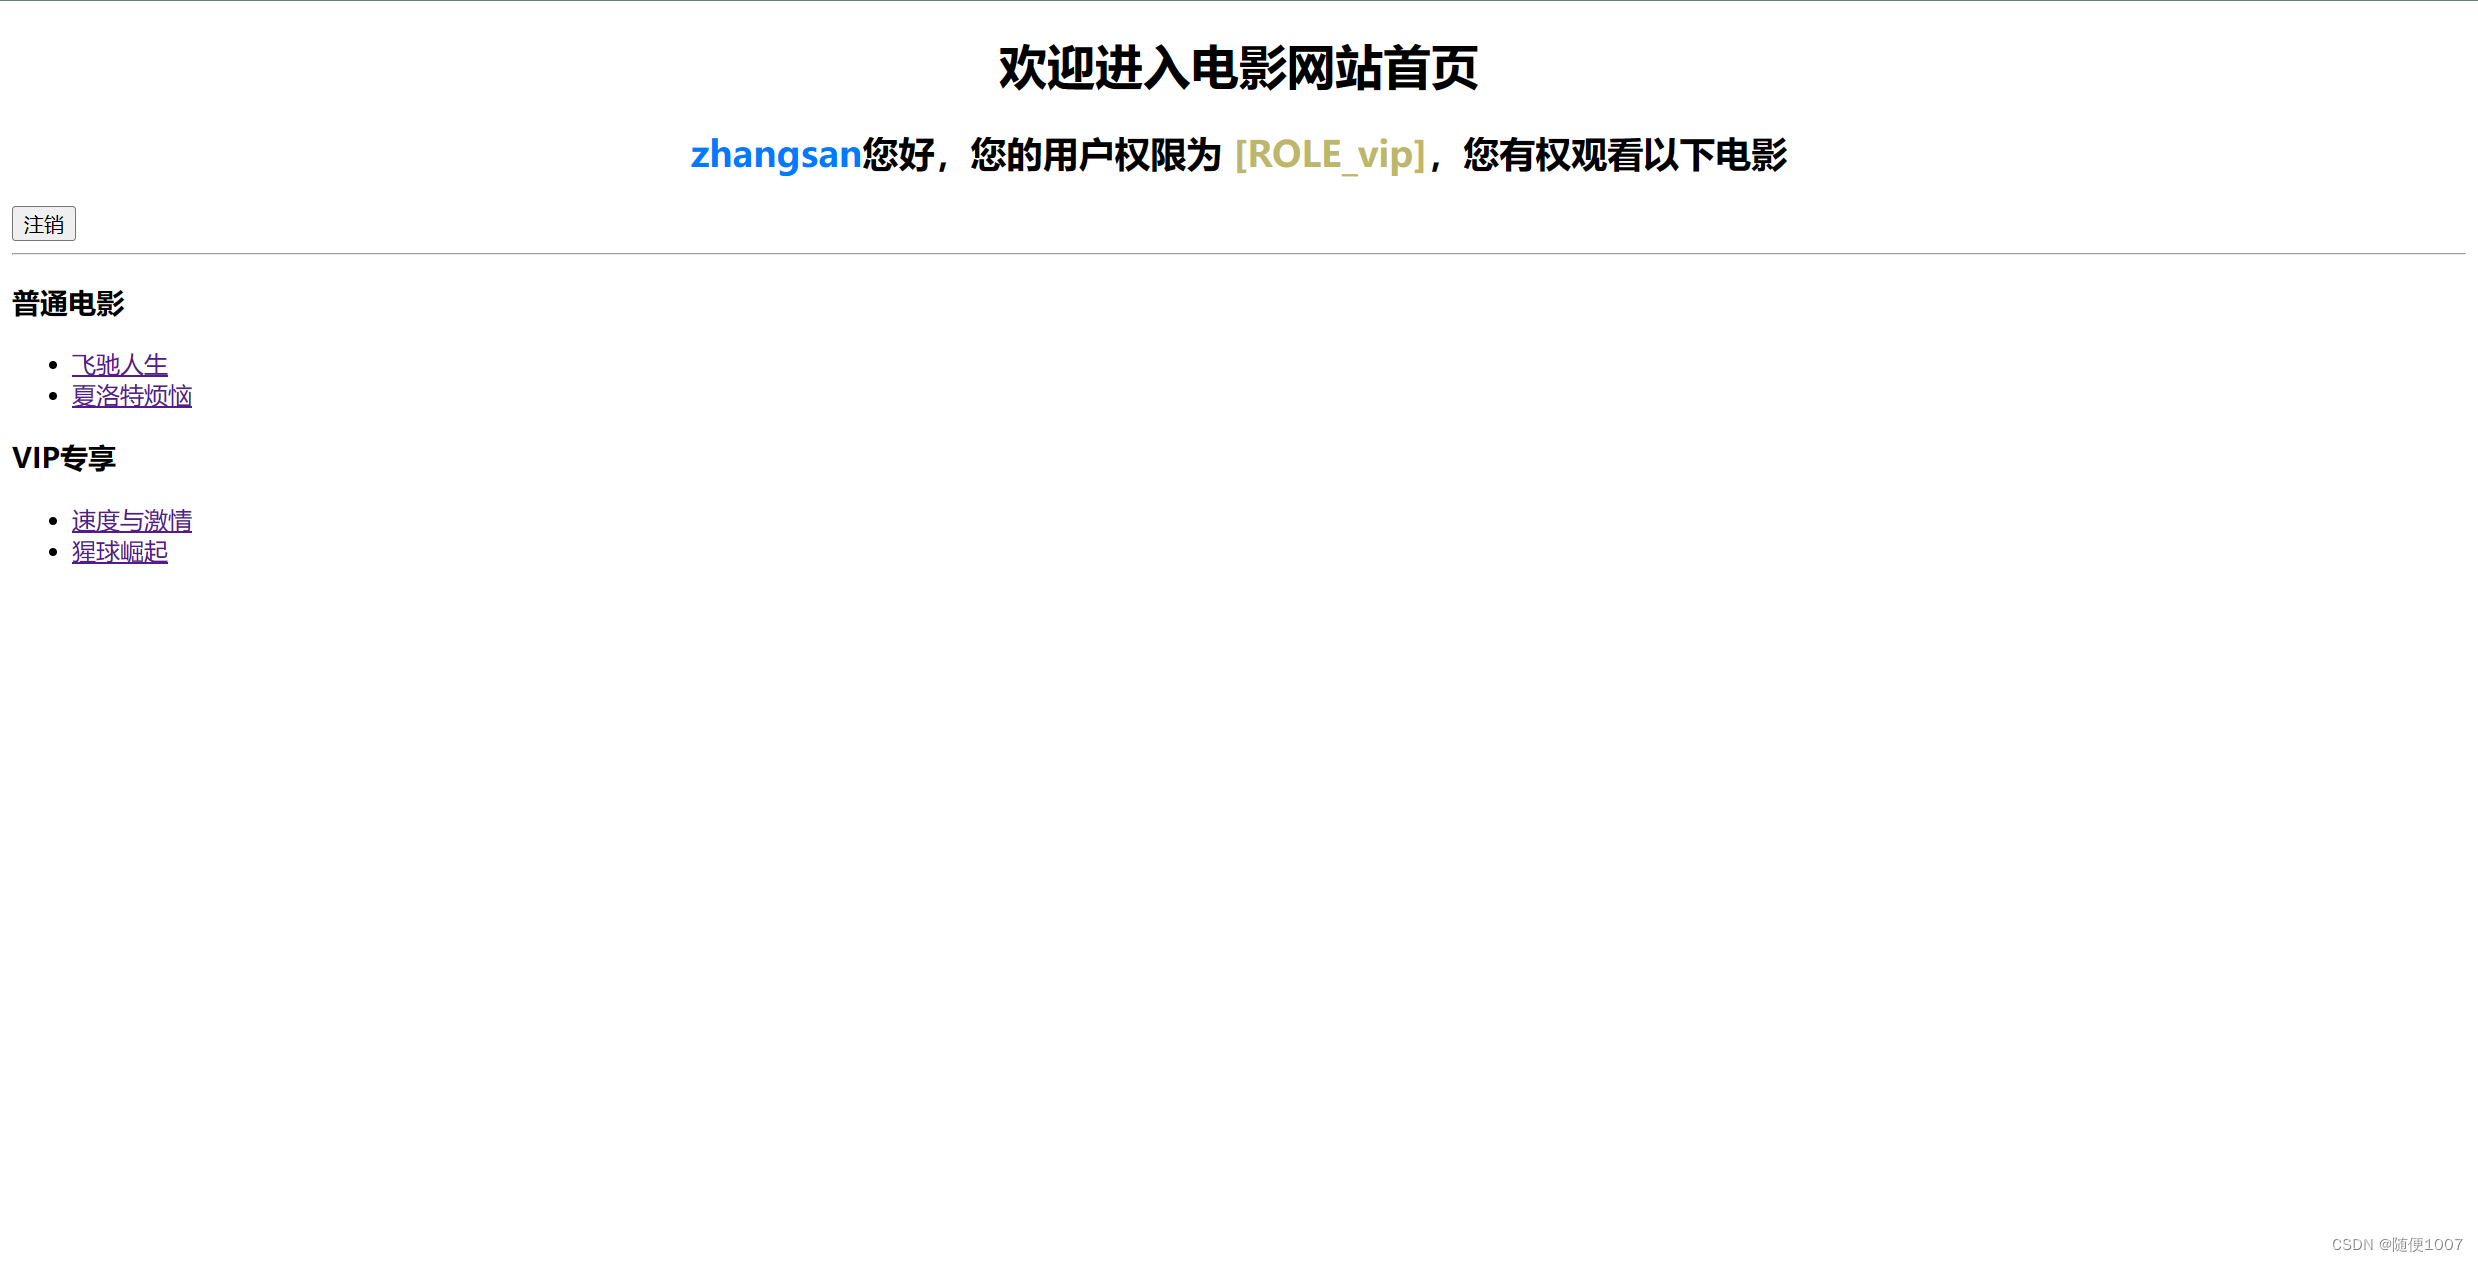
四.注销
这里的注销并非返回登录页面,而是该用户的所有信息清空,需要重新登陆。
- 校验HTTP Session
- 清除RememberMe认证信息
- 清理 SecurityContextHolder
- 重定向到 /login
配置
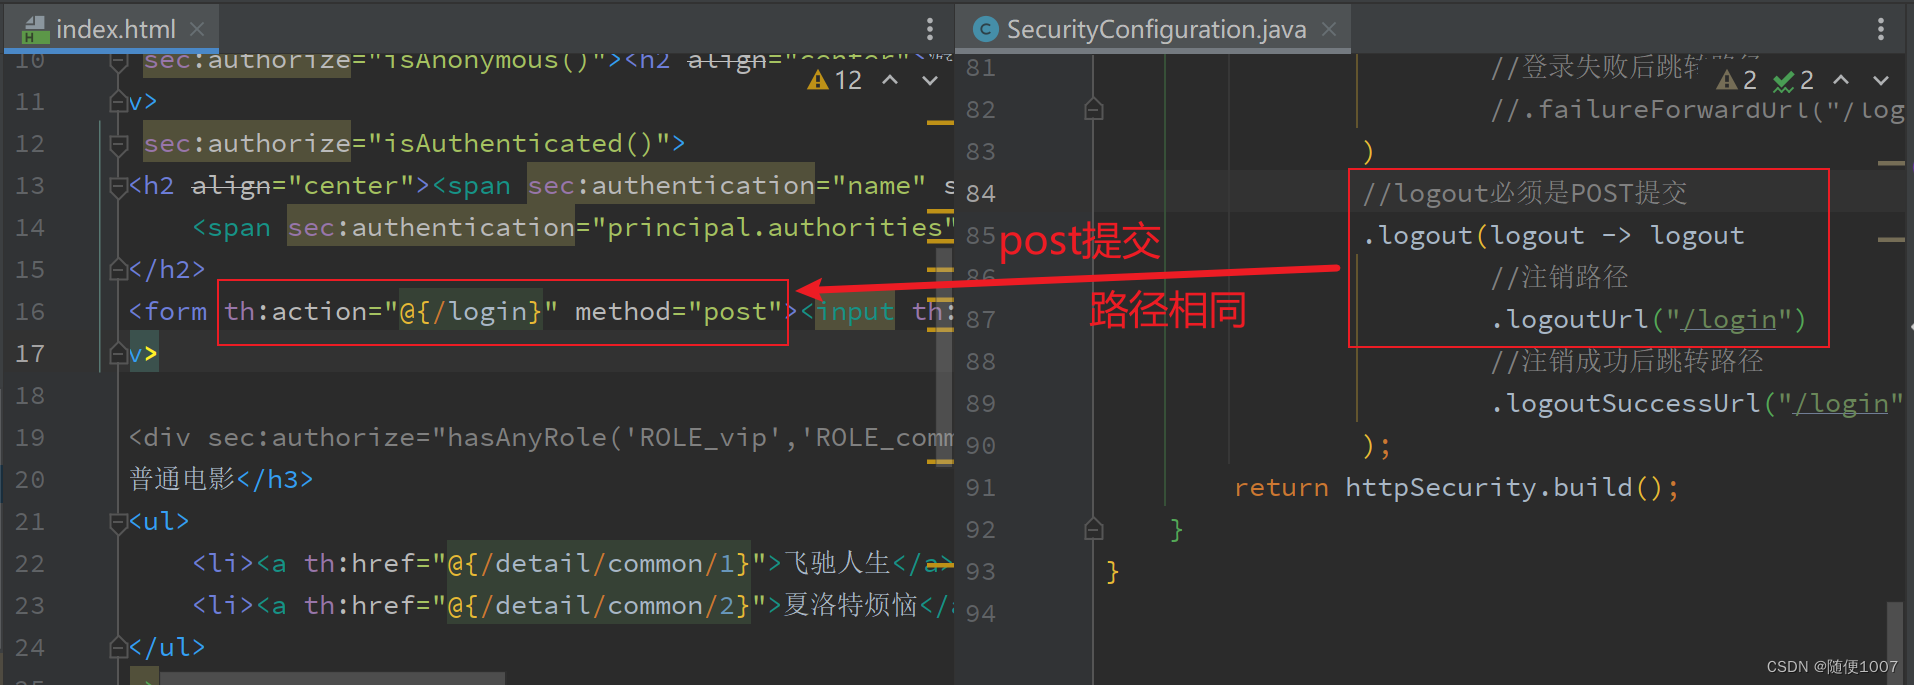
 //logout必须是POST提交
                .logout(logout -> logout
                        //注销路径
                        .logoutUrl("/login")
                        //注销成功后跳转路径
                        .logoutSuccessUrl("/login")
                );
未使用前
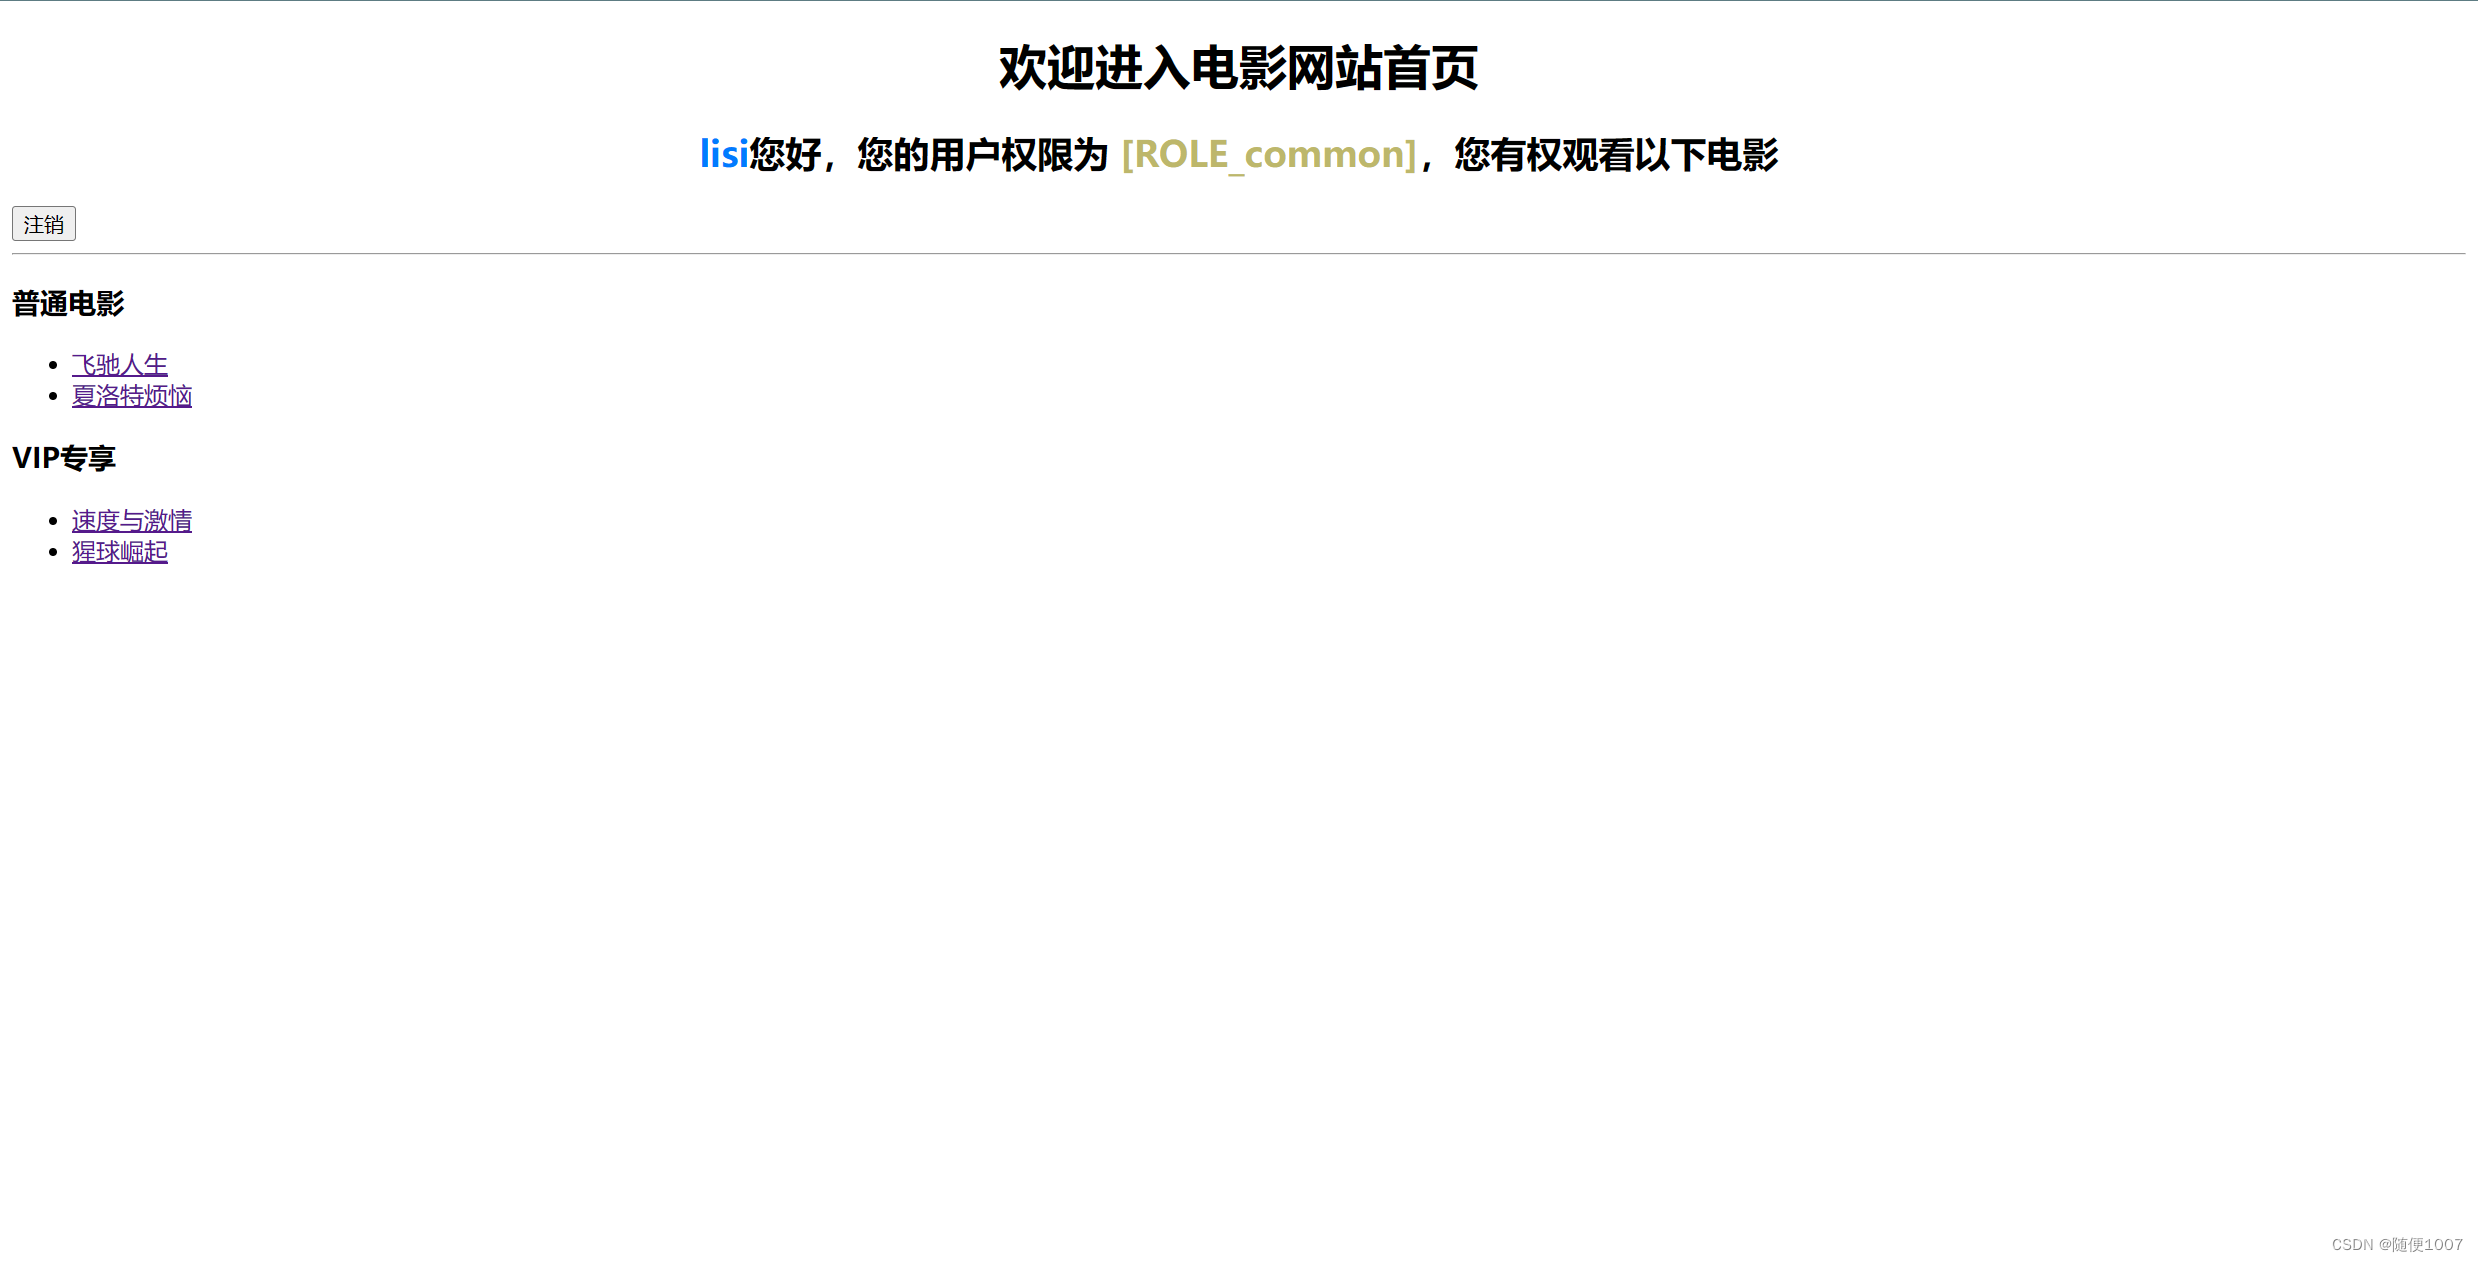
点击注销,虽然进入登录页面,但是并未清除认证信息
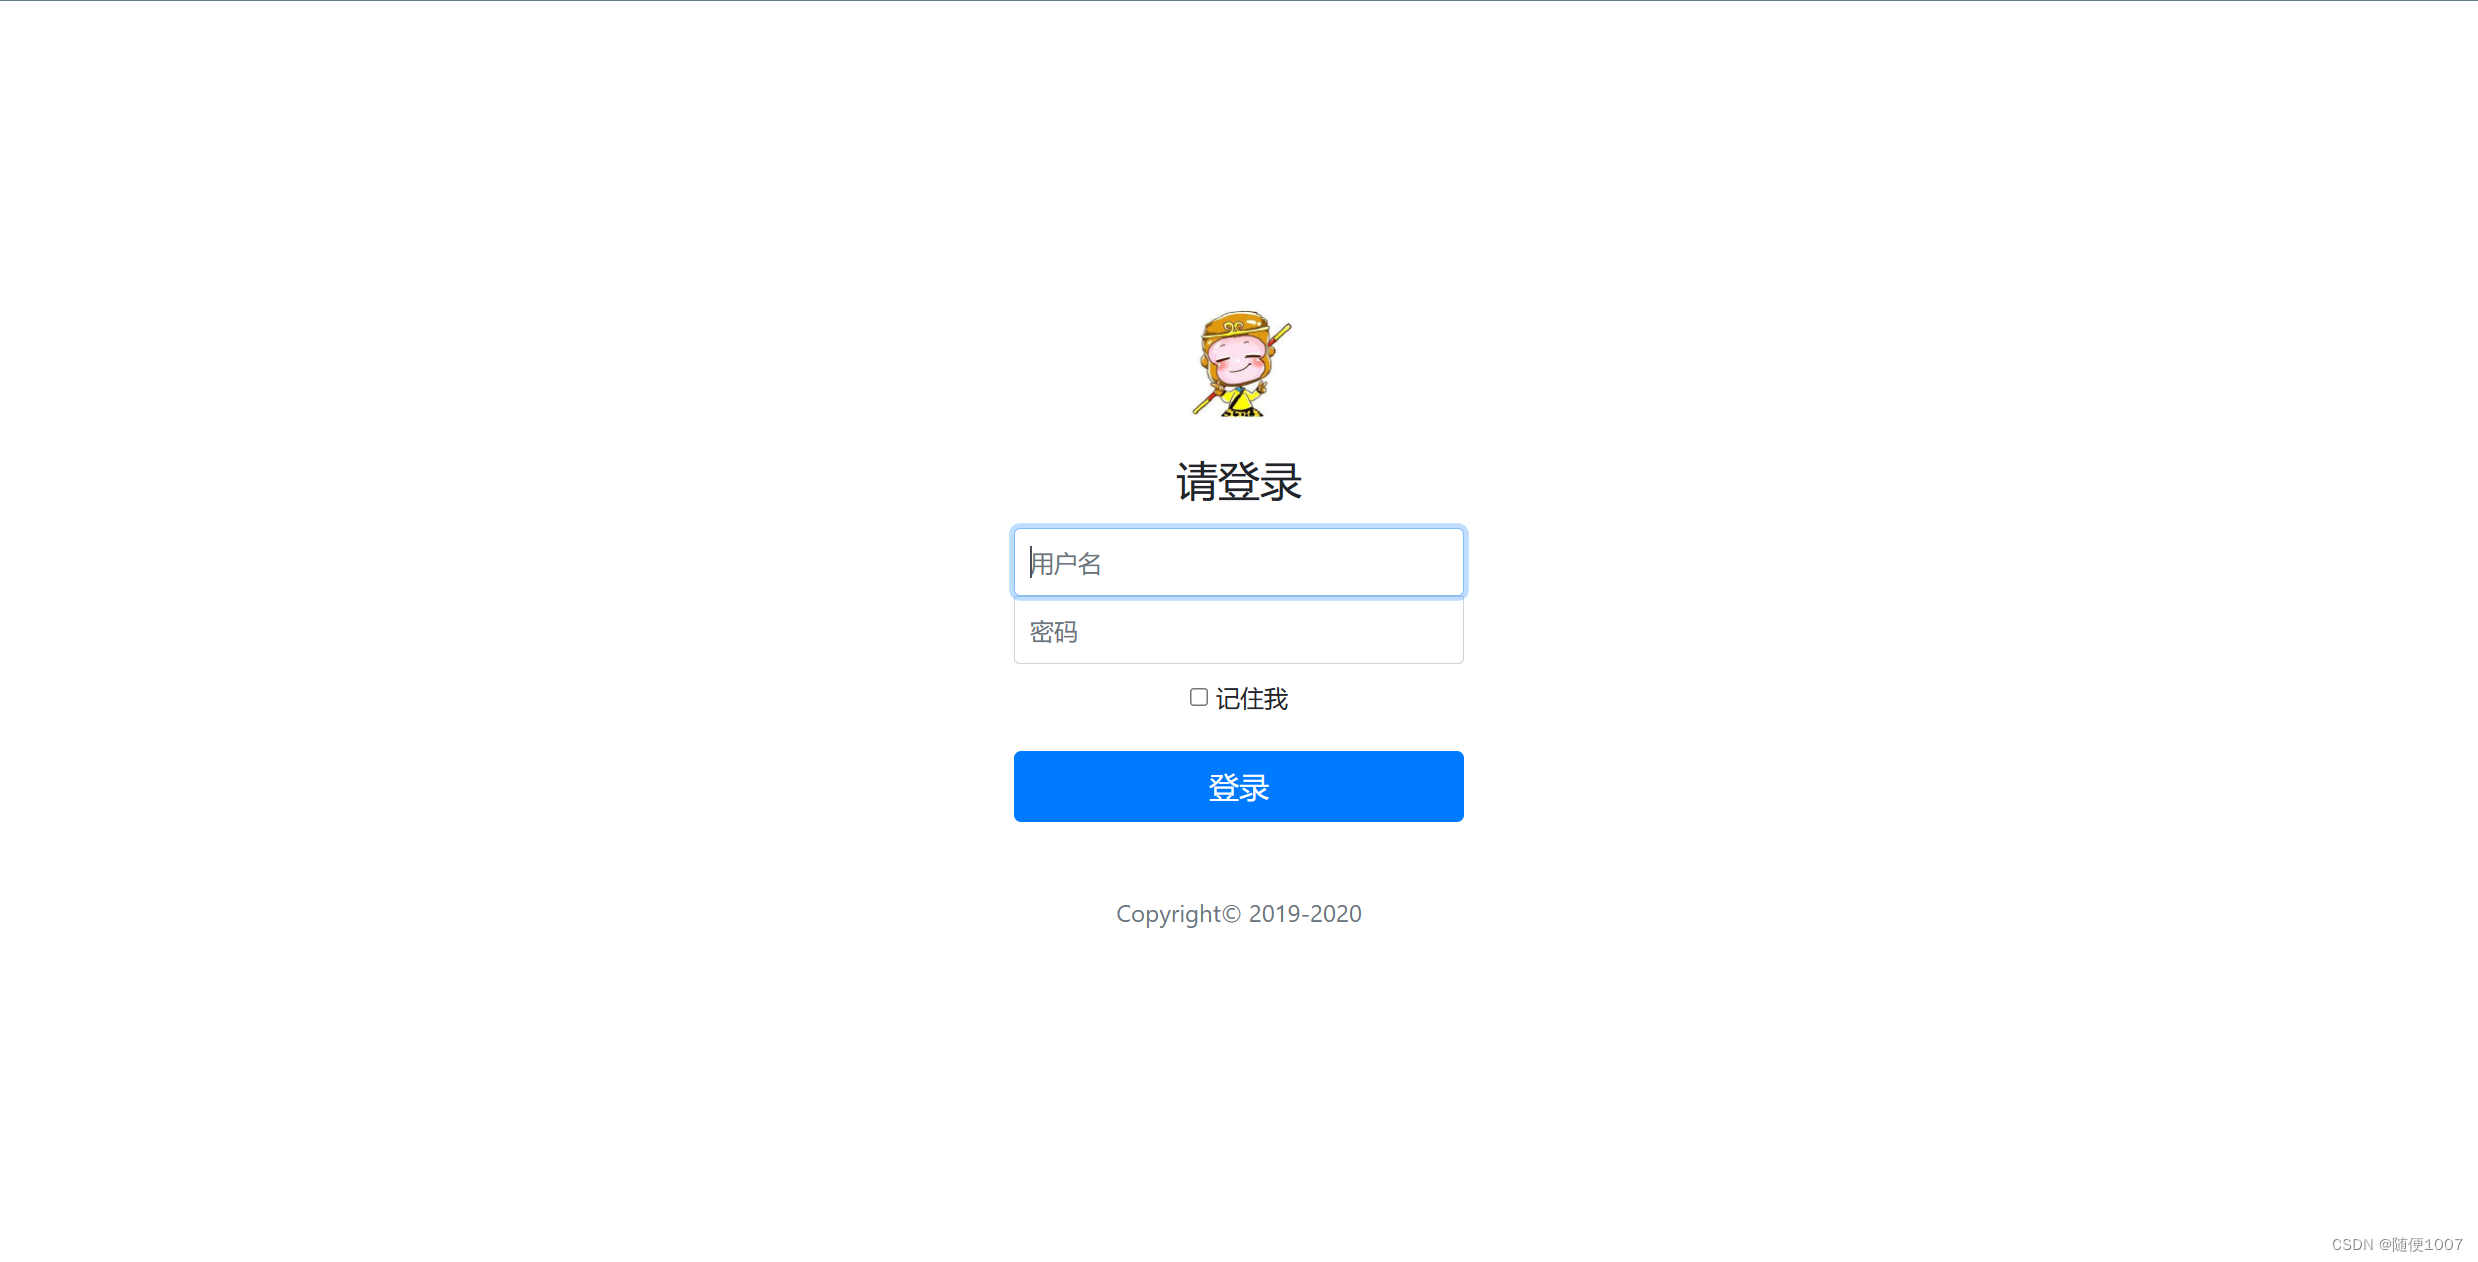
不登陆,重新进入userList页面,信息仍旧存在。
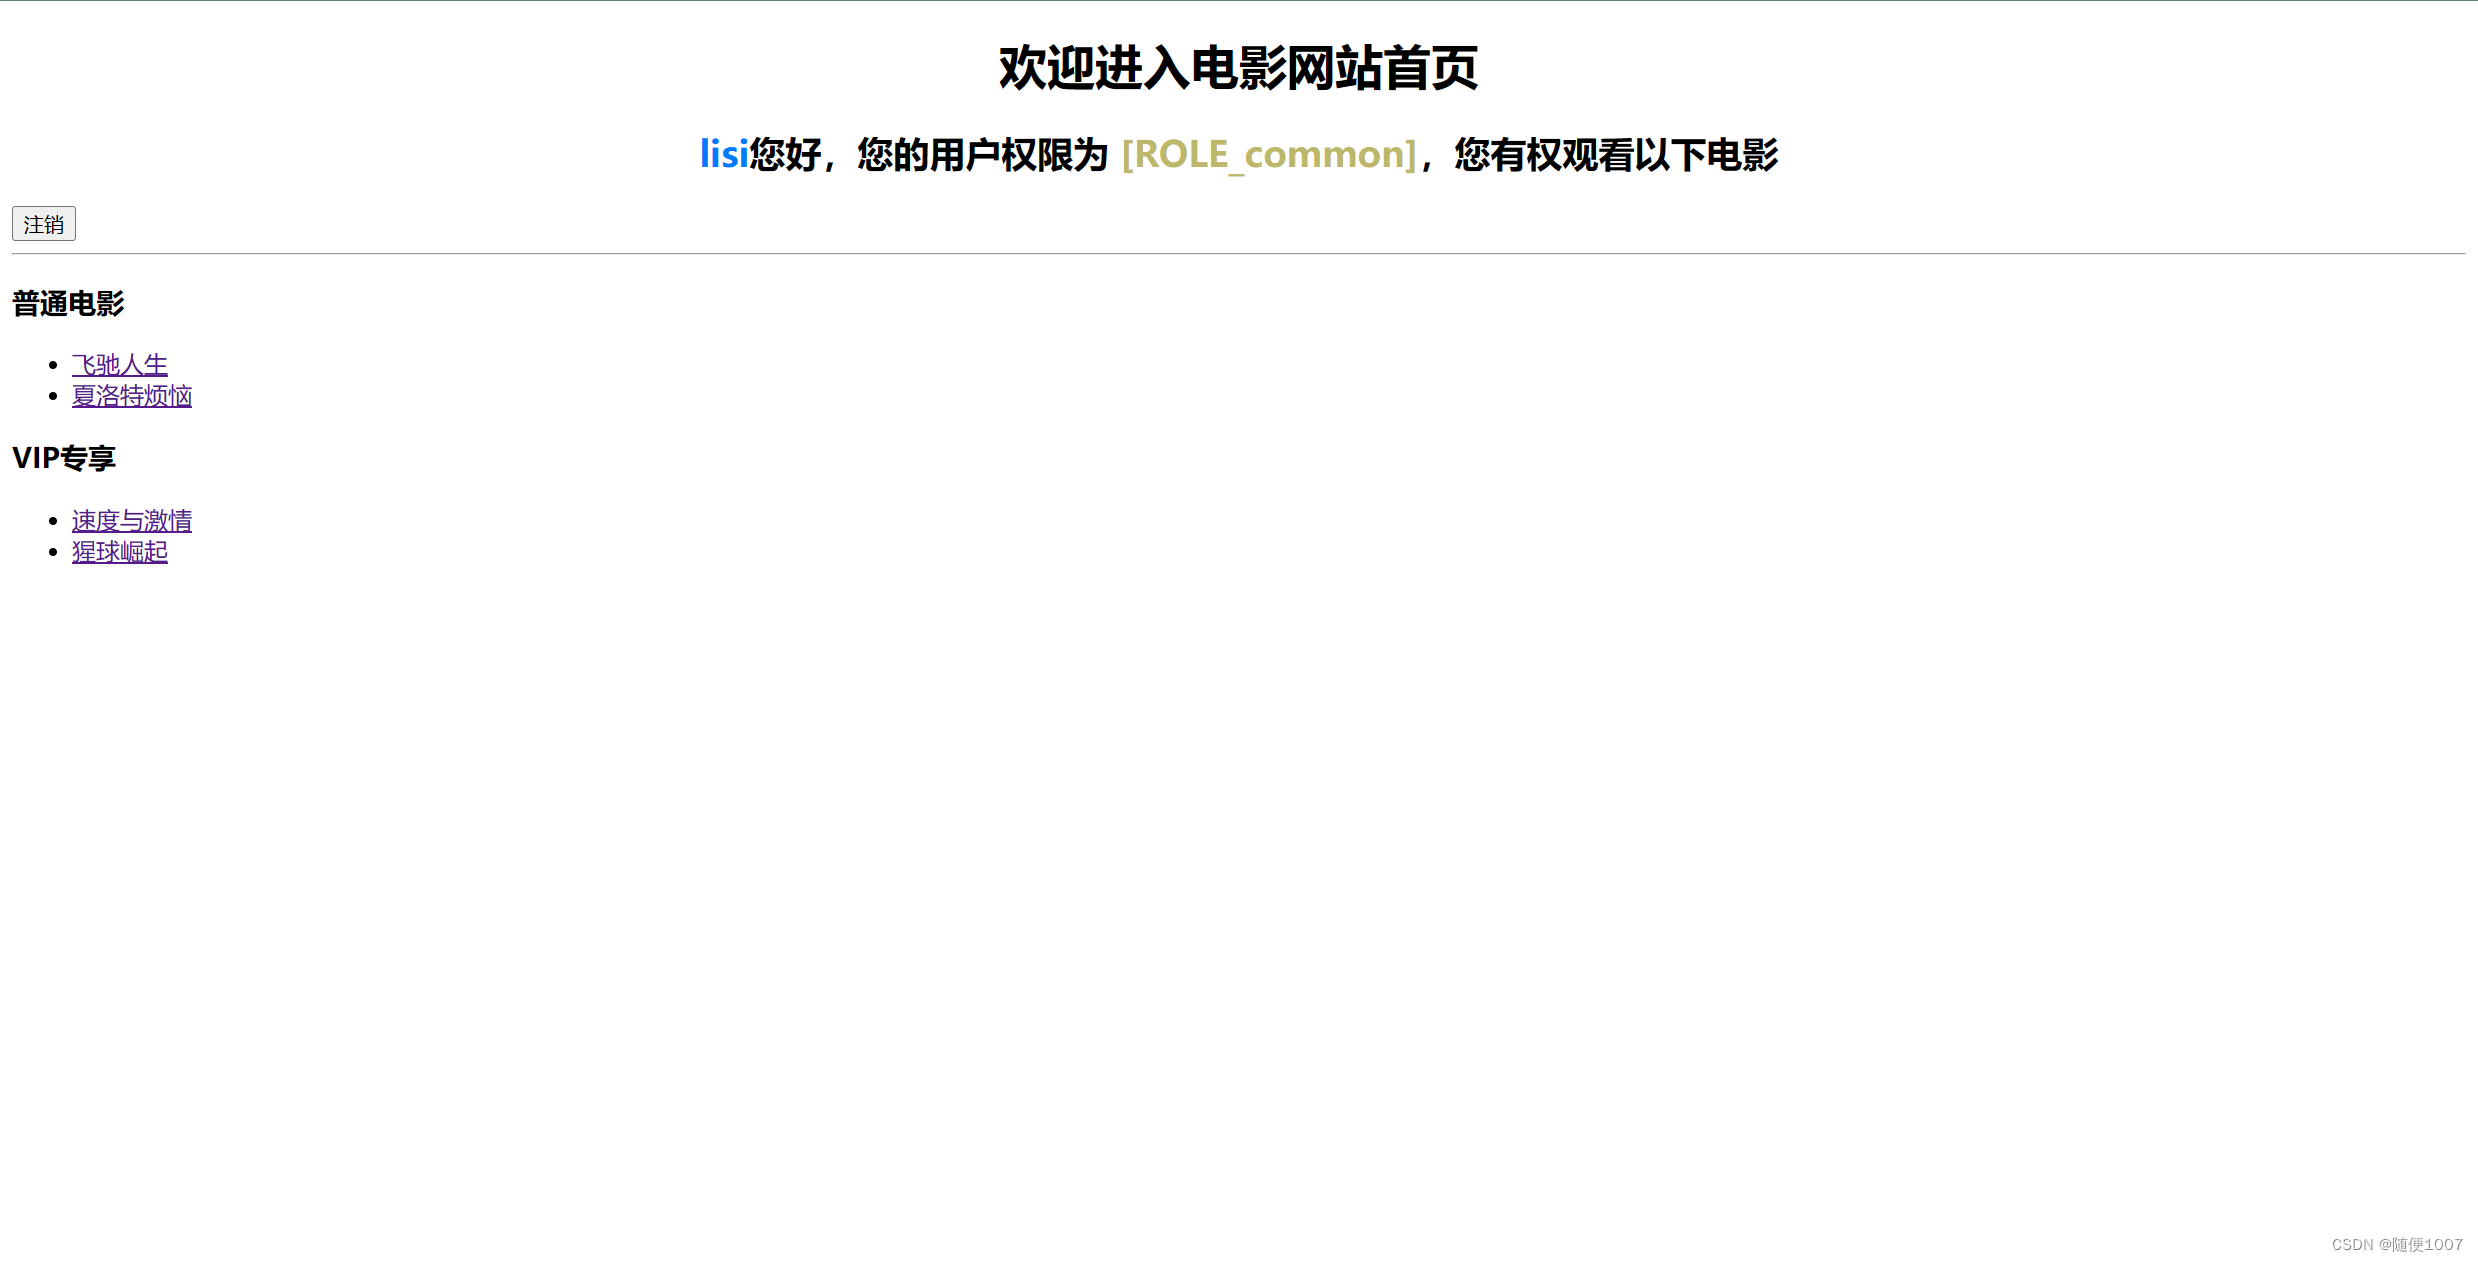
使用后
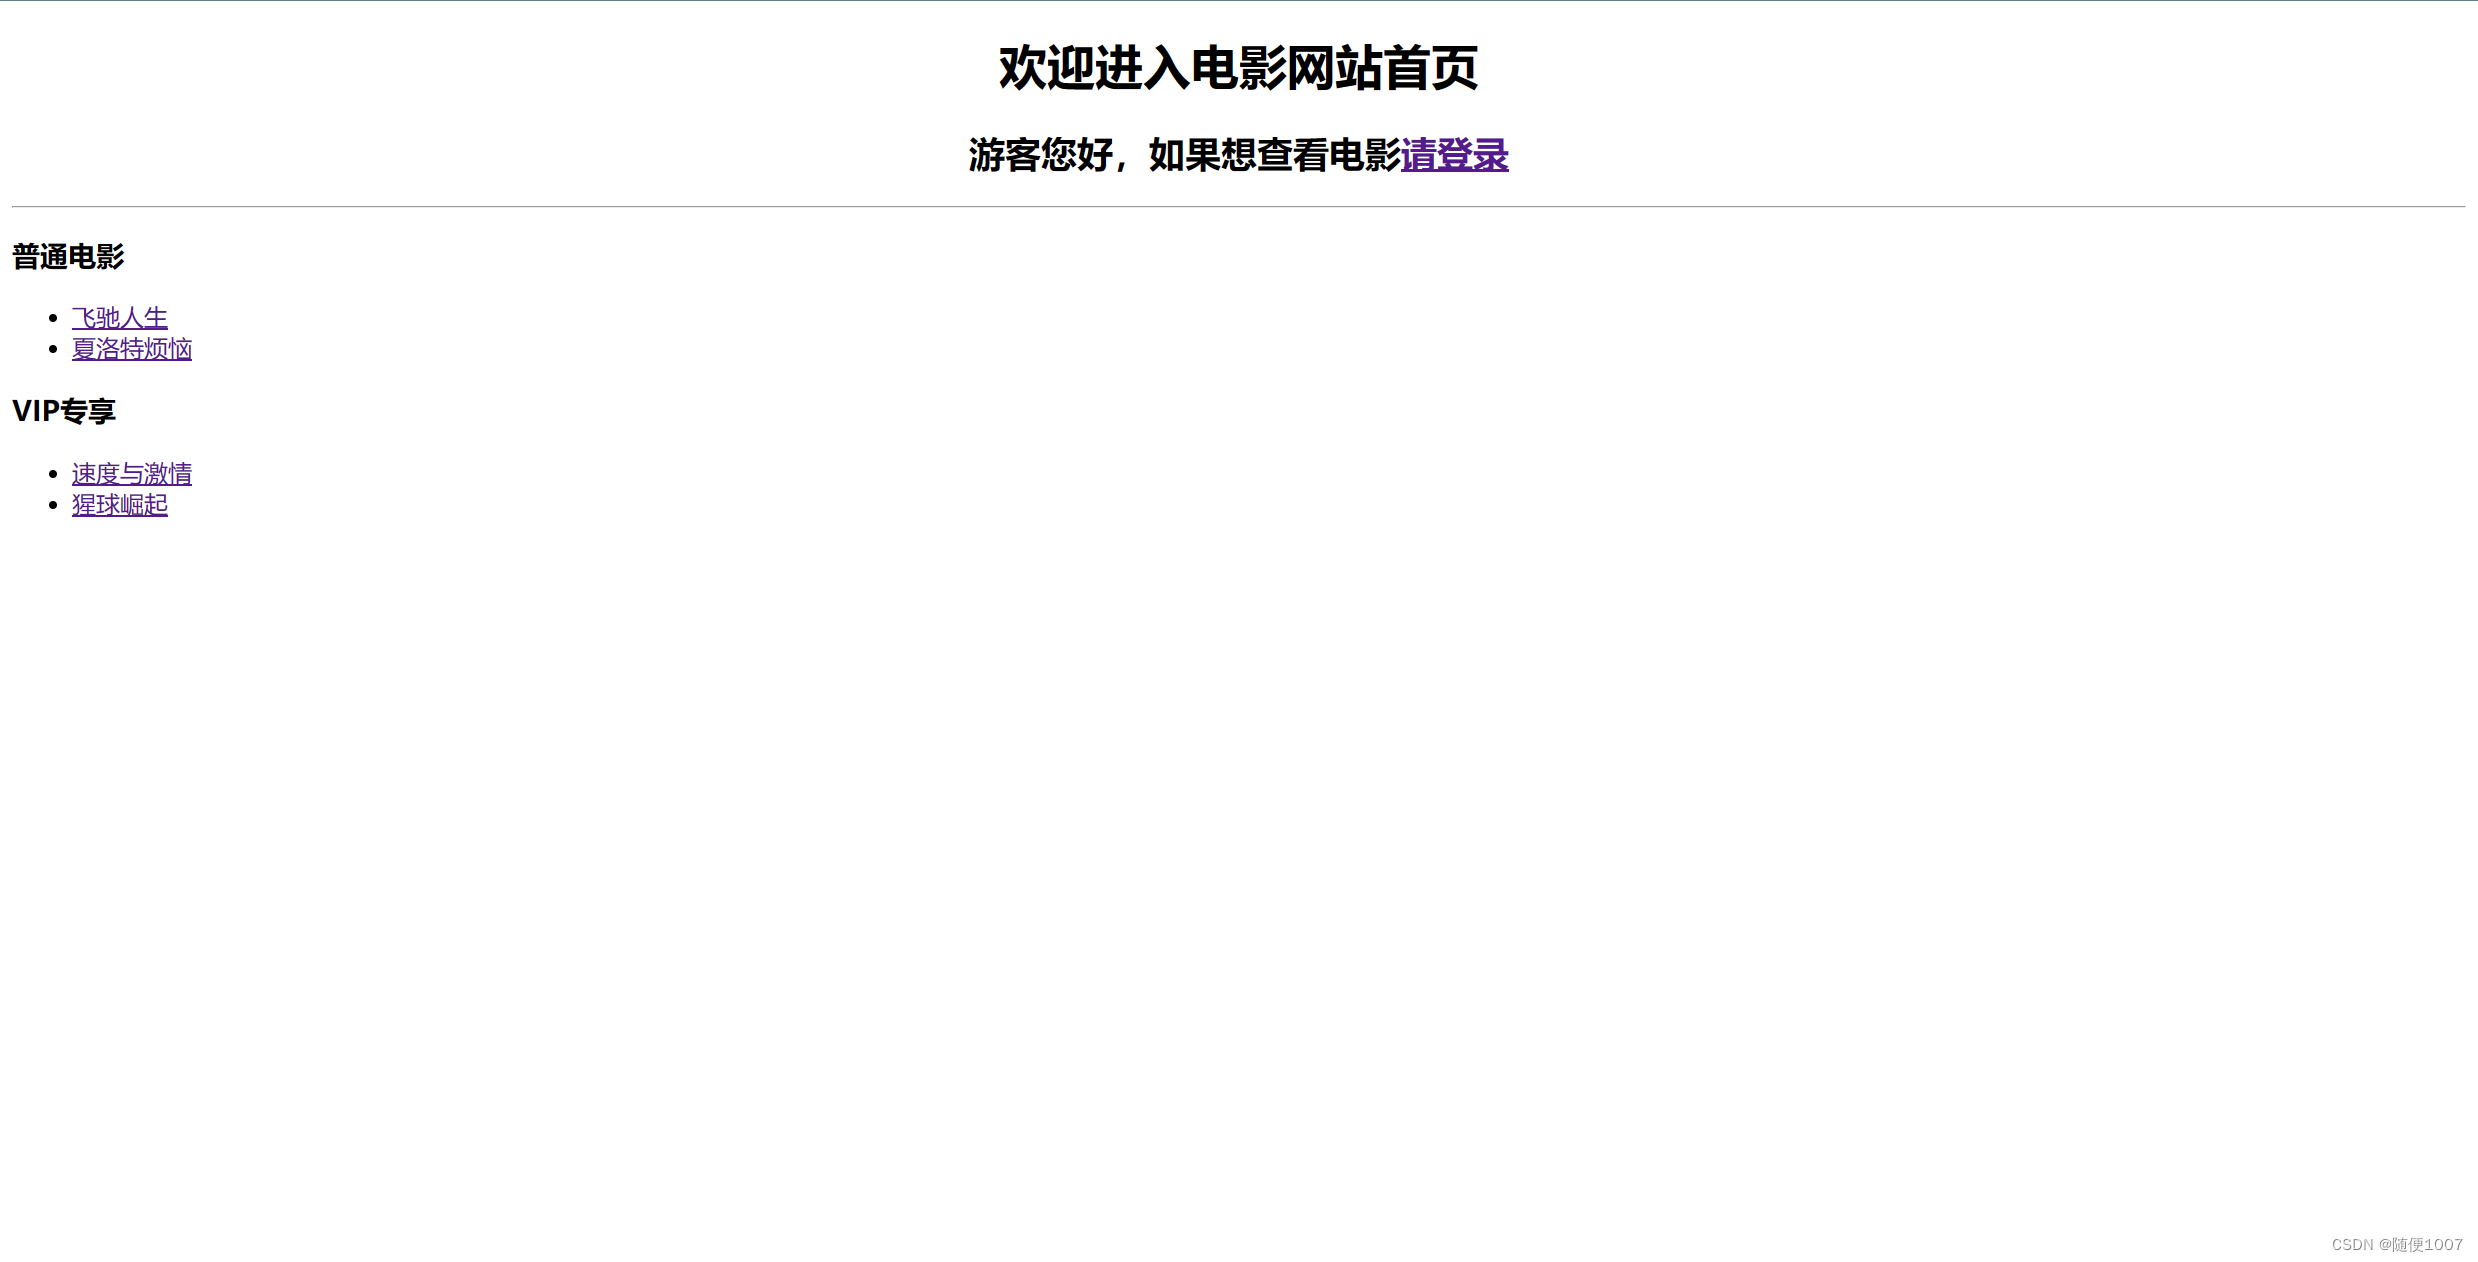
刚进入页面
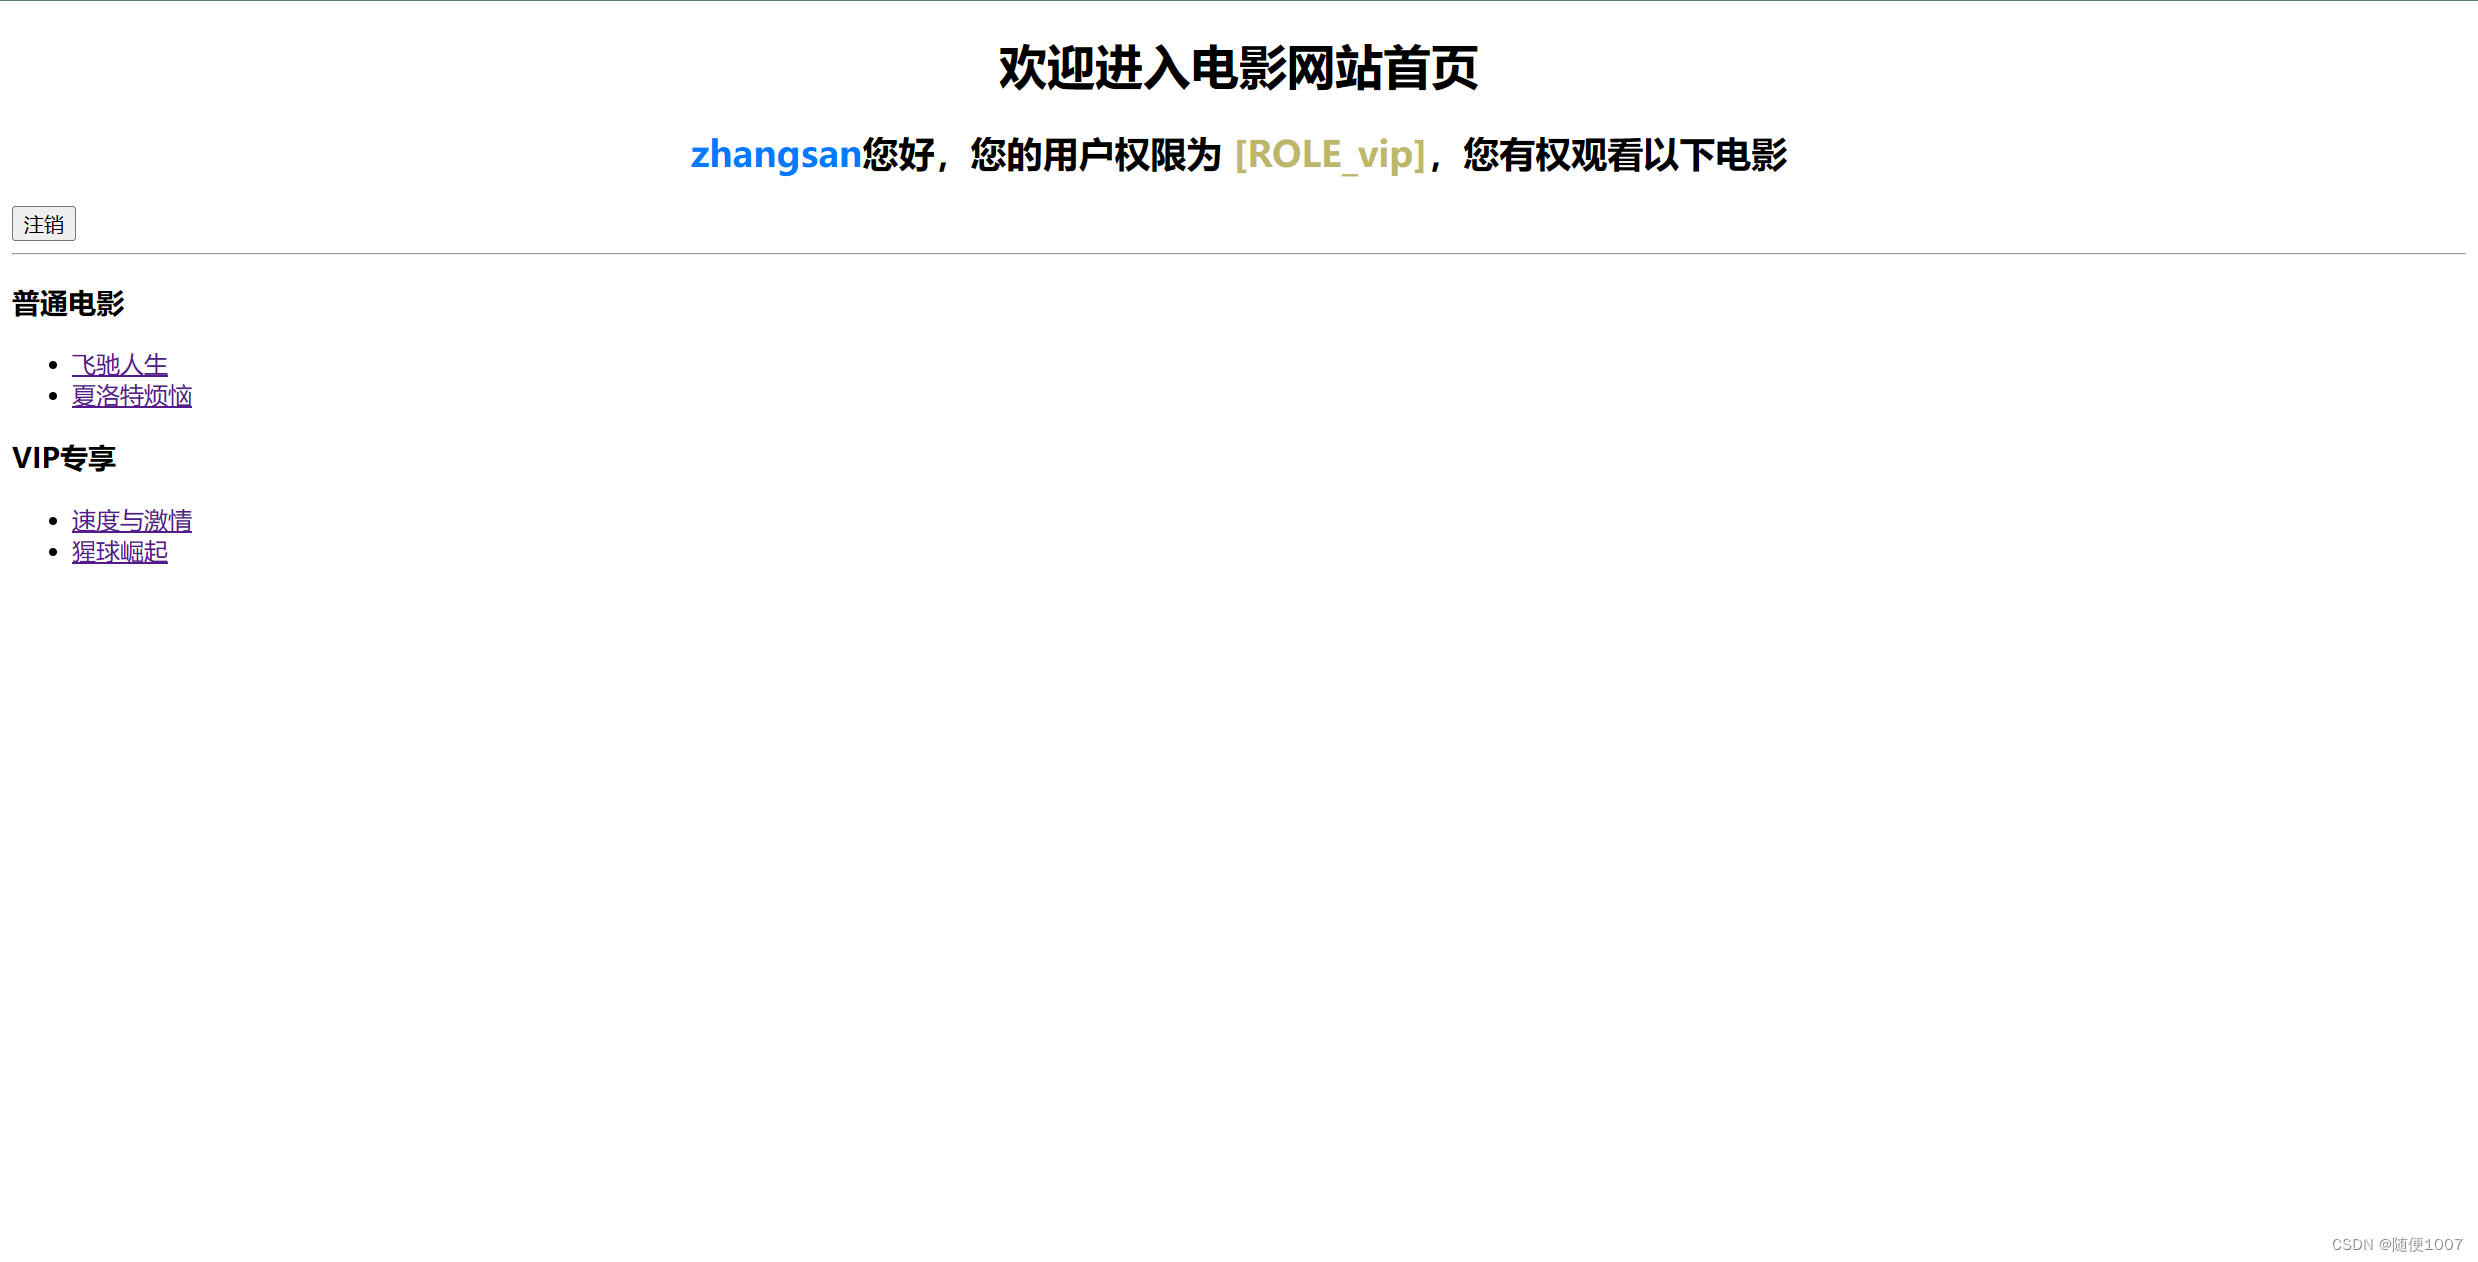
登录后
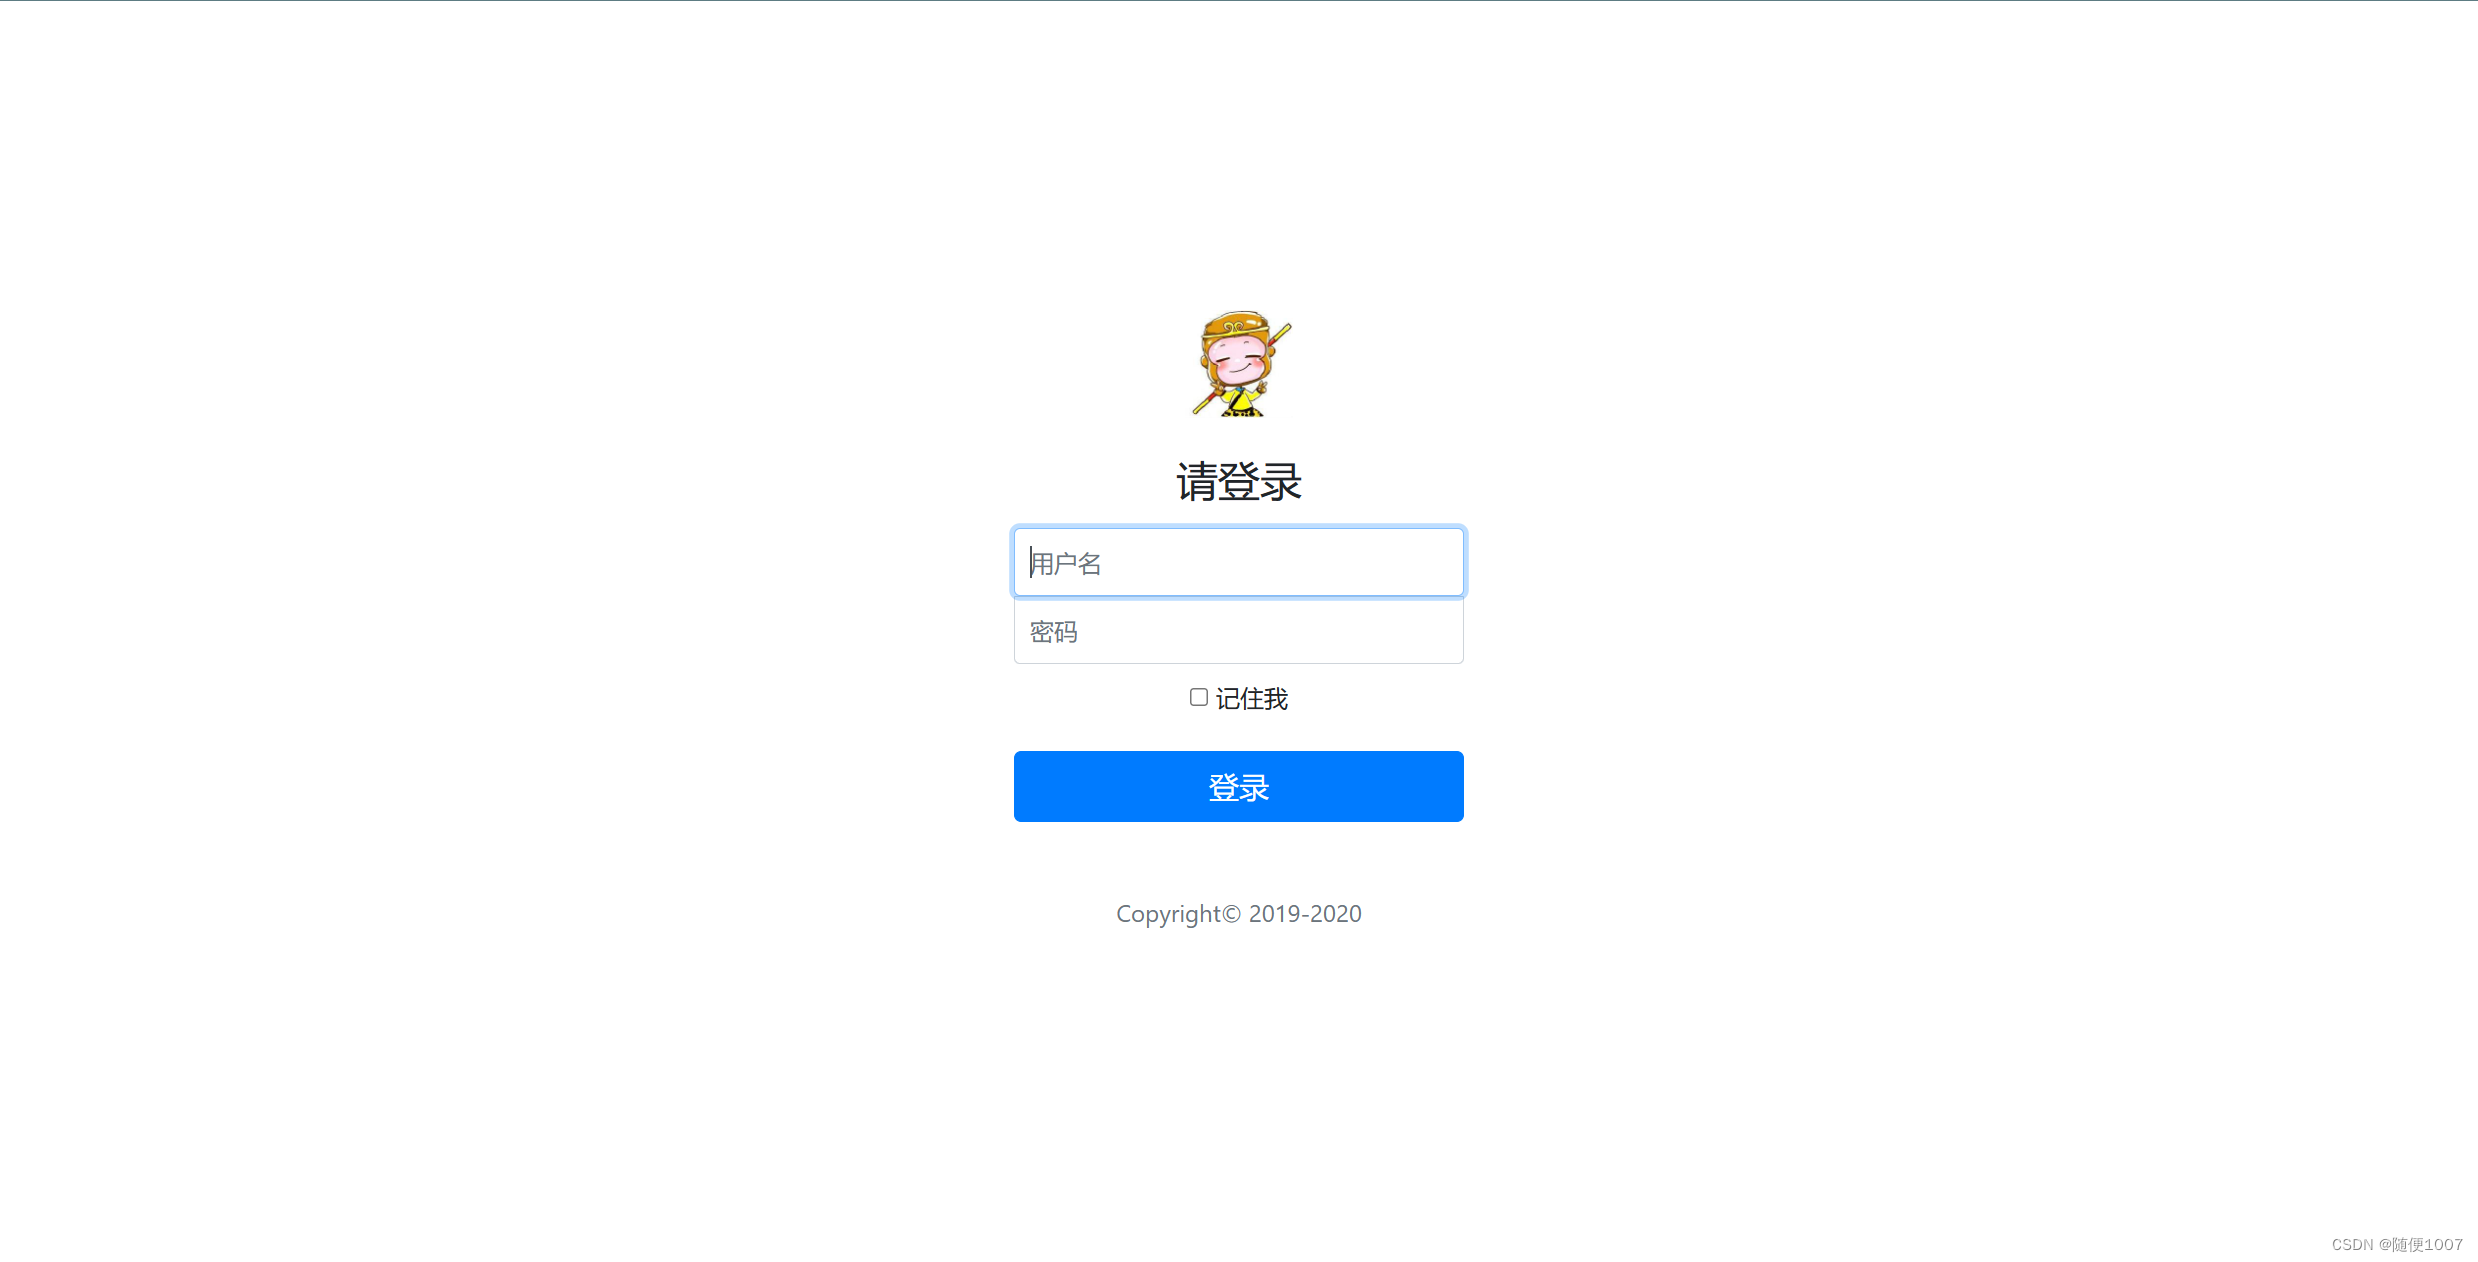
点击注销后
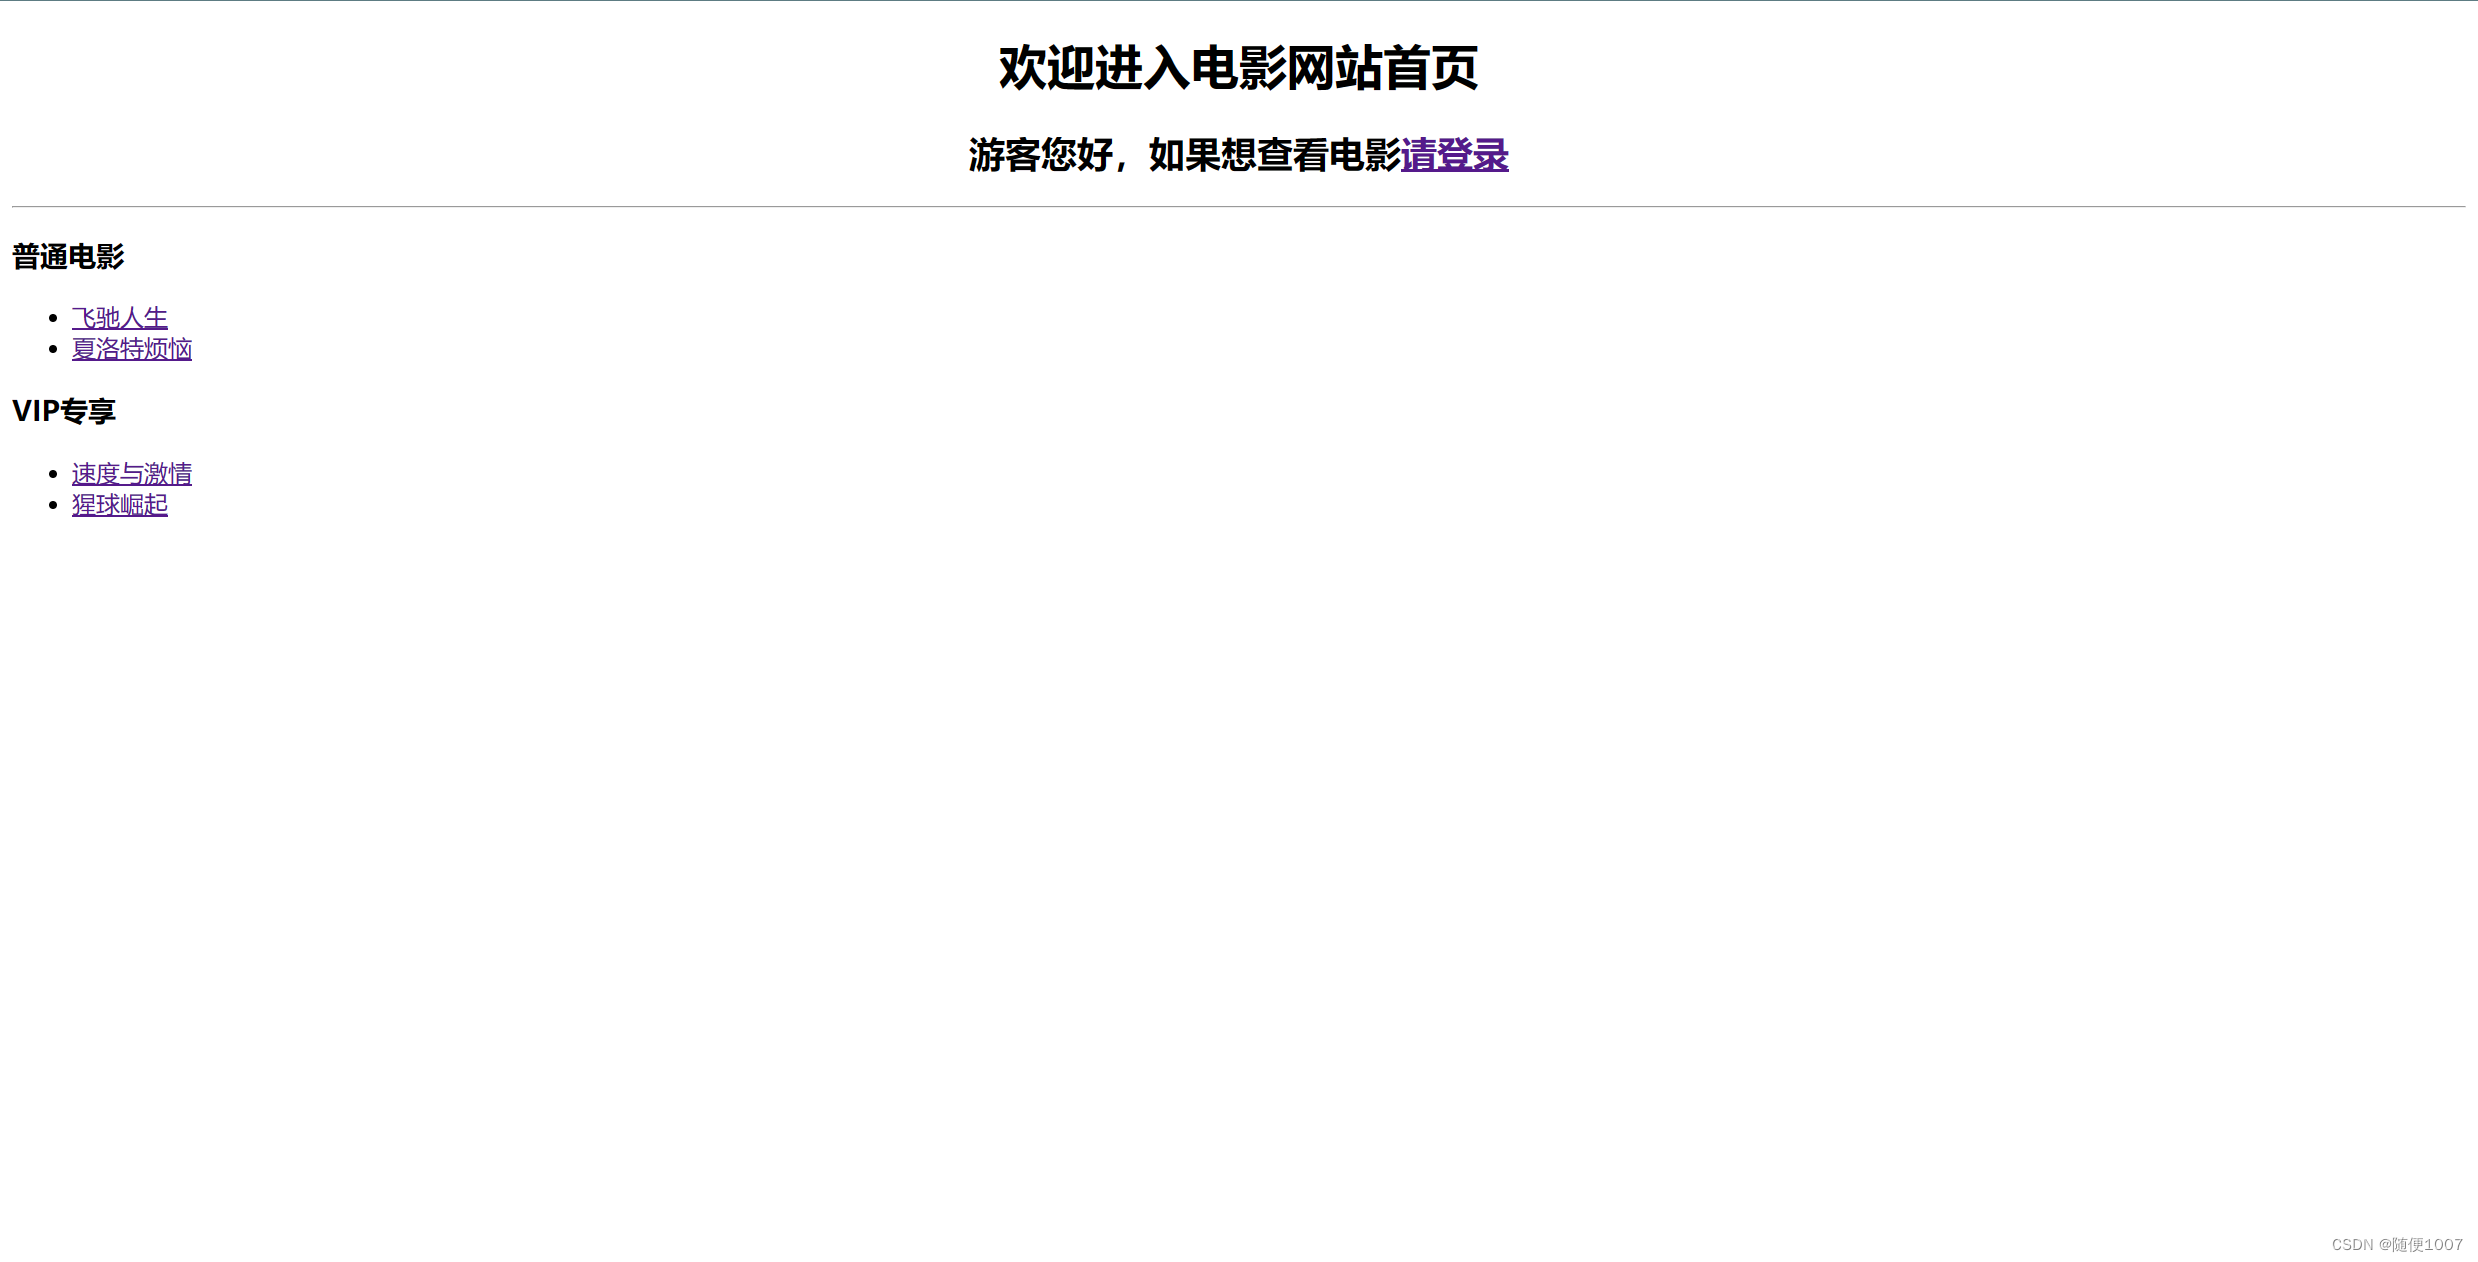
不登陆,重新进入userList页面
前端页面
1.动态参数
不同的包下可以有同样的页面命名,在控制层,为了方便,可以将路径设为动态参数,只需要写一个方法
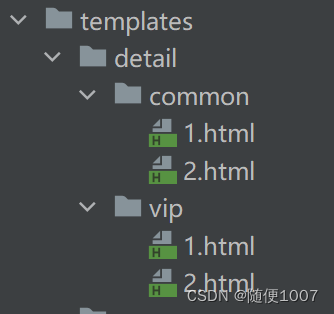
将路径和页面分别设为参数type和path,根据点击的不同,传进的参数不同,最终包装好返回值即可。
@GetMapping("/detail/{type}/{path}")
    public String toDetail(@PathVariable("type") String type, @PathVariable("path") String path) {
        // 返回 detail 目录下的 type 类型的文件的路径
        return "detail/" + type + "/" + path;
    }
2.sec:authorize
类似于th:,使用在页面标签内部,authorize是用来判断普通权限的,通过判断用户是否具有对应的权限而控制其所包含内容的显示。
sec:authorize="isAnonymous()" //用户为游客则显示
sec:authorize="isAuthenticated()" //用户通过验证则显示
sec:authorize="hasRole('common')" //用户为common角色则显示
sec:authorize="hasAuthority('ROLE_vip')"//用户为ROLE_vip权限则显示
<h1 align="center">欢迎进入电影网站首页</h1>
<!--sec:authorize="isAnonymous()" 如果没有登录,此方法为ture,则显示-->
<div sec:authorize="isAnonymous()"><h2 align="center">游客您好,如果想查看电影<a th:href="@{/login}">请登录</a></h2>
</div>
<div sec:authorize="isAuthenticated()">
    <h2 align="center"><span sec:authentication="name" style="color: #007bff"></span>您好,您的用户权限为
        <span sec:authentication="principal.authorities" style="color:darkkhaki"></span>,您有权观看以下电影
    </h2>
    <form th:action="@{/login}" method="post"><input th:type="submit" th:value="注销"/></form>
</div>
<hr>
<!--根据权限不同,页面显示的内容不同-->
<div sec:authorize="hasAnyRole('ROLE_vip','ROLE_common')">
<h3>普通电影</h3>
    <ul>
        <li><a th:href="@{/detail/common/1}">飞驰人生</a></li>
        <li><a th:href="@{/detail/common/2}">夏洛特烦恼</a></li>
    </ul>
</div>
<div sec:authorize="hasAuthority('ROLE_vip')">
    <h3>VIP专享</h3>
    <ul>
        <li><a th:href="@{/detail/vip/1}">速度与激情</a></li>
        <li><a th:href="@{/detail/vip/2}">猩球崛起</a></li>
    </ul>
</div>
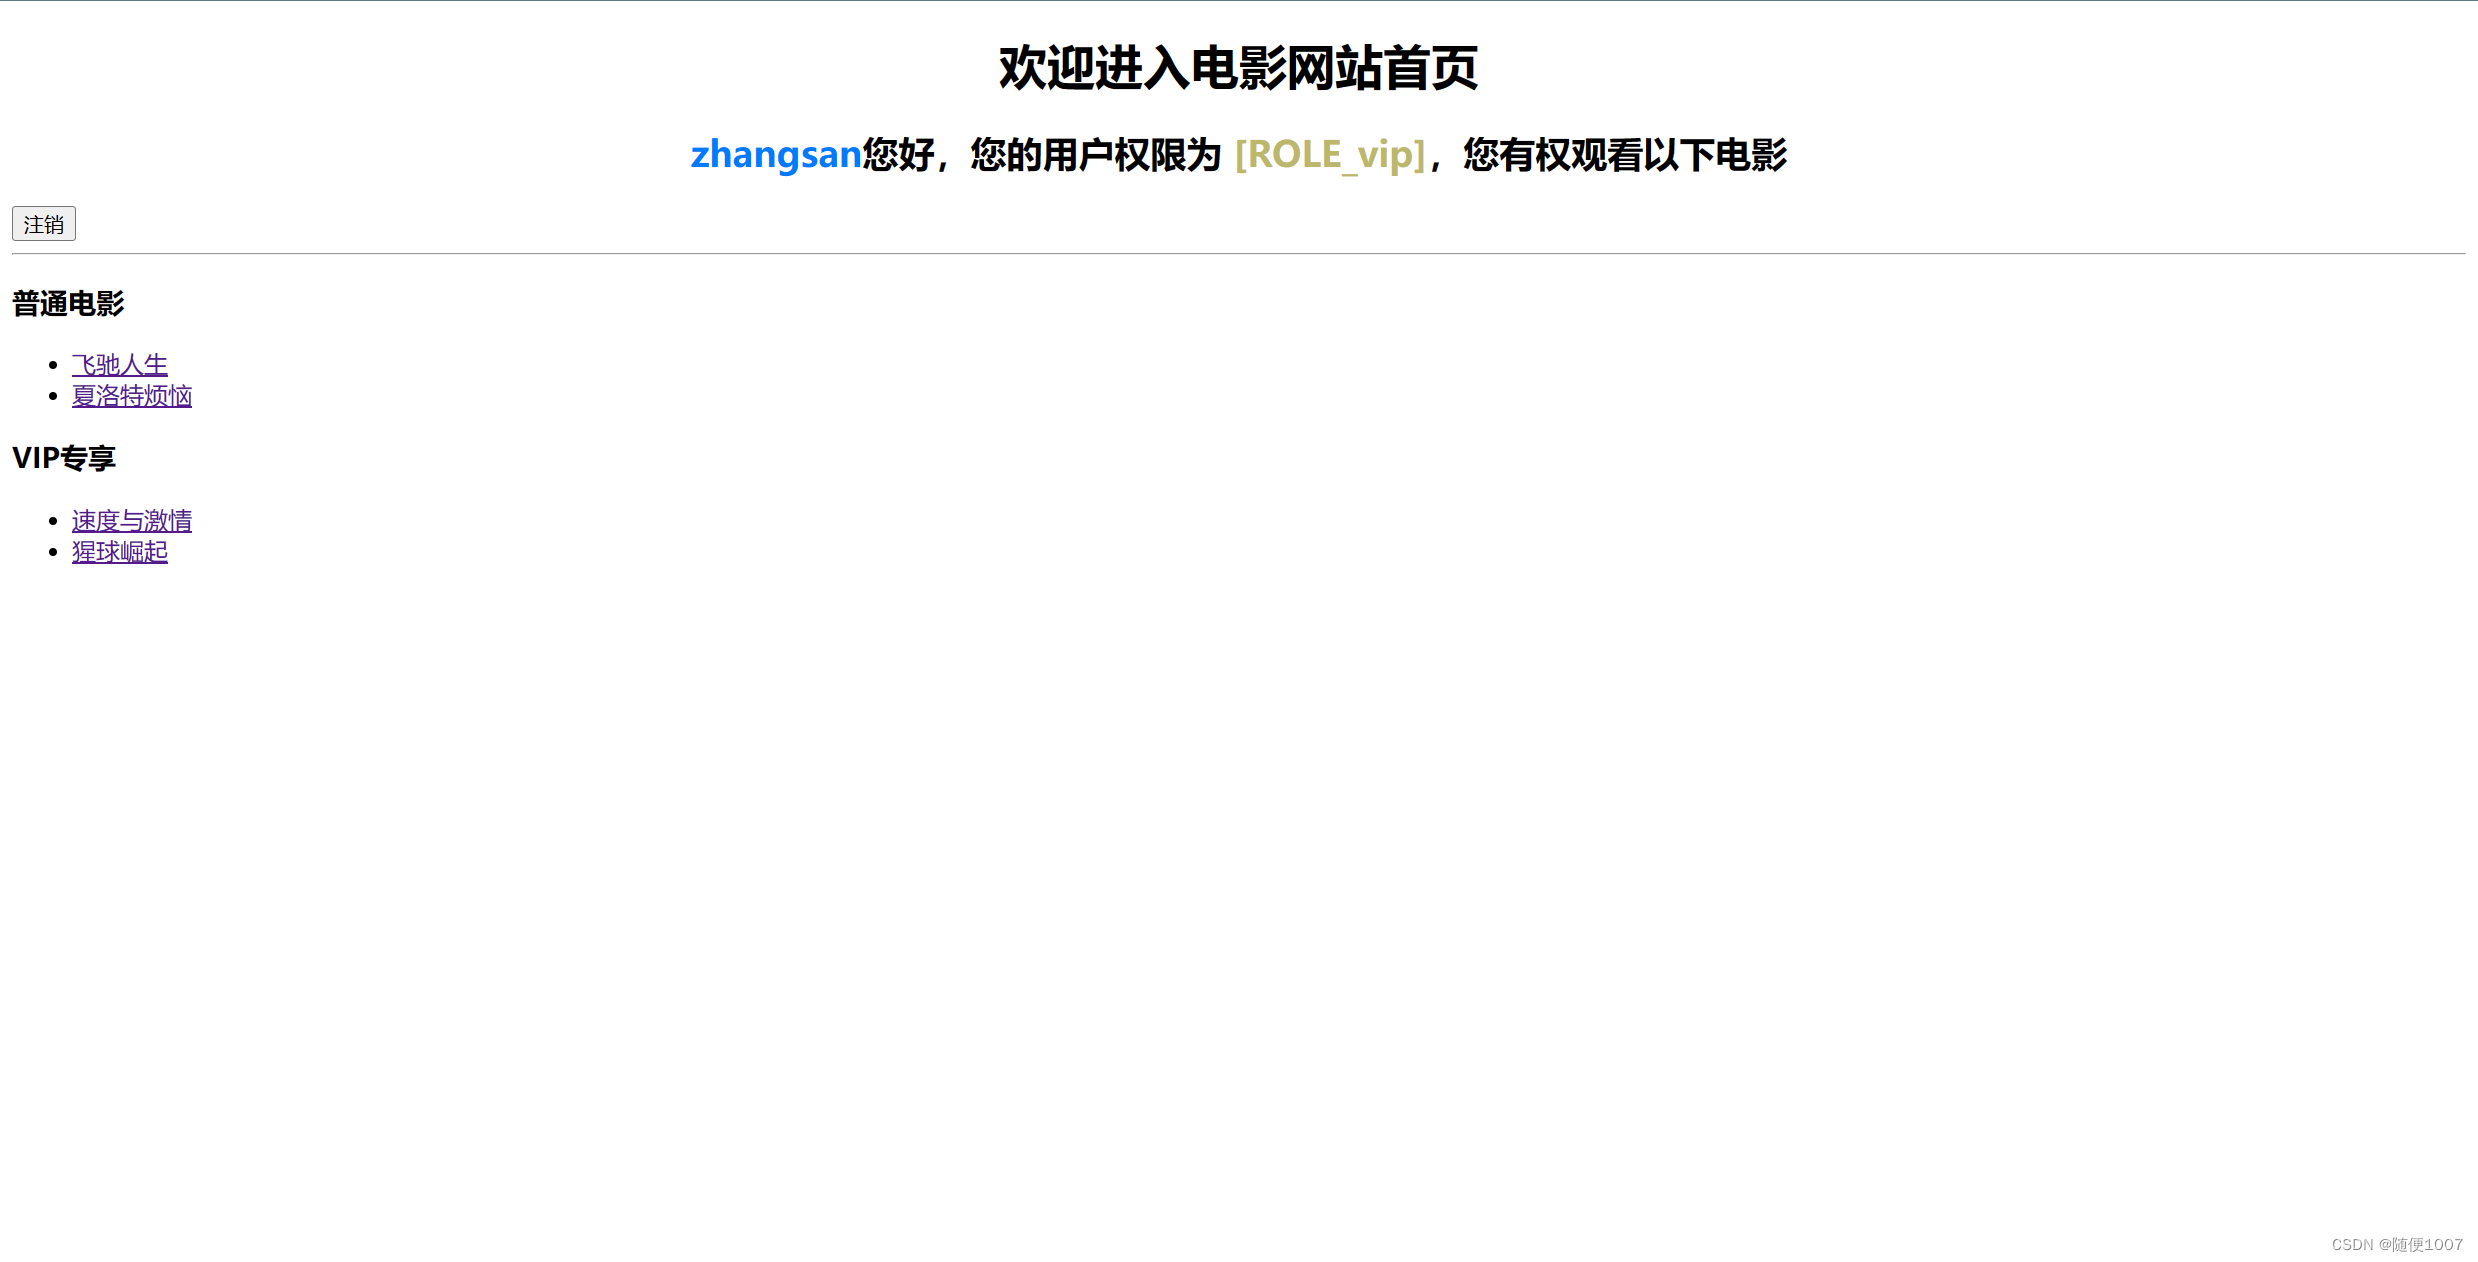
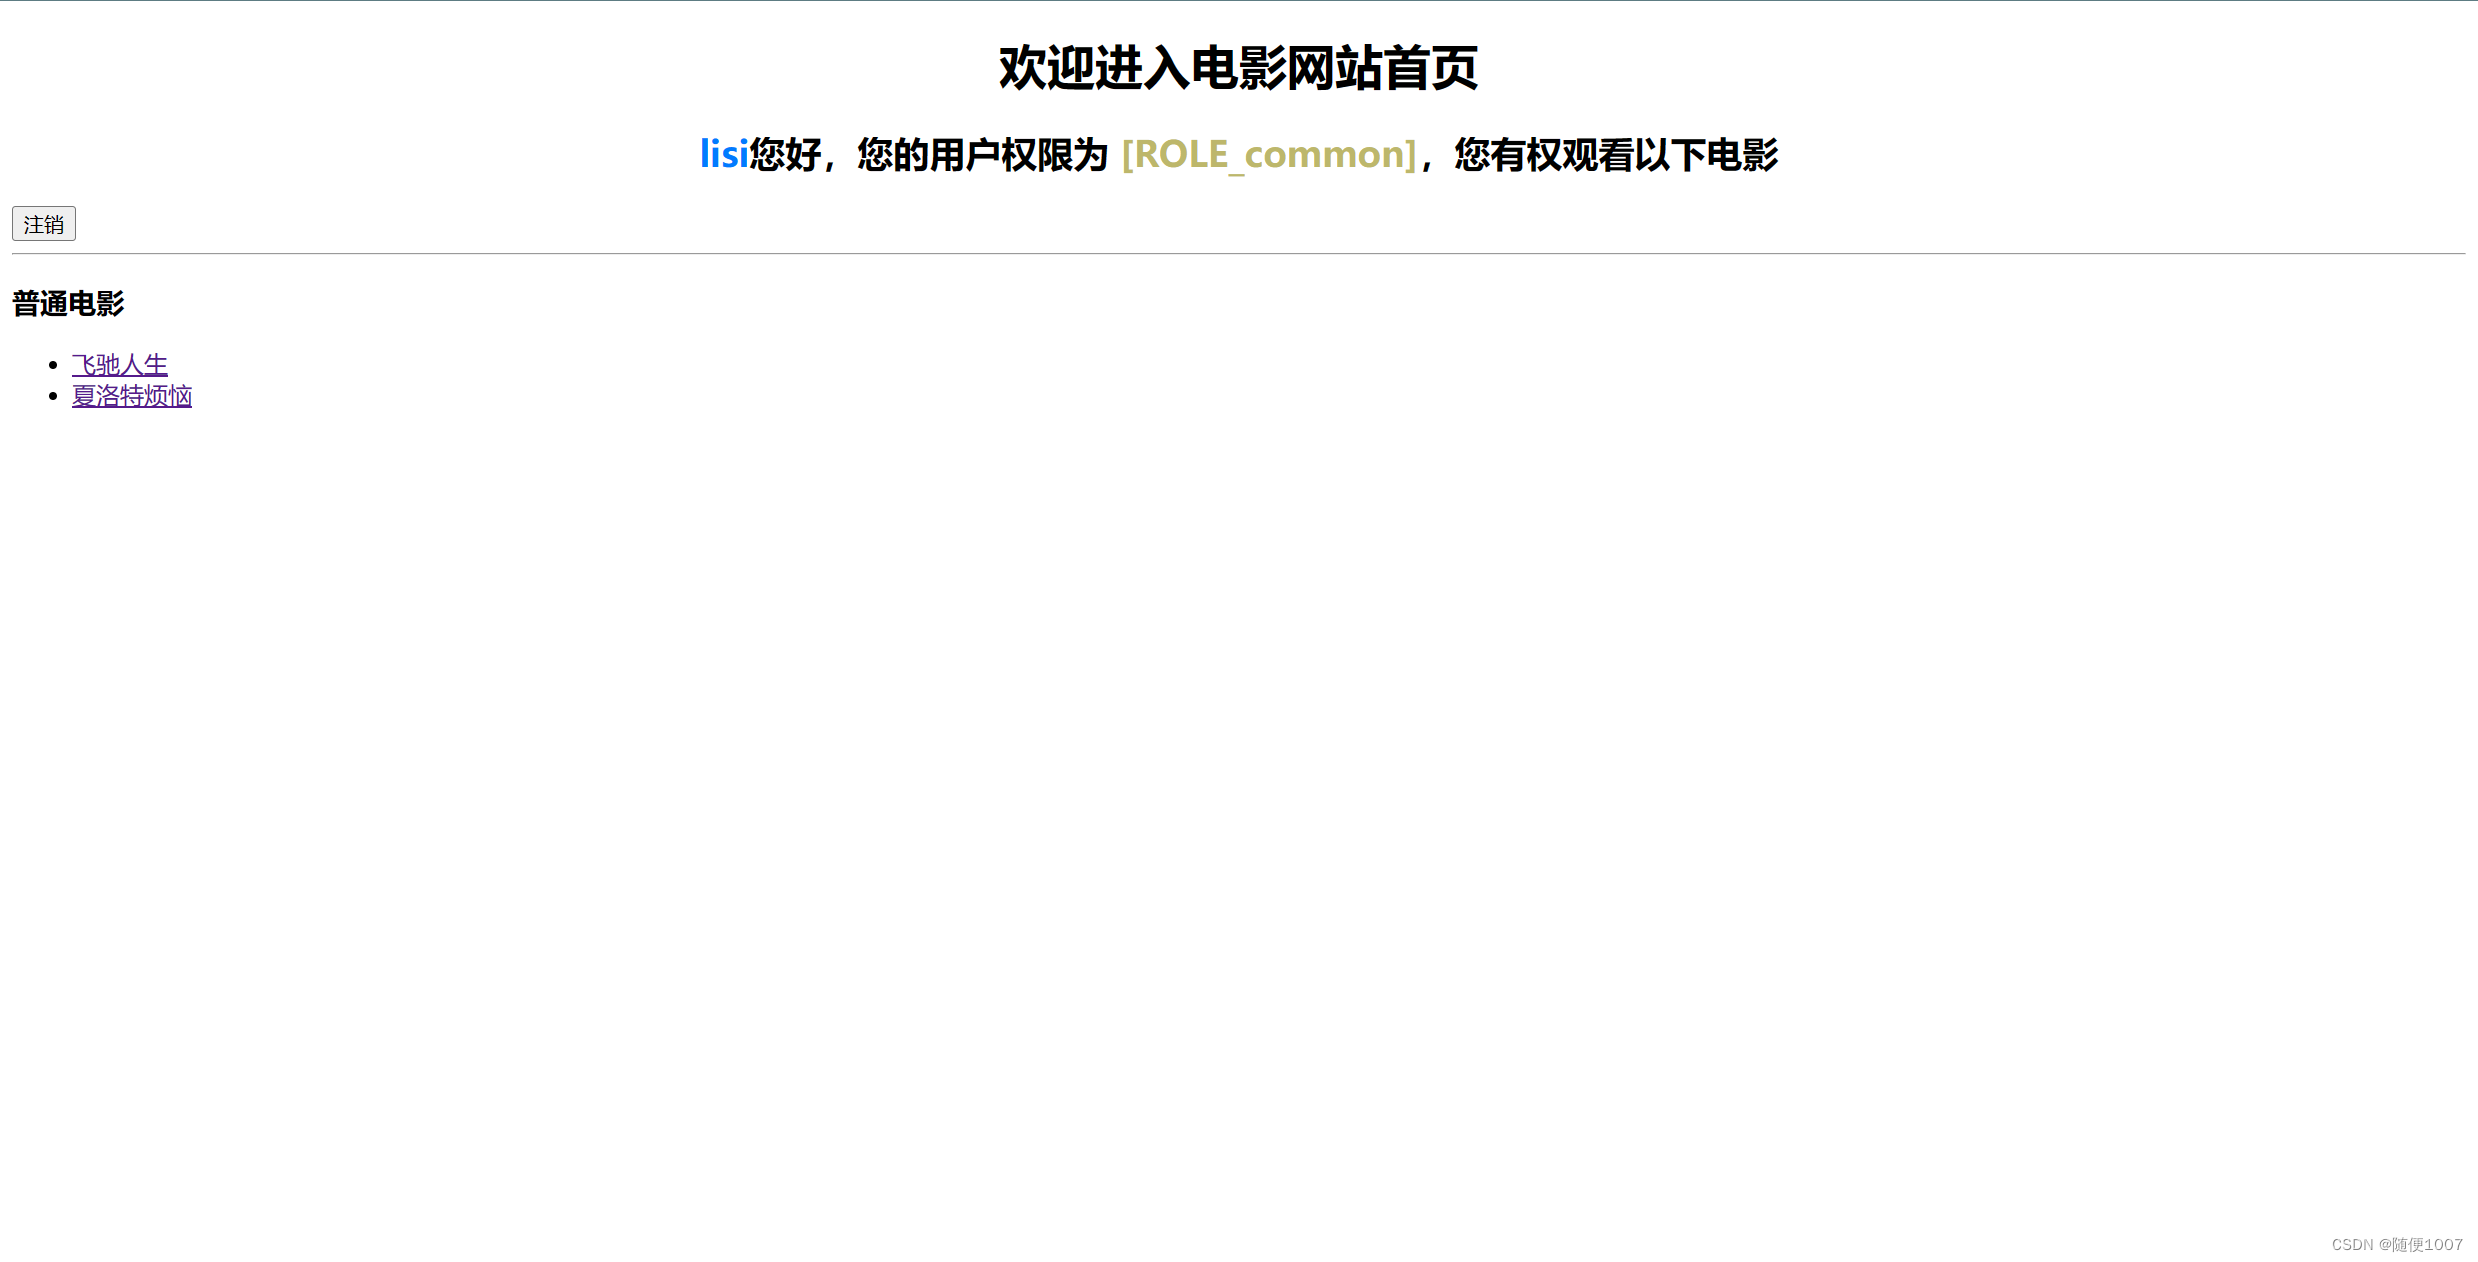
效果:
vip登录时
common登录时

![nginx: [emerg] stream directive is duplicate in /etc/nginx/nginx.conf:56](https://img-blog.csdnimg.cn/direct/3fe89b9d19b0426d8b50bcd9c4dbfdf8.png)
