【Python】使用selenium对Poe批量模拟注册脚本

news2025/1/21 0:52:59

配置好接码api即可实现自动化注册登录试用一体。

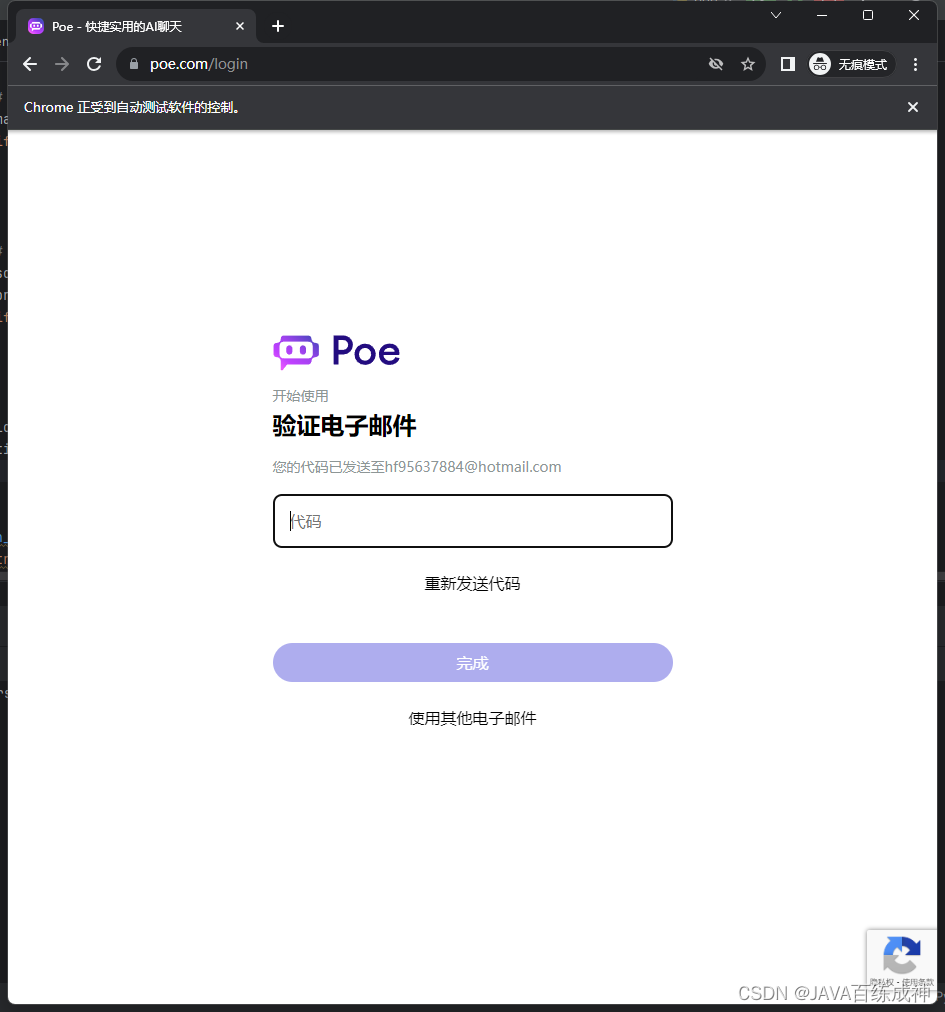
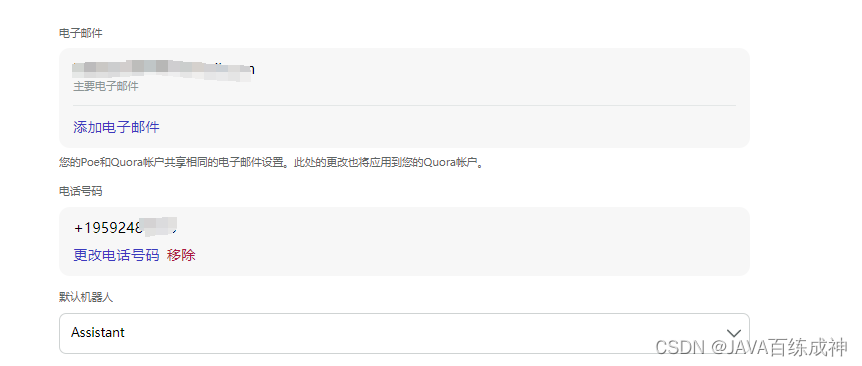
运行后会注册账号并绑定邮箱与手机号进行登录试用。

在这里插入图片描述

测试结果30秒一个号

在这里插入图片描述
在这里插入图片描述

import re
import time
import requests
from bs4 import BeautifulSoup
from selenium import webdriver
from selenium.webdriver.chrome.options import Options
from selenium.webdriver.common.by import By
from selenium.webdriver.common.keys import Keys
from selenium.webdriver.support.ui import WebDriverWait
from selenium.webdriver.support import expected_conditions as EC
import logging

# 配置日志记录
logging.basicConfig(level=logging.INFO, format='%(asctime)s - %(levelname)s - %(message)s')
logger = logging.getLogger(__name__)

# 获取手机验证码
def get_phone_verification_code(url):
    while True:
        try:
            response = requests.get(url)
            html_content = response.text

            # 使用正则表达式匹配验证码
            match = re.search(r'Your Poe verification code is: (\d+)\.', html_content)
            if match:
                code = match.group(1)
                logging.info("提取到的手机验证码: %s", code)
                return code  # 找到验证码则退出循环并返回验证码

            logging.info("未找到手机验证码,继续请求...")
            time.sleep(1)  # 等待 1 秒后再次请求

        except Exception as e:
            logging.error("请求手机验证码出错: %s", e)
            time.sleep(1)  # 出错时等待一段时间后再次请求

# 获取邮箱验证码
def get_email_verification_code(url):
    while True:
        response = requests.get(url)
        html_content = response.text

        # 使用正则表达式匹配 6 位数字
        match = re.search(r'\b\d{6}\b', html_content)
        if match:
            code = match.group()
            logging.info("提取到的邮箱验证码: %s", code)
            return code  # 找到验证码则退出循环并返回验证码

        # 如果页面中没有 6 位数字验证码,使用 BeautifulSoup 进行解析
        soup = BeautifulSoup(html_content, 'html.parser')
        pre_element = soup.find('pre')
        if pre_element:
            code = pre_element.text.strip()
            logging.info("提取到的邮箱验证码: %s", code)
            return code  # 找到验证码则退出循环并返回验证码

        logging.info("未找到邮箱验证码,继续请求...")
        time.sleep(1)  # 等待 1 秒后再次请求

# 登录循环
def login_loop(driver, wait_time):
        try:
            driver.delete_all_cookies()
            driver.get("https://poe.com/login")

            # 使用显式等待来等待按钮可见并且可点击
            use_phone_button = WebDriverWait(driver, 10).until(
                EC.element_to_be_clickable((By.XPATH, "//button[contains(text(), '使用电话')]"))
            )
            use_phone_button.click()
            logging.info("点击了 '使用电话' 按钮")

            # 获取电话号码
            with open("phone.txt", "r") as file:
                lines = file.readlines()

            first_line = lines[0].strip()
            phone, phone_url = first_line.split("----")
            logging.info("获取到的电话号码: %s", phone)

            with open("phone.txt", "w") as file:
                file.writelines(lines[1:])

            # 输入电话号码并点击下一步按钮
            phone_input = WebDriverWait(driver, wait_time).until(
                EC.presence_of_element_located((By.CSS_SELECTOR, "input.PhoneNumberInput_phoneNumberInput__lTKZv"))
            )
            phone_input.send_keys(phone)
            phone_input.send_keys(Keys.RETURN)
            logging.info("输入电话号码并点击下一步按钮")

            # 输入电话号码验证码
            code_input = WebDriverWait(driver, wait_time).until(
                EC.presence_of_element_located(
                    (By.CSS_SELECTOR, "input.VerificationCodeInput_verificationCodeInput__RgX85"))
            )
            time.sleep(5)
            verification_code = get_phone_verification_code(phone_url)
            code_input.send_keys(verification_code)
            code_input.send_keys(Keys.RETURN)
            logging.info("输入电话号码验证码")

            # 获取邮箱
            with open("emai.txt", "r") as file:
                lines = file.readlines()

            first_line = lines[0].strip()
            email, email_url = first_line.split("----")
            logging.info("获取到的邮箱: %s", email)

            with open("emai.txt", "w") as file:
                file.writelines(lines[1:])

            # 输入邮件
            email_input = WebDriverWait(driver, wait_time).until(
                EC.presence_of_element_located((By.CSS_SELECTOR, "input.EmailInput_emailInput__OfOQ_"))
            )
            email_input.send_keys(email)
            email_input.send_keys(Keys.RETURN)

            # 输入邮件验证码
            verification_code_input = WebDriverWait(driver, wait_time).until(
                EC.presence_of_element_located(
                    (By.CSS_SELECTOR, "input.VerificationCodeInput_verificationCodeInput__RgX85"))
            )
            time.sleep(5)
            logging.info("获取邮箱验证码")
            verification_code = get_email_verification_code(email_url)
            logging.info("提交邮箱验证码")
            verification_code_input.send_keys(verification_code)
            verification_code_input.send_keys(Keys.RETURN)
        finally:
            # 关闭浏览器
            driver.quit()

def main():
    # 设置等待时间
    wait_time = 30  # 以秒为单位

    while True:
        try:
            # 创建一个Chrome浏览器实例,启动无痕模式
            chrome_options = Options()
            chrome_options.add_argument(
                'user-agent=Mozilla/5.0 (Macintosh; Intel Mac OS X 10_15_7) AppleWebKit/537.36 (KHTML, like Gecko) Chrome/86.0.4240.198 Safari/537.36')
            chrome_options.add_argument('--lang=zh-CN')
            chrome_options.add_argument("--disable-blink-features=AutomationControlled")
            chrome_options.add_argument('--incognito')  # 启动无痕模式
            driver = webdriver.Chrome(options=chrome_options)
            login_loop(driver, wait_time)
        finally:
            # 关闭浏览器
            driver.quit()

if __name__ == '__main__':
    main()

本文来自互联网用户投稿,该文观点仅代表作者本人,不代表本站立场。本站仅提供信息存储空间服务,不拥有所有权,不承担相关法律责任。如若转载,请注明出处:http://www.coloradmin.cn/o/1529617.html

如若内容造成侵权/违法违规/事实不符,请联系多彩编程网进行投诉反馈,一经查实,立即删除!

相关文章

5 Redis主从集群

文章目录 Redis主从集群1.1主从集群搭建1.1.1 伪集群搭建与配置1.1.2 分级管理1.1.3 容灾冷处理 1.2主从复制原理1.2.1 主从复制过程1.2.2 数据同步演变过程 2.1 哨兵机制实现2.1.1 简介2.2.2 Redis 高可用集群搭建2.2.3 Redis 高可用集群的启动2.2.4 Sentinel 优化配置 3.1 哨…

Springboot 博客_002 项目环境配置

引入相关依赖 mysqlmybatis <dependency><groupId>com.mysql</groupId><artifactId>mysql-connector-j</artifactId></dependency><dependency><groupId>org.mybatis.spring.boot</groupId><artifactId>mybatis-…

[小程序开发] 常见问题2:npm init -y 报错

在微信开发者工具终端中输入npm init -y 报错 npm : 无法将“npm”项识别为 cmdlet、函数、脚本文件或可运行程序的名称。请检查名称的拼写&#xff0c;如果包 括路径&#xff0c;请确保路径正确&#xff0c;然后再试一次。 原因&#xff1a;未下载Node.js 解决方法&#xff…

窗口函数(sample database classicmodels _No.8 )

窗口函数&#xff08;sample database classicmodels _No.8 &#xff09; 准备工作&#xff0c;可以去下载 classicmodels 数据库具体如下 点击&#xff1a;classicmodels 也可以去 下面我的博客资源下载 https://download.csdn.net/download/tomxjc/88685970 文章目录 窗口函…

Visual Studio 2013 - 调试模式下根据内存地址查看内存

Visual Studio 2013 - 调试模式下根据内存地址查看内存 1. 查看内存References 1. 查看内存 调试 -> 窗口 -> 内存 -> 内存1-4 References [1] Yongqiang Cheng, https://yongqiang.blog.csdn.net/

Git浅谈配置文件和免密登录

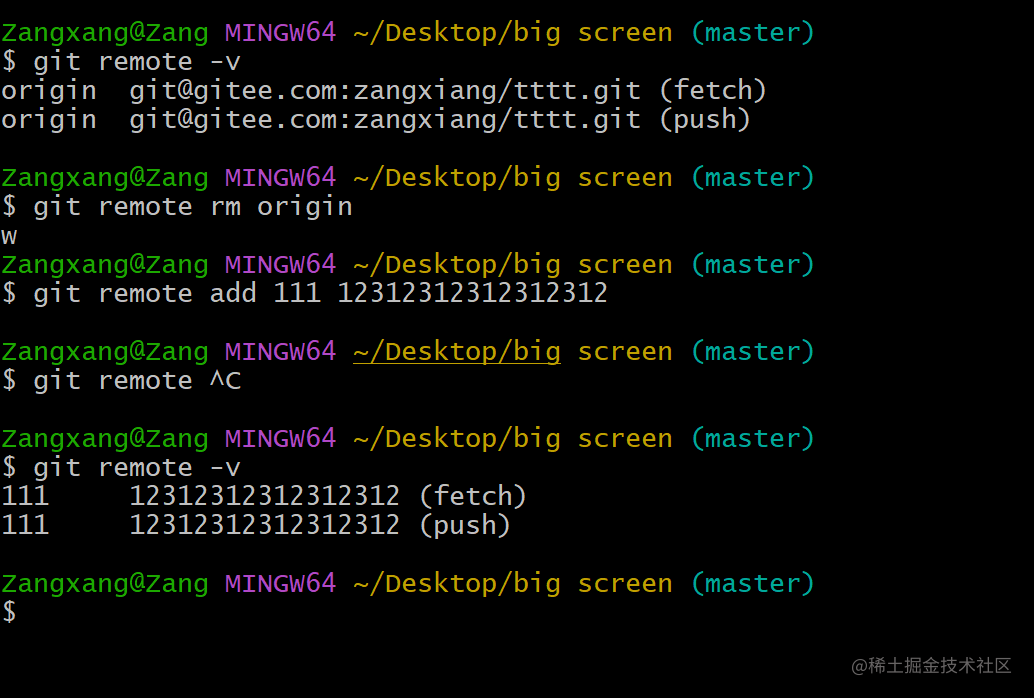
一、文章内容 简述git三种配置ssh免密登录以及遇见的问题git可忽略文件git remote 相关操作 二、Git三种配置 项目配置文件(局部)&#xff1a;项目路径/.git/config 文件 git config --local user.name name git config --local user.email 123qq.cc全局配置文(所有用户): …

docker入门(二)—— docker三大概念(镜像、容器、仓库)

docker 的三大必要概念 docker 的三大必要概念——镜像、容器、仓库 docker 架构图 镜像&#xff08;image&#xff09;&#xff1a;模版。&#xff08;web项目&#xff1a;1、环境 2、配置变量 3、上线项目 4、配置项目需要的静态文件&#xff09;打包成镜像 docker 镜像&a…

LeetCode 2312.卖木头块:动态规划(DP)

【LetMeFly】2312.卖木头块&#xff1a;动态规划(DP) 力扣题目链接&#xff1a;https://leetcode.cn/problems/selling-pieces-of-wood/ 给你两个整数 m 和 n &#xff0c;分别表示一块矩形木块的高和宽。同时给你一个二维整数数组 prices &#xff0c;其中 prices[i] [hi, …

DNF的概念和操作命令

yum是linux系统中基于rpm包管理的一种软件管理工具。 在dnf.conf文件中&#xff0c;我们可以配置某个网络服务器位软件源仓库。配置的方法&#xff0c;就是用vim编辑/etc/dnf/dnf.conf这个文件。

基于 RisingWave 和 Kafka 构建实时网络安全解决方案

实时威胁检测可实时监控和分析数据&#xff0c;并及时对潜在的安全威胁作出识别和响应。与依赖定期扫描或回顾性分析的安全措施不同&#xff0c;实时威胁检测系统可提供即时警报&#xff0c;并启动自动响应来降低风险&#xff0c;而不会出现高延迟。 实时威胁检测有许多不同的…

C语言案例02,请编程序将“China“译成密码,密码规律是:用原来的字母后面第4个字母代替原来的字母,变为Glmre,持续更新~

一.题目 /* 请编程序将“China”译成密码,密码规律是:用原来的字母后面第4个字母代替原来的字母。 例如,字母“A”后面第4个字母是“E”&#xff0c;用“E”代替“A”。因此,“China”应译为“Glmre”。 请编一程序,用赋初值的方法使cl,c2&#xff0c;c3,c4,c5 这5个变量的值分…

避坑指南!树莓派使用Adafruit_PCA9685驱动

一、硬件连线 二、软件配置 打开树莓派的IIC sudo raspi-config下载Adafruit_PCA9685 坑&#xff1a;如果直接使用命令安装会发现&#xff0c;报下面的错误。我们需要先安装conda&#xff0c;然后创建一个虚拟环境&#xff0c;创建完成后&#xff0c;激活环境。不要在自己创…

Python自动化测试UniTest框架介绍用法

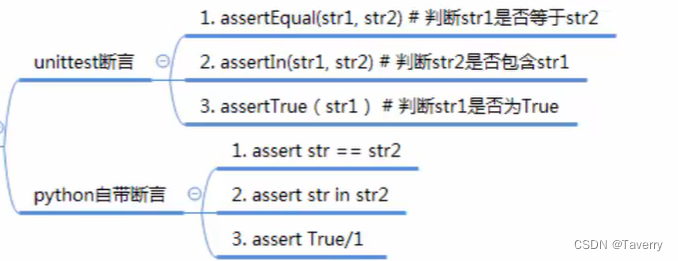
UnitTest是Python自带的一个单元测试框架 作用&#xff1a; 批量执行用例提供丰富的断言知识可以生成报告 核心要素&#xff1a; TestCase 测试用例TestSuite 测试案件TestRunner 以文本的形式运行测试用例TestLoader 批量执行测试用例-搜索指定文件夹内指定字母开头的模块F…

2024/03/19(网络编程·day5)

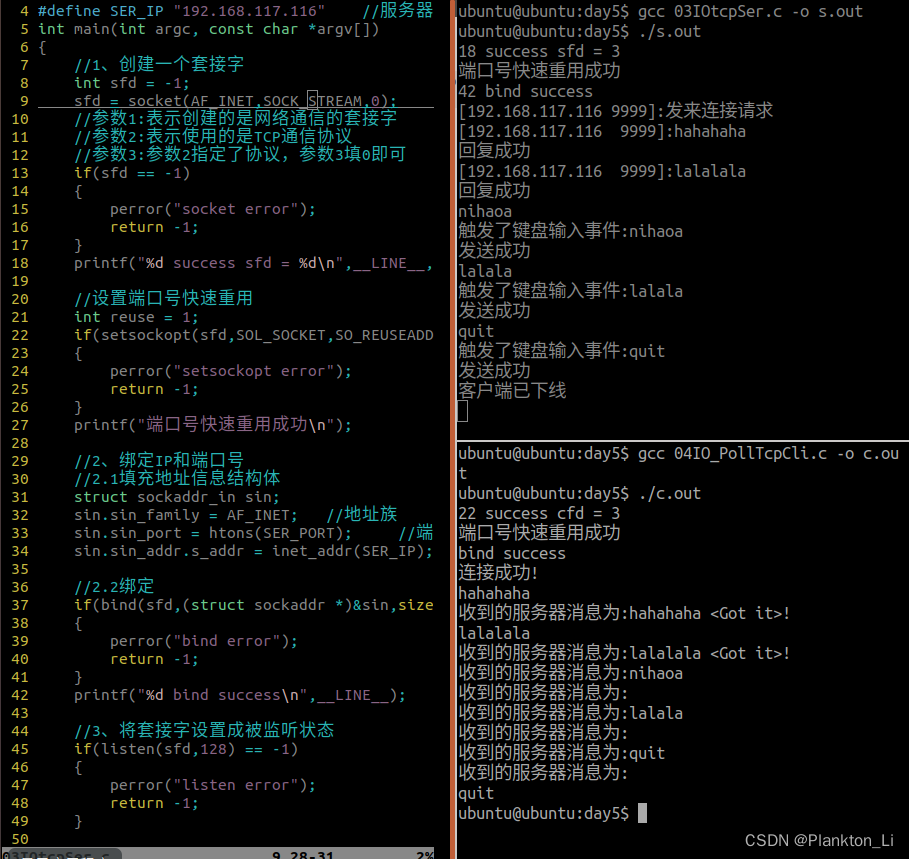
一、思维导图 二、selec函数实现TCP并发服务器 #include<myhead.h>#define SER_PORT 8888 //服务器端口号 #define SER_IP "192.168.117.116" //服务器IP int main(int argc, const char *argv[]) {//1、创建一个套接字int sfd -1;sfd socket(AF_INET,SOC…

【Week Y2】使用自己的数据集训练YOLO-v5s

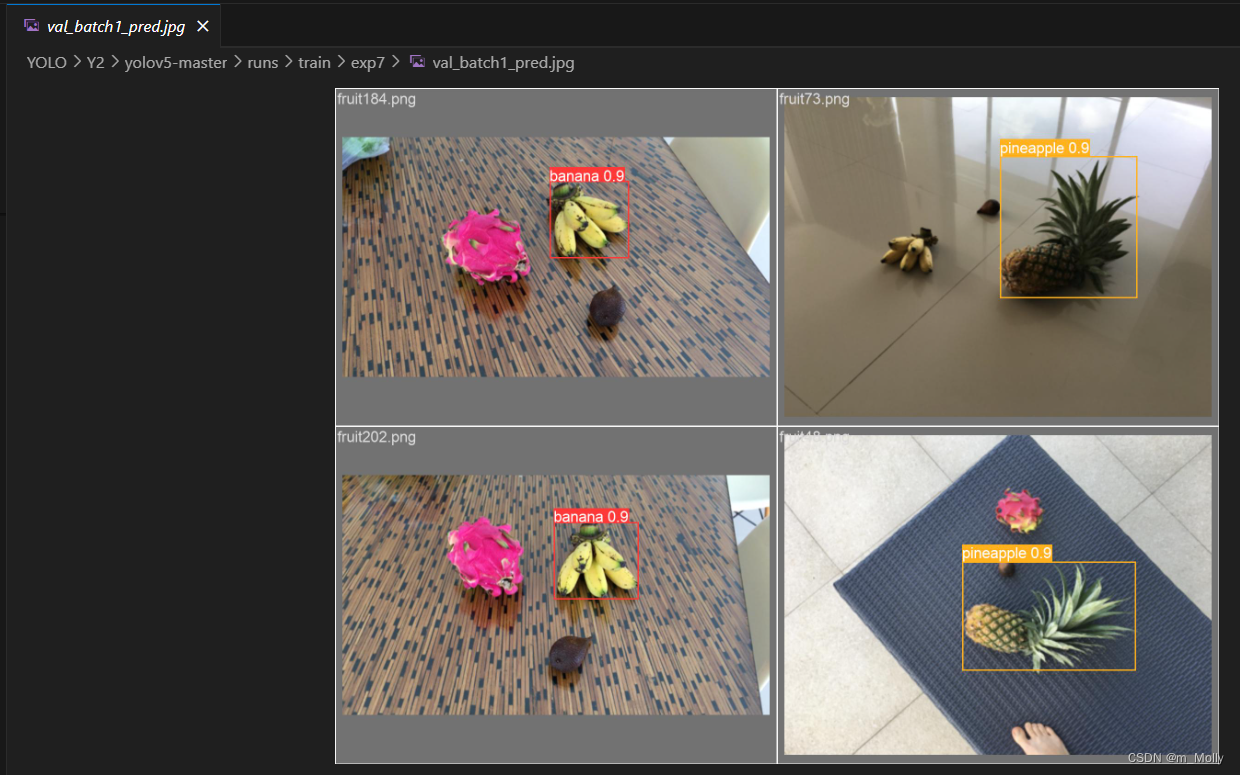
Y2-使用自己的数据集训练YOLO-v5s 零、遇到的问题汇总&#xff08;1&#xff09;遇到git的import error&#xff08;2&#xff09;Error&#xff1a;Dataset not found&#xff08;3&#xff09;Error&#xff1a;删除中文后&#xff0c;训练图片路径不存在 一、.xml文件里保存…

开发微信小程序被鹅厂背刺

最近在开发微信小程序&#xff0c;没来得及更文。等开发完成后&#xff0c;给大家写保姆帖系列。刚刚看到一张动图&#xff0c;忍不住分享给大家。属实反映了鹅厂风格了。

C# Onnx Yolov9 Detect 物体检测

目录 介绍 效果 项目 模型信息 代码 下载 C# Onnx Yolov9 Detect 物体检测 介绍 yolov9 github地址&#xff1a;https://github.com/WongKinYiu/yolov9 Implementation of paper - YOLOv9: Learning What You Want to Learn Using Programmable Gradient Information …

【电路笔记】-达林顿晶体管

达林顿晶体管 文章目录 达林顿晶体管1、概述2、基本达林顿晶体管配置3、示例4、达林顿晶体管应用5、Sziklai 晶体管对6、ULN2003A 达林顿晶体管阵列7、总结两个双极晶体管的达林顿晶体管配置可针对给定基极电流提供更大的电流切换。 1、概述 达林顿晶体管以其发明者 Sidney Da…

洛谷_P5143 攀爬者_python写法

P5143 攀爬者 - 洛谷 | 计算机科学教育新生态 (luogu.com.cn) 知识点&#xff1a; Python lambda&#xff08;匿名函数&#xff09; | 菜鸟教程 (runoob.com) import mathn int(input()) data [] for i in range(n):l list(map(int,input().split()))data.append(l)data.so…

服务器硬件基础知识和云服务器的选购技巧

概述 服务器硬件基础知识涵盖了构成服务器的关键硬件组件和技术&#xff0c;这些组件和技术对于服务器的性能、稳定性和可用性起着至关重要的作用。其中包括中央处理器&#xff08;CPU&#xff09;作为服务器的计算引擎&#xff0c;内存&#xff08;RAM&#xff09;用于数据临…