// 导入threejs
import * as THREE from "three";
// 导入轨道控制器
import { OrbitControls } from "three/examples/jsm/controls/OrbitControls.js";

// 创建场景
const scene = new THREE.Scene();

// 创建相机
const camera = new THREE.PerspectiveCamera(
  45, // 视角
  window.innerWidth / window.innerHeight, // 宽高比
  0.1, // 近平面
  1000 // 远平面
);

// 创建渲染器
const renderer = new THREE.WebGLRenderer({
  antialias: true, // 抗锯齿
});
renderer.setSize(window.innerWidth, window.innerHeight);
document.body.appendChild(renderer.domElement);

// 设置相机位置
camera.position.z = 15;
camera.position.y = 12;
camera.position.x = 12;
camera.lookAt(0, 0, 0);

// 添加世界坐标辅助器
const axesHelper = new THREE.AxesHelper(5);
scene.add(axesHelper);

// 添加轨道控制器
const controls = new OrbitControls(camera, renderer.domElement);
// 设置带阻尼的惯性
controls.enableDamping = true;
// 设置阻尼系数
controls.dampingFactor = 0.05;
// 设置旋转速度
// controls.autoRotate = true;

// 渲染函数
function animate() {
  controls.update();
  requestAnimationFrame(animate);
  // 渲染
  renderer.render(scene, camera);
}
animate();

// 监听窗口变化
window.addEventListener("resize", () => {
  // 重置渲染器宽高比
  renderer.setSize(window.innerWidth, window.innerHeight);
  // 重置相机宽高比
  camera.aspect = window.innerWidth / window.innerHeight;
  // 更新相机投影矩阵
  camera.updateProjectionMatrix();
});

// 创建纹理加载器
let textureLoader = new THREE.TextureLoader();
// 加载纹理
let texture = textureLoader.load("./texture/uv_grid_opengl.jpg");
texture.colorSpace = THREE.SRGBColorSpace;
texture.minFilter = THREE.LinearMipMapLinearFilter;

// 设置纹理包裹方式为 ClampToEdgeWrapping
texture.wrapS = THREE.ClampToEdgeWrapping;
texture.wrapT = THREE.ClampToEdgeWrapping;

const geometry = new THREE.BufferGeometry();
const plane = new THREE.Mesh(
  geometry,
  new THREE.MeshBasicMaterial({
    map: texture,
  })
);

let uv = new THREE.Float32BufferAttribute(
  [
    0,
    0, // 左下角顶点的UV坐标

    1,
    0, // 右下角顶点的UV坐标

    1,
    1, // 右上角顶点的UV坐标

    0,
    1, // 左上角顶点的UV坐标
  ],
  2
);
let position = new THREE.Float32BufferAttribute(
  [
    -5,
    -5, // 左下角顶点的UV坐标
    0,

    5, // 右下角顶点的UV坐标
    -5,
    0,

    5,
    5, // 右上角顶点的UV坐标
    0,

    -5, // 左上角顶点的UV坐标
    5,
    0,
  ],
  3
);
const index = new THREE.Uint16BufferAttribute(
  [
    0,
    1,
    2, // 第一个三角形
    0,
    2,
    3, // 第二个三角形
  ],
  1
);

geometry.setIndex(index);
geometry.setAttribute('uv',uv)
geometry.setAttribute('position',position)
scene.add(plane);
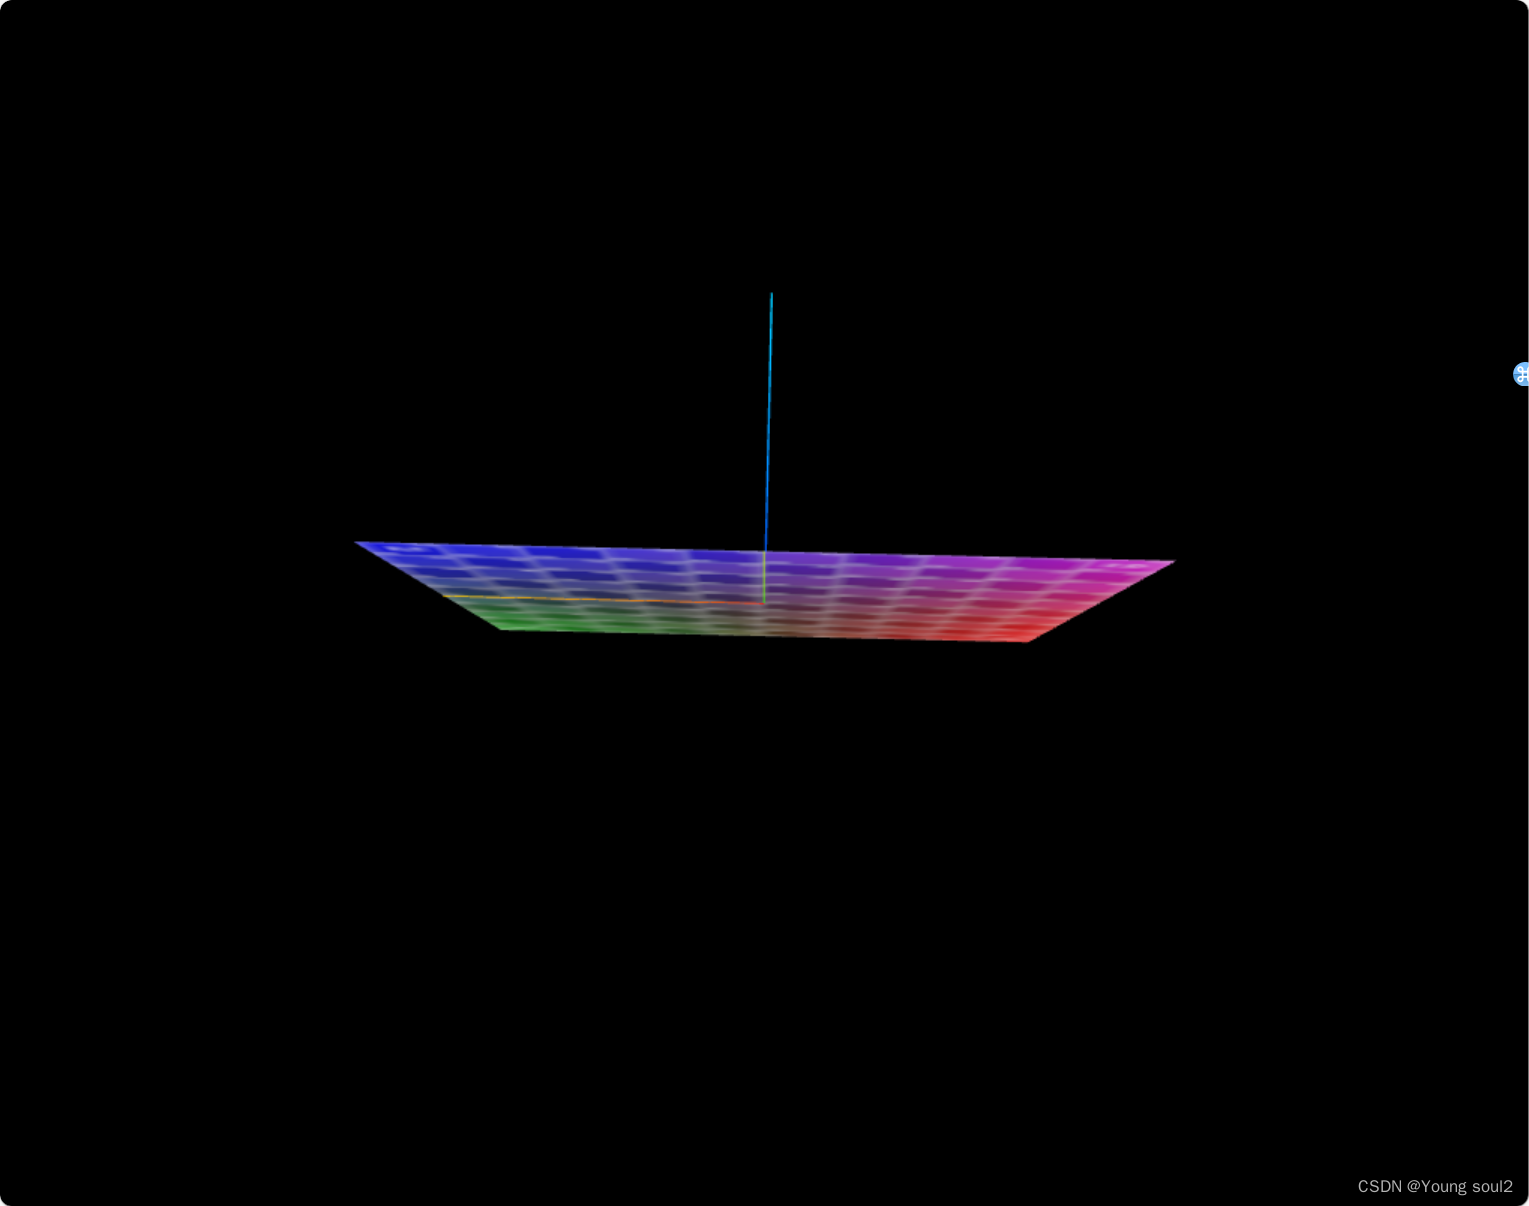
uv的取值范围是从0到1的,uv的设置和position的设置顺序有关。在上述例子中position的设置是逆时针设置的,所以uv的设置也要逆时针设置才能正确取样。
接下来我们再把BufferGeometry替换成PlaneGeometry。
// 导入threejs
import * as THREE from "three";
// 导入轨道控制器
import { OrbitControls } from "three/examples/jsm/controls/OrbitControls.js";

// 创建场景
const scene = new THREE.Scene();

// 创建相机
const camera = new THREE.PerspectiveCamera(
  45, // 视角
  window.innerWidth / window.innerHeight, // 宽高比
  0.1, // 近平面
  1000 // 远平面
);

// 创建渲染器
const renderer = new THREE.WebGLRenderer({
  antialias: true, // 抗锯齿
});
renderer.setSize(window.innerWidth, window.innerHeight);
document.body.appendChild(renderer.domElement);

// 设置相机位置
camera.position.z = 15;
camera.position.y = 12;
camera.position.x = 12;
camera.lookAt(0, 0, 0);

// 添加世界坐标辅助器
const axesHelper = new THREE.AxesHelper(5);
scene.add(axesHelper);

// 添加轨道控制器
const controls = new OrbitControls(camera, renderer.domElement);
// 设置带阻尼的惯性
controls.enableDamping = true;
// 设置阻尼系数
controls.dampingFactor = 0.05;
// 设置旋转速度
// controls.autoRotate = true;

// 渲染函数
function animate() {
  controls.update();
  requestAnimationFrame(animate);
  // 渲染
  renderer.render(scene, camera);
}
animate();

// 监听窗口变化
window.addEventListener("resize", () => {
  // 重置渲染器宽高比
  renderer.setSize(window.innerWidth, window.innerHeight);
  // 重置相机宽高比
  camera.aspect = window.innerWidth / window.innerHeight;
  // 更新相机投影矩阵
  camera.updateProjectionMatrix();
});

// 创建纹理加载器
let textureLoader = new THREE.TextureLoader();
// 加载纹理
let texture = textureLoader.load("./texture/uv_grid_opengl.jpg");
texture.colorSpace = THREE.SRGBColorSpace;
texture.minFilter = THREE.LinearMipMapLinearFilter;

// 设置纹理包裹方式为 ClampToEdgeWrapping
texture.wrapS = THREE.ClampToEdgeWrapping;
texture.wrapT = THREE.ClampToEdgeWrapping;

const geometry = new THREE.PlaneGeometry(10,10);
const plane = new THREE.Mesh(
  geometry,
  new THREE.MeshBasicMaterial({
    map: texture,
  })
);

scene.add(plane);
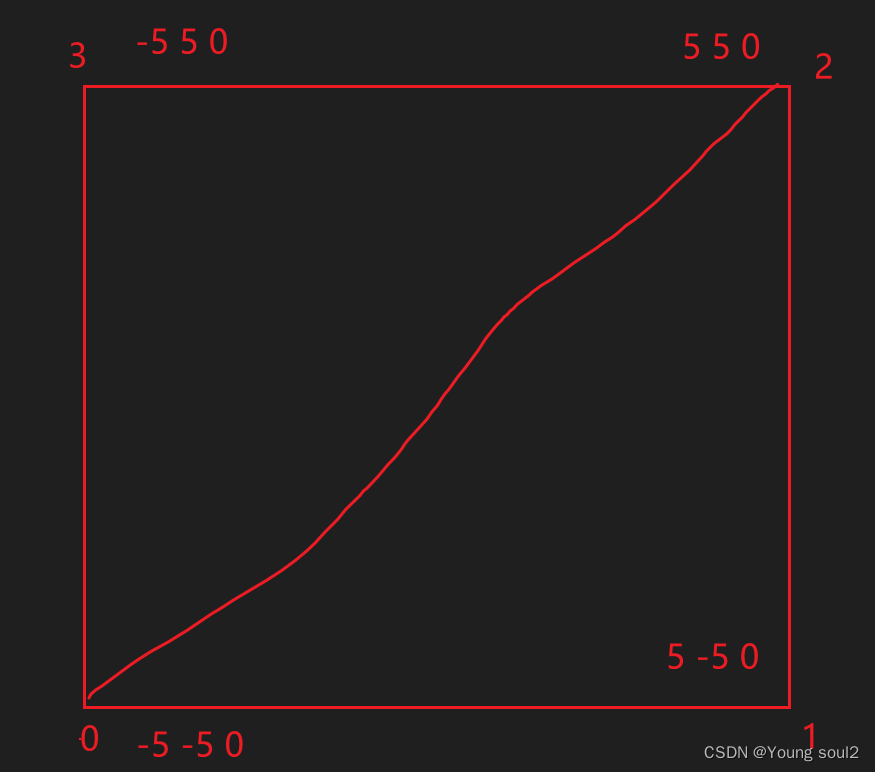
我们再来看看此时的position、uv、index设置:
position的取值如下:
{
"itemSize": 3,
"type": "Float32Array",
"array": [
-5,
5,
0,
5,
5,
0,
-5,
-5,
0,
5,
-5,
0
],
"normalized": false
}
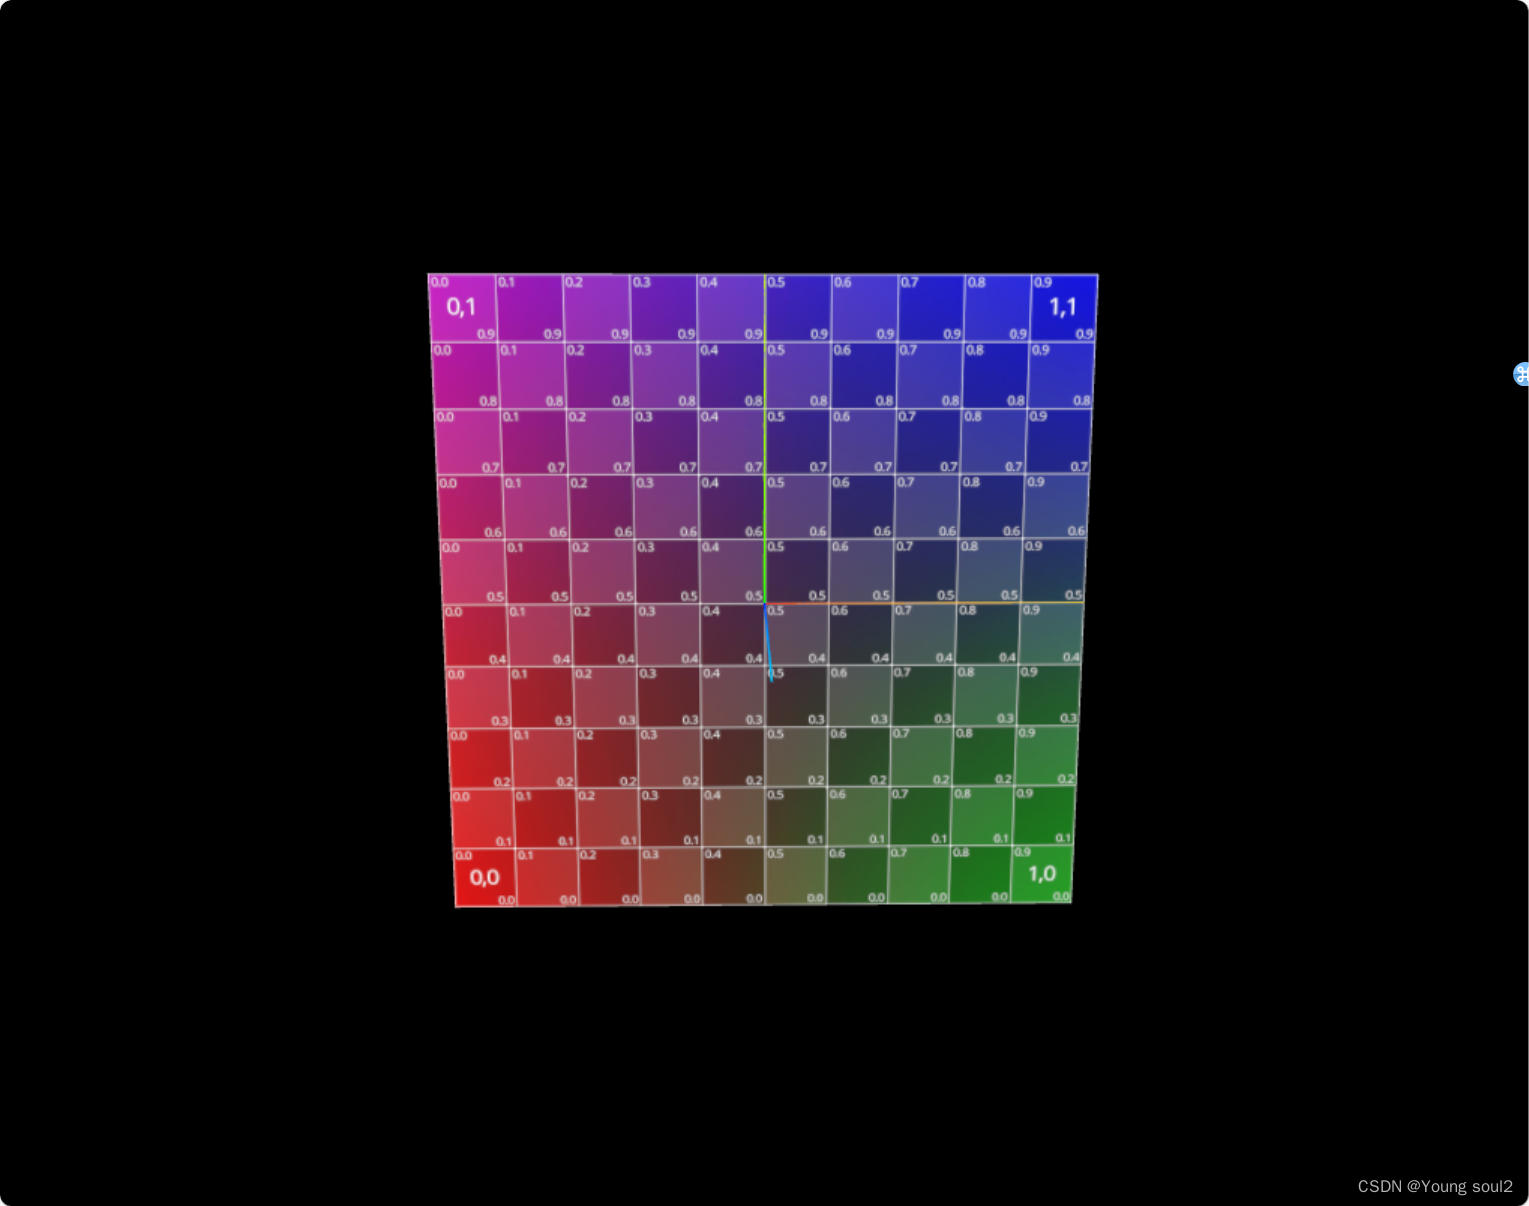
uv取值如下:
{
"itemSize": 2,
"type": "Float32Array",
"array": [
0,
1,
1,
1,
0,
0,
1,
0
],
"normalized": false
}
index的取值如下:
{
"itemSize": 1,
"type": "Uint16Array",
"array": [
0,
2,
1,
2,
3,
1
],
"normalized": false
}
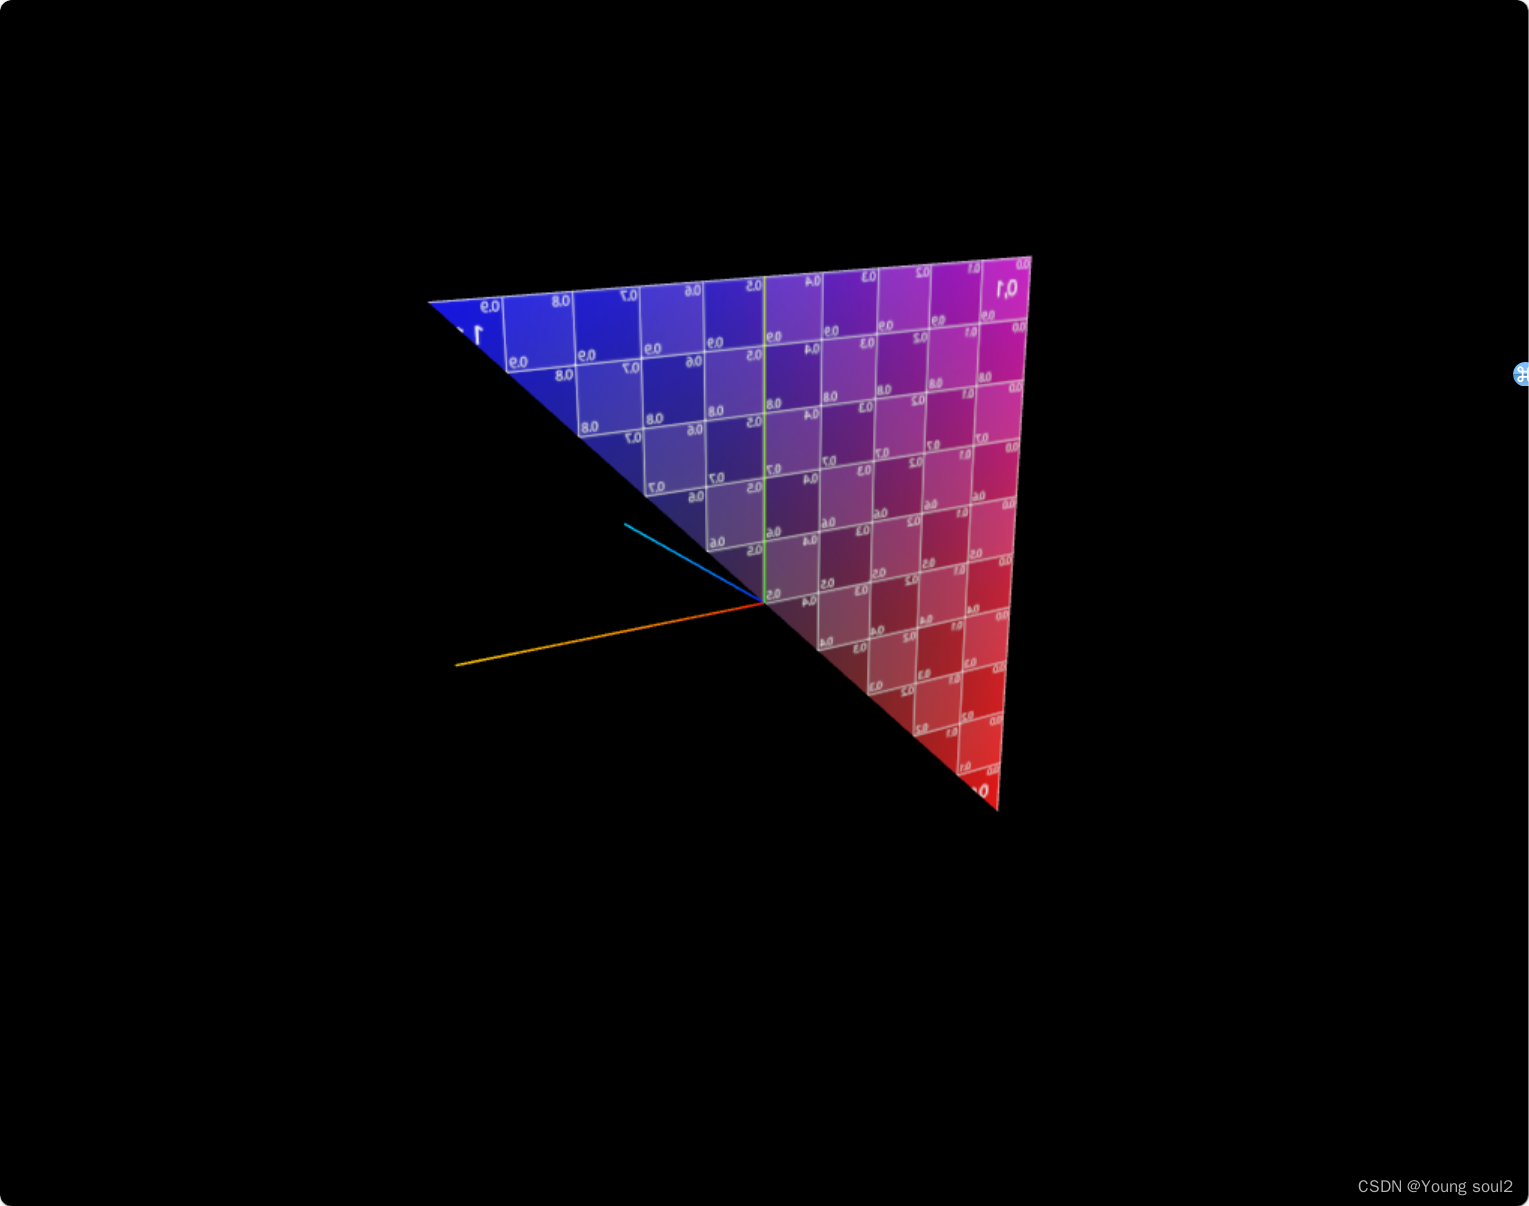
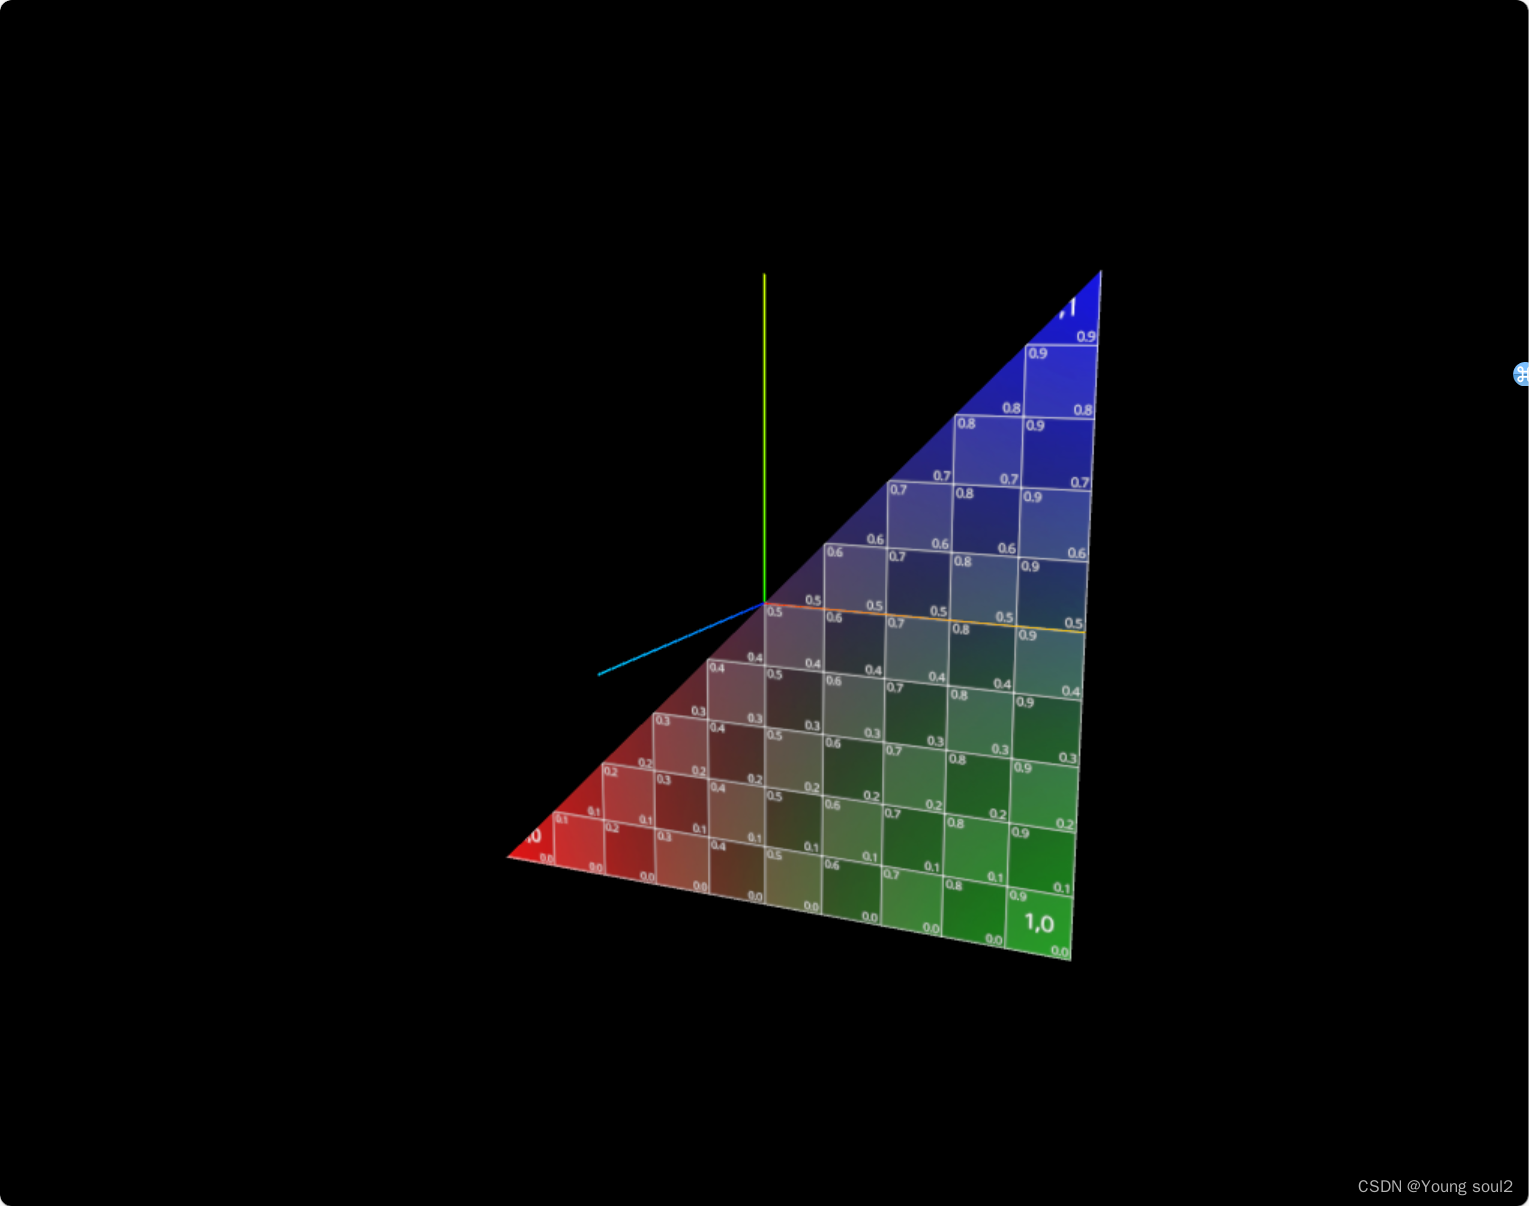
uv的值的顺序取决于position的设置顺序。比如position的设置顺序是从[-5,5,0]->[5,5,0]->[-5,-5,0]->[5,-5,0],所以uv的设置顺序是左上角->右上角->左下角->右下角。
对于index的设置如果你按照逆时针的顺序定义顶点索引,渲染引擎会认为这是一个正面的三角形,会正确计算法线和光照效果。如果你按照顺时针的顺序定义顶点索引,渲染引擎会认为这是一个背面的三角形,可能会导致不正确的光照效果。但是texture会默认flipY为true,所以我们看到的是逆时针的,其实本来是顺时针。

如果我们设置为顺时针,看到正面其实是没有图像的,因为图像在反面。
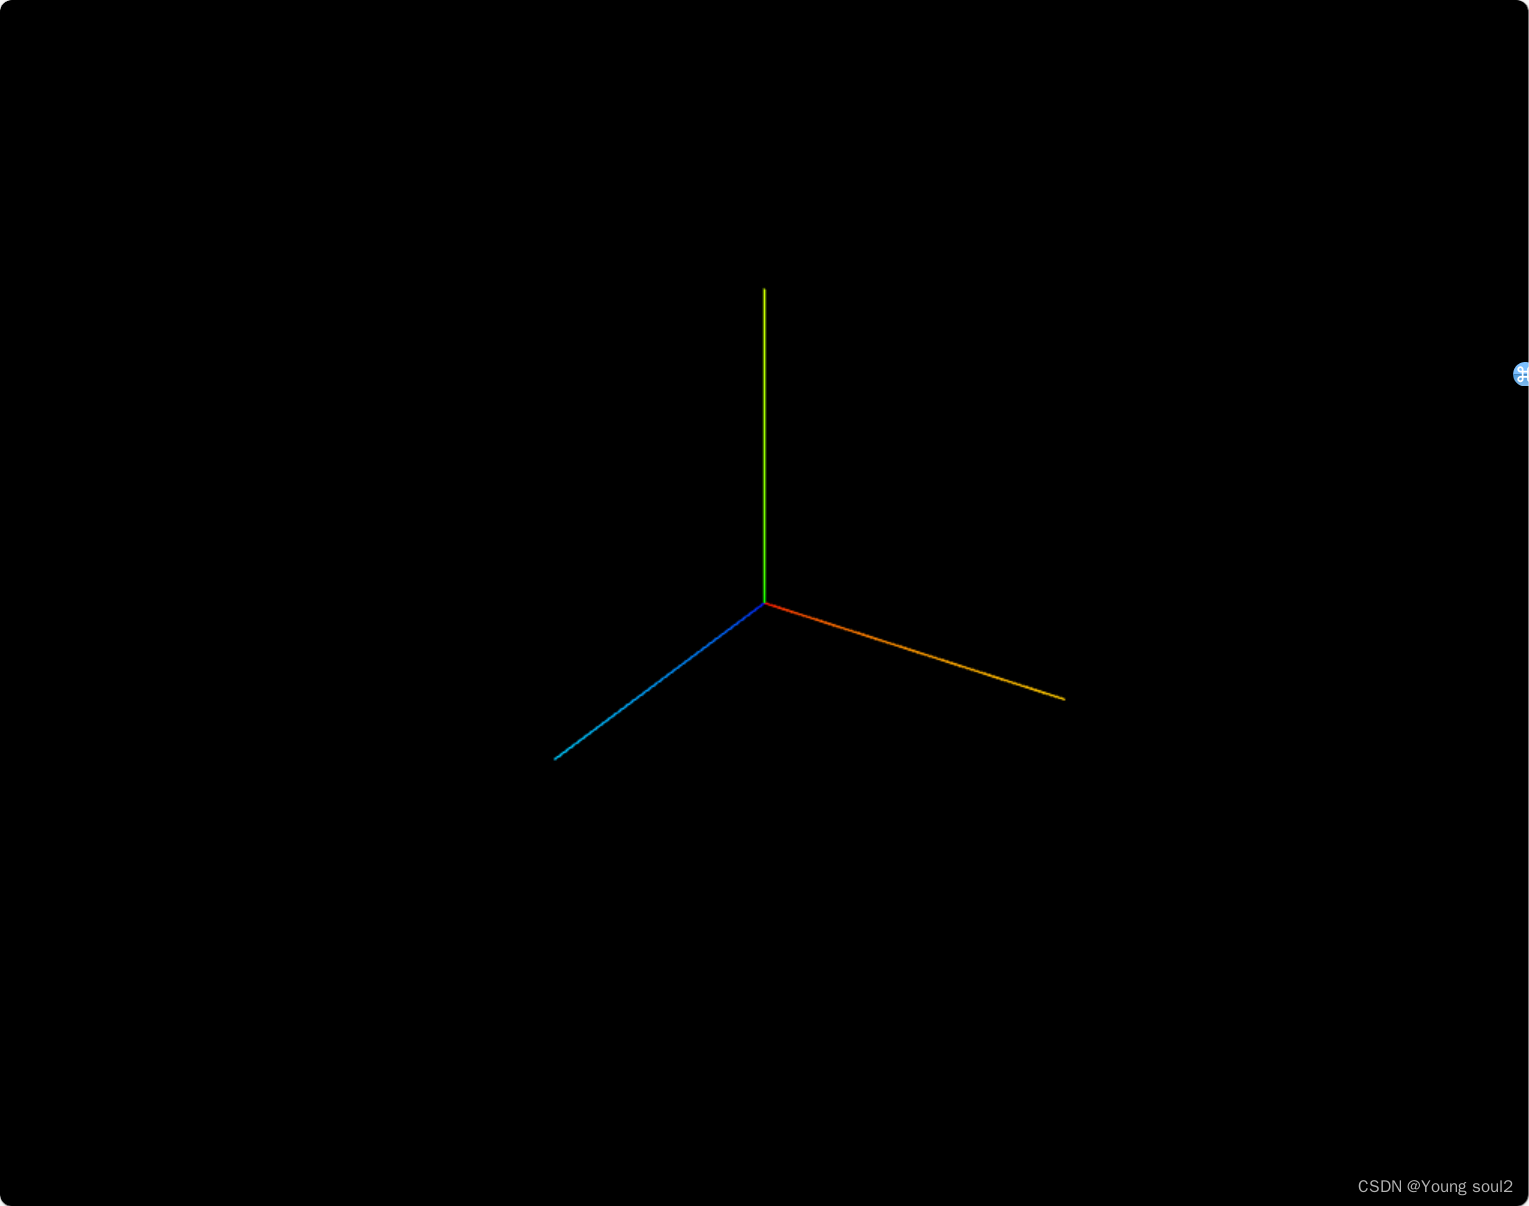
可以看出z轴是背向我们的。
geometry.setIndex(new THREE.Uint16BufferAttribute([0,1,2,2,3,1],1)),如果我们设置index的值为一半顺时针,一半逆时针那么就会出现正面有一半反面有一半,我们始终只能看到一半。
z轴朝向我们是正面。
z轴背对我们是反面。