制作立方体
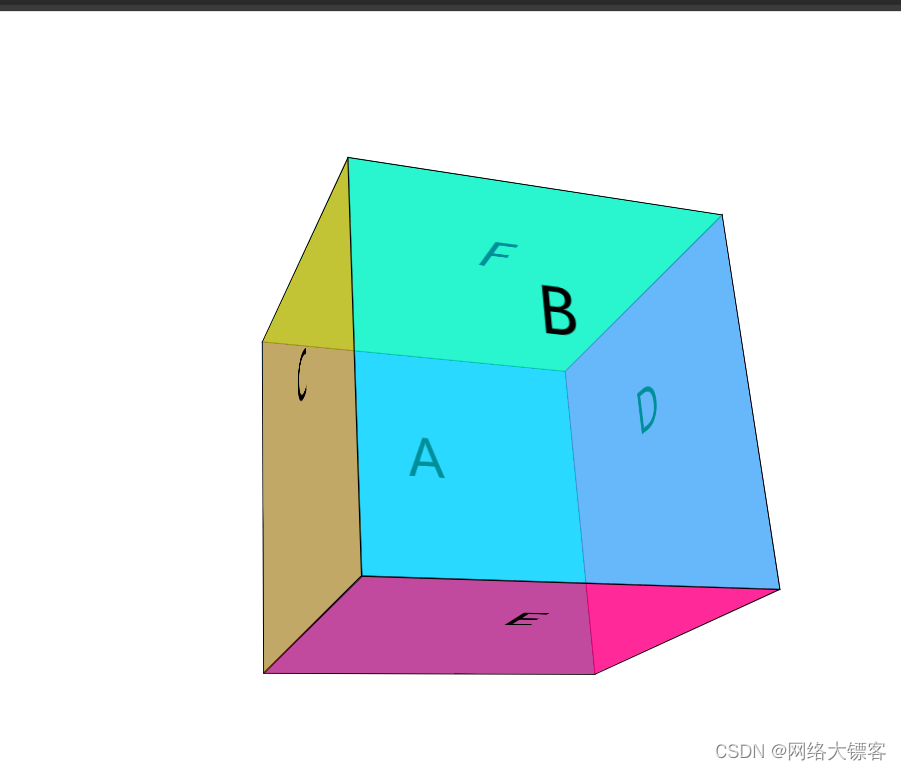
学完前面的基础内容,制作立方体是个不错的练习方法,先看成品
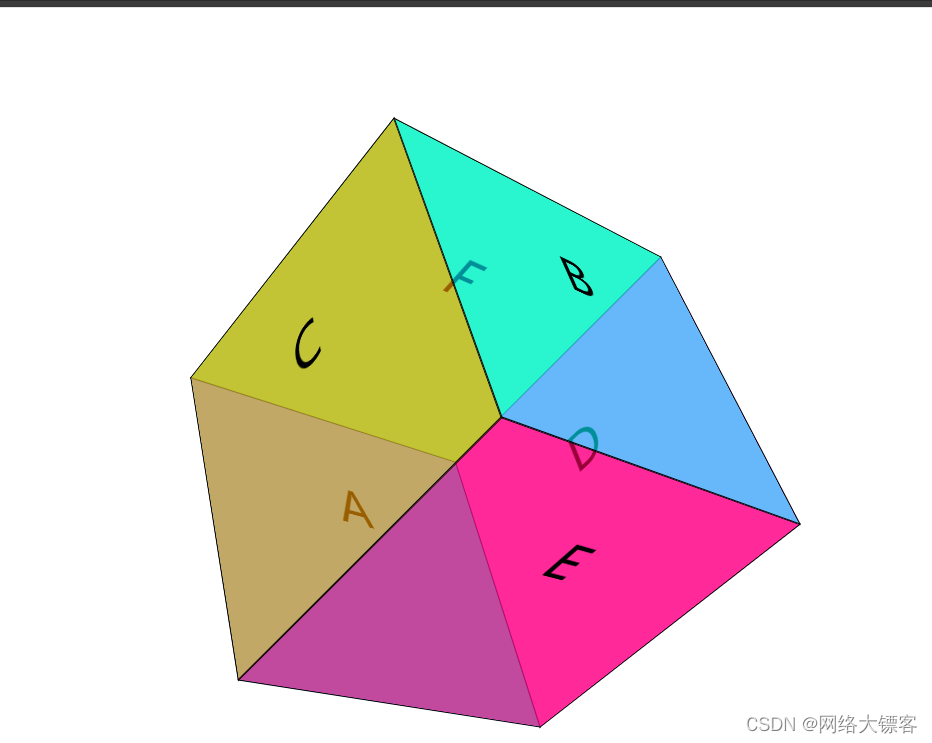
再分析一下,六个面让每个面旋转平移就可以实现一个立方体,来看代码:
<title> 制作立方体</title>
<style>
*{
margin: 0;
padding: 0;
}
body{
perspective: 1000px;
}
ul{
width: 300px;
height: 300px;
line-height: 200px;
text-align: center;
font-size: 50px;
margin: 200px auto;
list-style: none;
position: relative;
transform-style: preserve-3d;
transform: rotate3d(1,1,0,60deg);
}
li{
width: 100%;
height: 100%;
border: 1px solid black;
position: absolute;
}
/* 我们让第一个面向后移动元素宽的一半 */
li:nth-of-type(1){
transform: translateZ(-150px);
/* 0.6是我们设置的背景颜色的透明度 */
background-color: rgb(0, 136, 255,0.6);
}
/* 第二个面我们让他向前移动元素宽的一半 */
li:nth-of-type(2){
transform: translateZ(150px);
background-color:rgb(0, 238, 255,.6);
}
/* 第三个面先横向转90deg再向外平移元素的一半 */
li:nth-of-type(3){
transform: rotateY(-90deg) translateZ(150px);
background-color:rgb(255, 157, 0,.6);
}
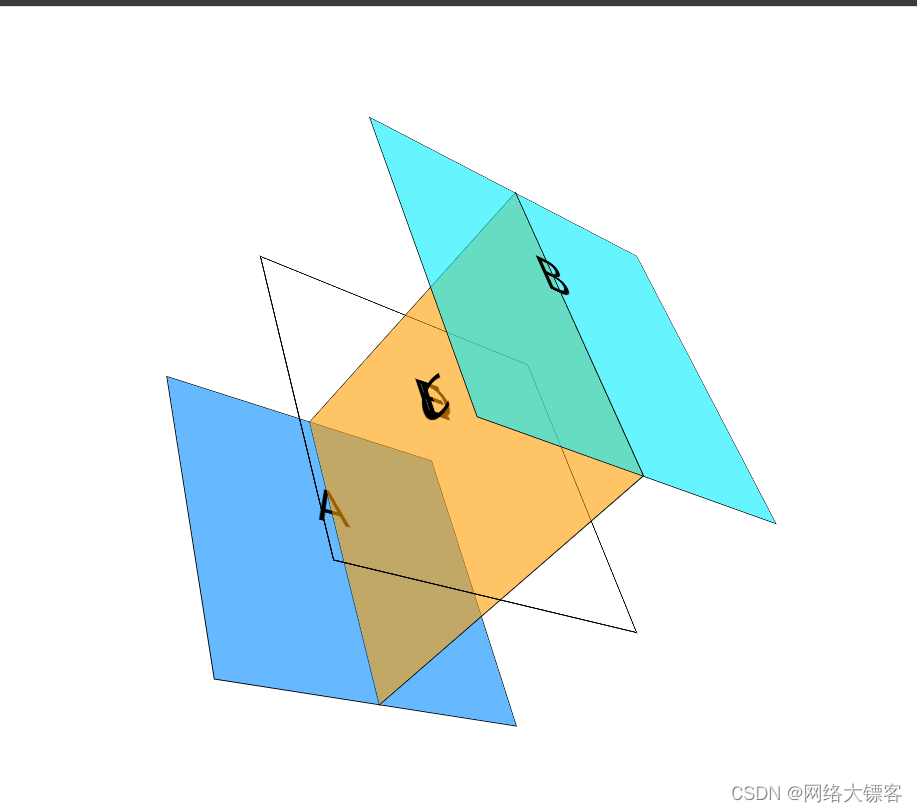
/* 第四个面先横向转90deg再向后平移元素的一半 */
li:nth-of-type(4){
transform: rotateY(-90deg) translateZ(-150px);
background-color:rgba(255, 0, 238, 0.6);
}
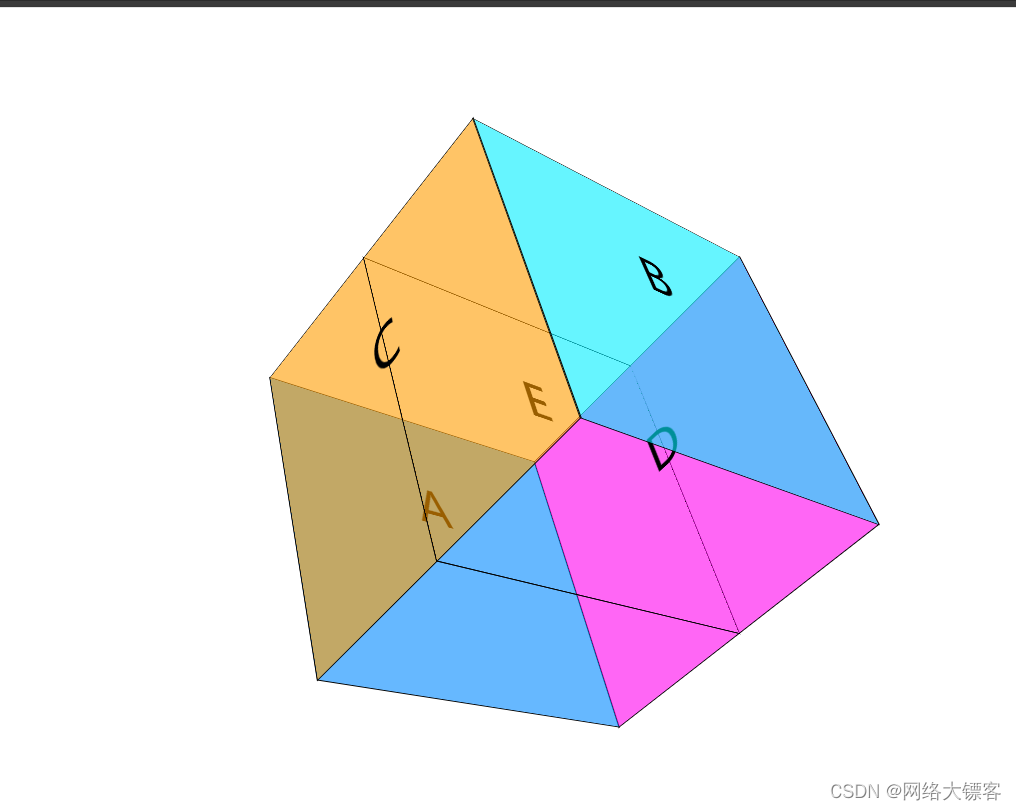
/* 第五个面先向下转90deg再向上平移元素的一半 */
li:nth-of-type(5){
transform: rotateX(-90deg) translateZ(150px);
background-color:rgba(255, 0, 93, 0.6);
}
/* 第六个面先向下转90deg再向下平移元素的一半 */
li:nth-of-type(6){
transform: rotateX(-90deg) translateZ(-150px);
background-color:rgba(0, 255, 55, 0.6);
}
</style>
</head>
<body>
<ul>
<li>A</li>
<li>B</li>
<li>C</li>
<li>D</li>
<li>E</li>
<li>F</li>
</ul>
</body>
接下来我们会说一下css3动画基础,这一部分了解完之后就可以再给立方体加一个动画效果,让它一直旋转。





![[Angular 基础] - 表单:响应式表单](https://img-blog.csdnimg.cn/direct/adb473c37470445a8a24f3c2434b4293.gif#pic_center)
