安装nexus + 部署私有maven仓库
文章目录
- 安装nexus + 部署私有maven仓库
- 1.下载
- 2.解压
- 3.修改配置文件
- 4.启动
- 5.访问
- 6.查看默认密码
- 7.创建私库
- 8.修改代码配置文件
- 9.在maven 的setting.xml中配置私库的账号密码
- 10.运行manve 【deploy】命令测试
- 11.maven项目引用私库
- 12. 重新加载maven,查看是否能拉取私库中的jar包,能拉取到则配置成功。不能拉取到用力拉
1.下载
https://sonatype-download.global.ssl.fastly.net/repository/downloads-prod-group/3/nexus-3.66.0-02-unix.tar.gz
2.解压
tar -zxvf nexus-3.66.0-02-unix.tar.gz
3.修改配置文件
# 进入解压后的目录
cd nexus-3.66.0-02
ls
# bin  deploy  etc  lib  NOTICE.txt  OSS-LICENSE.txt  PRO-LICENSE.txt  public  replicator  system
vim nexus-default.properties
4.启动
# 启动文件所在目录 /nexus-3.66.0-02/bin cd进bin目录
./nexus start
5.访问
http://服务器ip:8081
6.查看默认密码
# 默认密码存放位置/home/nexus/sonatype-work/nexus3/admin.password
cat /home/nexus/sonatype-work/nexus3/admin.password
# 第一次启动时系统会生成一个默认密码 存放在【/home/nexus/sonatype-work/nexus3/admin.password】中,登录成功后在自定义密码
7.创建私库
-
登录admin账号
-
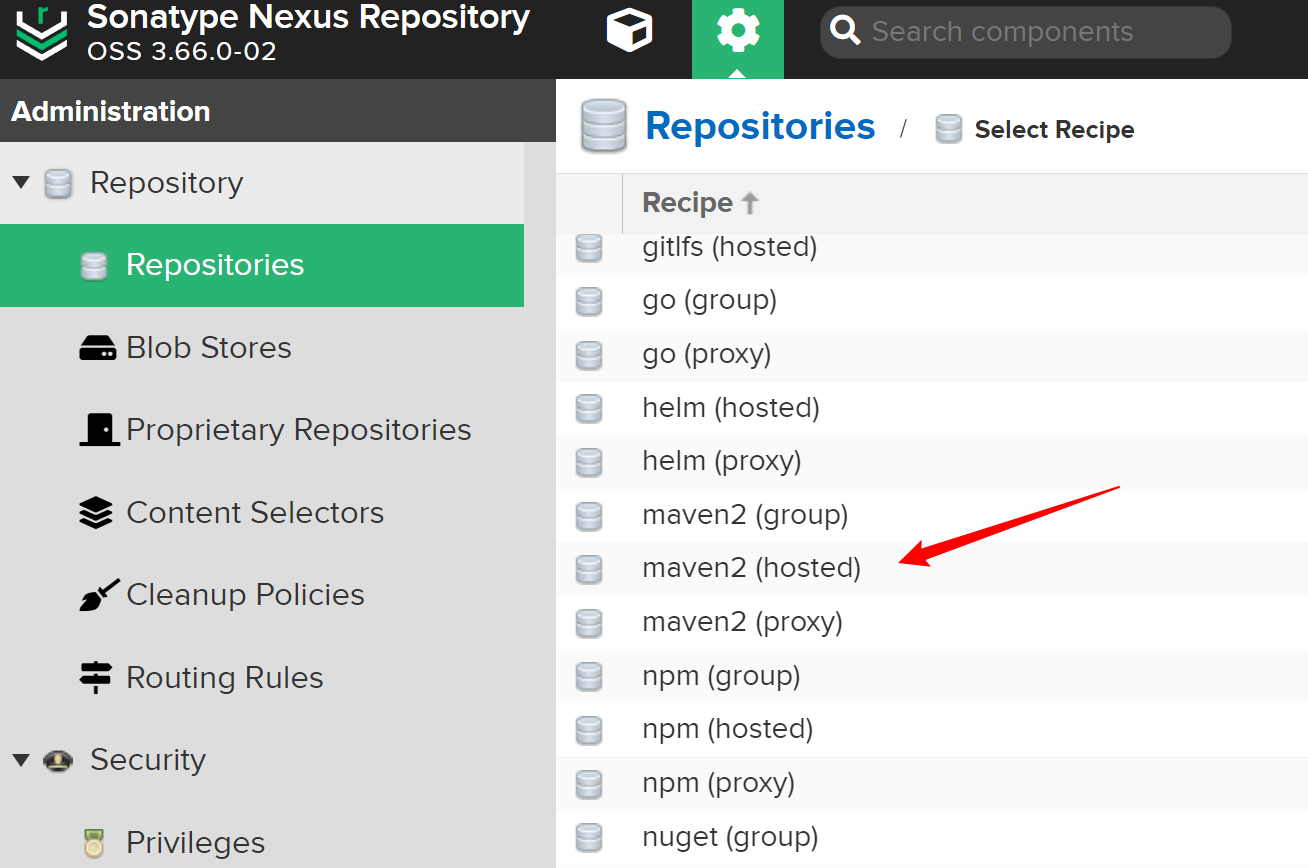
创建【maven2(hosted)】类型Repositories
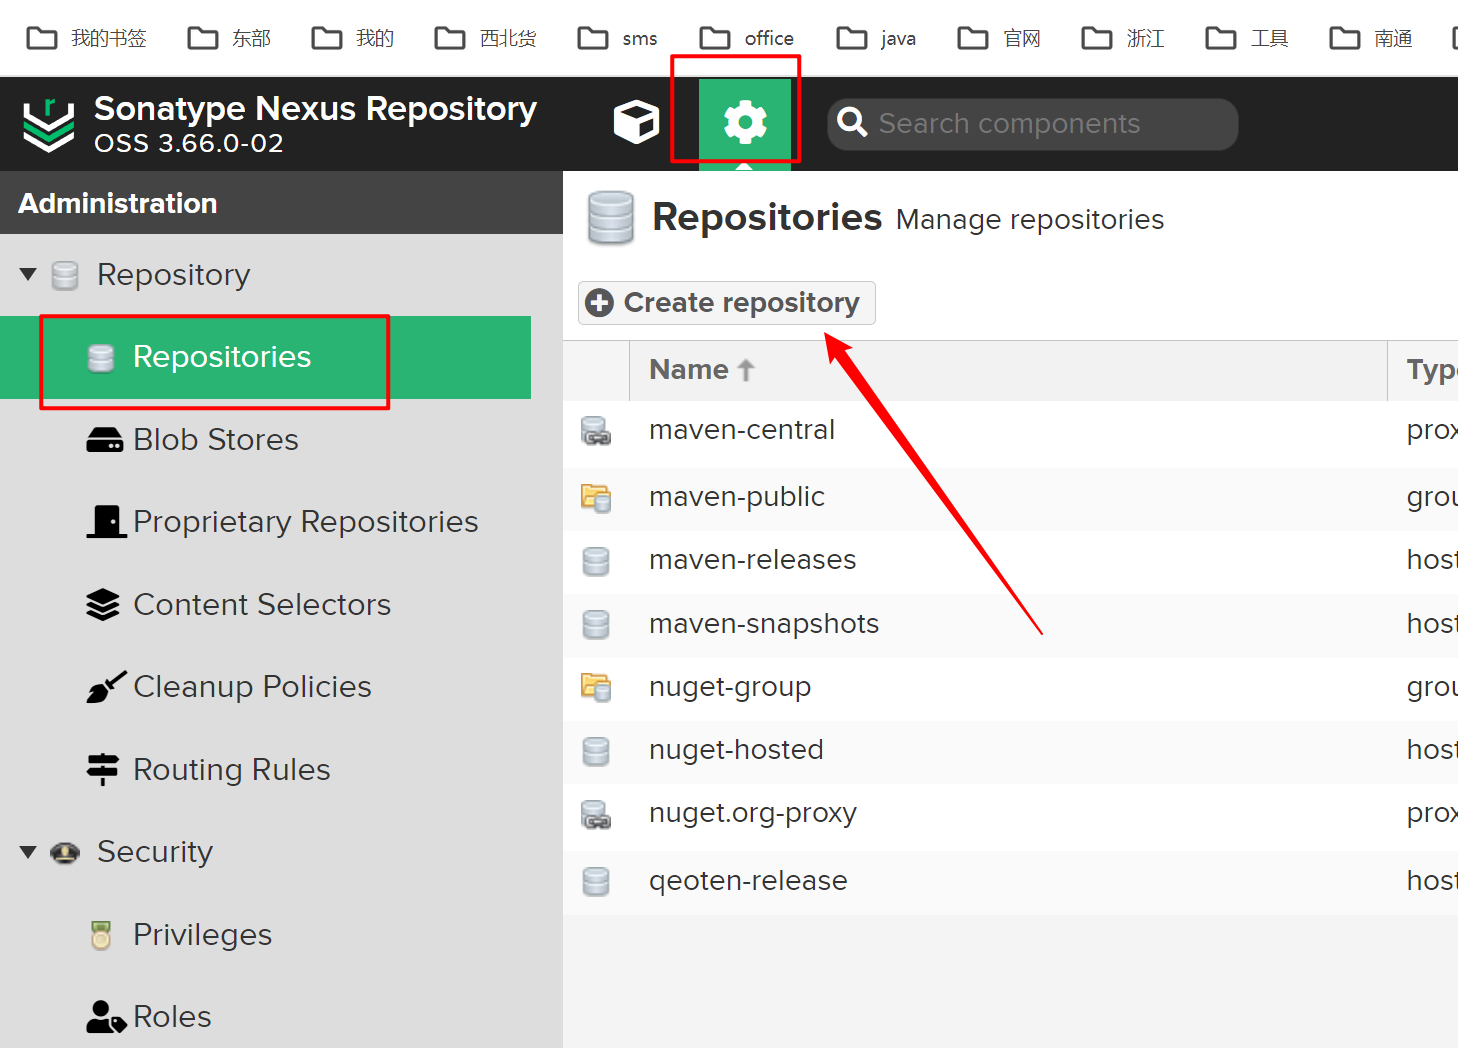
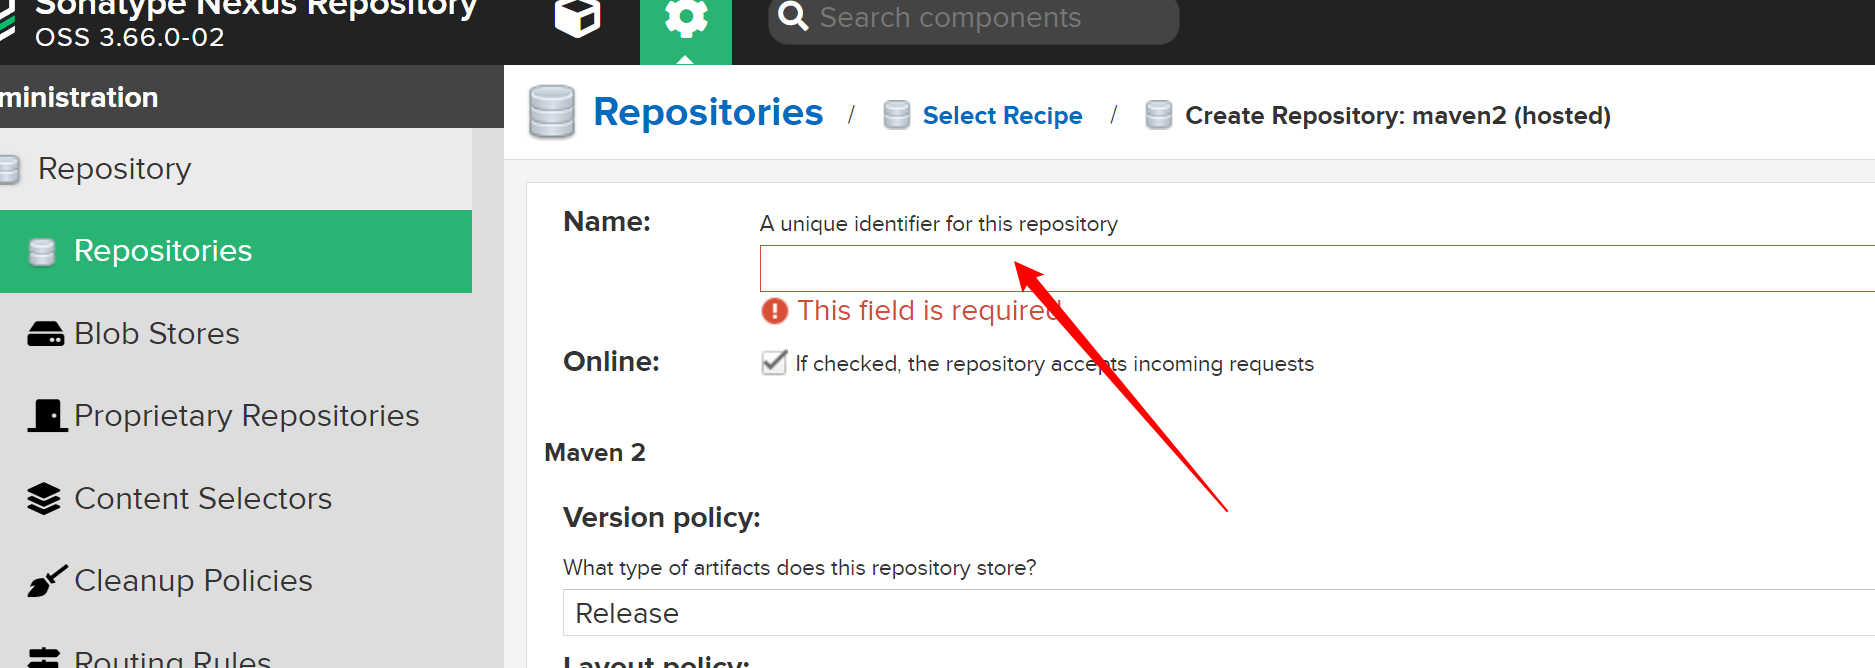
- 填写私库名称,然后确定
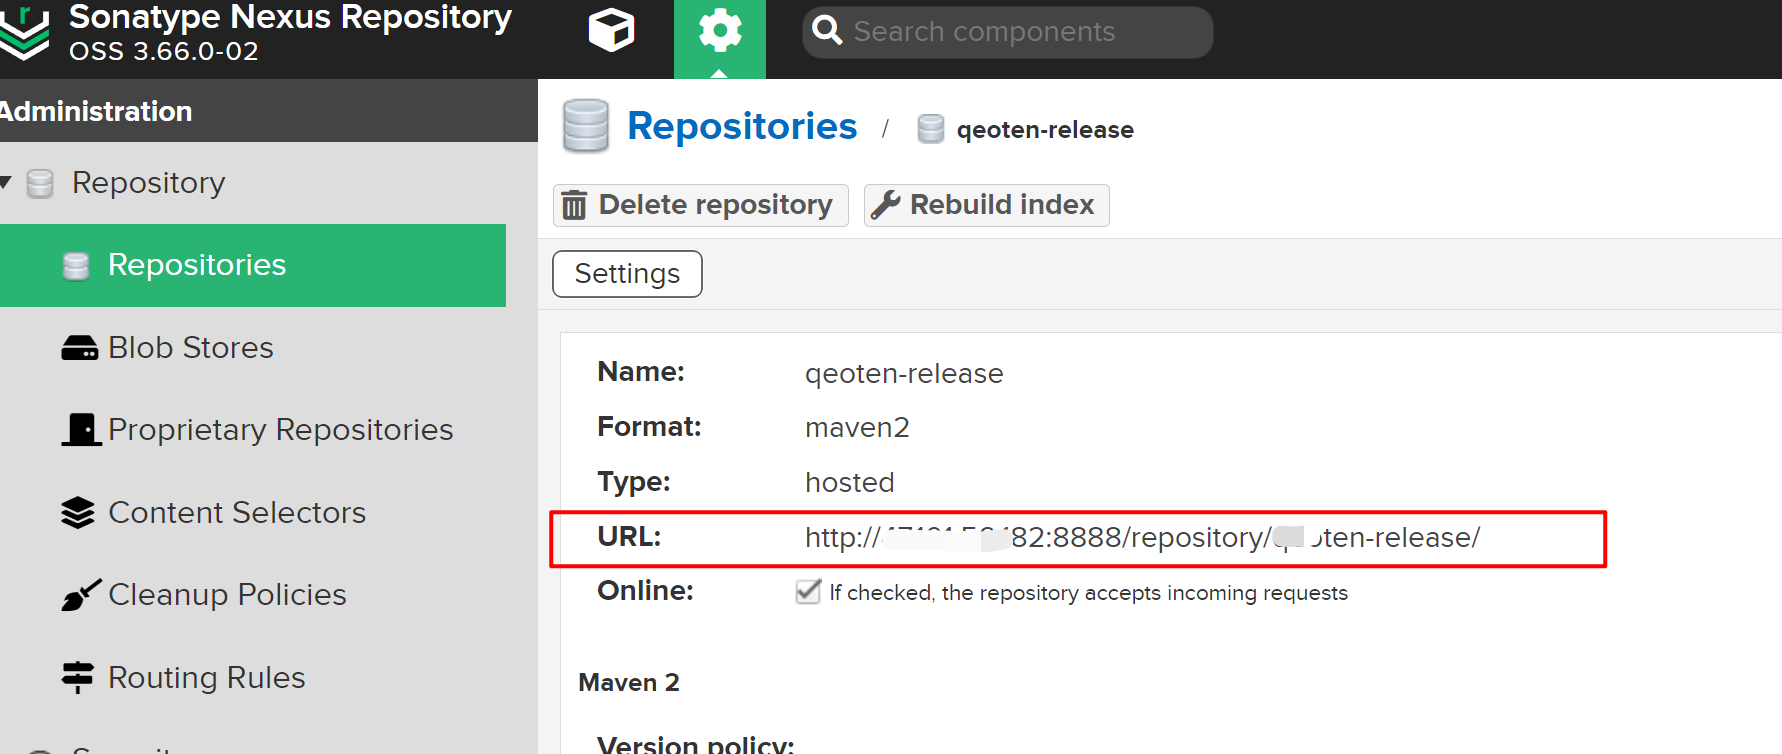
- 查看私库复制私库地址
8.修改代码配置文件
    # url 为上图私库的地址
    <distributionManagement>
        <repository>
            <id>qeoten-release</id>
            <name>Release Repository</name>
            <url>http://xxxxxxxx:8888/repository/xxxxx-release/</url>
        </repository>
        <snapshotRepository>
            <id>qeoten-snapshot</id>
            <name>Snapshot Repository</name>
            <url>http://xxxxxxxx:8888/repository/xxxxx-release/</url>
        </snapshotRepository>
    </distributionManagement>
9.在maven 的setting.xml中配置私库的账号密码
<?xml version="1.0" encoding="UTF-8"?>
<settings xmlns="http://maven.apache.org/SETTINGS/1.0.0"
          xmlns:xsi="http://www.w3.org/2001/XMLSchema-instance"
          xsi:schemaLocation="http://maven.apache.org/SETTINGS/1.0.0 http://maven.apache.org/xsd/settings-1.0.0.xsd">
  <localRepository>D:\old\maven_repository\.m2\repository</localRepository>
  <servers>
    <server>
      <id>qeoten-snapshot</id>
      <username>admin</username>
      <password>私库密码</password>
    </server>

    <server>
      <id>qeoten-release</id>
      <username>admin</username>
      <password>私库密码</password>
    </server>
  </servers>
  <mirrors>
    <mirror>
      <id>alimaven</id>
      <mirrorOf>central</mirrorOf>
      <name>aliyun maven</name>
      <url>http://maven.aliyun.com/nexus/content/repositories/central/</url>
    </mirror>
    <mirror>
      <id>nexus-aliyun</id>
      <mirrorOf>central</mirrorOf>
      <name>Nexus aliyun</name>
      <url>http://maven.aliyun.com/nexus/content/groups/public</url>
    </mirror>
  </mirrors>
</settings>
10.运行manve 【deploy】命令测试
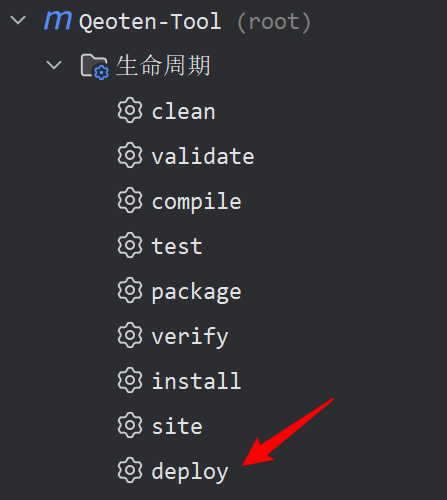
[INFO] ------------------------------------------------------------------------
[INFO] BUILD SUCCESS
[INFO] ------------------------------------------------------------------------
[INFO] Total time:  31.340 s
[INFO] Finished at: 2024-03-07T18:26:38+08:00
[INFO] ------------------------------------------------------------------------

进程已结束,退出代码为 0
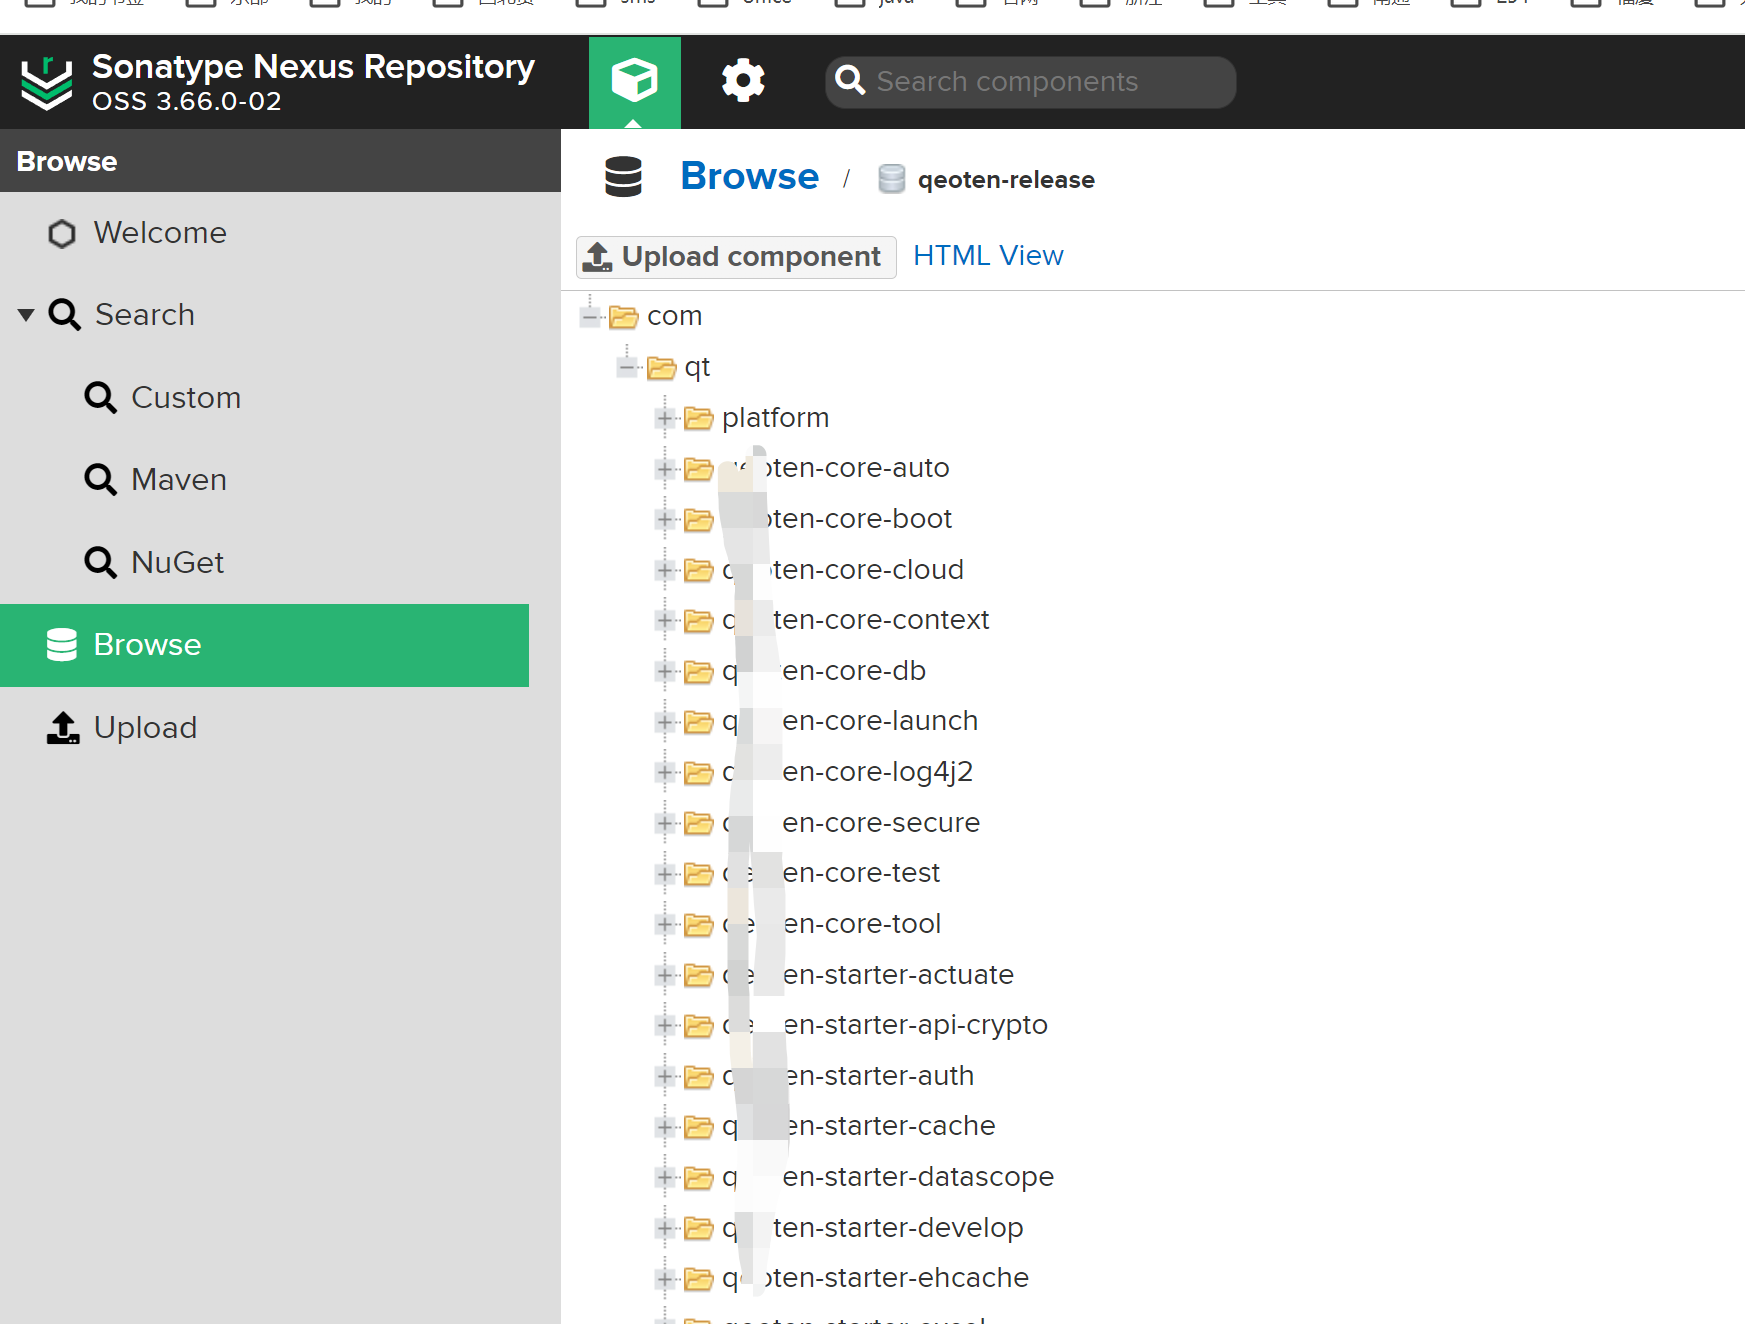
运行成功登录私库查看仓库,推送成功
11.maven项目引用私库
maven项目,根pom配置
 <project>
	<repositories>
        <repository>
            <id>aliyun-repos</id>
            <url>https://maven.aliyun.com/repository/public/</url>
            <snapshots>
                <enabled>false</enabled>
            </snapshots>
        </repository>
        <repository>
            <id>qeoten-release</id>
            <name>nexus maven</name>
            <url>http://192.168.1.106:8081/repository/qeoten-release/</url>
        </repository>
    </repositories>
</project>
maven项目,setting.xml配置
<settings>
	<mirrors>
        <mirror>
            <id>alimaven</id>
            <mirrorOf>central</mirrorOf>
            <name>aliyun maven</name>
            <url>https://maven.aliyun.com/nexus/content/repositories/central/</url>
        </mirror>
        <mirror>
            <id>alimaven</id>
            <name>aliyun maven</name>
            <url>https://maven.aliyun.com/nexus/content/groups/public/</url>
            <mirrorOf>central</mirrorOf>
        </mirror>
        <mirror>
            <id>qeoten-release</id>
            <mirrorOf>*</mirrorOf>
            <name>nexus maven</name>
            <url>http://xxxx:8081/repository/xxx-release/</url>
        </mirror>
  	</mirrors>
</settings>
pom文件引用私库中的jar包
