Python中使用Opencv-python库绘制直线、矩形、圆、文字
在Python中使用Opencv-python绘制直线、矩形、圆、文本非常简单,分别使用到line、rectangle、circle、putText这几个函数,具体可以参考https://docs.opencv.org/4.9.0/d6/d6e/group__imgproc__draw.html#ga7078a9fae8c7e7d13d24dac2520ae4a2官方文档
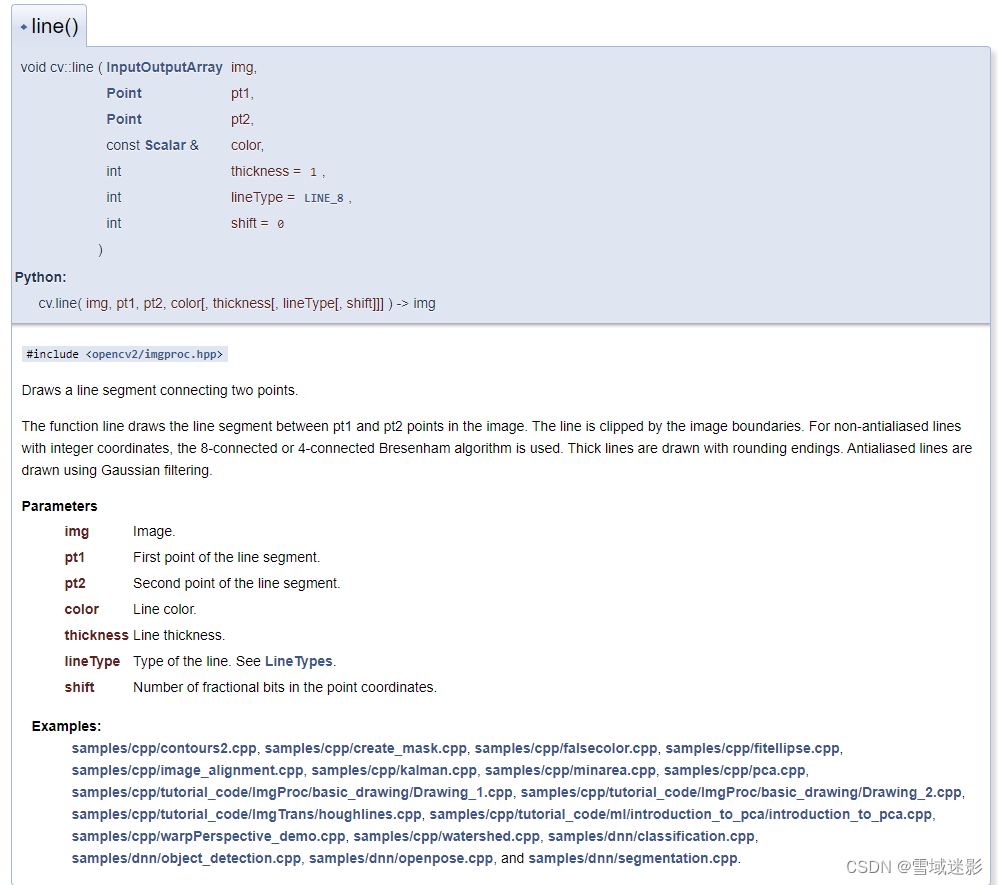
line 绘制直线
line函数原型如下:
line()
void cv::line	(	InputOutputArray 	img,
Point 	pt1,
Point 	pt2,
const Scalar & 	color,
int 	thickness = 1,
int 	lineType = LINE_8,
int 	shift = 0
)
cv.line(	img, pt1, pt2, color[, thickness[, lineType[, shift]]]	) ->	img
rectangle 绘制矩形
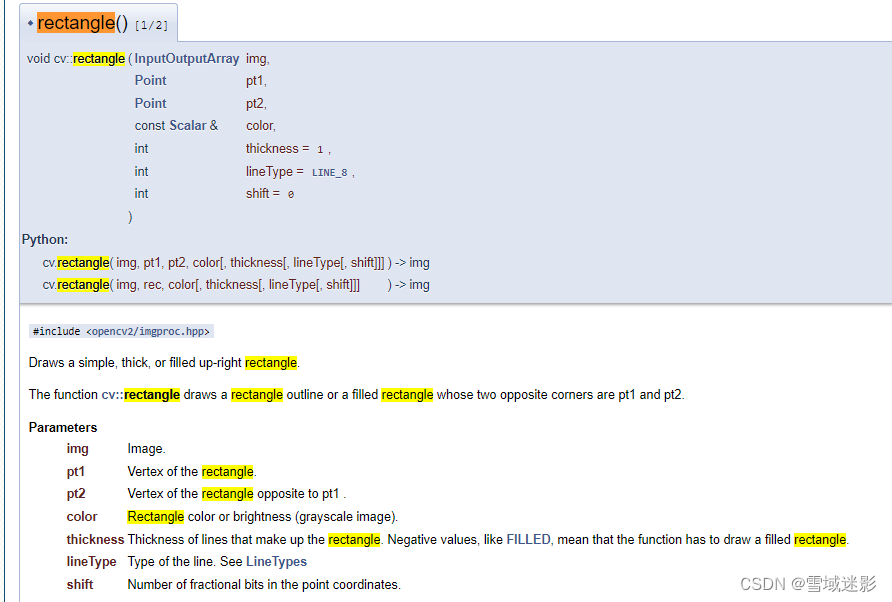
rectangle 函数原型如下:
rectangle() [1/2]
void cv::rectangle	(	InputOutputArray 	img,
Point 	pt1,
Point 	pt2,
const Scalar & 	color,
int 	thickness = 1,
int 	lineType = LINE_8,
int 	shift = 0
)
Python:
cv.rectangle(	img, pt1, pt2, color[, thickness[, lineType[, shift]]]	) ->	img
cv.rectangle(	img, rec, color[, thickness[, lineType[, shift]]]	) ->	img
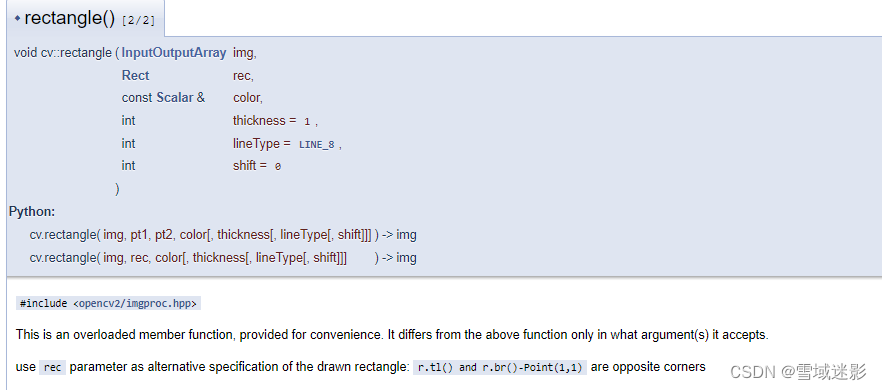
rectangle函数在opencv-python库中还有重载形式,原型如下所示:
rectangle() [2/2]
void cv::rectangle	(	InputOutputArray 	img,
Rect 	rec,
const Scalar & 	color,
int 	thickness = 1,
int 	lineType = LINE_8,
int 	shift = 0
)
Python:
cv.rectangle(	img, pt1, pt2, color[, thickness[, lineType[, shift]]]	) ->	img
cv.rectangle(	img, rec, color[, thickness[, lineType[, shift]]]	) ->	img
circle 绘制圆
circle 函数原型如下:
circle()
void cv::circle	(	InputOutputArray 	img,
Point 	center,
int 	radius,
const Scalar & 	color,
int 	thickness = 1,
int 	lineType = LINE_8,
int 	shift = 0
)
Python:
cv.circle(	img, center, radius, color[, thickness[, lineType[, shift]]]	) ->	img

putText 绘制文字
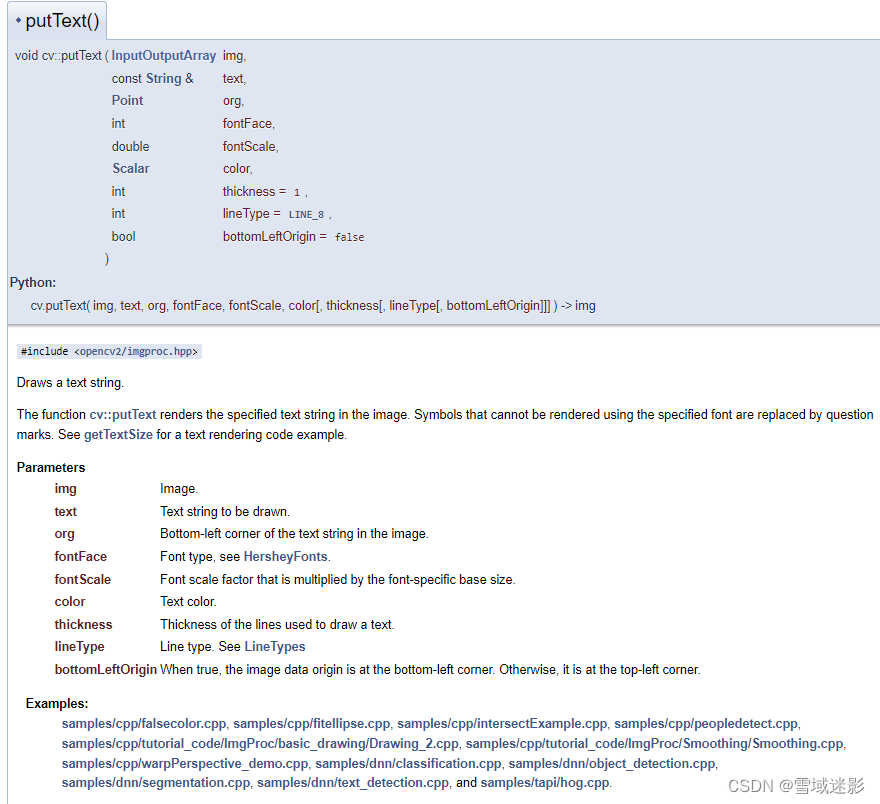
putText 函数原型如下:
 putText()
void cv::putText	(	InputOutputArray 	img,
const String & 	text,
Point 	org,
int 	fontFace,
double 	fontScale,
Scalar 	color,
int 	thickness = 1,
int 	lineType = LINE_8,
bool 	bottomLeftOrigin = false
)
Python:
cv.putText(	img, text, org, fontFace, fontScale, color[, thickness[, lineType[, bottomLeftOrigin]]]	) ->	img
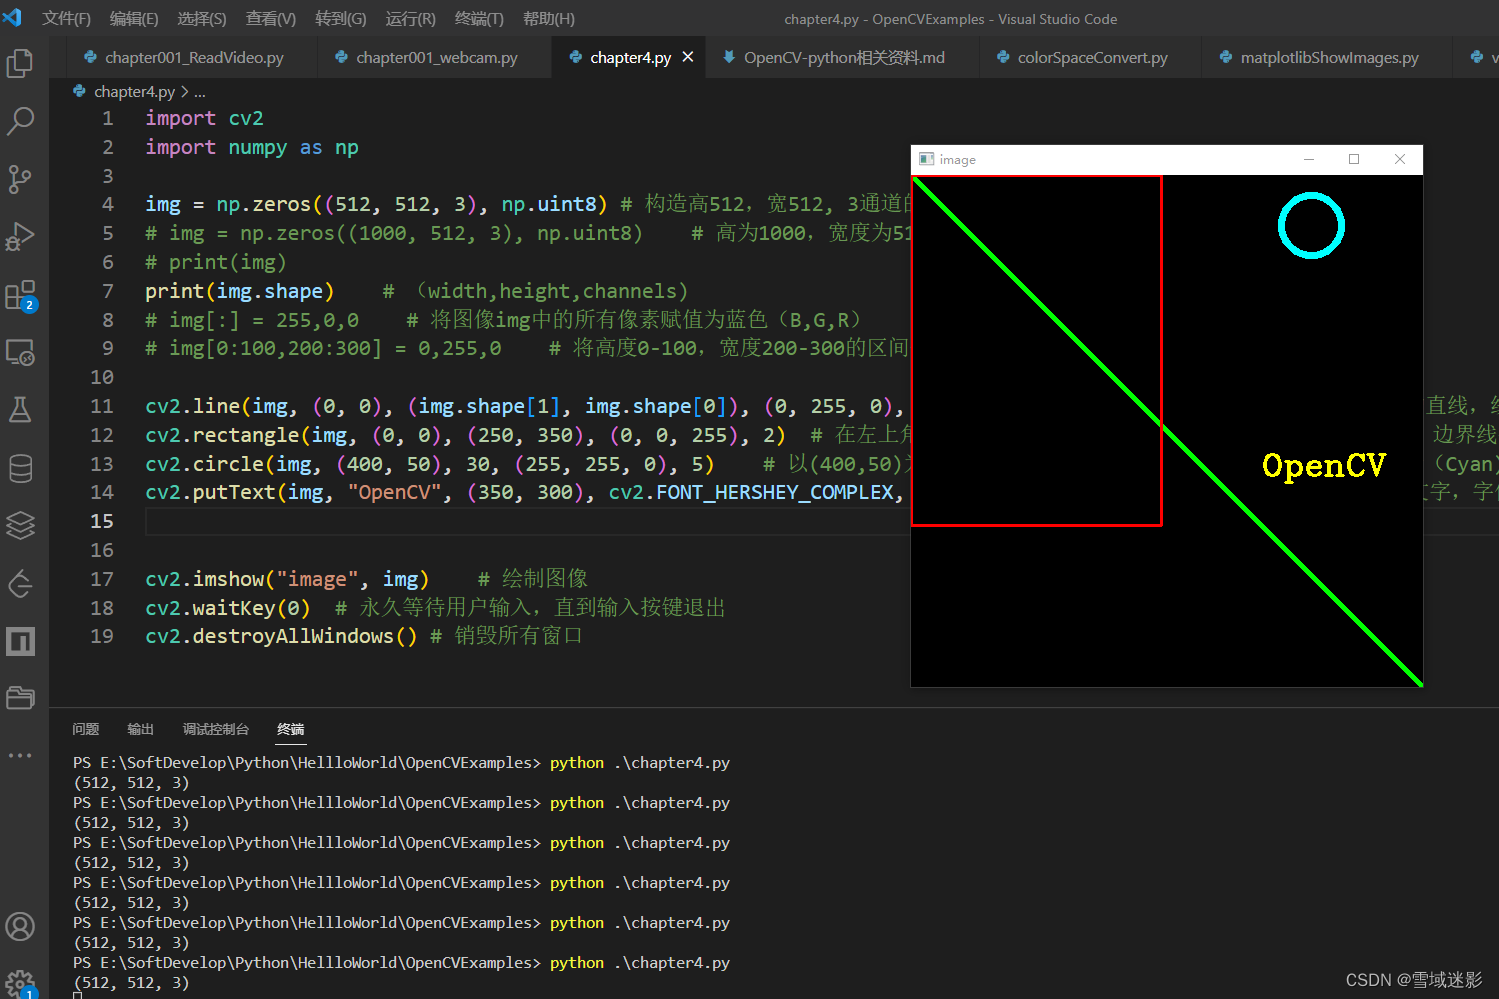
python中使用Opencv-python库绘制直线、矩形、圆、文本的示例代码
python示例代码如下:
import cv2
import numpy as np

img = np.zeros((512, 512, 3), np.uint8) # 构造高512,宽512, 3通道的Numpy数组
# img = np.zeros((1000, 512, 3), np.uint8)    # 高为1000,宽度为512
# print(img)
print(img.shape)    # (width,height,channels)
# img[:] = 255,0,0    # 将图像img中的所有像素赋值为蓝色(B,G,R)
# img[0:100,200:300] = 0,255,0    # 将高度0-100,宽度200-300的区间像素全部赋值为绿色

cv2.line(img, (0, 0), (img.shape[1], img.shape[0]), (0, 255, 0), 3) # 在图像左上角原点(0,0)到右下角画一条绿色的直线,线条厚度为3
cv2.rectangle(img, (0, 0), (250, 350), (0, 0, 255), 2)  # 在左上角顶点(0,0)和右下角(250,350)处绘制一个红色矩形,边界线条厚度为2
cv2.circle(img, (400, 50), 30, (255, 255, 0), 5)    # 以(400,50)为中心,绘制半径为30的圆,颜色为青色(绿+蓝=青(Cyan))
cv2.putText(img, "OpenCV", (350, 300), cv2.FONT_HERSHEY_COMPLEX, 1, (0, 255, 255), 2)   # 在(350,300)处绘制文字,字体为FONT_HERSHEY_COMPLEX,比例为1,颜色为黄色,厚度为2


cv2.imshow("image", img)    # 绘制图像
cv2.waitKey(0)  # 永久等待用户输入,直到输入按键退出
cv2.destroyAllWindows() # 销毁所有窗口
在PyCharm或者Visual Studio中运行上述代码,运行结果如下图所示:
参考资料
- Opencv-python
- https://docs.opencv.org/4.9.0/d6/d6e/group__imgproc__draw.html#gaf10604b069374903dbd0f0488cb43670
- LEARN OPENCV in 3 HOURS with Python | Including 3xProjects | Computer Vision
- Learn-OpenCV-in-3-hours
