首先需要注意的是,这个要求你的笔记本显存和内存都比较大。我的电脑内存是64G,显卡是8G,操作系统是Windows 11,勉强能够运行出来,但是效果不是很好。
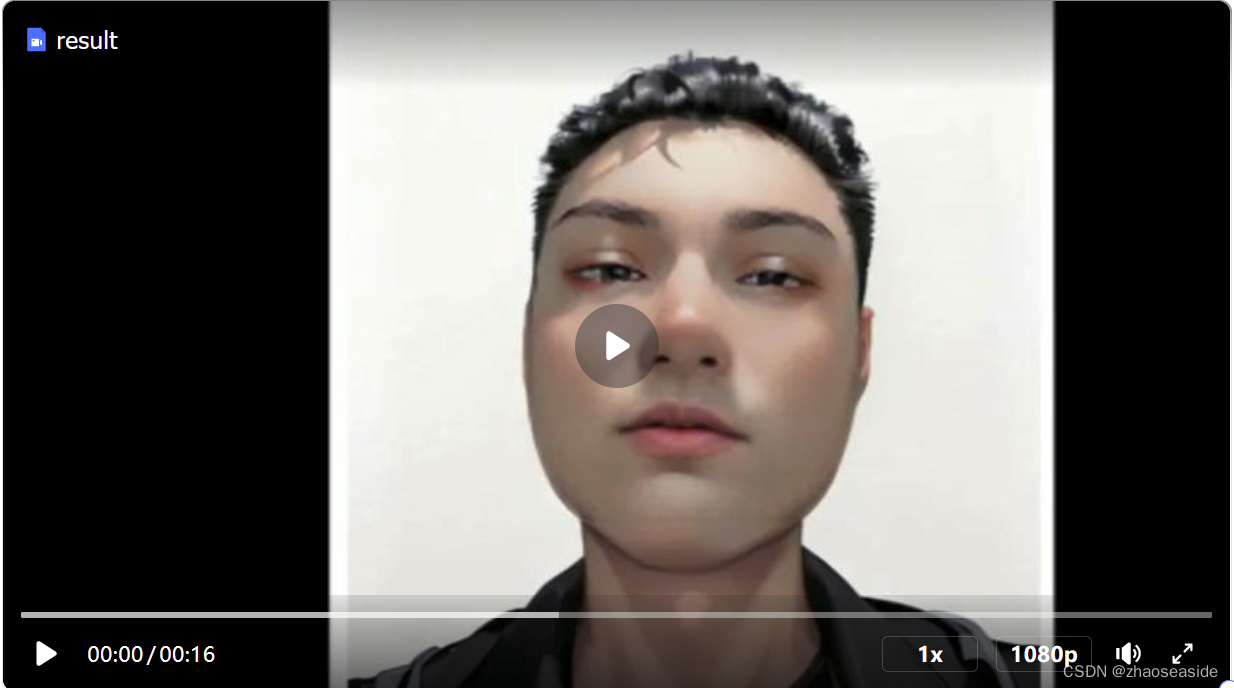
效果如下,无法上传视频,只能通过图片展示出来:
需要先安装python,我这里安装的是python 3.10.9,在命令行里边输入python --version,可以看到自己安装的python版本。

你需要自己准备mp4原始视频和wav原始语音,而我这里,D:\VideoSoft\test\again.mp4是原始视频,D:\VideoSoft\test\voiceOfGrandma.WAV是我想要给原始视频添加的声音。
安装ffmpeg
下载并安装ffmpeg,这一步的作用是语音格式的各种转换,虚拟数字人能开口说话,需要我们上传自己的语音,如果格式不符合会自动转换。
到https://ffmpeg.org/download.html选择自己操作系统然后选择下载格式。
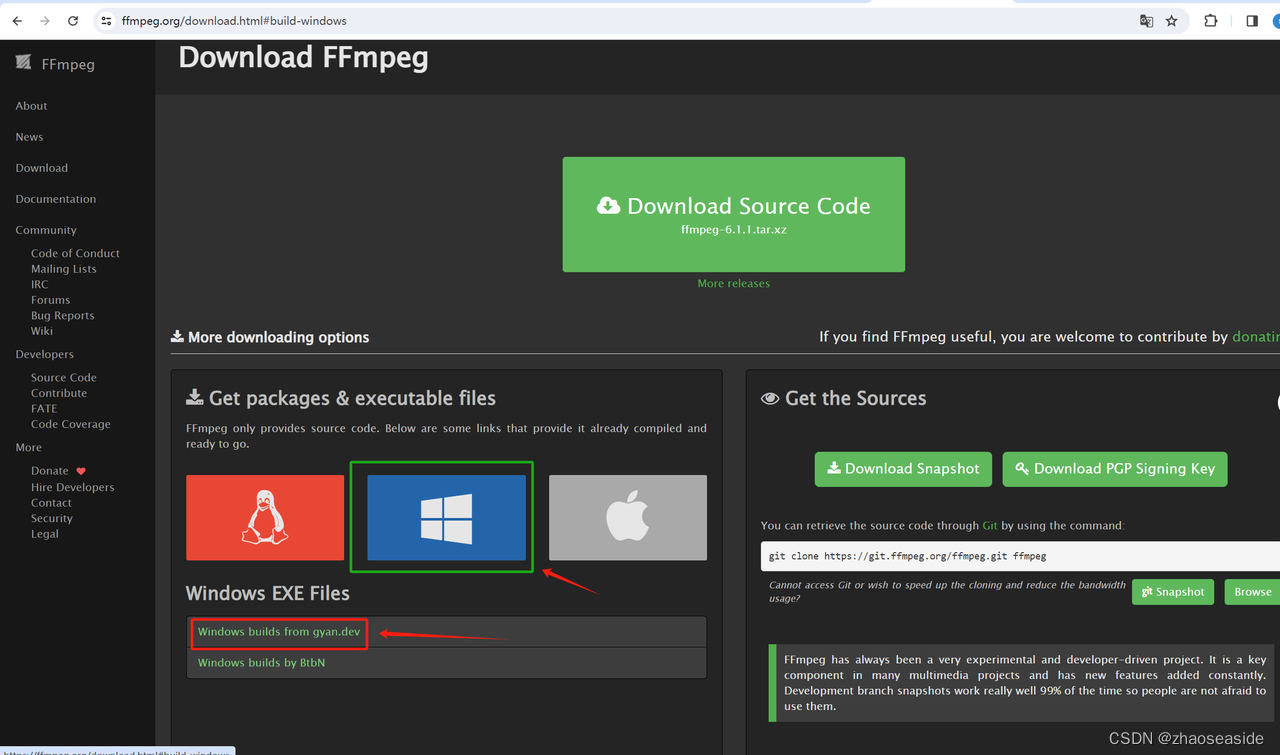
选择下载的类型,我选择全量版的。
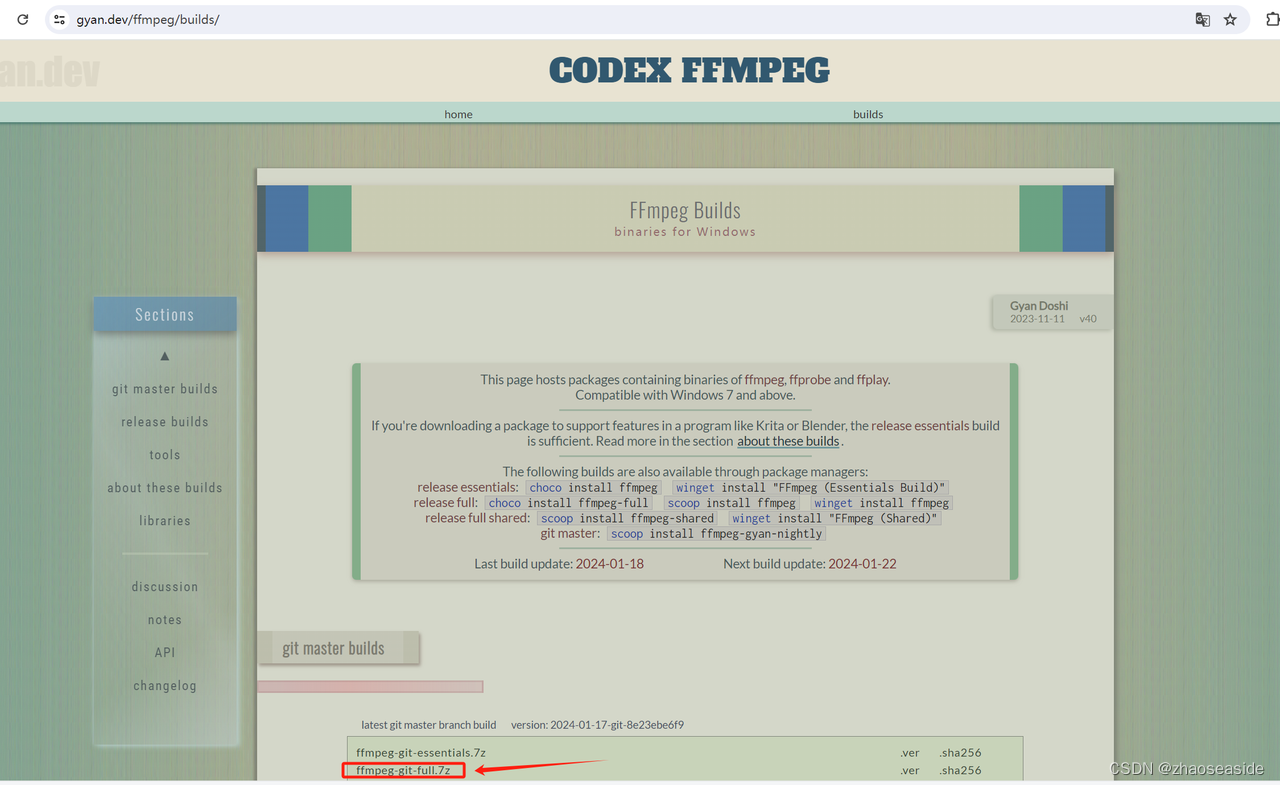
然后我解压到D:\VideoSoft目录下。
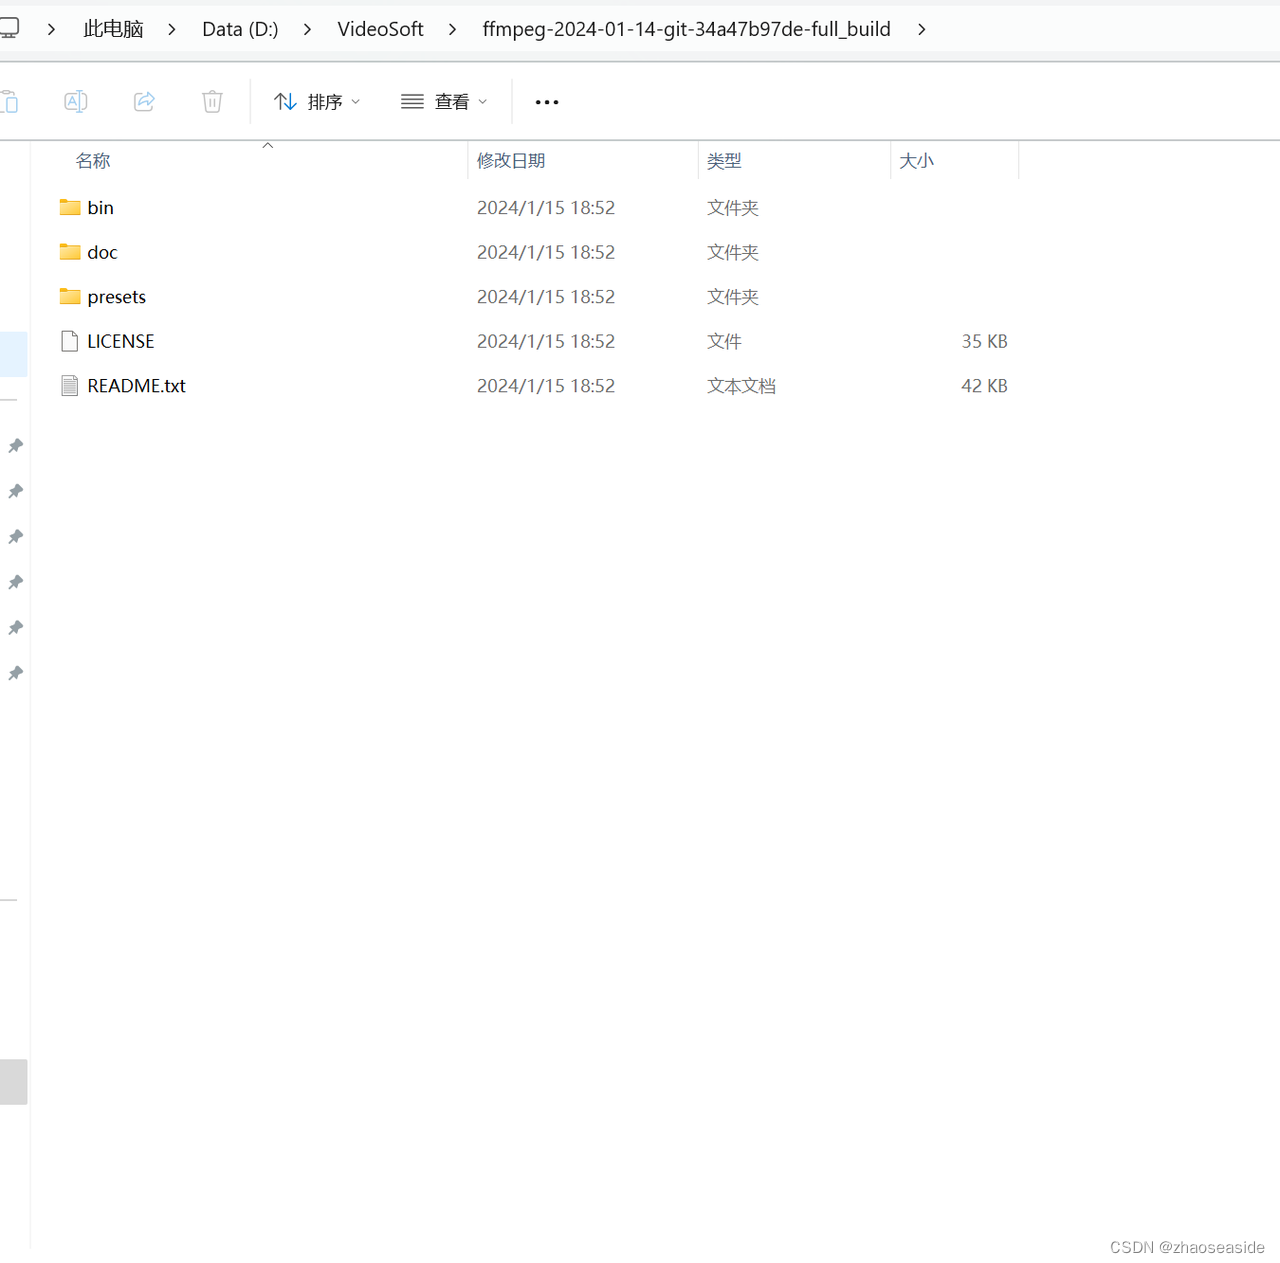
需要配置环境变量了。
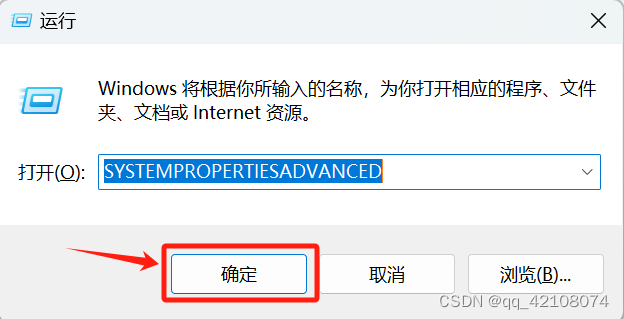
Windows+r同时按下,然后输入SYSTEMPROPERTIESADVANCED,然后点击确定。
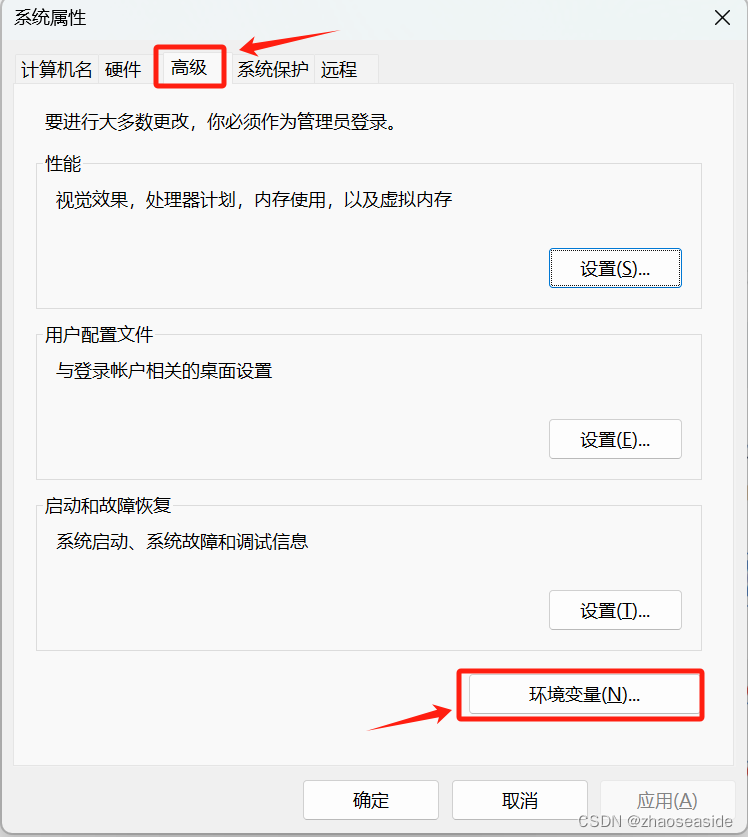
然后选择高级,点击环境变量。
选择Path,然后点击编辑。
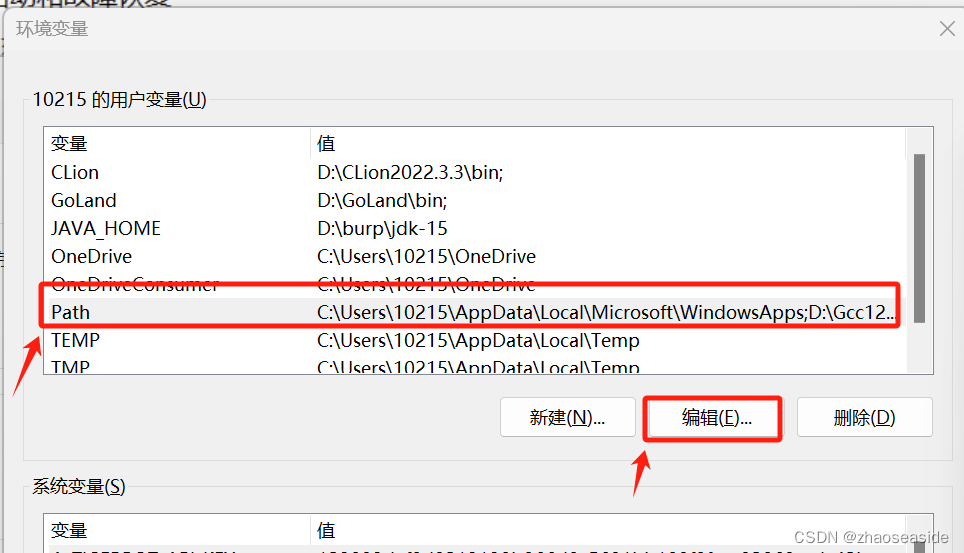
然后点击新建。
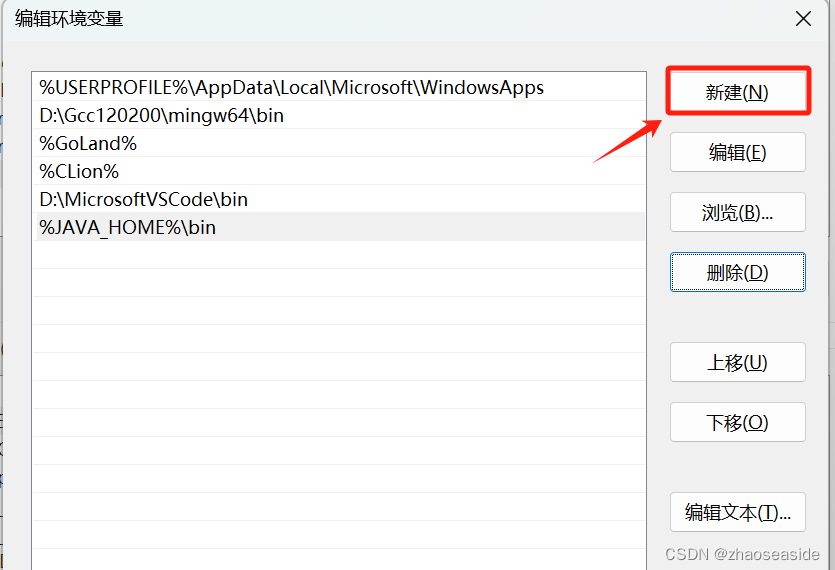
把你上边解压的目录找到bin那级的目录放到环境变量里边,然后点击确定。
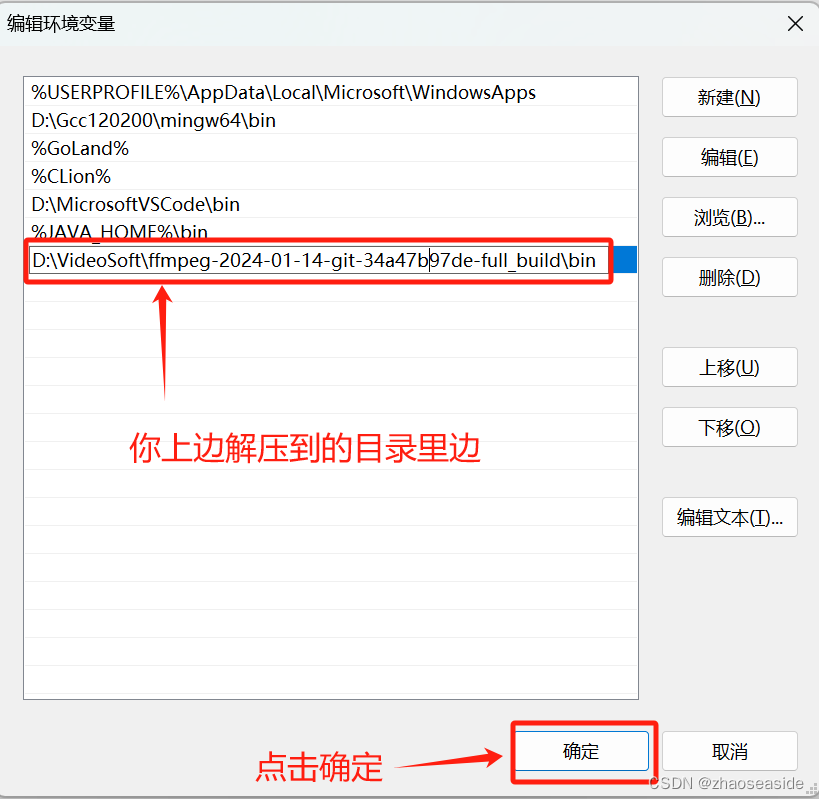
把上一级窗口也点击确定。
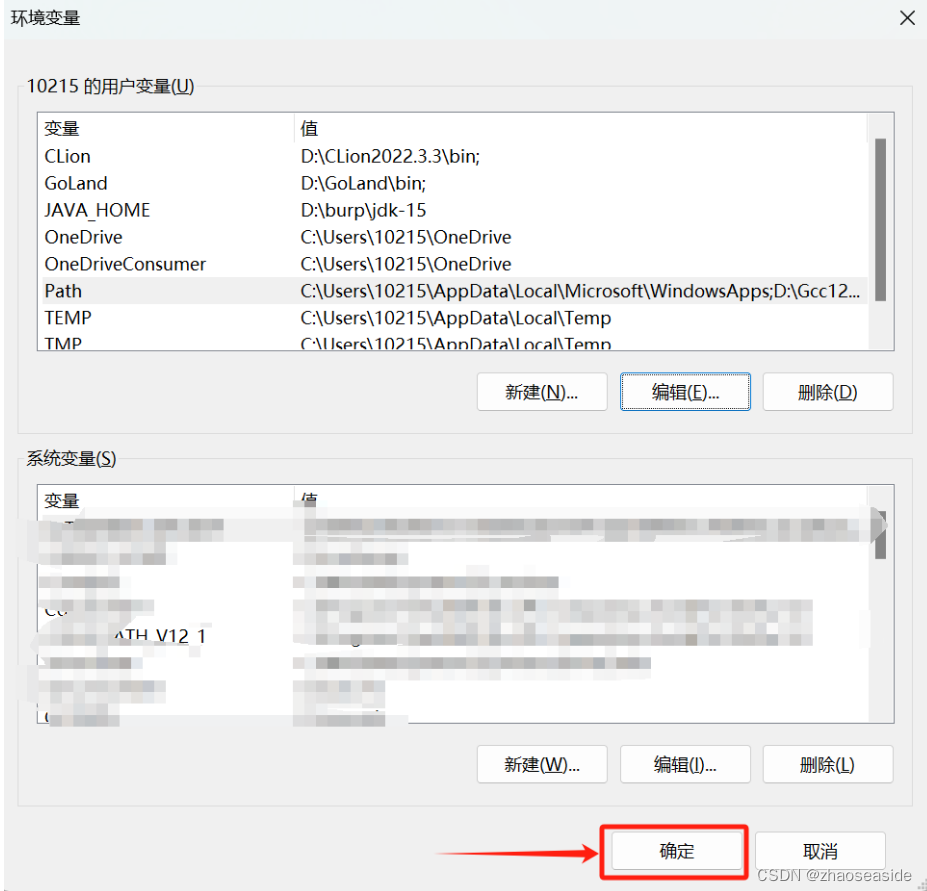
系统属性这一级窗口也点击确定。
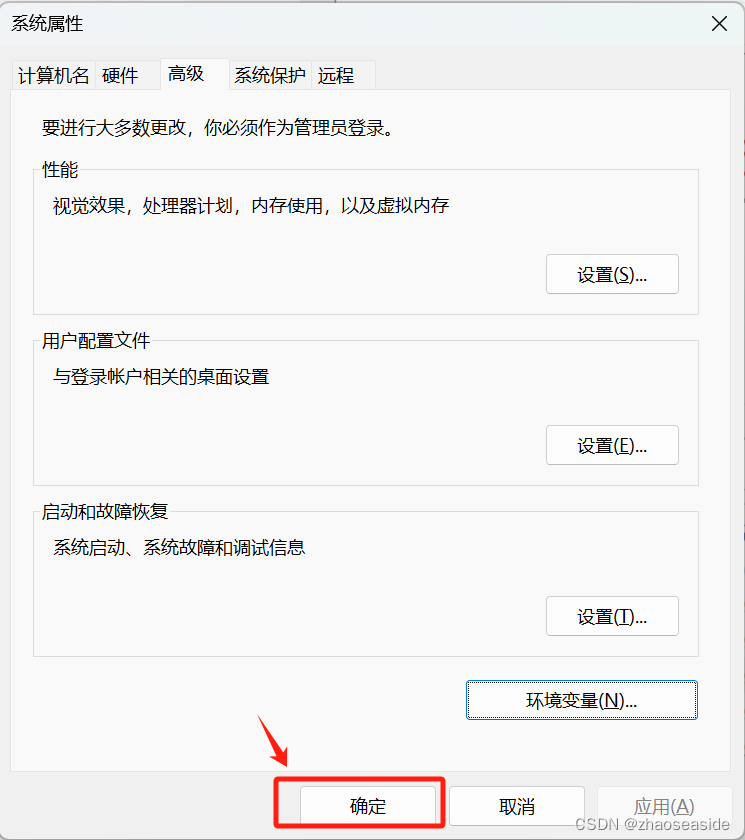
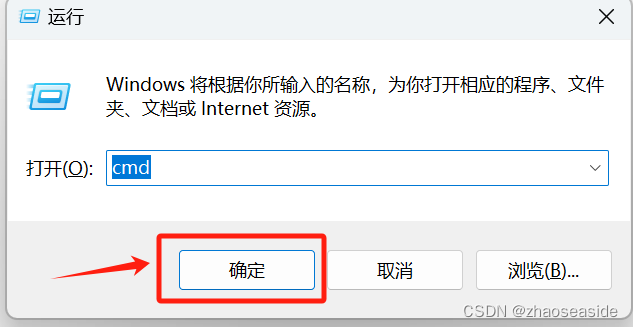
然后同时按下Windows+r,输入cmd然后按下确定键。
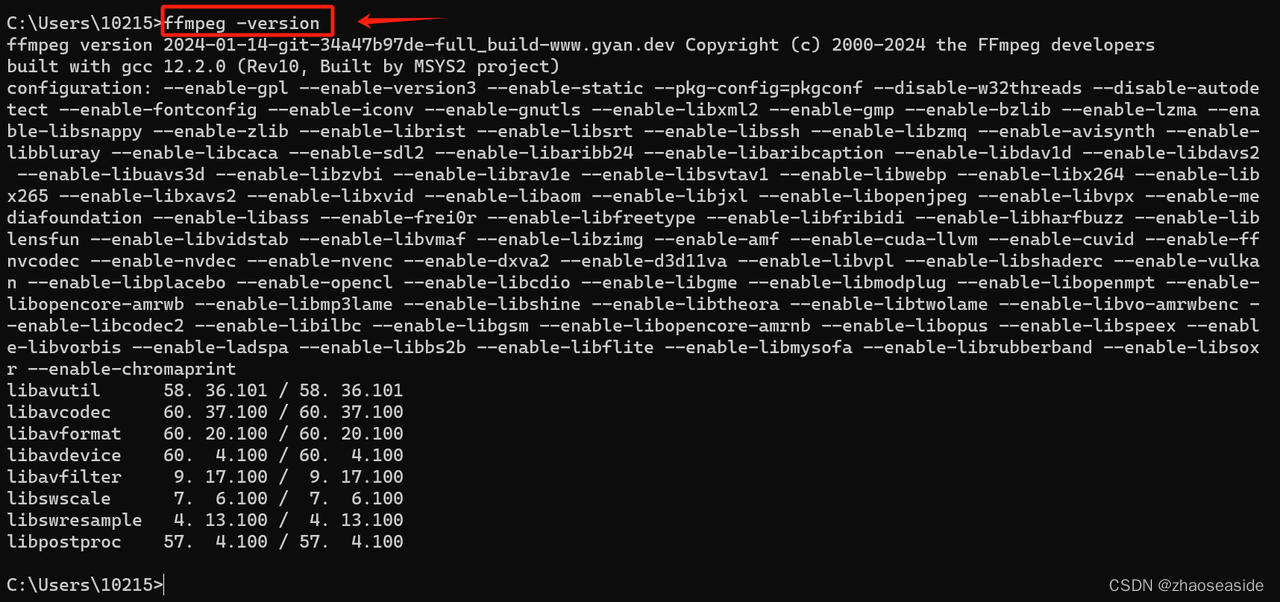
然后输入ffmpeg -version,要是显示出来很多内容,那么就是正常安装好了。
下载Video retalking
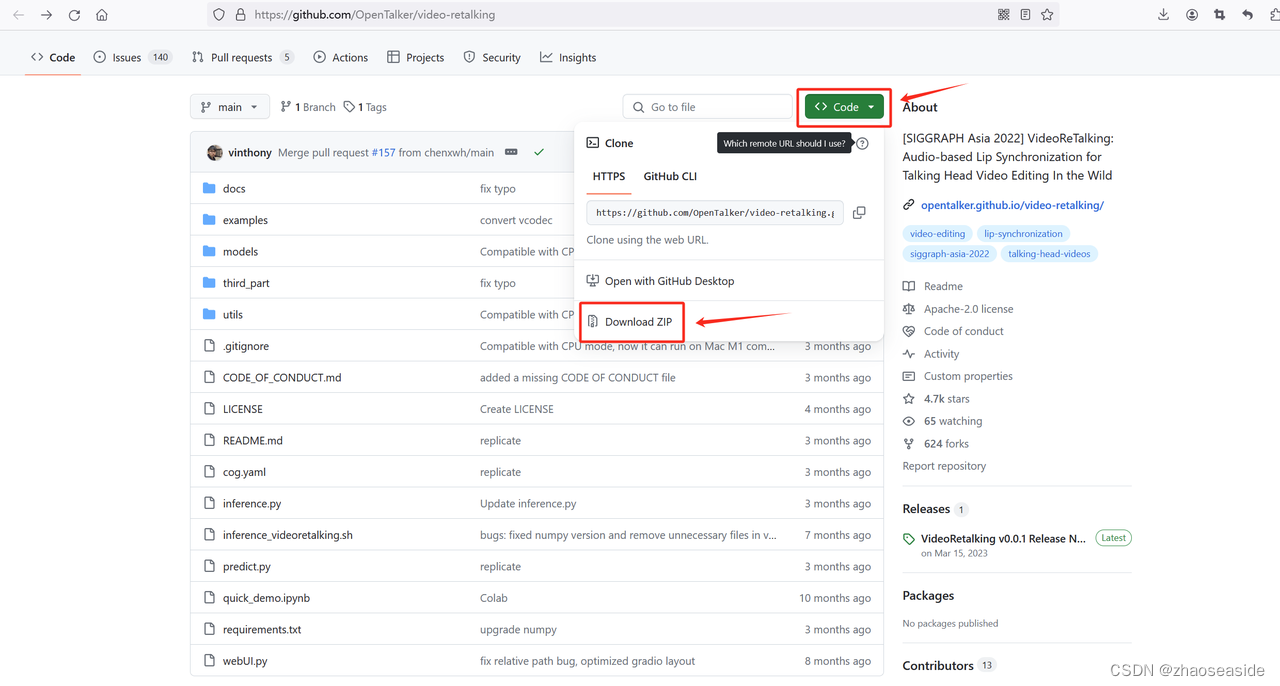
到https://github.com/OpenTalker/video-retalking里边下载源代码,因为我自己电脑上没有安装git,所以我直接到网页上下载源代码。
点击Code按钮,然后选择Download ZIP。
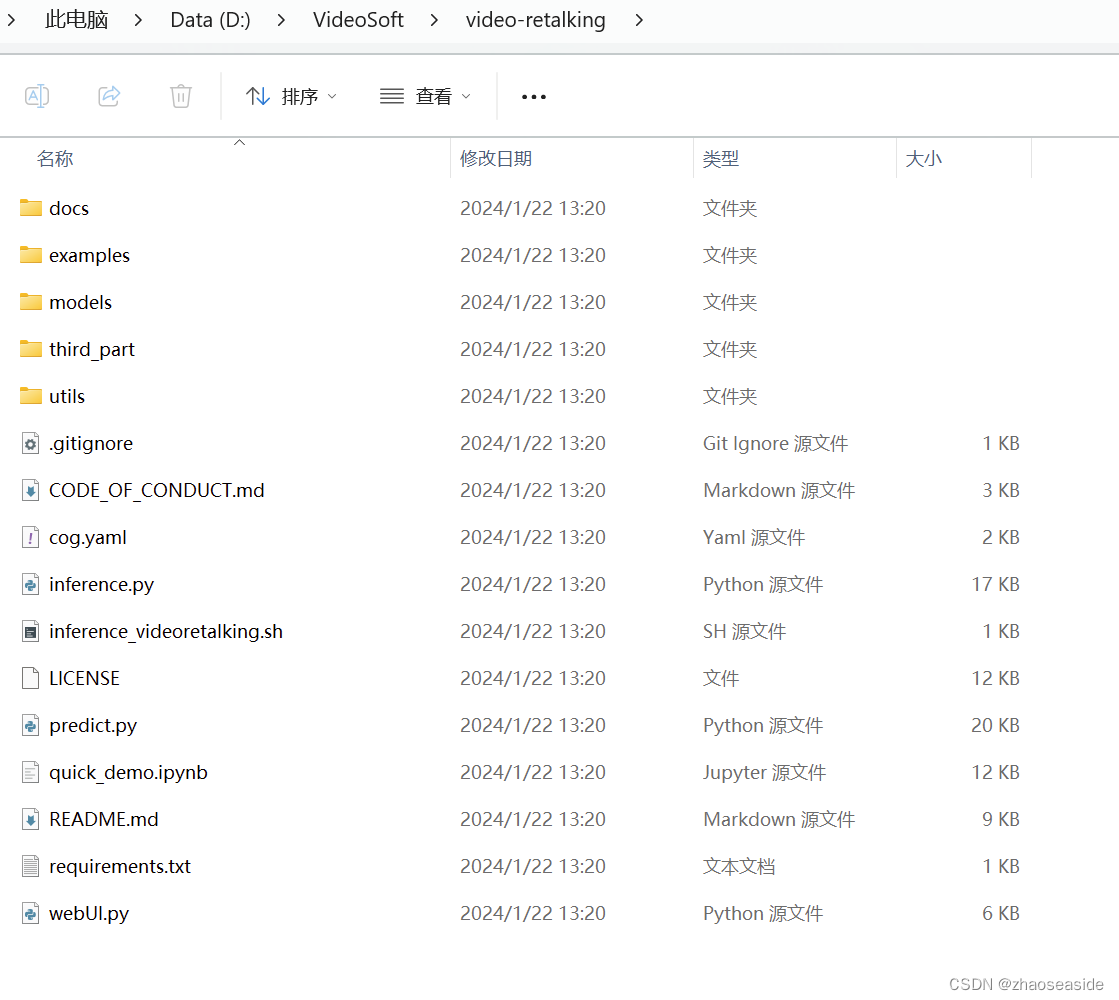
下载完代码之后,我把代码解压到D:\VideoSoft\video-retalking里边。
然后到https://drive.google.com/drive/folders/18rhjMpxK8LVVxf7PI6XwOidt8Vouv_H0里边下载各个文件,之后放入到D:\VideoSoft\video-retalking\checkpoints里边。
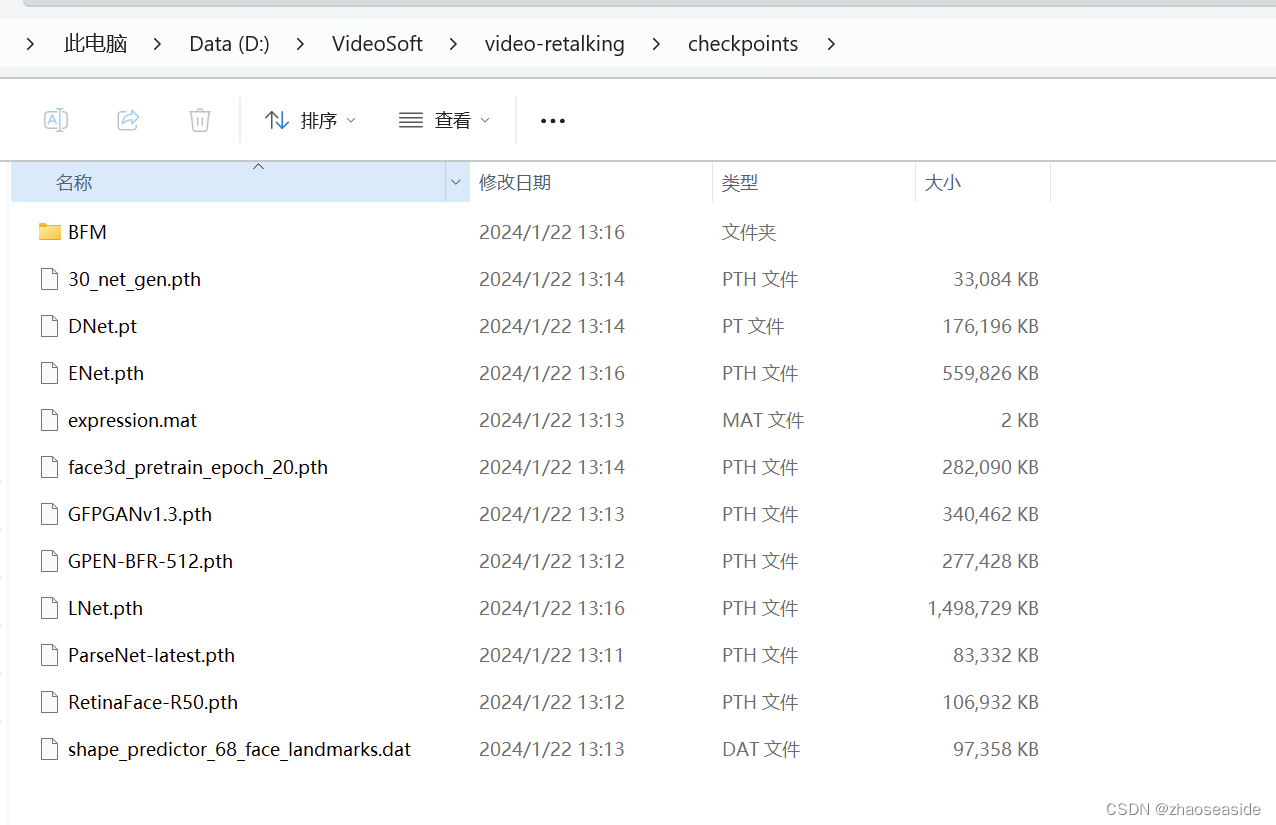
然后到D:\VideoSoft\video-retalking目录下,在目录名称所在那栏输入cmd。
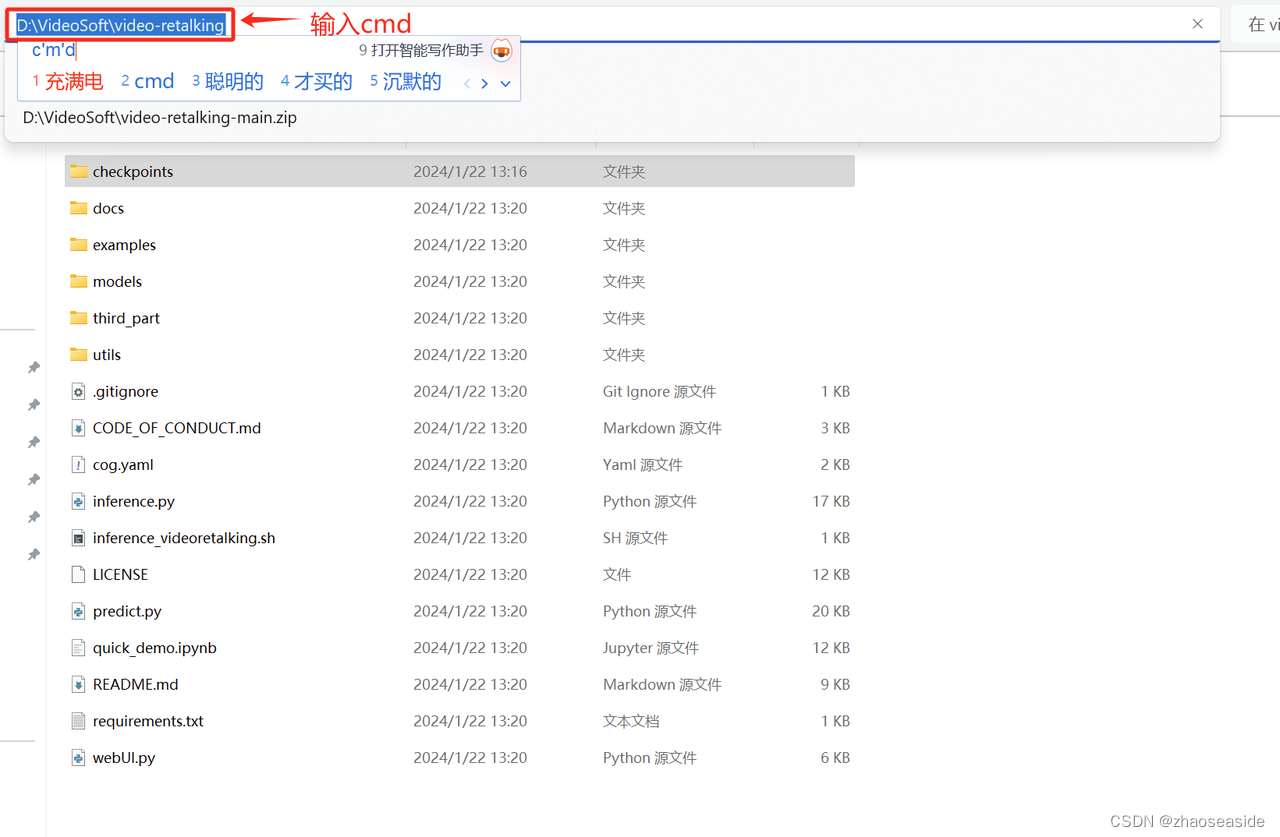
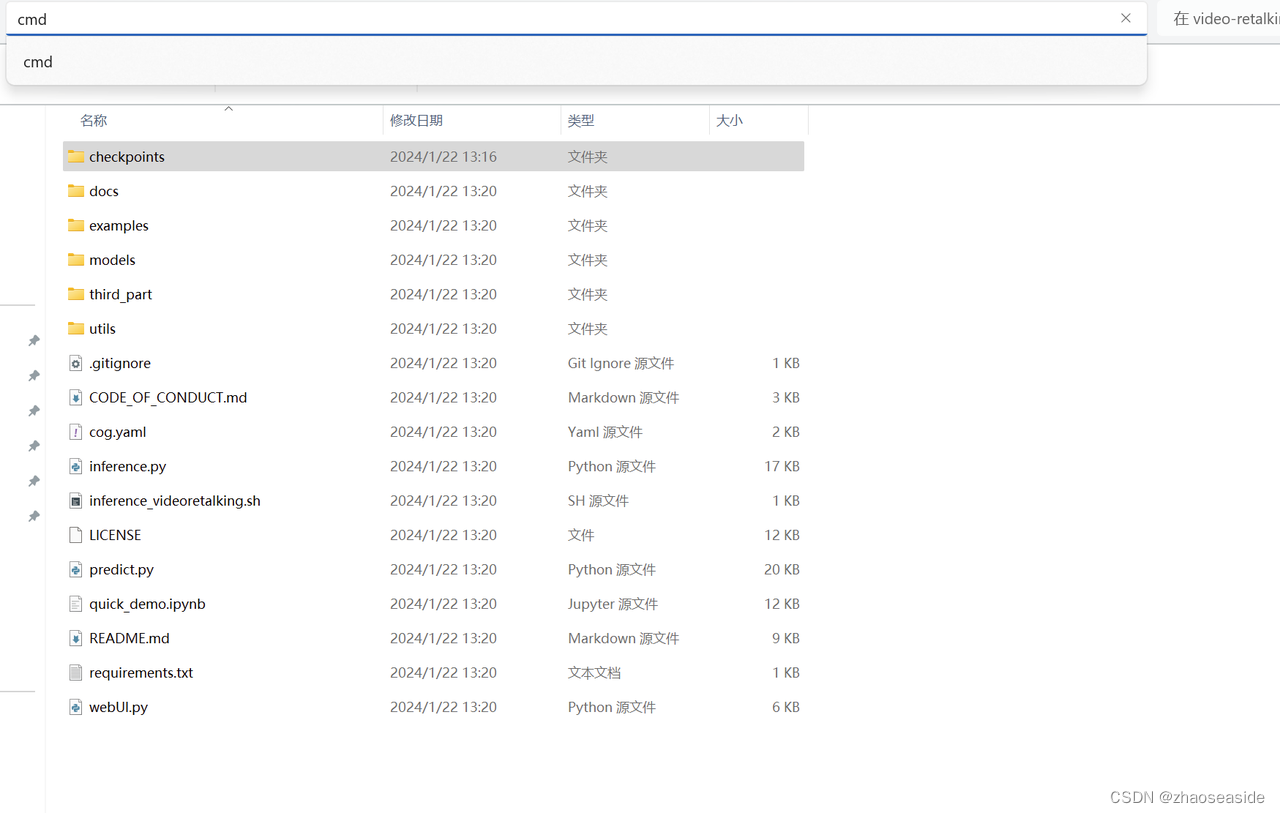
安装上图中输入cmd,然后按下回车键,就可以进入到命令行。
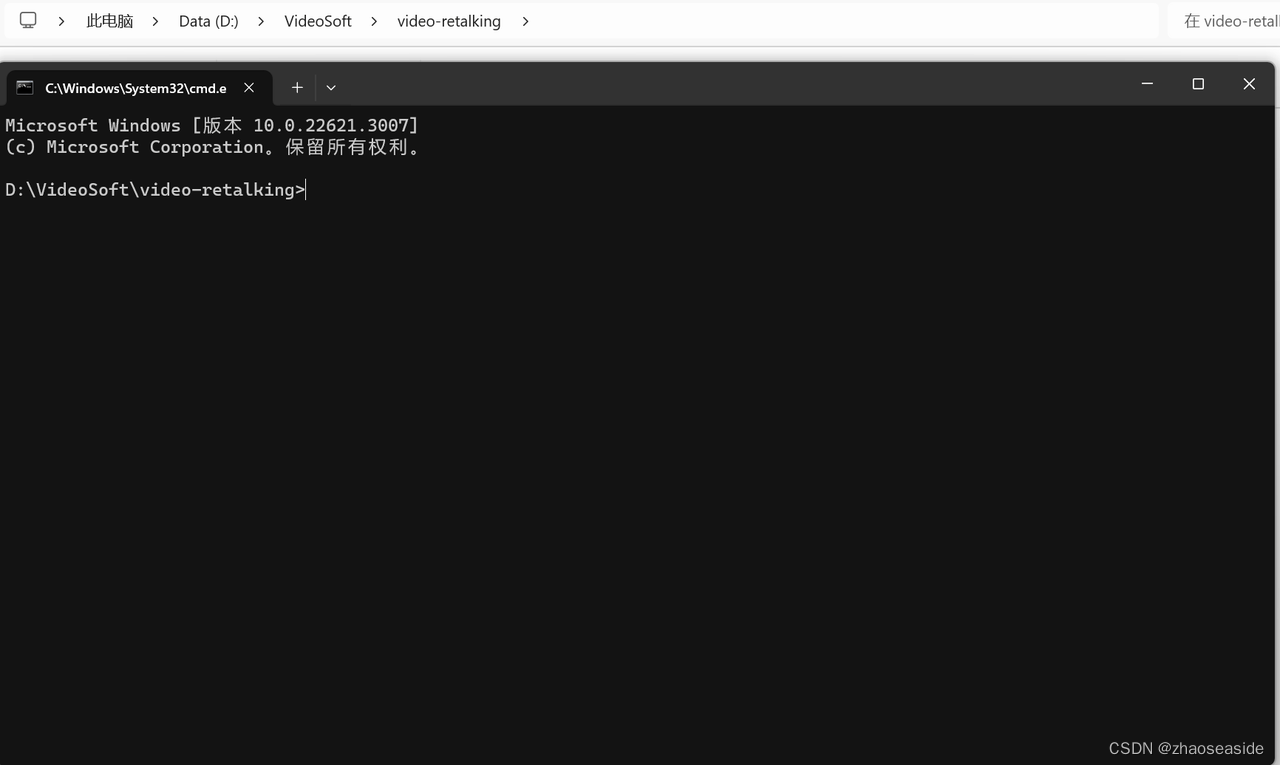
命令行里边输入pip install -r requirements.txt,然后等着下载依赖包。
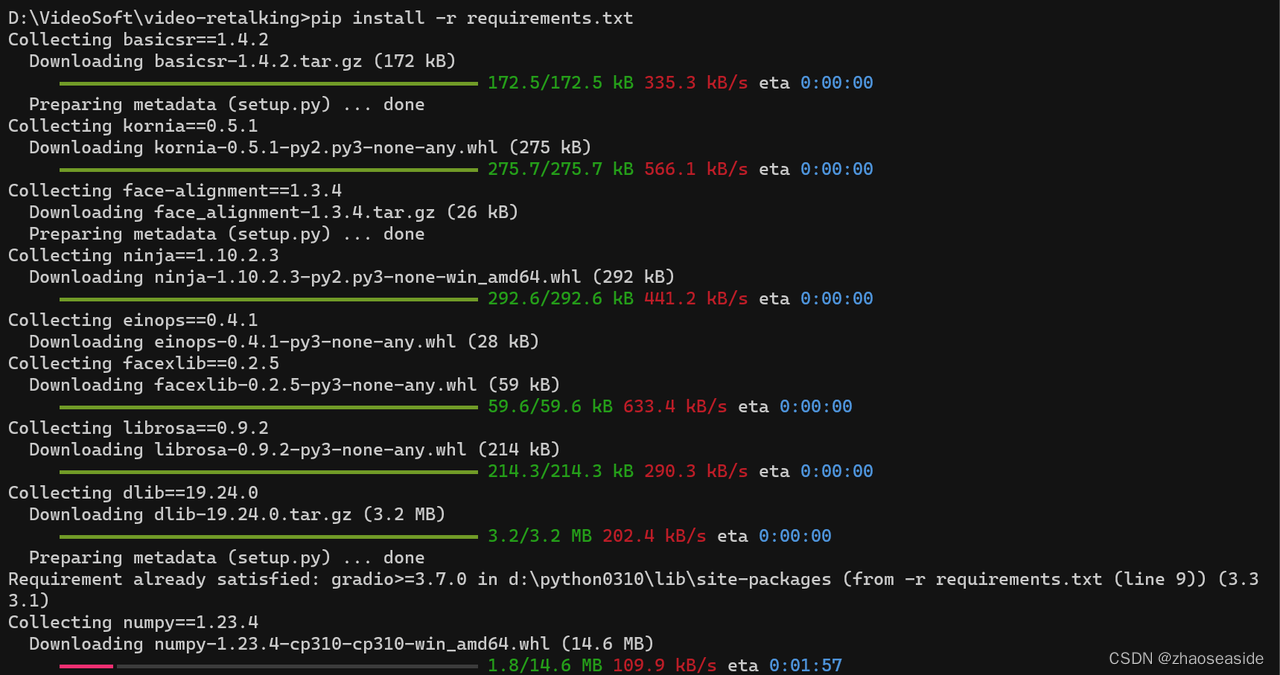
发现报错如下:
error: subprocess-exited-with-error

  × Running setup.py install for dlib did not run successfully.
  │ exit code: 1
  ╰─> [9 lines of output]
      running install
      D:\Python0310\lib\site-packages\setuptools\command\install.py:34: SetuptoolsDeprecationWarning: setup.py install is deprecated. Use build and pip and other standards-based tools.
        warnings.warn(
      running build
      running build_py
      running build_ext

      ERROR: CMake must be installed to build dlib

      [end of output]

  note: This error originates from a subprocess, and is likely not a problem with pip.
error: legacy-install-failure

× Encountered error while trying to install package.
╰─> dlib
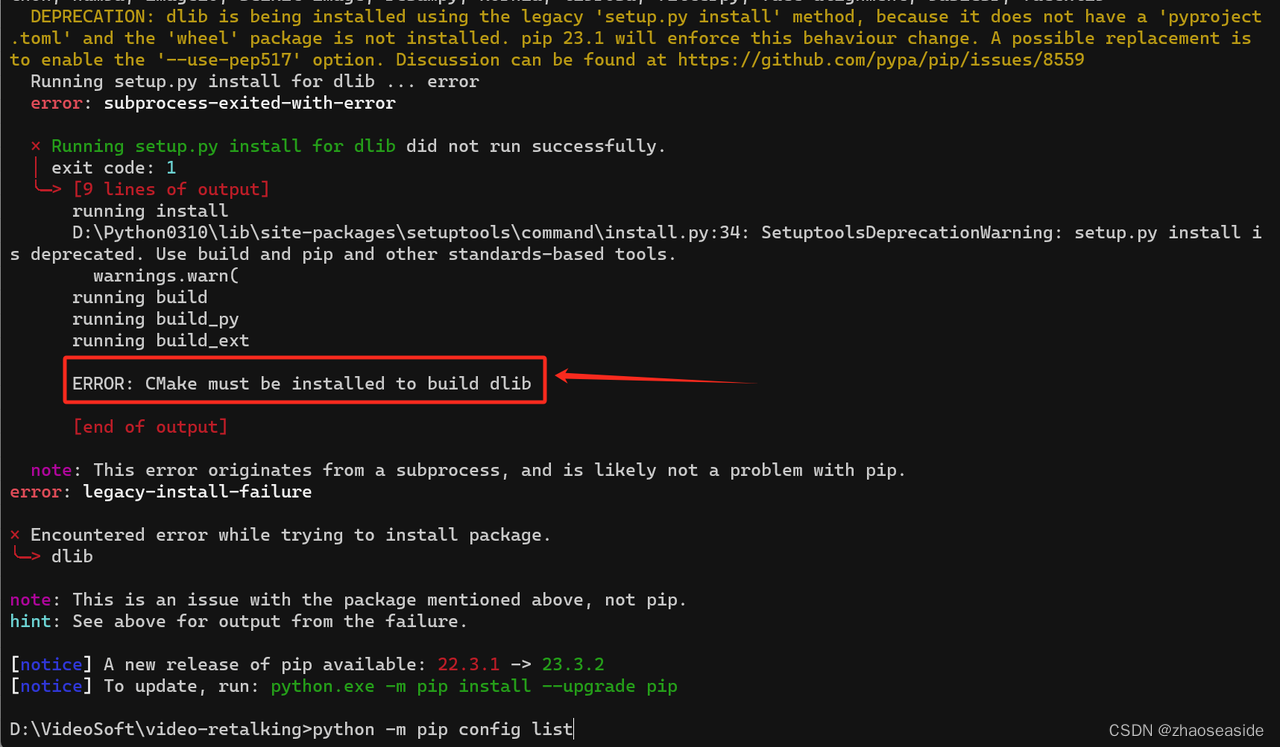
需要使用pip install cmake先安装cmake。

再次执行pip install -r requirements.txt。
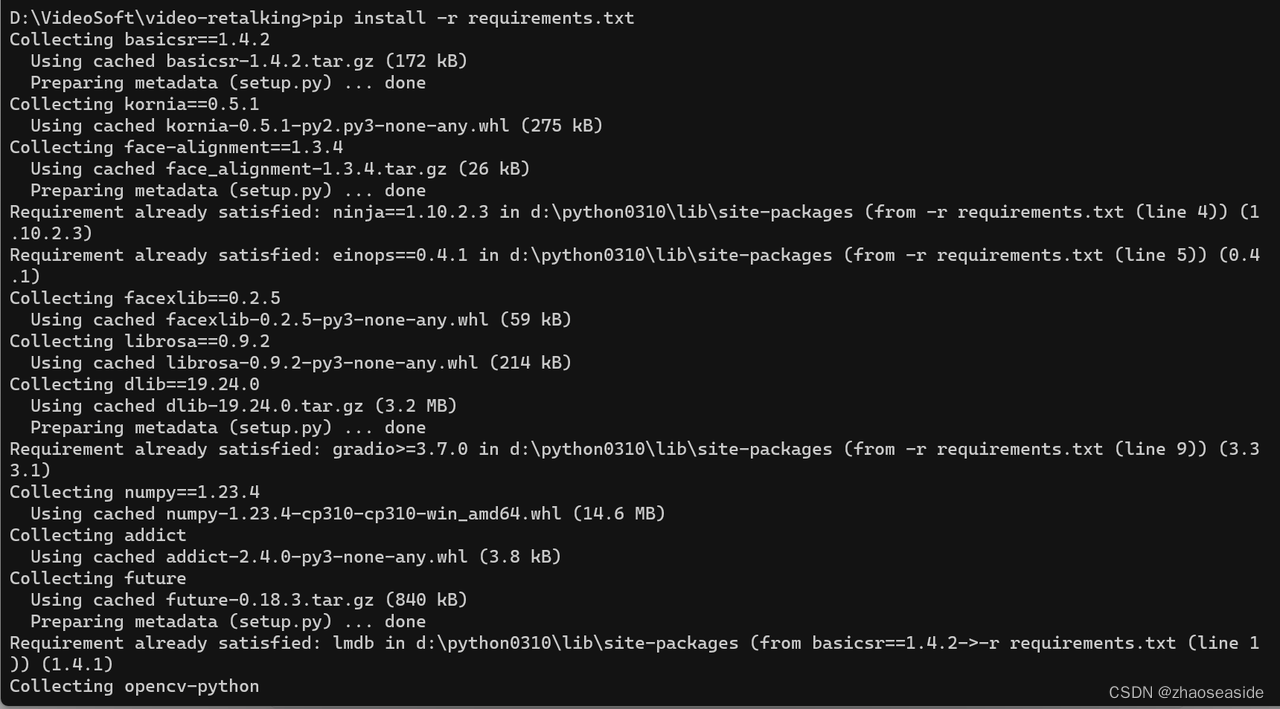
完成之后如下图:
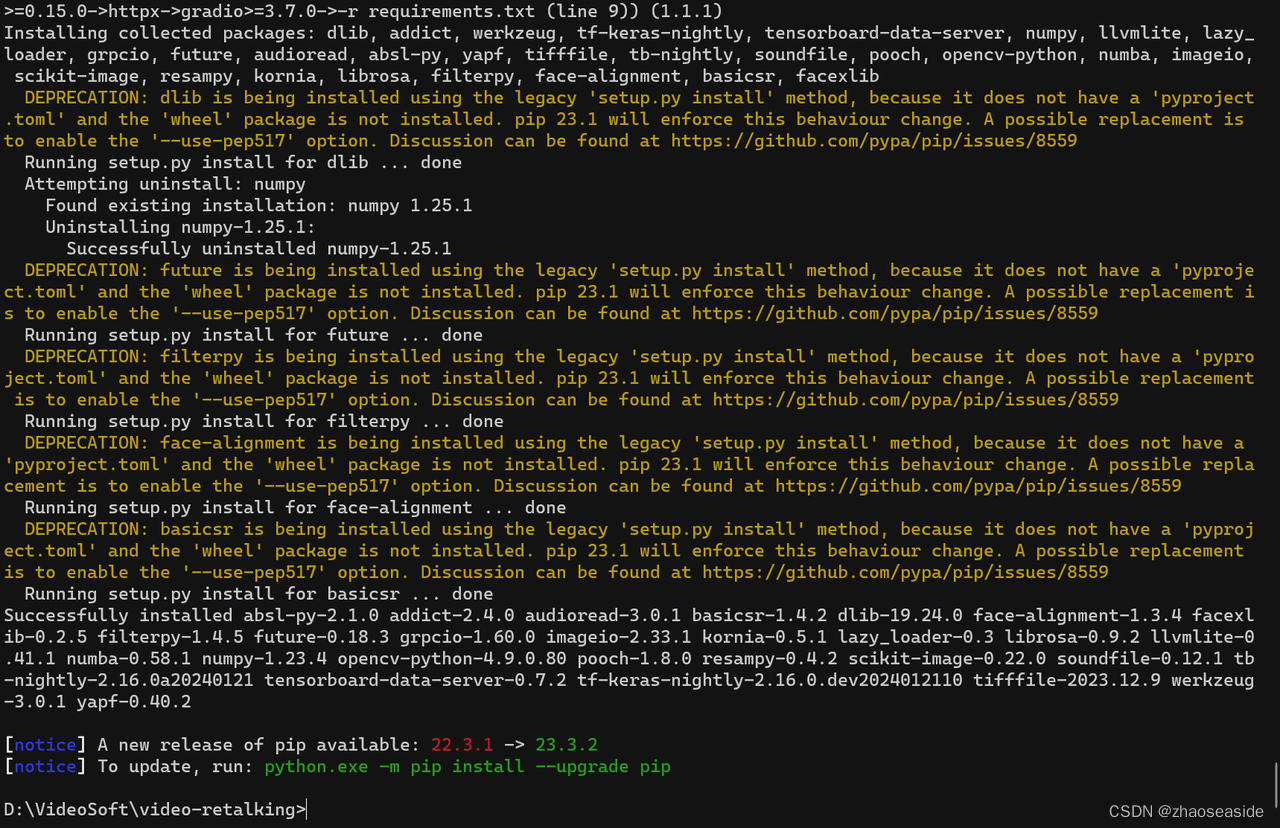
python inference.py --face D:\VideoSoft\test\again.mp4 --audio D:\VideoSoft\test\voiceOfGrandma.WAV --outfile D:\VideoSoft\test\result.mp4执行,D:\VideoSoft\test\again.mp4是原始视频,D:\VideoSoft\test\voiceOfGrandma.WAV是我想要给原始视频添加的声音,D:\VideoSoft\test\result.mp4是最后产出的视频。
发现还需要下载文件:

最后发现报错如下:
RuntimeError: unexpected EOF, expected 19873 more bytes. The file might be corrupted.
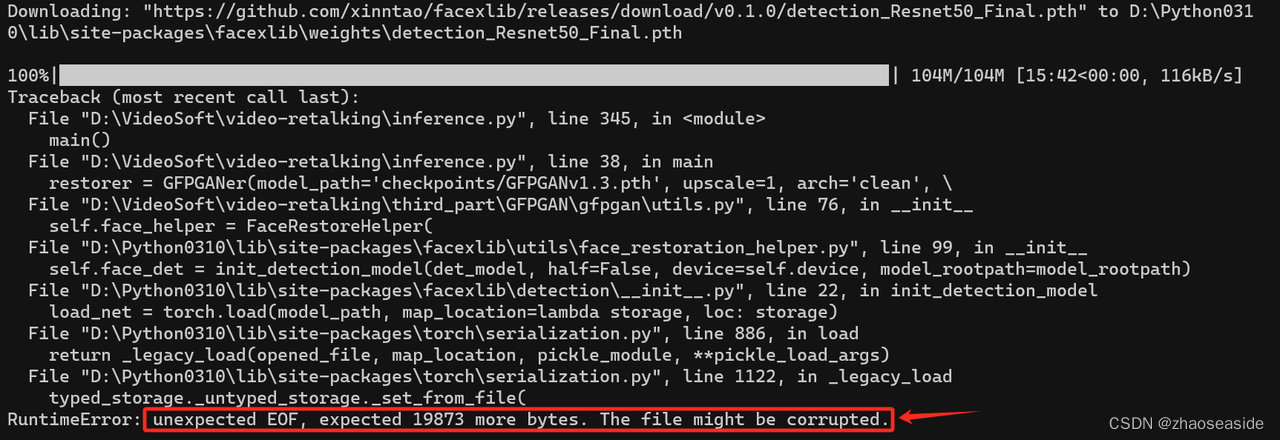
我把D:\VideoSoft\video-retalking\checkpoints\GFPGANv1.3.pth删除重新到https://drive.google.com/drive/folders/18rhjMpxK8LVVxf7PI6XwOidt8Vouv_H0下载一遍,完成之后如下图:
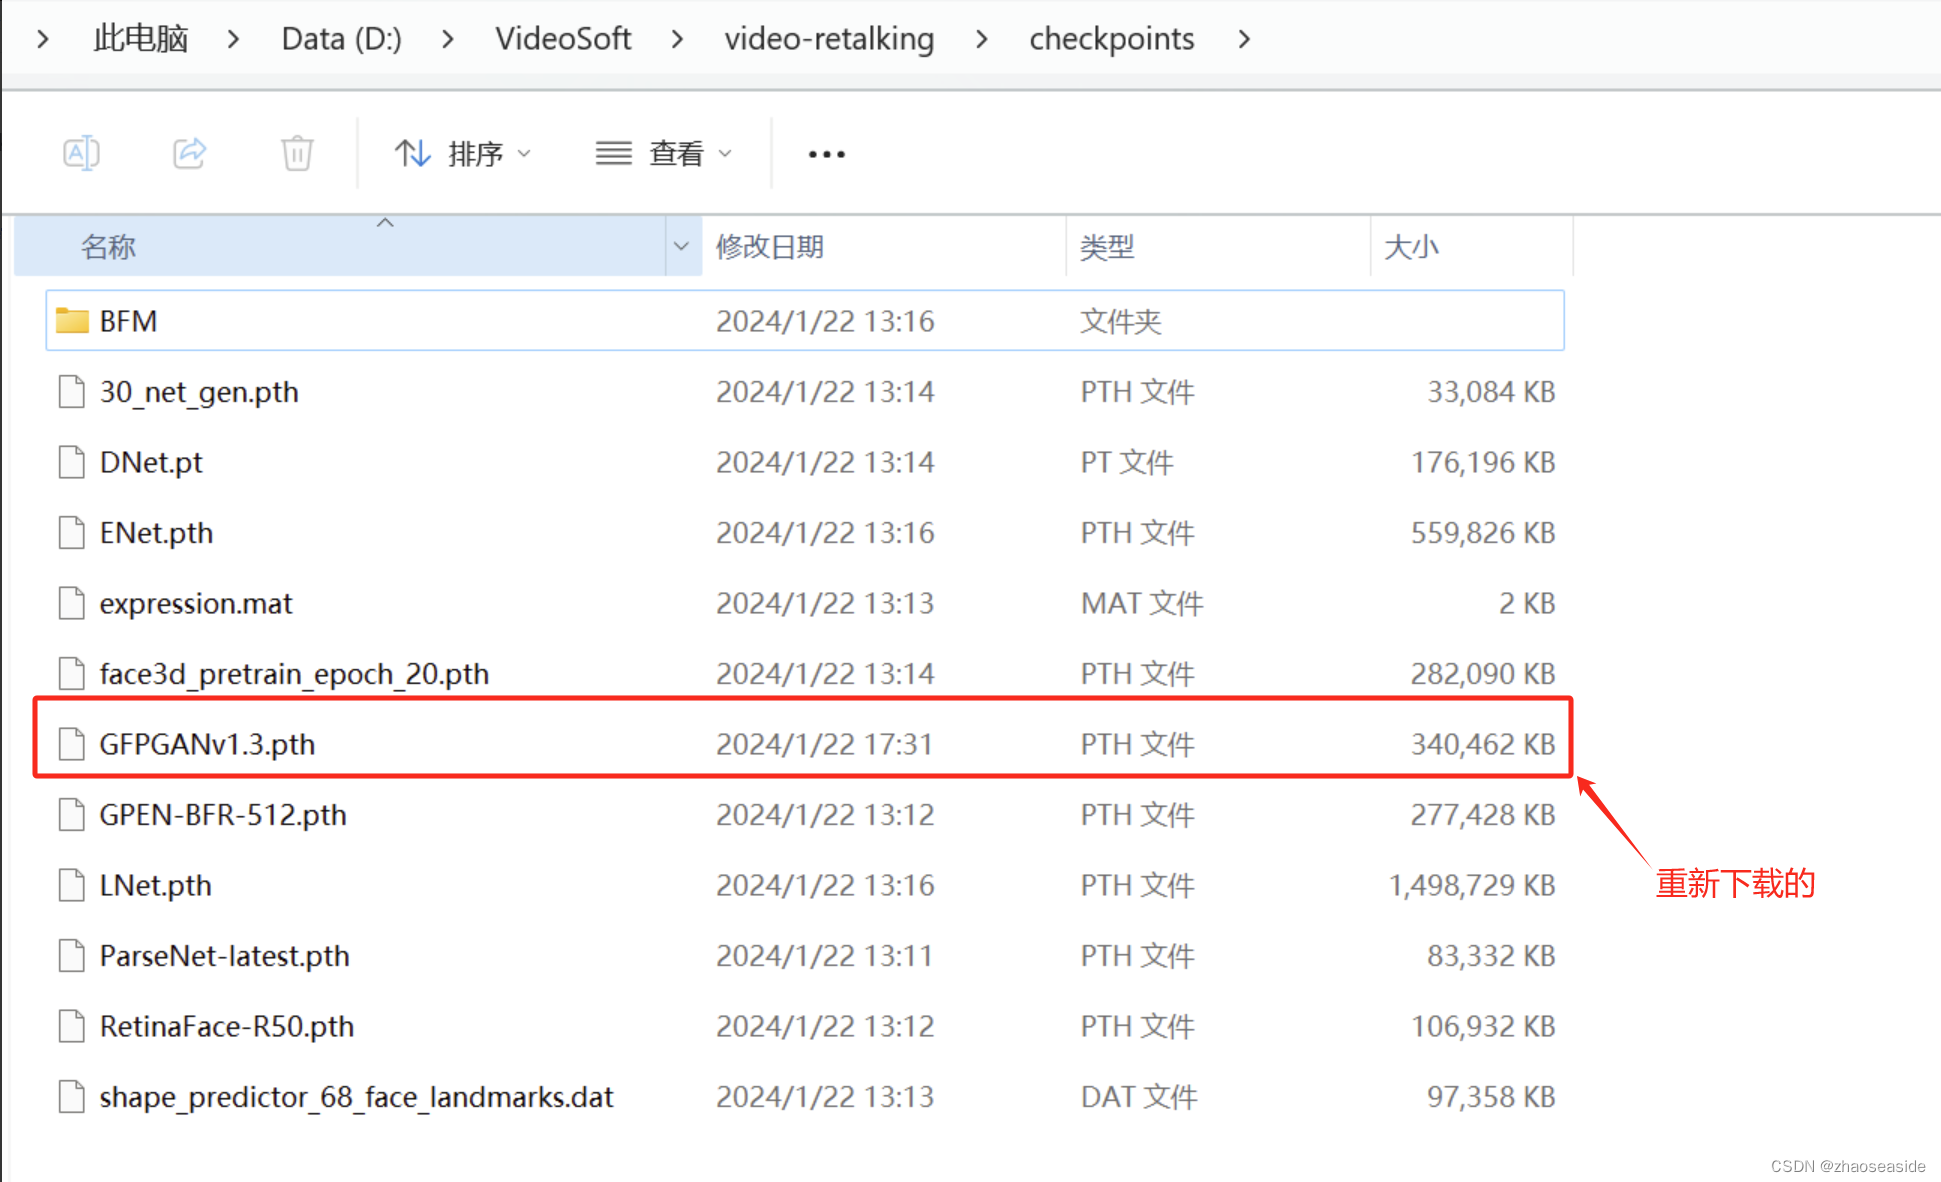
发现还是报原来的错误。

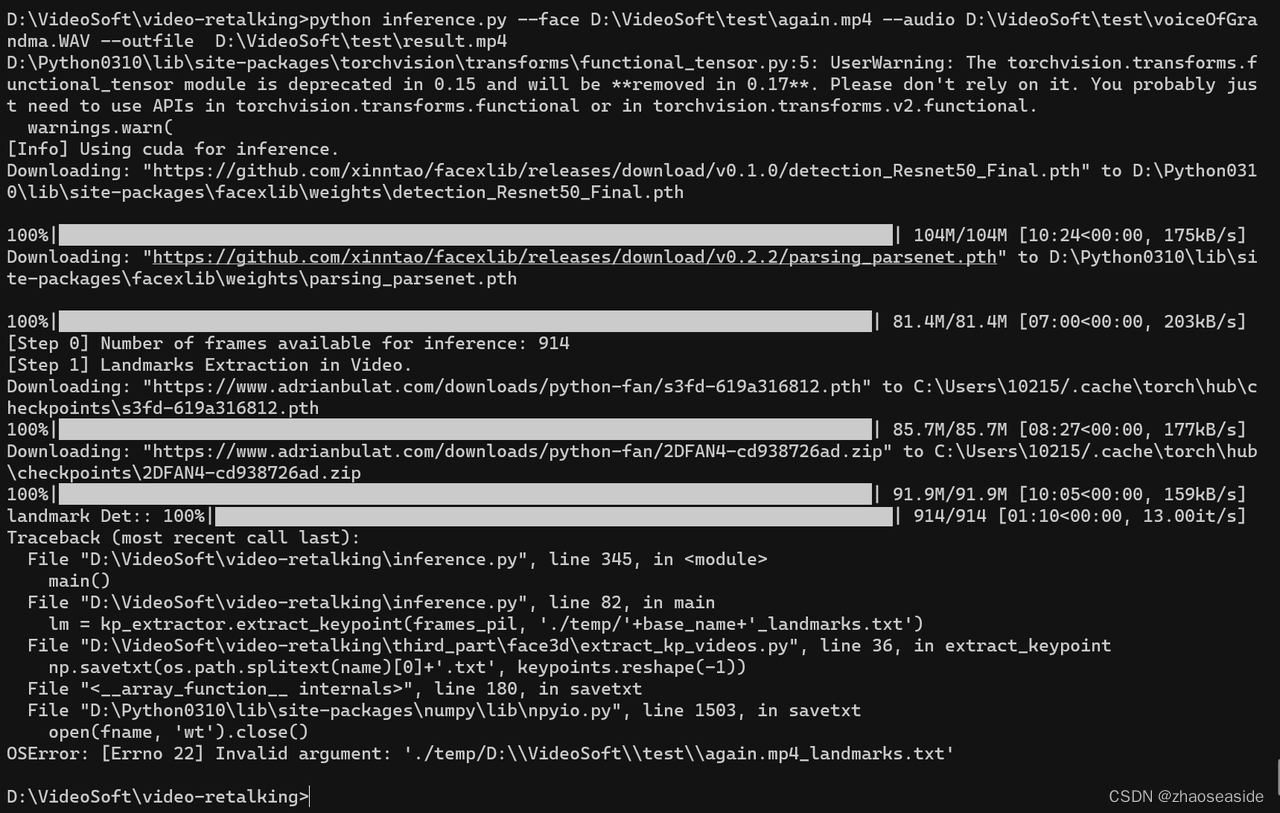
我把D:\Python0310\lib\site-packages\facexlib\weights这个目录删除了,然后再次执行python inference.py --face D:\VideoSoft\test\again.mp4 --audio D:\VideoSoft\test\voiceOfGrandma.WAV --outfile D:\VideoSoft\test\result.mp4。
发现终于重新下载一些东西了,但是最后还是报错了:
OSError: [Errno 22] Invalid argument: './temp/D:\\VideoSoft\\test\\again.mp4_landmarks.txt'。
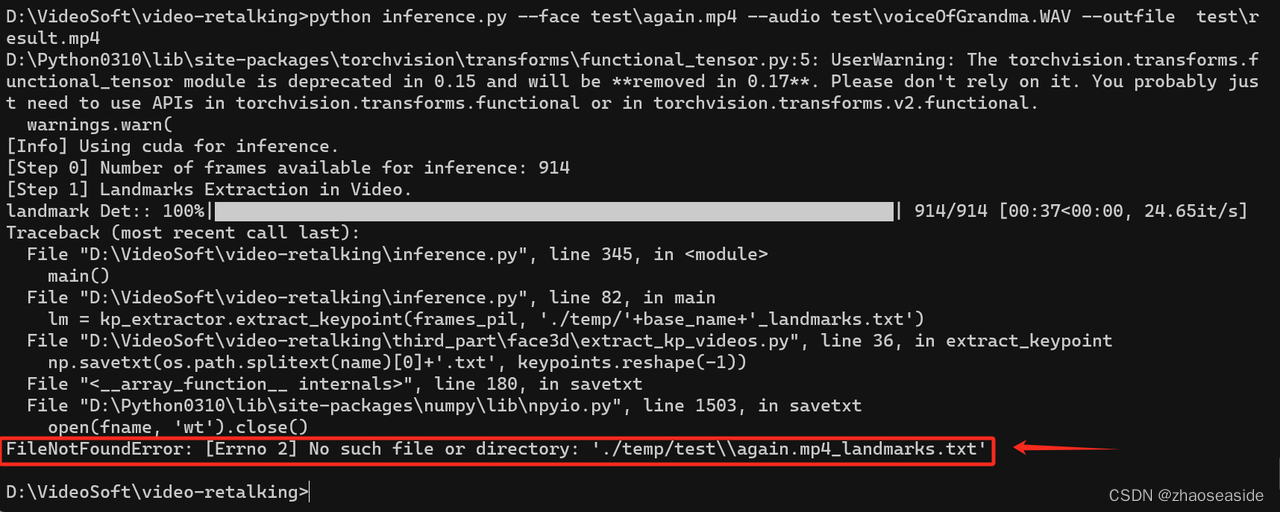
再次执行python inference.py --face test\again.mp4 --audio D:\VideoSoft\test\voiceOfGrandma.WAV --outfile test\result.mp4。
发现报错FileNotFoundError: [Errno 2] No such file or directory: './temp/test\\again.mp4_landmarks.txt'。
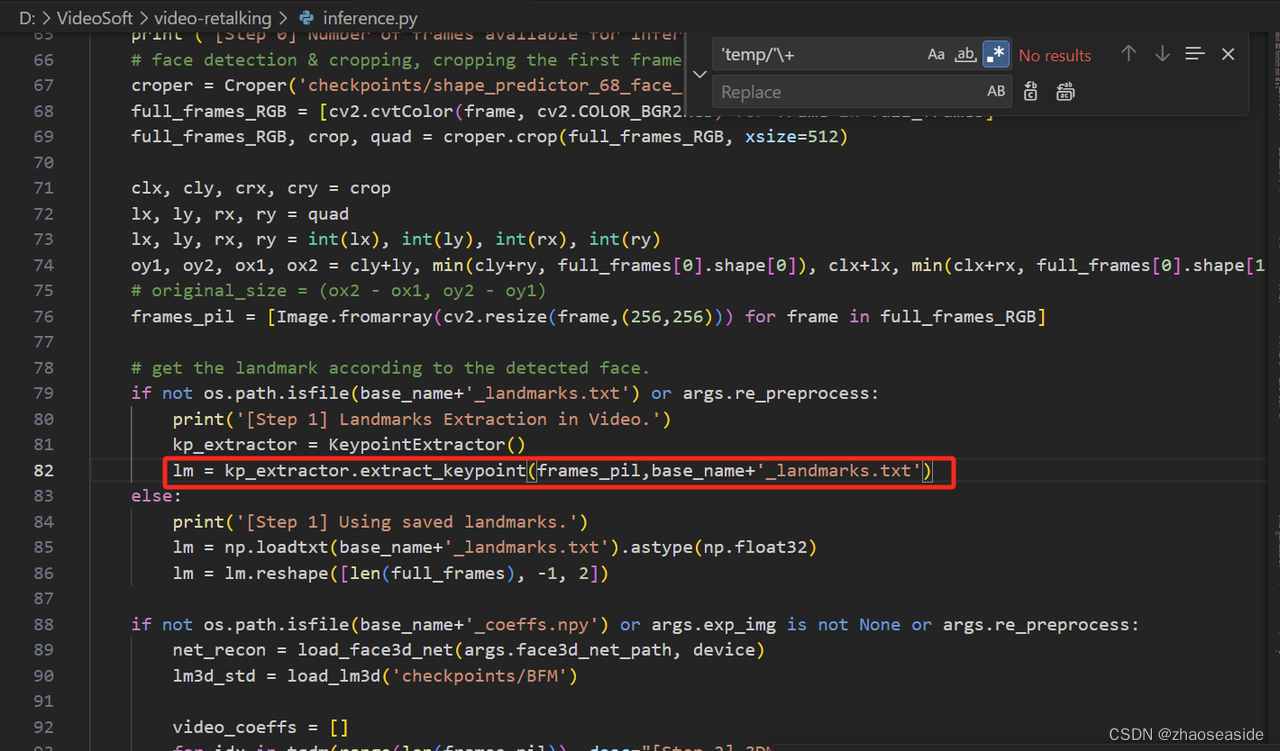
我只好把D:\VideoSoft\video-retalking\inference.py第82行代码中修改为
lm = kp_extractor.extract_keypoint(frames_pil,base_name+'_landmarks.txt')。
然后我还把'temp/'+字符串都删除。
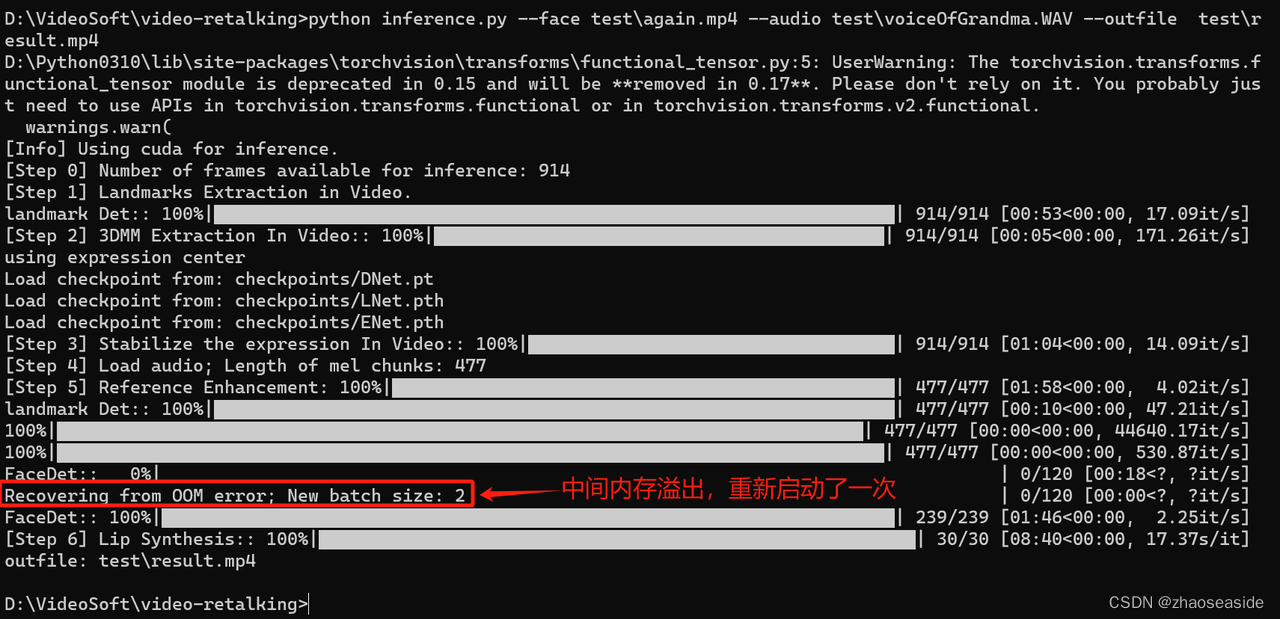
再次执行python inference.py --face test\again.mp4 --audio D:\VideoSoft\test\voiceOfGrandma.WAV --outfile test\result.mp4,中间还溢出过一次,重新启动了。
我是知识星球上约有3万人的AI破局俱乐部初创合伙人,我的微信号是zhaoseaside,欢迎大家加我,相互学习AI知识和个人IP知识,毕竟这是未来两大风口。
大家要是需要文档中的文件,可以加我备注video retalking,我用百度网盘发给你。


