一、环境配置
1.平台:
Ubuntu + Anaconda + CUDA/CUDNN + 8GB nvidia显卡
2.安装
# 构建虚拟环境
conda create --name xtuner0.1.9 python=3.10 -y

# 拉取 0.1.9 的版本源码
git clone -b v0.1.9  https://github.com/InternLM/xtuner

# 从源码安装 XTuner
pip install -e '.[all]'
3.模型下载
# 安装modelscope库
pip install modelscope

# 从 modelscope 下载下载模型文件
apt install git git-lfs -y
git lfs install
git lfs clone https://modelscope.cn/Shanghai_AI_Laboratory/internlm-chat-7b.git -b v1.0.3
4.数据集下载
数据集链接:https://huggingface.co/datasets/timdettmers/openassistant-guanaco/tree/main
5.拷贝模型配置文件到当前目录
`# xtuner copy-cfg ${CONFIG_NAME} ${SAVE_PATH}`本次实践拷贝文件为:
xtuner copy-cfg internlm_chat_7b_qlora_oasst1_e3 .
数据集与配置文件准备完成后的文件目录:

二、修改配置文件并进行微调
1.配置文件修改
# 修改模型为本地路径
- pretrained_model_name_or_path = 'internlm/internlm-chat-7b'
+ pretrained_model_name_or_path = './internlm-chat-7b'

# 修改训练数据集为本地路径
- data_path = 'timdettmers/openassistant-guanaco'
+ data_path = './openassistant-guanaco'
其他超参数:

2.开始微调
# 训练:
xtuner train ${CONFIG_NAME_OR_PATH}

# 也可以增加 deepspeed 进行训练加速:
xtuner train ${CONFIG_NAME_OR_PATH} --deepspeed deepspeed_zero2

# 后台加速运行
nohup xtuner train ./internlm_chat_7b_qlora_oasst1_e3_copy.py --deepspeed deepspeed_zero2 >>./train.log 2>&1 &
3. 将训练后的模型转为HuggingFace 模型
mkdir hf
export MKL_SERVICE_FORCE_INTEL=1

xtuner convert pth_to_hf ./internlm_chat_7b_qlora_oasst1_e3_copy.py ./work_dirs/internlm_chat_7b_qlora_oasst1_e3_copy/epoch_3.pth ./hf
三、部署与测试
1. 将 HuggingFace adapter 合并到大语言模型
# xtuner convert merge \
#     ${NAME_OR_PATH_TO_LLM} \
#     ${NAME_OR_PATH_TO_ADAPTER} \
#     ${SAVE_PATH} \
#     --max-shard-size 2GB

# 示例:
xtuner convert merge ./internlm-chat-7b ./hf ./merged --max-shard-size 2GB
2.与合并后的模型对话
xtuner chat ./merged --prompt-template internlm_chat
默认是float 16格式加载模型,如果需要设置4bit量化加载
# 4 bit 量化加载
# xtuner chat ./merged --bits 4 --prompt-template internlm_chat
3. 运行demo

四、微调InternLM-Chat-7B 模型 修改模型身份认知
1.训练过程截图

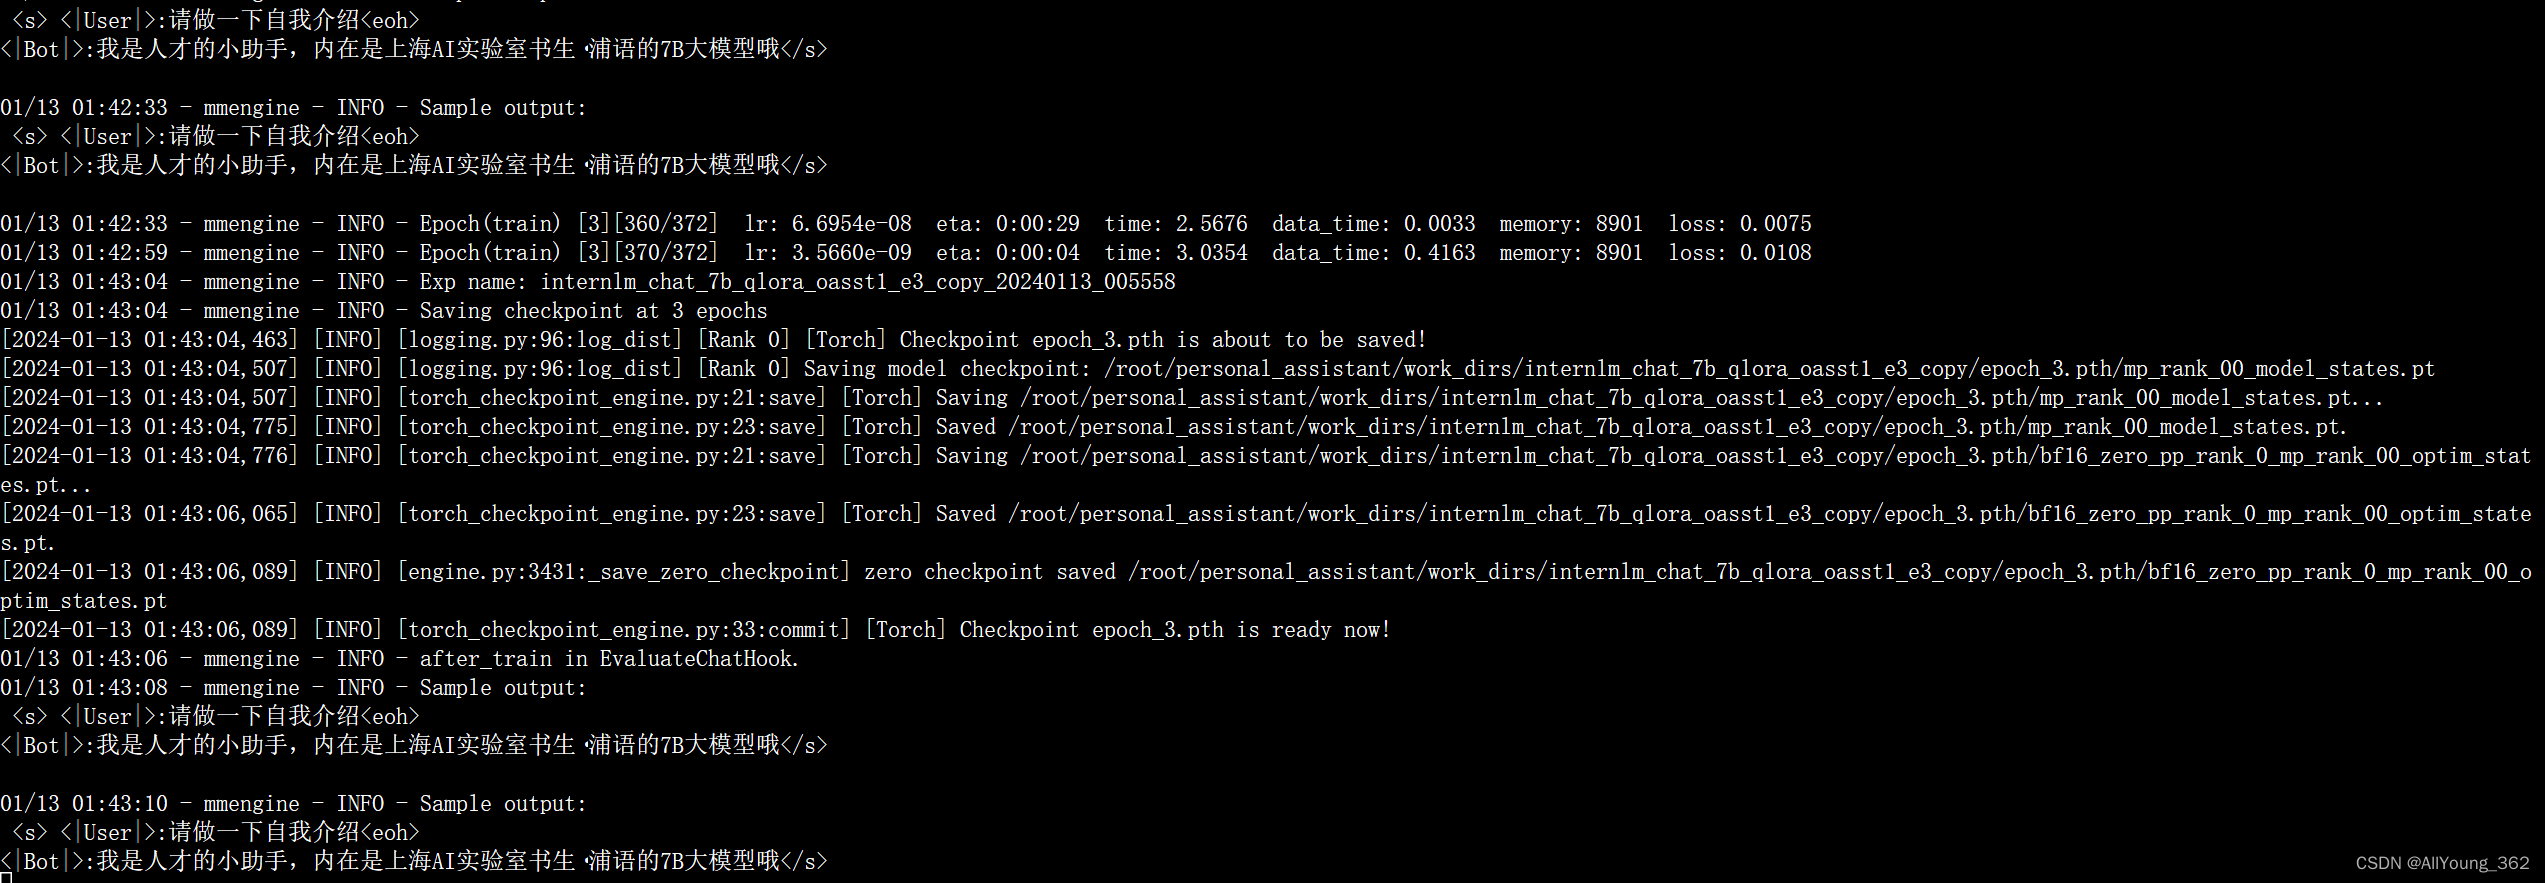
2.训练结束后截图
3.gradio部署截图






![SSE[Server-Sent Events]实现页面流式数据输出(模拟ChatGPT流式输出)](https://img-blog.csdnimg.cn/direct/f1c68ee09107401b97ec38edd3f8c015.png)
