说明
【跟月影学可视化】学习笔记。
渲染动态的地理位置
用随机的小圆点模拟地图的小圆点,实现呼吸灯效果
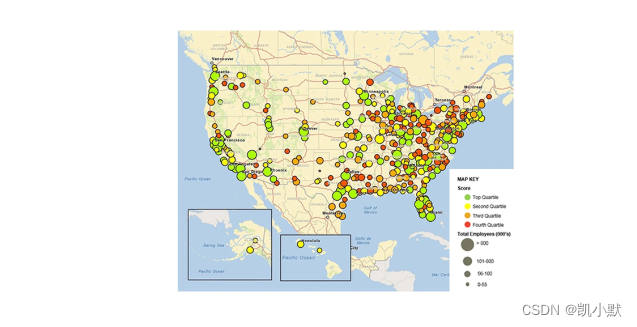
最简单的做法:先创建圆的几何顶点数据,然后对每个圆设置不同的参数来分别一个一个圆绘制上去。
<!DOCTYPE html>
<html lang="en">
    <head>
        <meta charset="UTF-8" />
        <meta http-equiv="X-UA-Compatible" content="IE=edge" />
        <meta name="viewport" content="width=device-width, initial-scale=1.0" />
        <title>渲染动态的地理位置</title>
        <style>
            canvas {
                border: 1px dashed #fa8072;
            }
        </style>
    </head>
    <body>
        <canvas width="500" height="500"></canvas>
        <script src="./common/lib/gl-renderer.js"></script>
        <script>
            const canvas = document.querySelector("canvas");
            const renderer = new GlRenderer(canvas);

            const vertex = `
                attribute vec2 a_vertexPosition;
                uniform vec2 xy;
                uniform float uTime;
                uniform float bias;

                void main() {
                    vec3 pos = vec3(a_vertexPosition, 1);
                    float scale = 0.7 + 0.3 * sin(6.28 * bias + 0.003 * uTime);
                    mat3 m = mat3(
                        scale, 0, 0,
                        0, scale, 0,
                        xy, 1
                    );
                    gl_Position = vec4(m * pos, 1);
                }
            `;

            const fragment = `
                #ifdef GL_ES
                precision highp float;
                #endif

                uniform vec4 u_color;

                void main() {
                    gl_FragColor = u_color;
                }
            `;
            const program = renderer.compileSync(fragment, vertex);
            renderer.useProgram(program);

            function circle(radius = 0.05) {
                const delta = (2 * Math.PI) / 32;
                const positions = [];
                const cells = [];
                for (let i = 0; i < 32; i++) {
                    const angle = i * delta;
                    positions.push([
                        radius * Math.sin(angle),
                        radius * Math.cos(angle),
                    ]);
                    if (i > 0 && i < 31) {
                        cells.push([0, i, i + 1]);
                    }
                }
                return { positions, cells };
            }

            const COUNT = 500;
            function init() {
                const meshData = [];
                const { positions, cells } = circle();
                for (let i = 0; i < COUNT; i++) {
                    const x = 2 * Math.random() - 1;
                    const y = 2 * Math.random() - 1;
                    const rotation = 2 * Math.PI * Math.random();
                    const uniforms = {};

                    uniforms.u_color = [
                        Math.random(),
                        Math.random(),
                        Math.random(),
                        1,
                    ];

                    uniforms.xy = [
                        2 * Math.random() - 1,
                        2 * Math.random() - 1,
                    ];

                    uniforms.bias = Math.random();

                    meshData.push({
                        positions,
                        cells,
                        uniforms,
                    });
                }
                renderer.uniforms.uTime = 0;
                renderer.setMeshData(meshData);
            }
            init();

            function update(t) {
                renderer.uniforms.uTime = t;
                renderer.render();
                requestAnimationFrame(update);
            }

            update(0);
        </script>
    </body>
</html>
效果如下:在绘制 500 个圆的时候,浏览器的帧率就掉到 7 fps 左右了。

优化大数据渲染的常见方法
1、使用批量渲染优化
绘制大量同种几何图形的时候,通过减少渲染次数来提升性能最好的做法是直接使用批量渲染。
代码如下:
<!DOCTYPE html>
<html lang="en">
    <head>
        <meta charset="UTF-8" />
        <meta http-equiv="X-UA-Compatible" content="IE=edge" />
        <meta name="viewport" content="width=device-width, initial-scale=1.0" />
        <title>使用批量渲染优化</title>
        <style>
            canvas {
                border: 1px dashed #fa8072;
            }
        </style>
    </head>
    <body>
        <canvas width="500" height="500"></canvas>
        <script src="./common/lib/gl-renderer.js"></script>
        <script>
            const canvas = document.querySelector("canvas");
            const renderer = new GlRenderer(canvas);

            const vertex = `
                attribute vec2 a_vertexPosition;
                attribute vec4 color;
                attribute vec2 xy;
                attribute float bias;
                uniform float uTime;

                varying vec4 vColor;

                void main() {
                    vec3 pos = vec3(a_vertexPosition, 1);
                    float scale = 0.7 + 0.3 * sin(6.28 * bias + 0.003 * uTime);
                    mat3 m = mat3(
                        scale, 0, 0,
                        0, scale, 0,
                        xy, 1
                    );
                    vColor = color;
                    gl_Position = vec4(m * pos, 1);
                }
            `;

            const fragment = `
                #ifdef GL_ES
                precision highp float;
                #endif

                varying vec4 vColor;

                void main() {
                    gl_FragColor = vColor;
                }
            `;

            const program = renderer.compileSync(fragment, vertex);
            renderer.useProgram(program);

            function circle(radius = 0.05) {
                const delta = (2 * Math.PI) / 32;
                const positions = [];
                const cells = [];
                for (let i = 0; i < 32; i++) {
                    const angle = i * delta;
                    positions.push([
                        radius * Math.sin(angle),
                        radius * Math.cos(angle),
                    ]);
                    if (i > 0 && i < 31) {
                        cells.push([0, i, i + 1]);
                    }
                }
                return { positions, cells };
            }

            const COUNT = 20000;
            function init() {
                const { positions, cells } = circle();
                const colors = [];
                const pos = [];
                const bias = [];
                for (let i = 0; i < COUNT; i++) {
                    const x = 2 * Math.random() - 1;
                    const y = 2 * Math.random() - 1;
                    const rotation = 2 * Math.PI * Math.random();

                    colors.push([
                        Math.random(),
                        Math.random(),
                        Math.random(),
                        1,
                    ]);

                    pos.push([2 * Math.random() - 1, 2 * Math.random() - 1]);

                    bias.push(Math.random());
                }

                renderer.uniforms.uTime = 0;
                renderer.setMeshData({
                    positions,
                    cells,
                    instanceCount: COUNT,
                    attributes: {
                        color: { data: [...colors], divisor: 1 },
                        xy: { data: [...pos], divisor: 1 },
                        bias: { data: [...bias], divisor: 1 },
                    },
                });
            }
            init();

            function update(t) {
                renderer.uniforms.uTime = t;
                renderer.render();
                requestAnimationFrame(update);
            }

            update(0);
        </script>
    </body>
</html>
渲染20000个点效果:

2、使用点图元优化
在 WebGL 中,点图元是最简单的图元,它用来显示画布上的点,在顶点着色器里,可以通过设置 gl_PointSize(单位是像素)来改变点图元的大小。
利用点图元绘制圆的过程:
- 先通过点图元,改变 gl_PointSize 来设置顶点的大小,只需要一个顶点就可以绘制出矩形
- 然后通过计算到圆心的距离得出距离场,然后通过 smoothstep 将一定距离内的图形绘制出来,这样就得到图形圆。
<!DOCTYPE html>
<html lang="en">
    <head>
        <meta charset="UTF-8" />
        <meta http-equiv="X-UA-Compatible" content="IE=edge" />
        <meta name="viewport" content="width=device-width, initial-scale=1.0" />
        <title>使用点图元优化</title>
        <style>
            canvas {
                border: 1px dashed #fa8072;
            }
        </style>
    </head>
    <body>
        <canvas width="500" height="500"></canvas>
        <script src="./common/lib/gl-renderer.js"></script>
        <script>
            const canvas = document.querySelector("canvas");
            const renderer = new GlRenderer(canvas);

            const vertex = `
                attribute vec2 a_vertexPosition;
                attribute vec4 color;
                attribute float bias;

                uniform float uTime;
                uniform vec2 uResolution;

                varying vec4 vColor;
                varying vec2 vPos;
                varying vec2 vResolution;
                varying float vScale;

                void main() {
                    float scale = 0.7 + 0.3 * sin(6.28 * bias + 0.003 * uTime);
                    gl_PointSize = 0.05 * uResolution.x * scale;
                    vColor = color;
                    vPos = a_vertexPosition;
                    vResolution = uResolution;
                    vScale = scale;
                    gl_Position = vec4(a_vertexPosition, 1, 1);
                }
            `;

            const fragment = `
                #ifdef GL_ES
                precision highp float;
                #endif

                varying vec4 vColor;
                varying vec2 vPos;
                varying vec2 vResolution;
                varying float vScale;

                void main() {
                    vec2 st = gl_FragCoord.xy / vResolution;
                    st = 2.0 * st - vec2(1);
                    float d = step(distance(vPos, st), 0.05 * vScale);
                    gl_FragColor = d * vColor;
                }
            `;
            const program = renderer.compileSync(fragment, vertex);
            renderer.useProgram(program);

            const COUNT = 20000;
            function init() {
                const colors = [];
                const pos = [];
                const bias = [];
                for (let i = 0; i < COUNT; i++) {
                    const x = 2 * Math.random() - 1;
                    const y = 2 * Math.random() - 1;
                    const rotation = 2 * Math.PI * Math.random();

                    colors.push([
                        Math.random(),
                        Math.random(),
                        Math.random(),
                        1,
                    ]);

                    pos.push([2 * Math.random() - 1, 2 * Math.random() - 1]);

                    bias.push(Math.random());
                }

                renderer.uniforms.uTime = 0;
                renderer.uniforms.uResolution = [canvas.width, canvas.height];

                renderer.setMeshData({
                    mode: renderer.gl.POINTS,
                    enableBlend: true,
                    positions: pos,
                    attributes: {
                        color: { data: [...colors] },
                        bias: { data: [...bias] },
                    },
                });
            }
            init();

            function update(t) {
                renderer.uniforms.uTime = t;
                renderer.render();
                requestAnimationFrame(update);
            }

            update(0);
        </script>
    </body>
</html>
渲染20000个点效果:

其他方法
1、使用后期处理通道优化
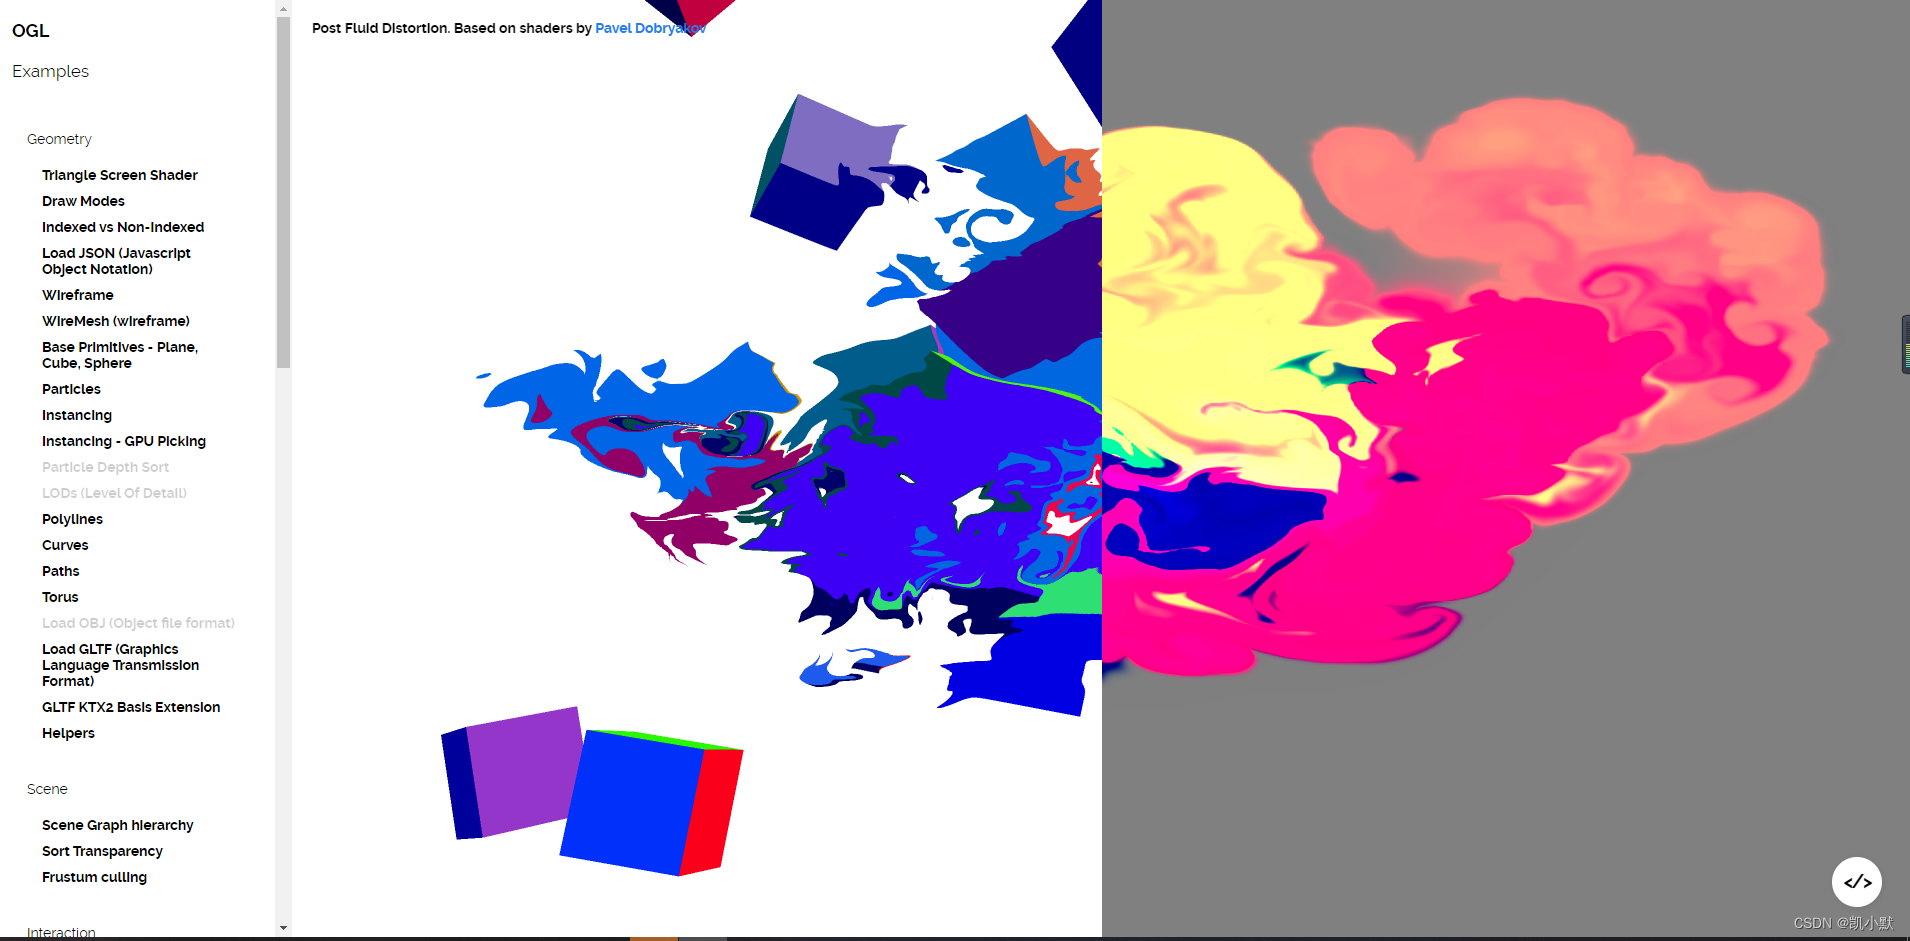
后期处理通道十分强大,它最重要的特性就是可以把各种数据存储在纹理图片中。这样在迭代处理的时候,我们就可以用 GPU 将这些数据并行地读取和处理,从而达到非常高效地渲染。
用后期处理通道实现了粒子流的效果:https://oframe.github.io/ogl/examples/?src=post-fluid-distortion.html
2、使用 GPGPU 优化
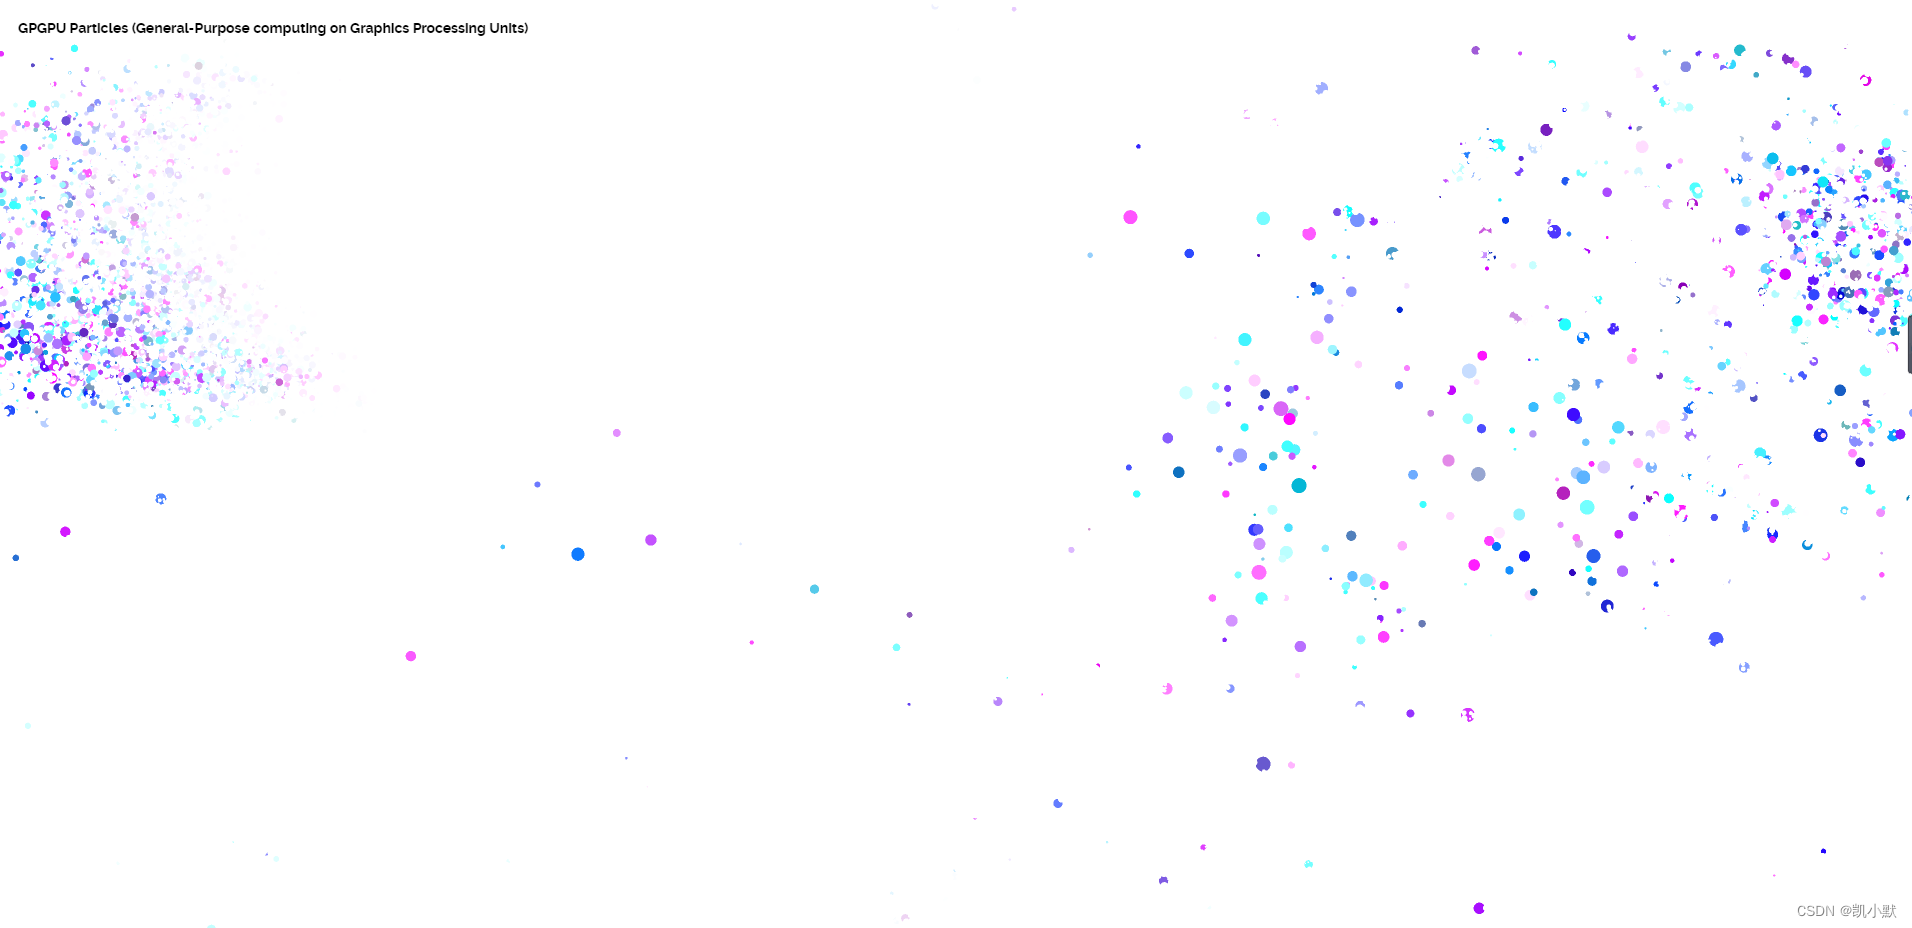
OGL 官网例子:https://oframe.github.io/ogl/examples/gpgpu-particles.html就是用了 GPGPU 的方式,也叫做通用 GPU 方式,就是把每个粒子的速度保存到纹理图片里,实现同时渲染几万个粒子并产生运动的效果。
3、使用服务端渲染优化
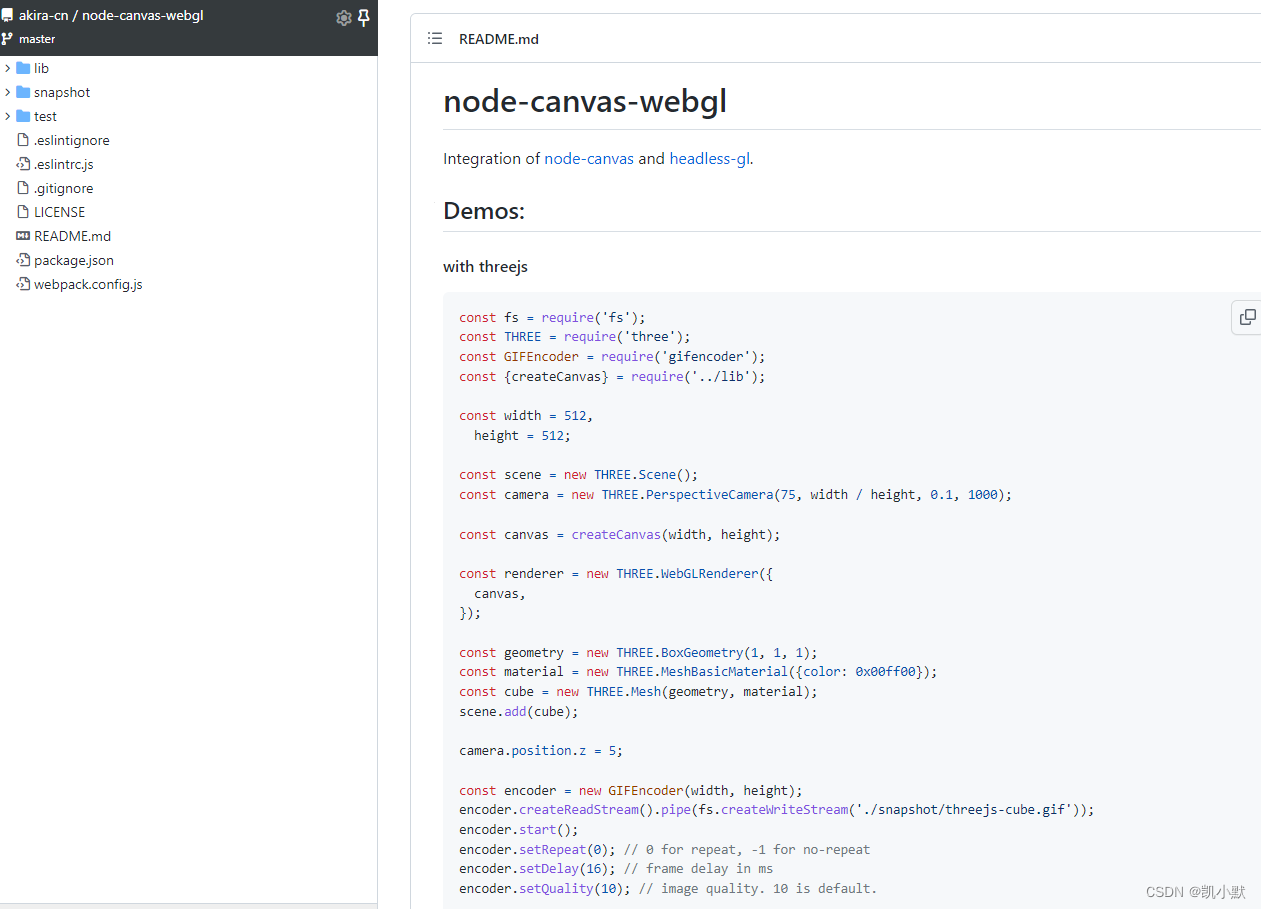
https://github.com/akira-cn/node-canvas-webgl 它可以在 Node.js 中启动一个 Canvas2D 和 WebGL 环境,可以在服务端进行渲染,然后再将结果缓存起来直接提供给客户端。
