maven
maven简介
什么是maven?

Maven这个单词来自于意第绪语(犹太语),意为知识的积累。
Maven项目对象模型(POM),可以通过一小段描述信息来管理项目的构建,报告和文档的项目管理工具软件。
Maven 除了以程序构建能力为特色之外,还提供高级项目管理工具。由于 Maven 的缺省构建规则有较高的可重用性,所以常常用两三行 Maven 构建脚本就可以构建简单的项目。由于 Maven 的面向项目的方法,许多 Apache Jakarta 项目发文时使用 Maven,而且公司项目采用 Maven 的比例在持续增长。
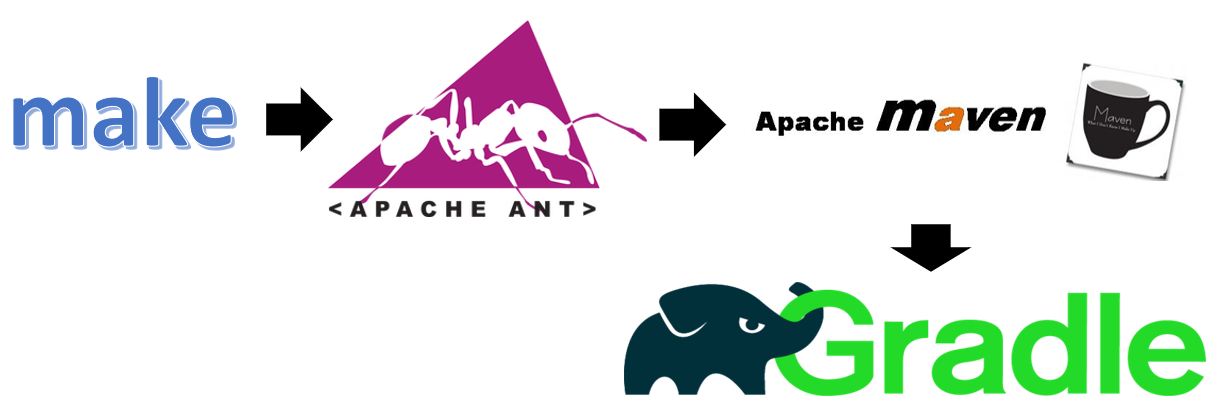
maven发展历史
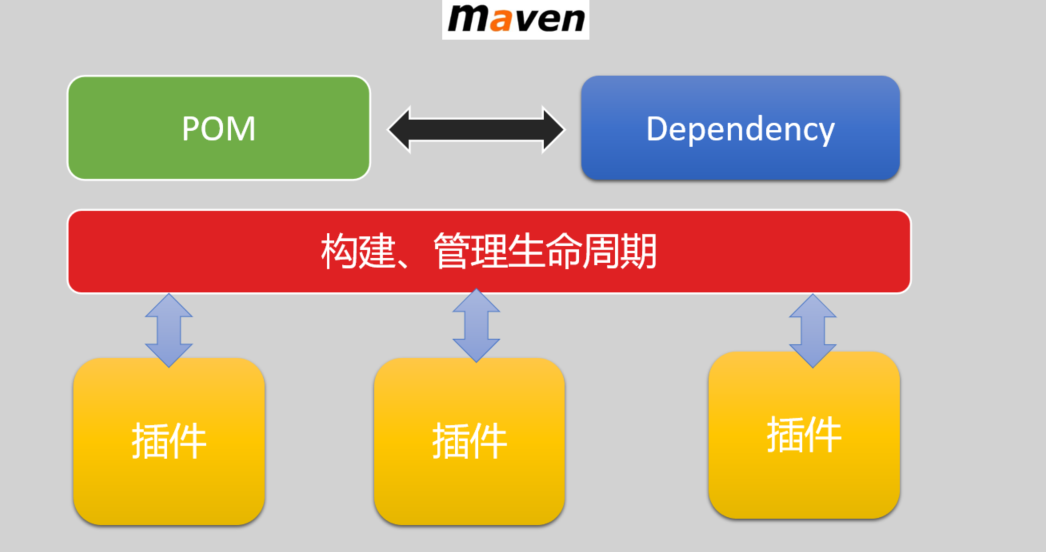
maven的体系结构
maven安装配置
maven下载与配置
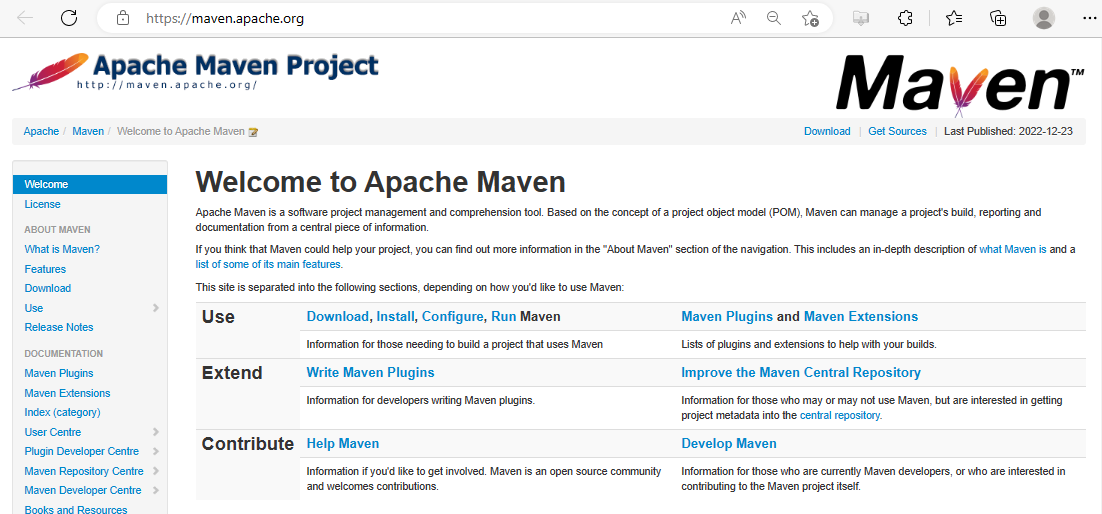
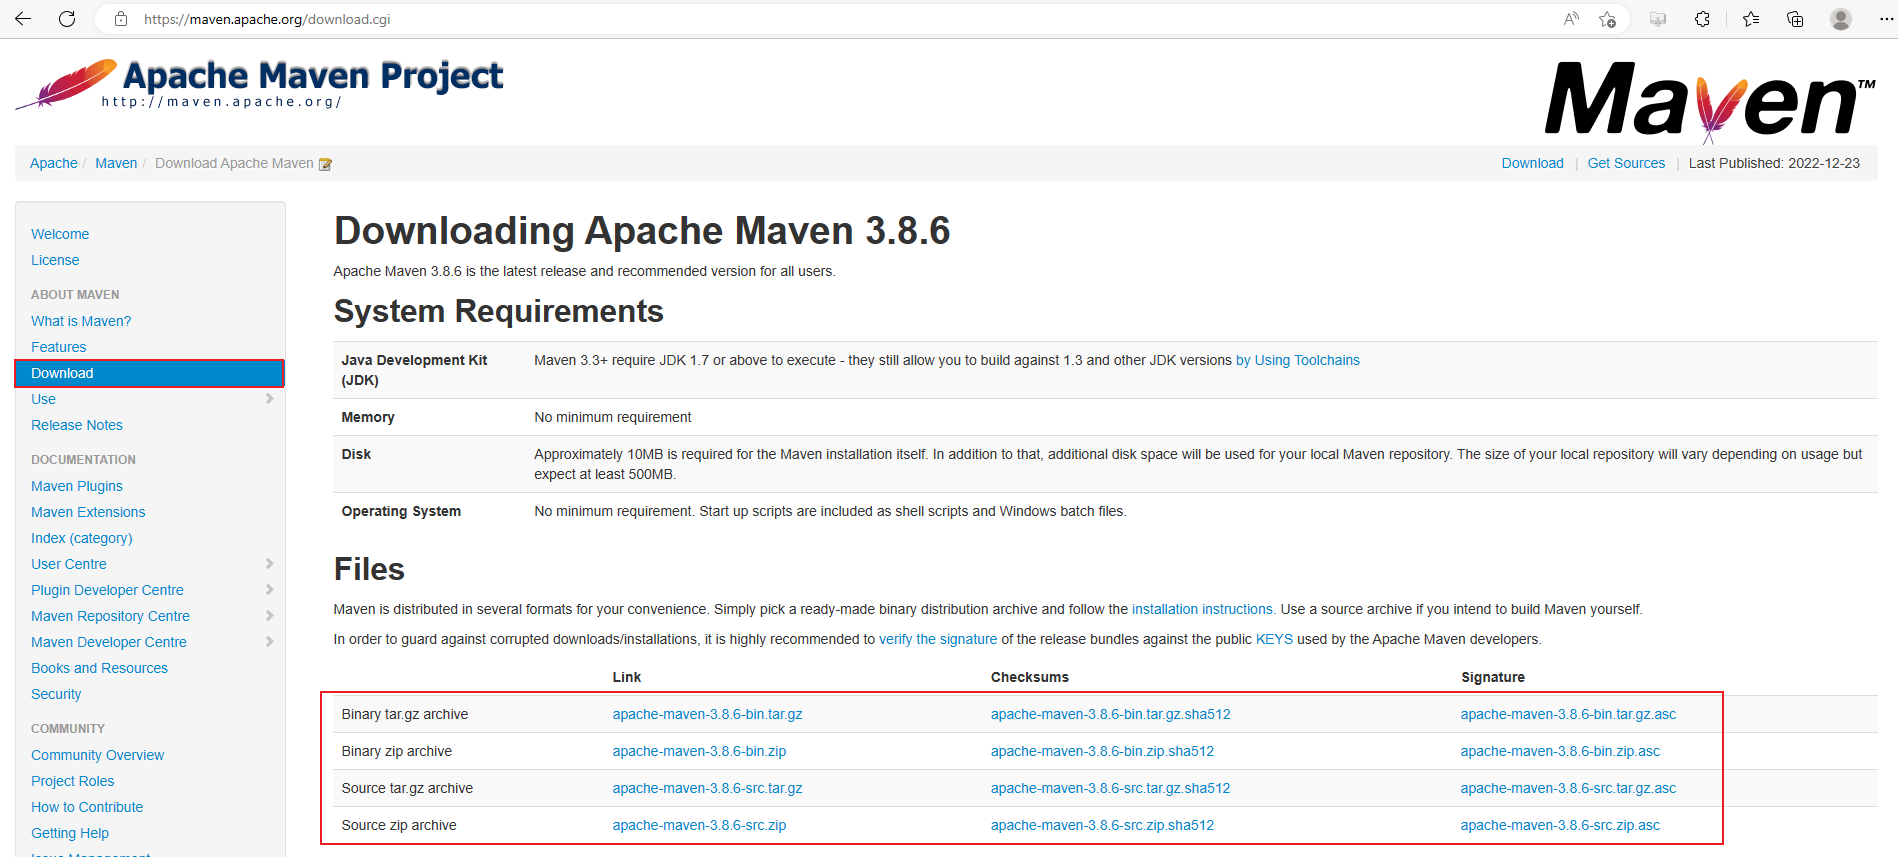
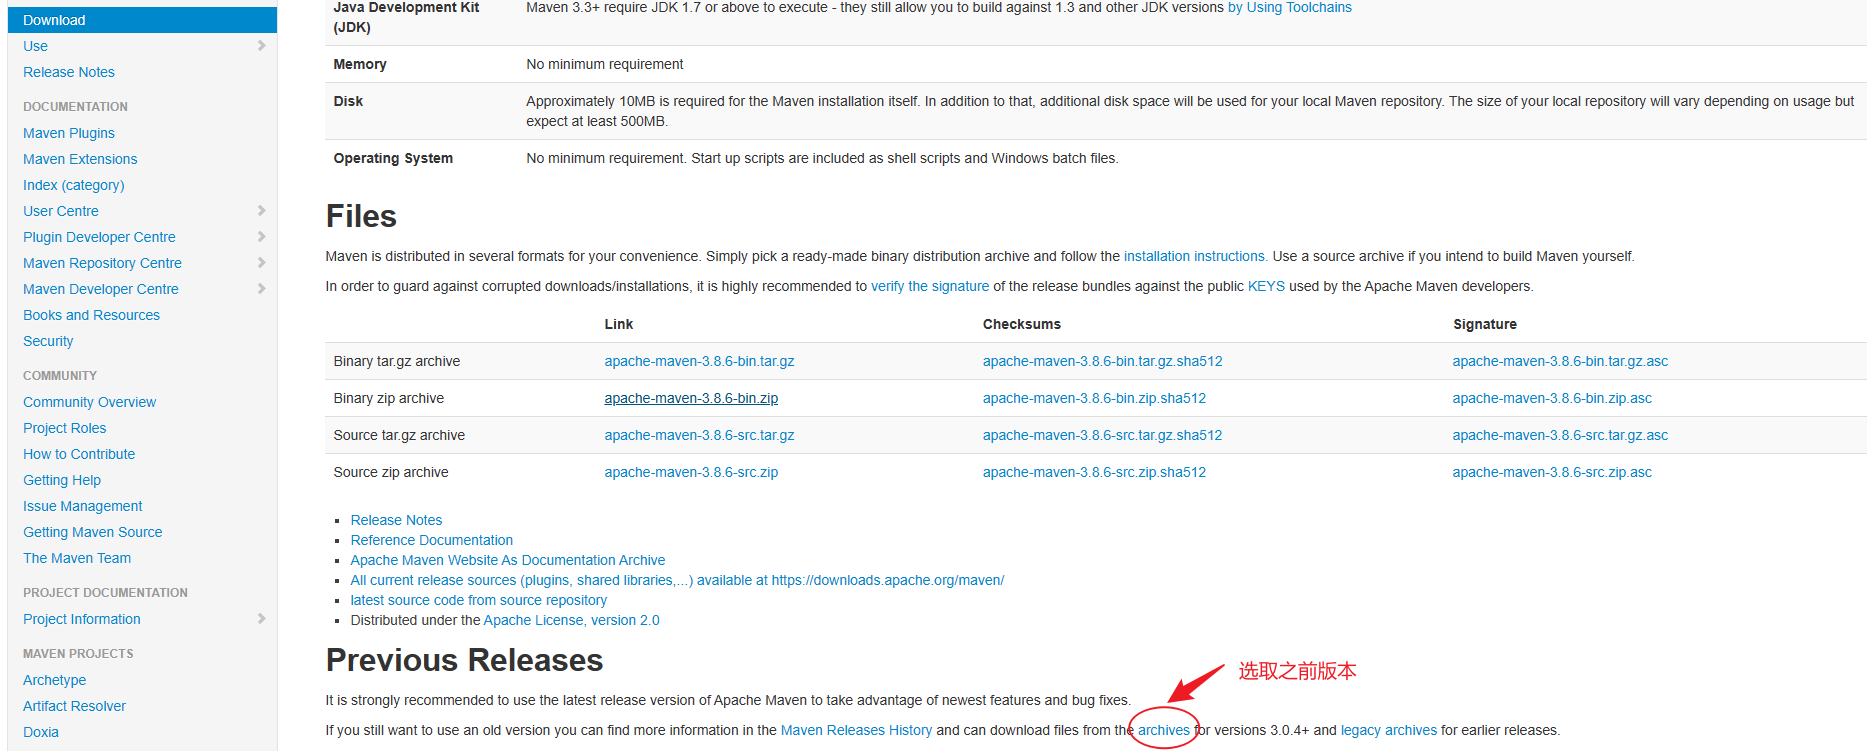
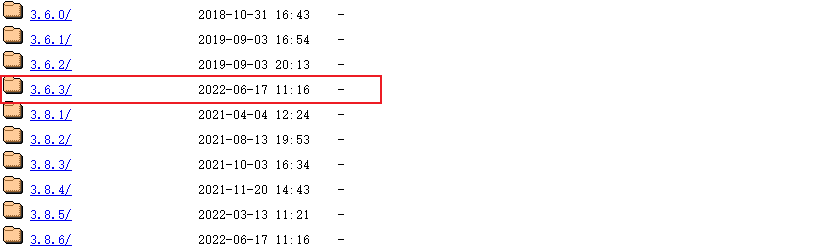
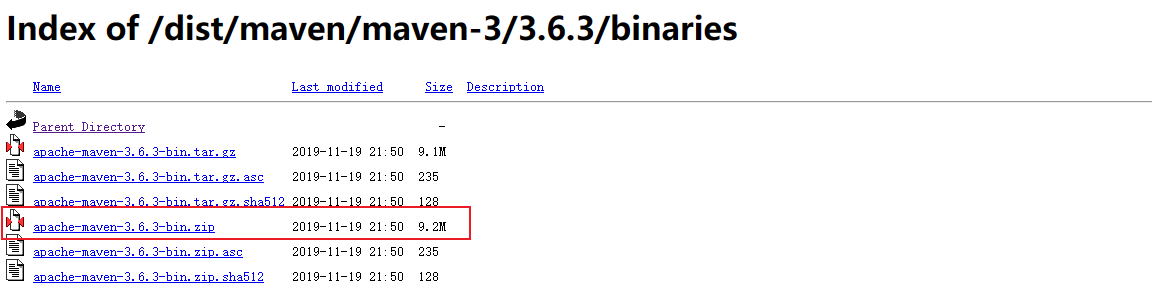
下载maven
访问网站 https://maven.apache.org

maven本地配置
打开conf\settings.xml文件
本地仓库位置
配置本地仓库的位置
<localRepository> 本地地址 <localRepository>

<settings xmlns="http://maven.apache.org/SETTINGS/1.0.0"
          xmlns:xsi="http://www.w3.org/2001/XMLSchema-instance"
          xsi:schemaLocation="http://maven.apache.org/SETTINGS/1.0.0 http://maven.apache.org/xsd/settings-1.0.0.xsd">
  <!-- localRepository
   | The path to the local repository maven will use to store artifacts.
   |
   | Default: ${user.home}/.m2/repository
  -->
    <localRepository>C:\maven-repository</localRepository>
镜像配置
由于中央仓库在境外,网络访问不稳定,故在开发过程中大多配置中央仓库的镜像仓库。
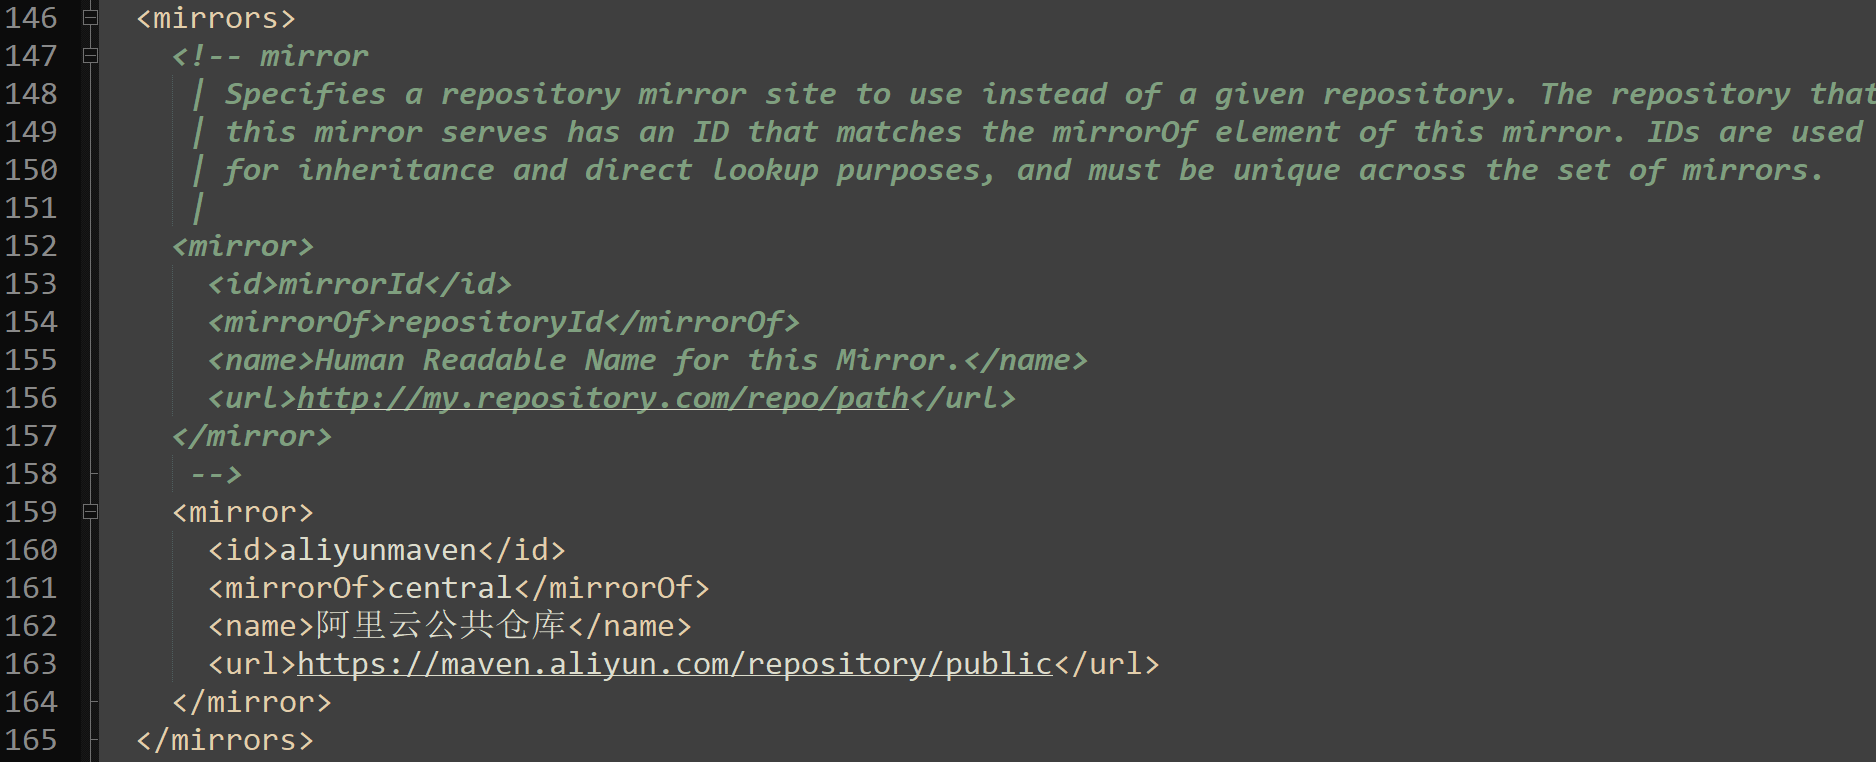
<mirror>
  <id>aliyunmaven</id>
  <mirrorOf>central</mirrorOf>
  <name>阿里云公共仓库</name>
  <url>https://maven.aliyun.com/repository/public</url>
</mirror>
profile
配置maven默认使用的jdk环境。
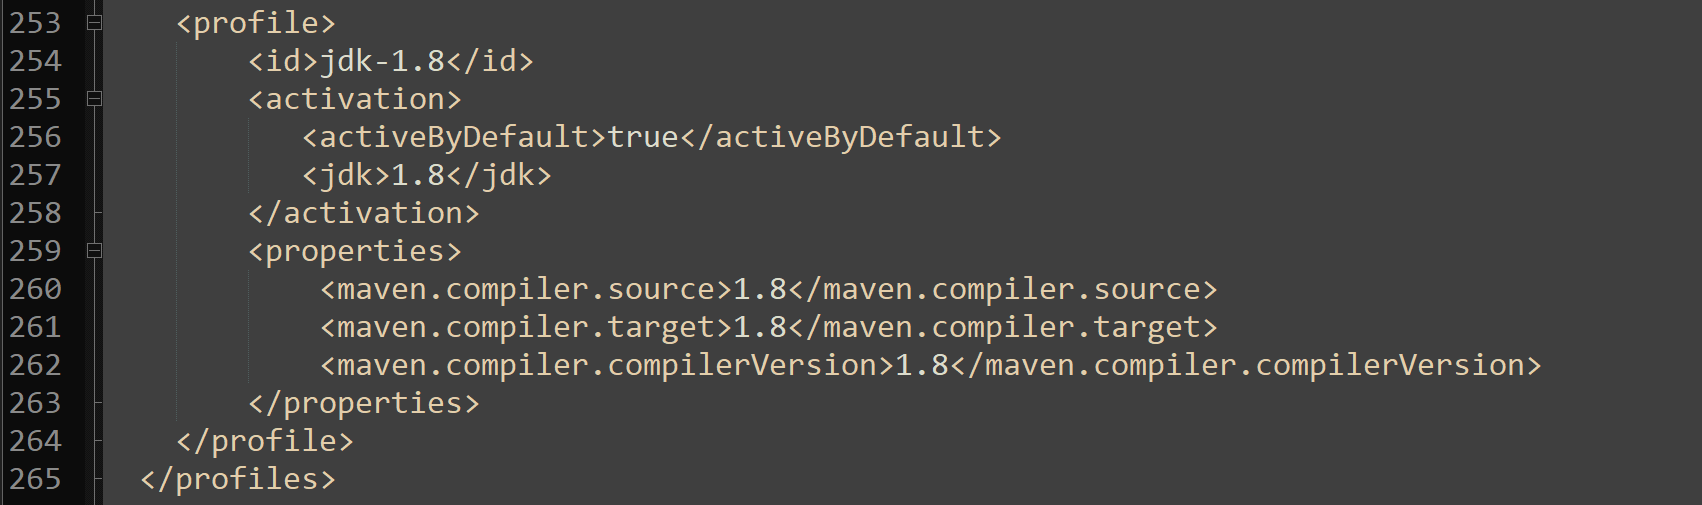
<profile>
    <id>jdk-1.8</id>
    <activation>
       <activeByDefault>true</activeByDefault>
       <jdk>1.8</jdk>
    </activation>
    <properties>
        <maven.compiler.source>1.8</maven.compiler.source>
        <maven.compiler.target>1.8</maven.compiler.target>
        <maven.compiler.compilerVersion>1.8</maven.compiler.compilerVersion>
    </properties>
</profile>
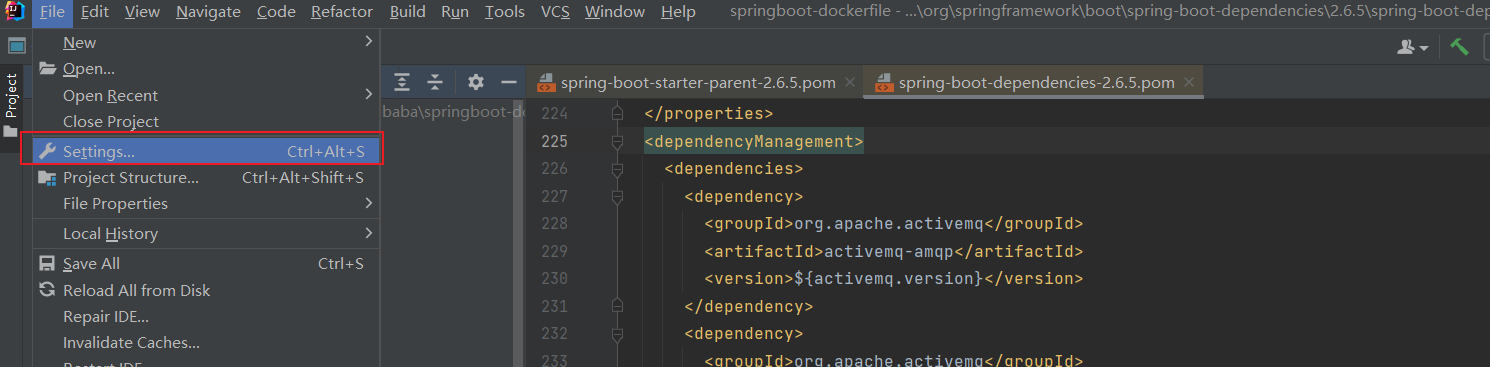
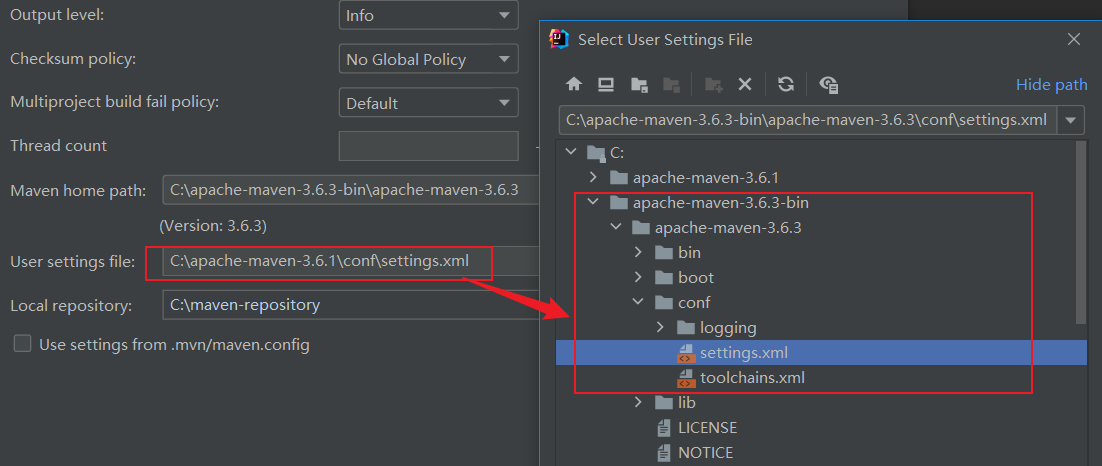
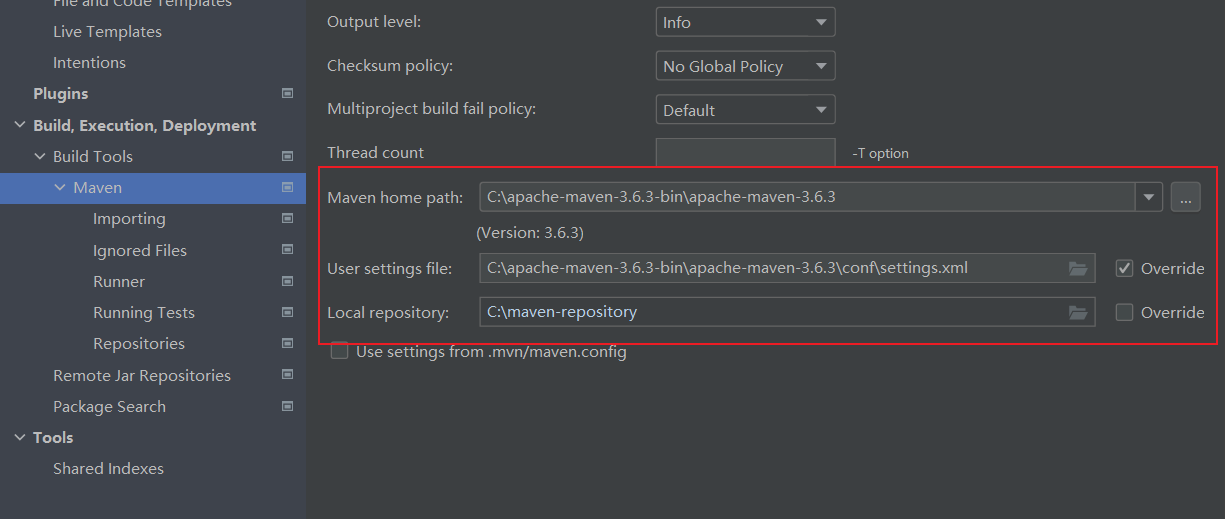
idea环境安装配置maven
在idea中打开File/Settings
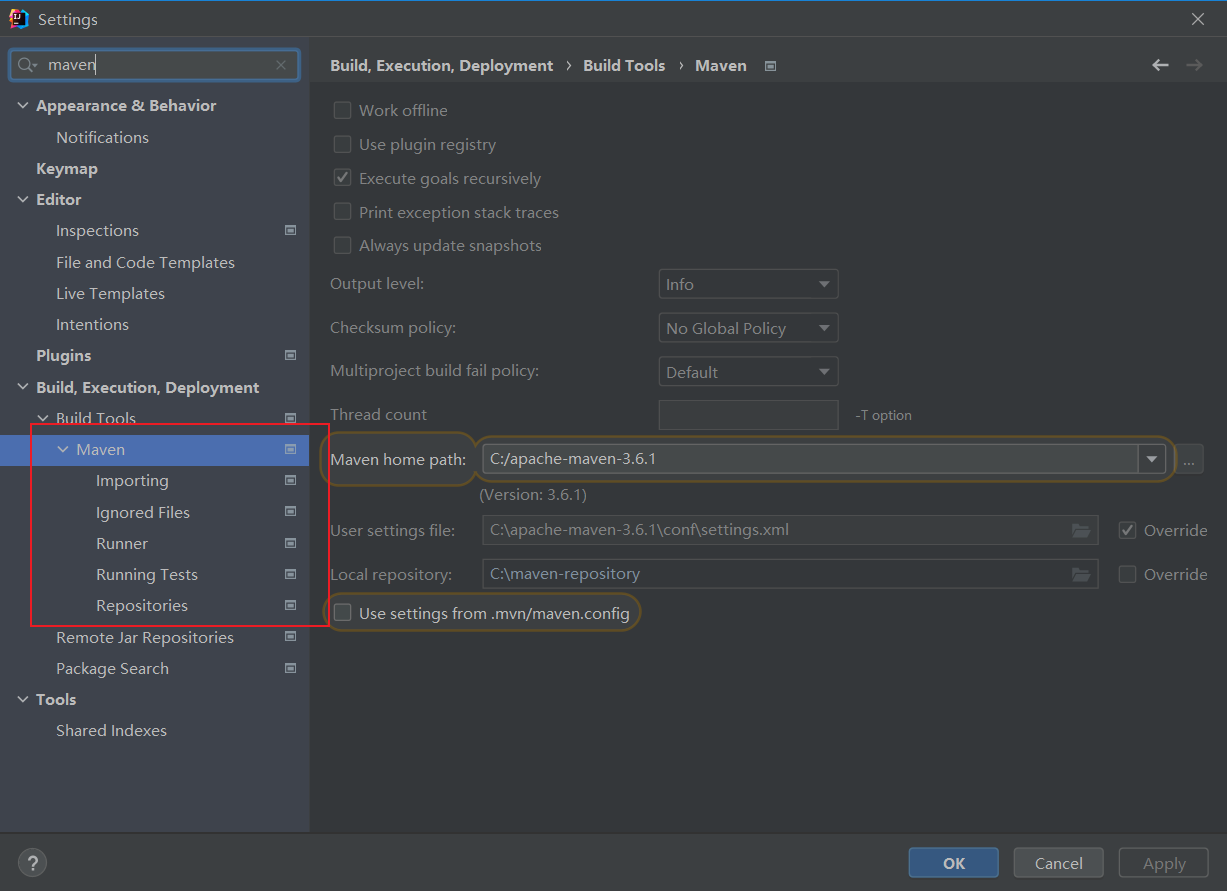
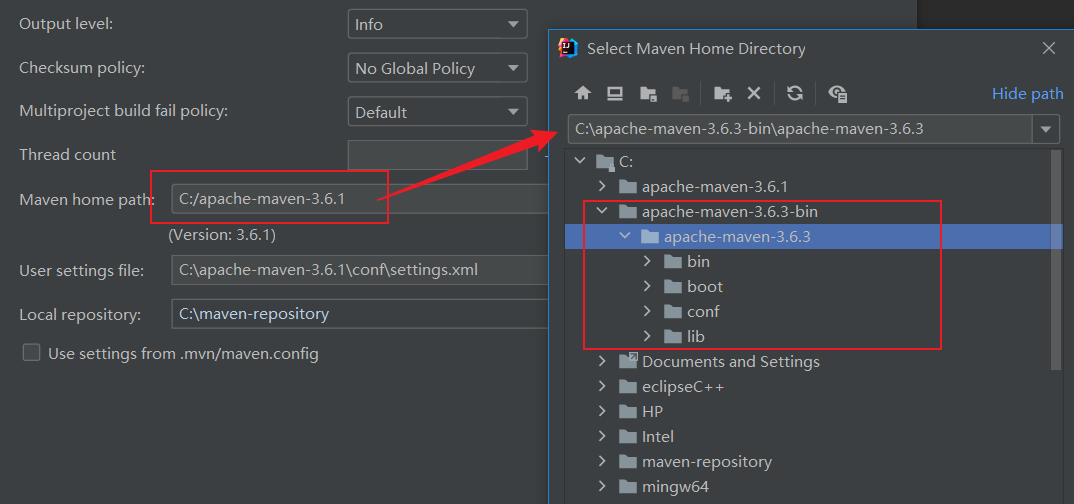
配置本地maven
maven核心思想
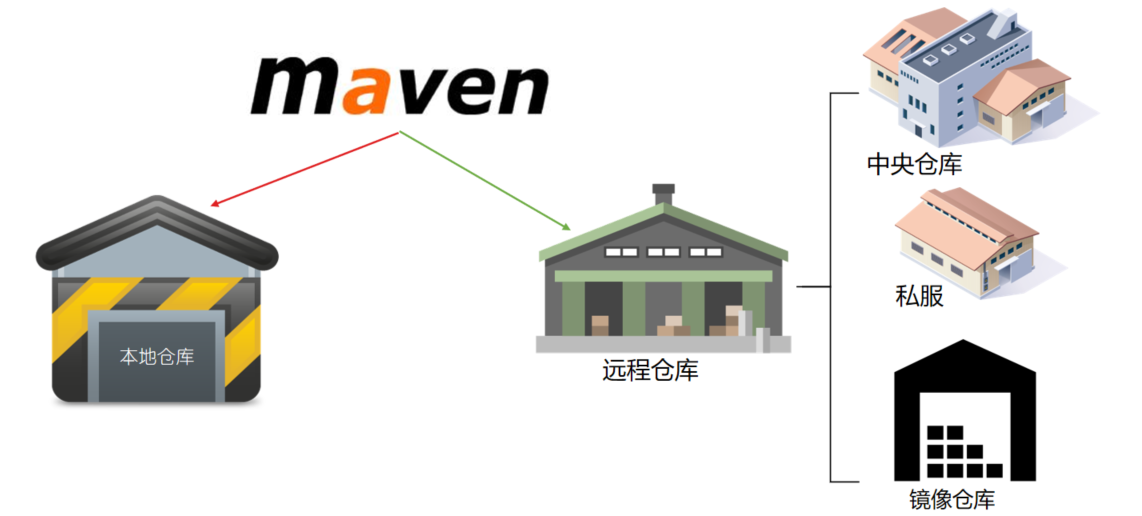
maven仓库
maven生命周期

maven项目对象模型(pom)

dependency

依赖Scope配置。
| 序列 | 依赖范围(Scope) | 对于主代码classpath有效 | 对于测试代码classpath有效 | 被打包,对于运行时classpath有效 | 案例 |
|---|---|---|---|---|---|
| 1 | compile | yes | yes | yes | log4j |
| 2 | test | yes | junit | ||
| 3 | provided | yes | yes | servlet-api | |
| 4 | runtime | yes | JDBC Driver Implementtion |
maven私服-nexus
下载安装
下载nexus
访问官网: https://help.sonatype.com/repomanager3/product-information/download
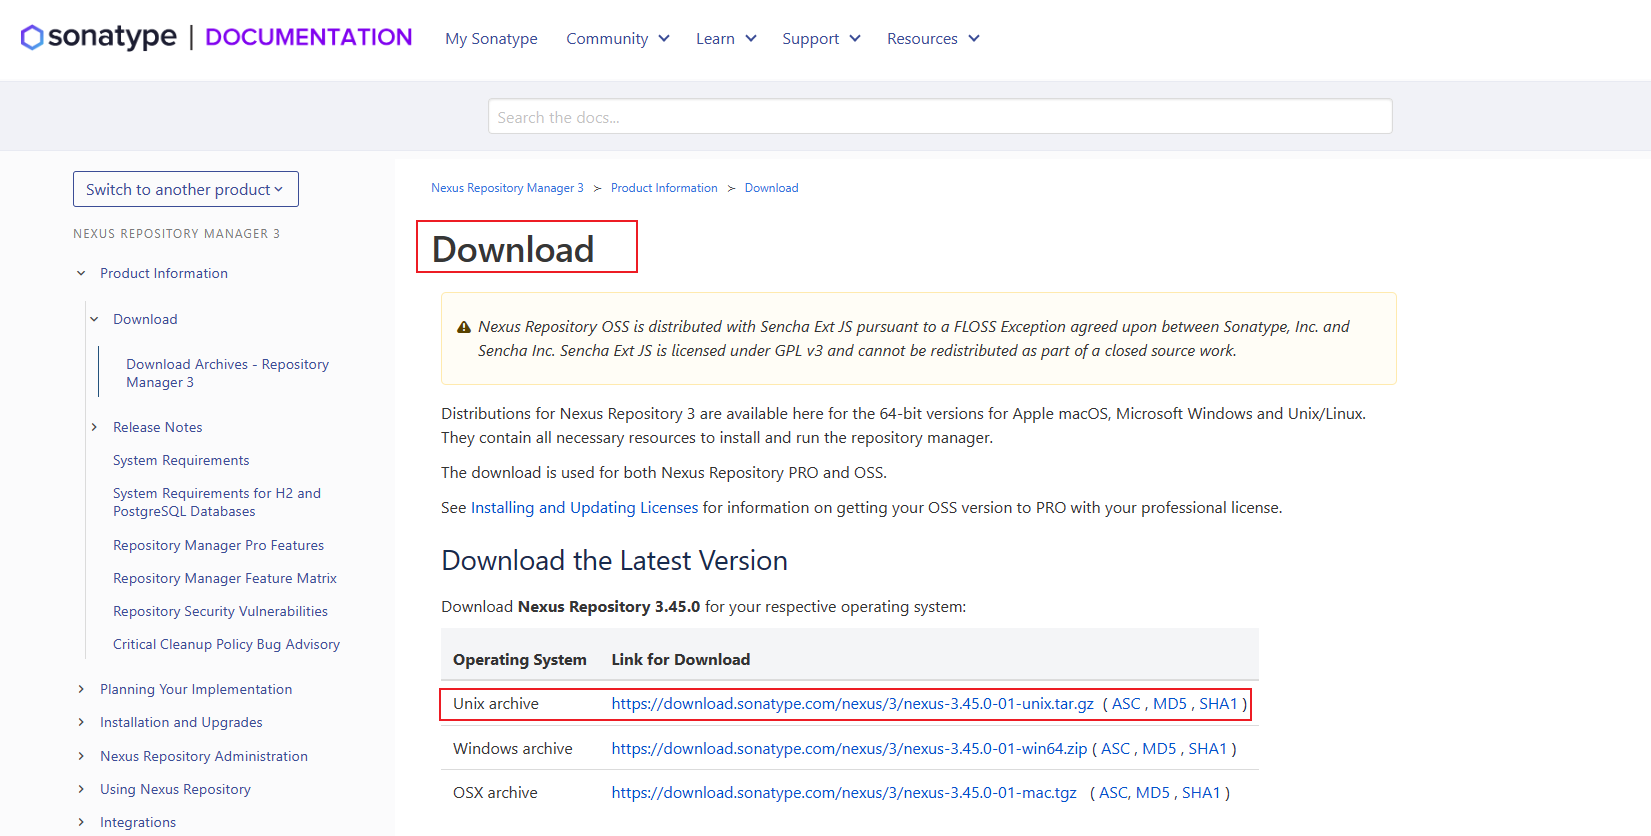
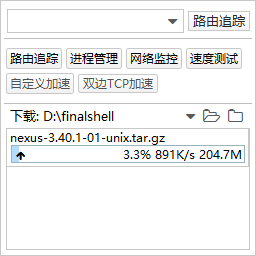
由于网络不稳定,下载问题,我选择其它版本nexus-3.40.1-01-unix.tar.gz
上传到linux服务器

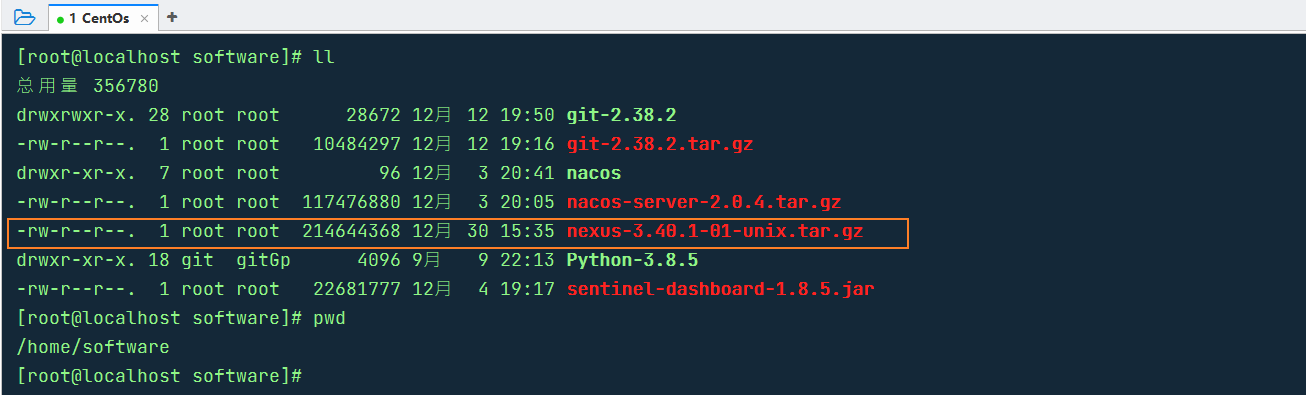
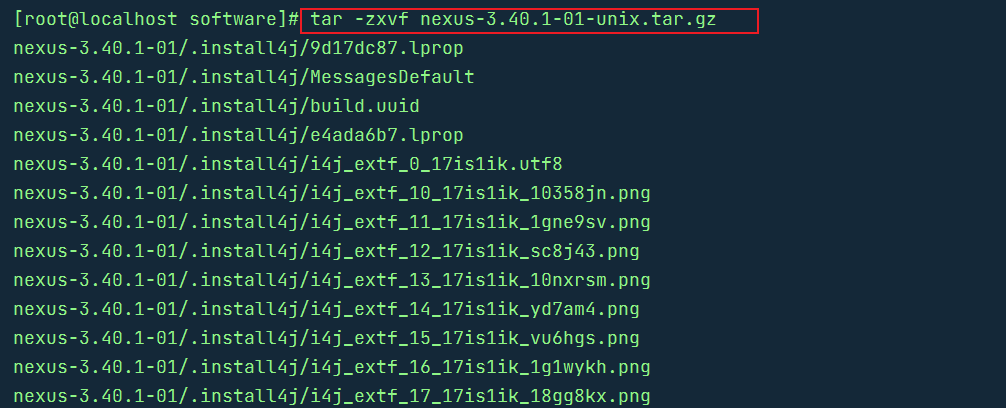
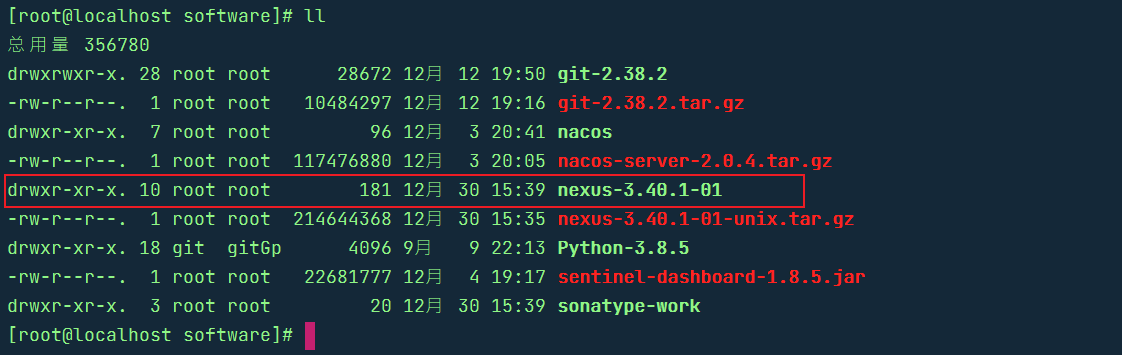
解压并重名名
解压nexus-3.40.1-01-unix.tar.gz
tar -zxvf nexus-3.40.1-01-unix.tar.gz
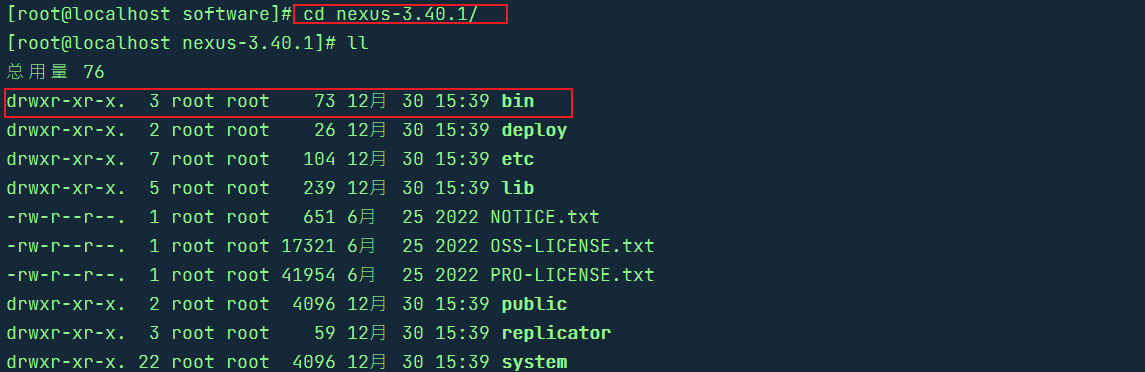
nexus配置
进入nexus-3.40.1/bin文件夹
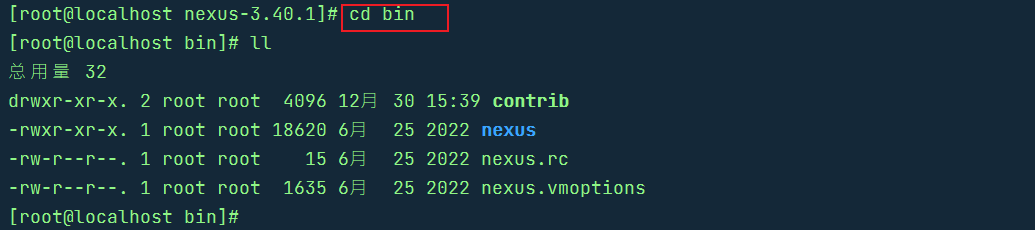
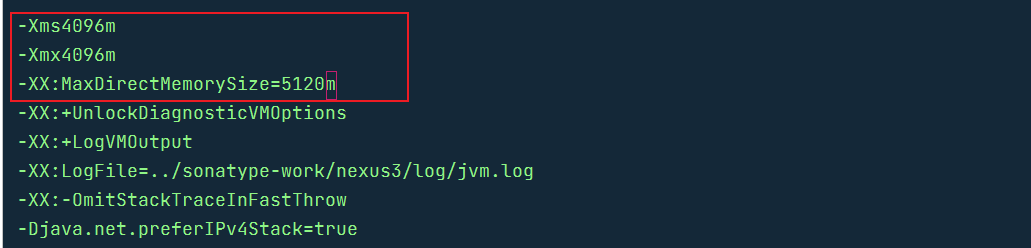
编辑nexus.vmoptions文件
根据自己机器内存大小,适当配置内存。内存太小未来启动nexus会失败。
vim nexus.vmoptions
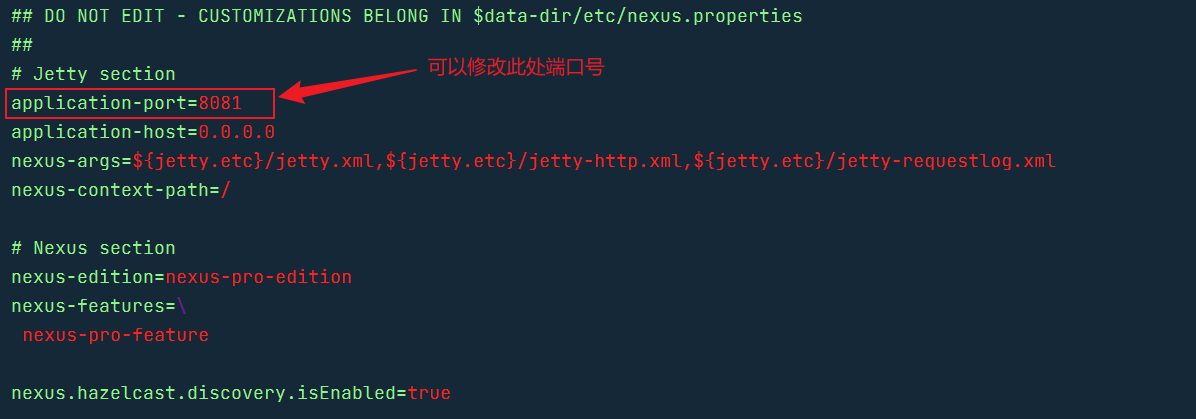
配置端口
默认端口为8081,如果需要在要在文件中配置端口。(如果不需改端口,此处可以忽略)
-
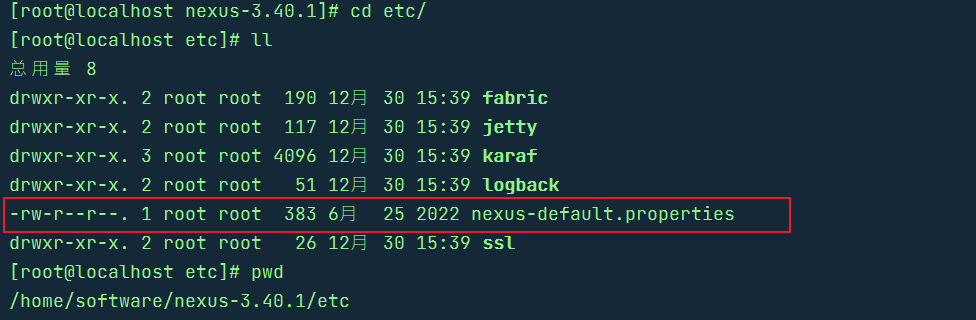
进入etc文件夹
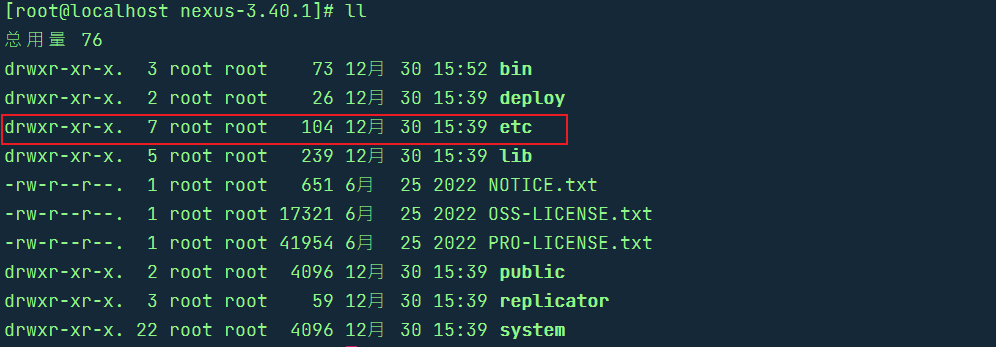
-
修改nexus-default.properties文件
运行nexus
启动nexus
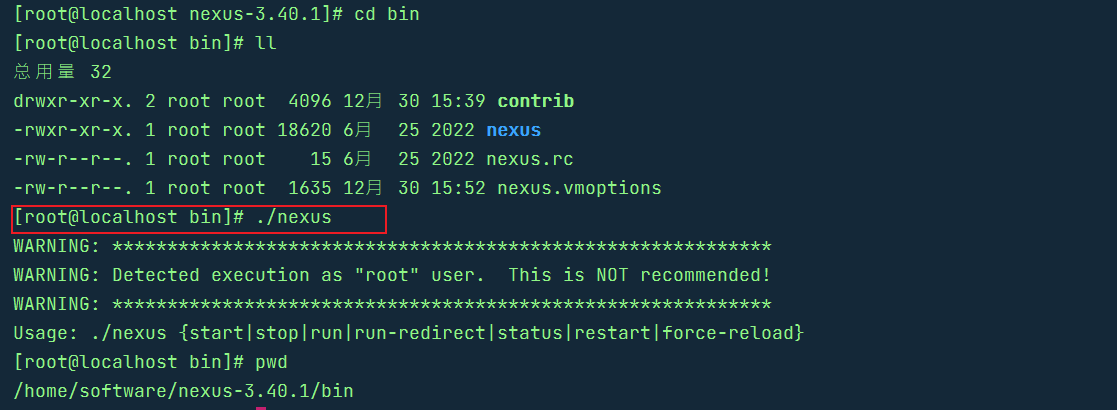
运行命令**./nexus start**

开放linux的8081端口
-
检查系统开放的端口号
firewall-cmd --list-ports

-
添加8081端口
firewall-cmd --zone=public --add-port=端口号/tcp --permanent

-
重新加载防火墙
firewall-cmd --reload

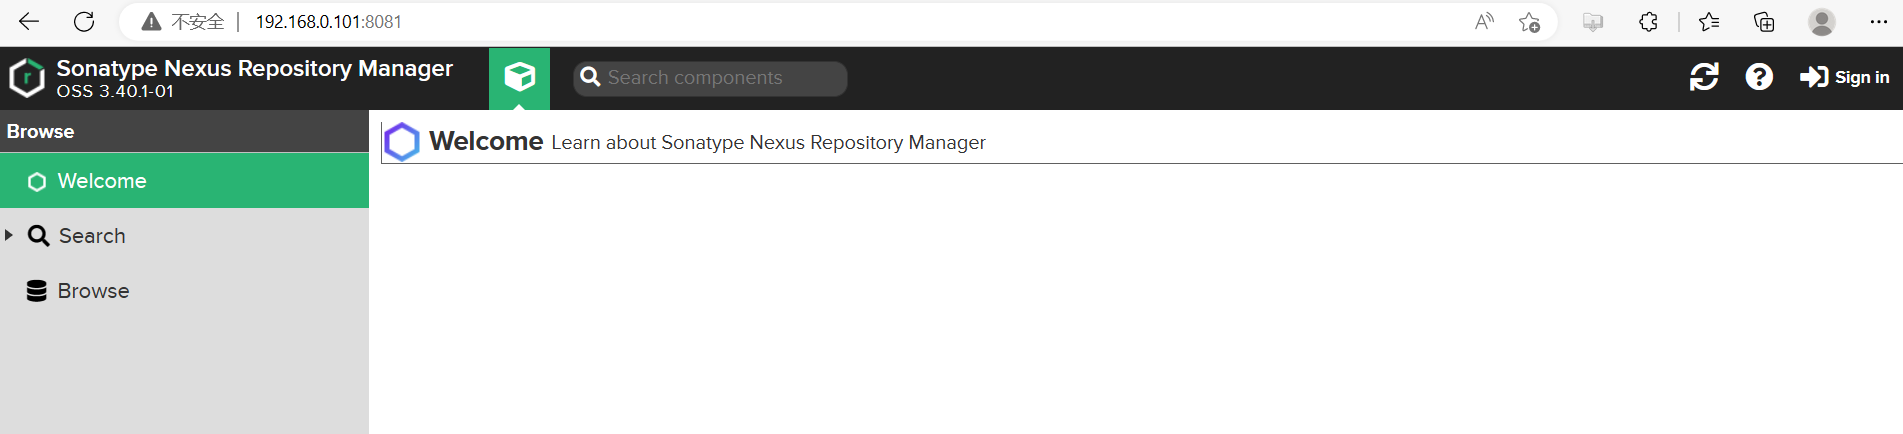
查看nexus的运行状态
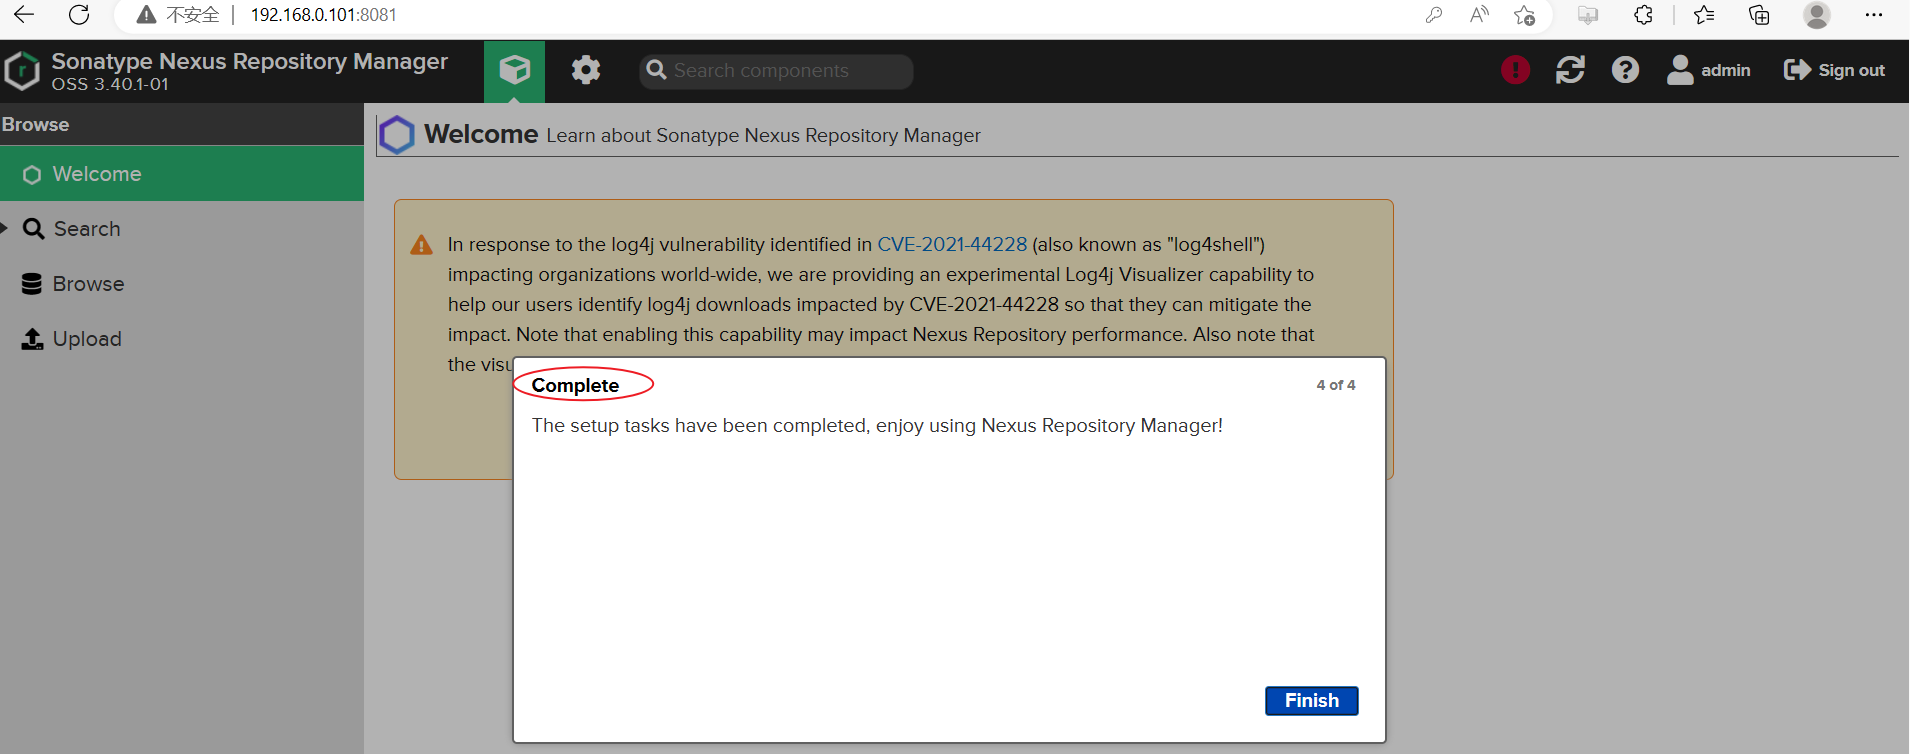
在浏览器中输入http://102.168.0.101:8081
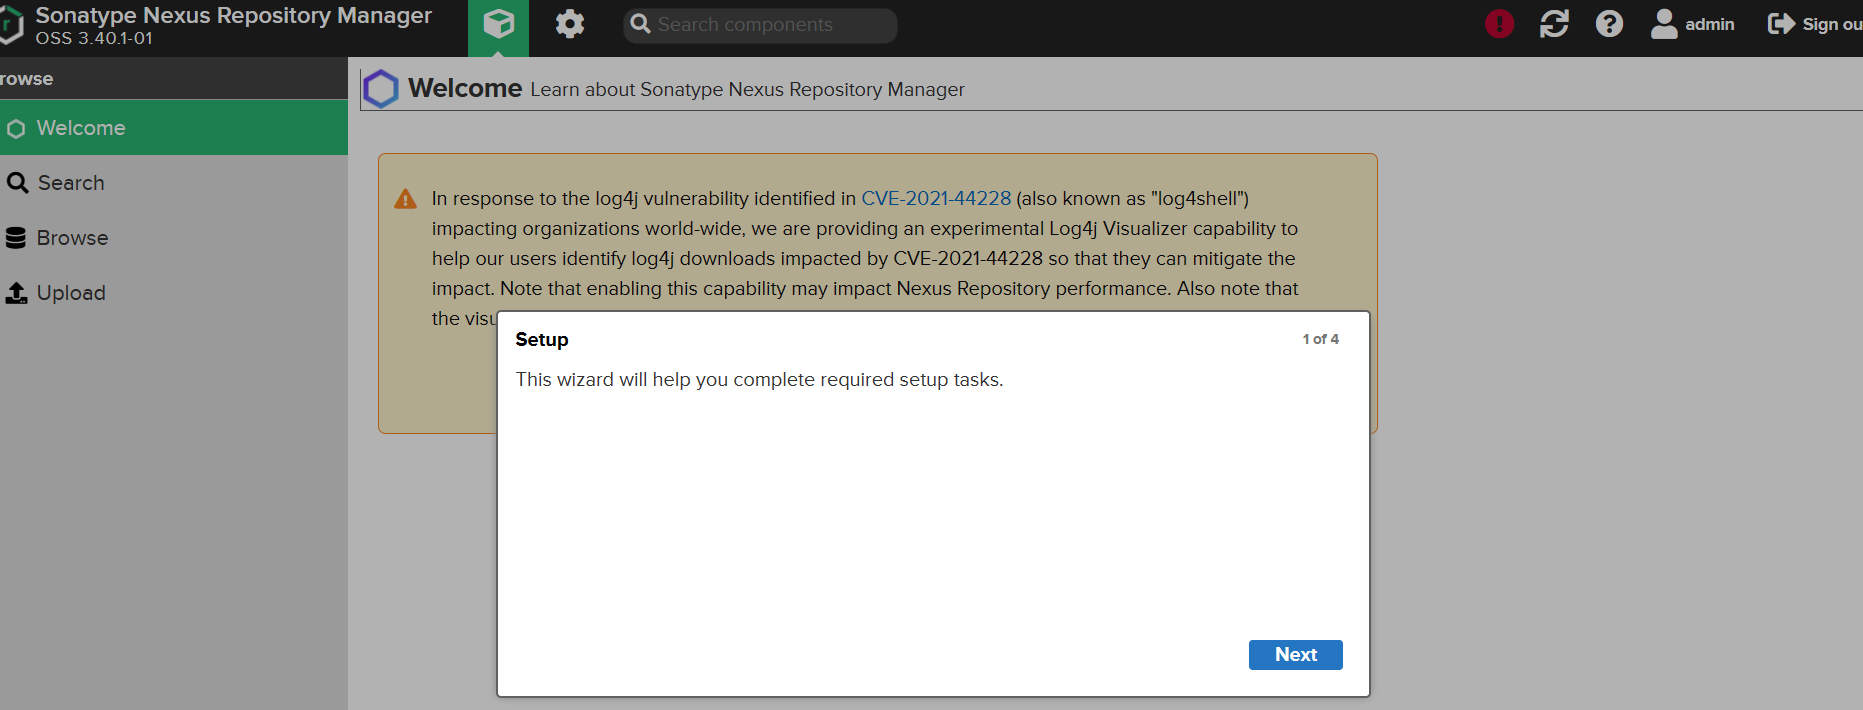
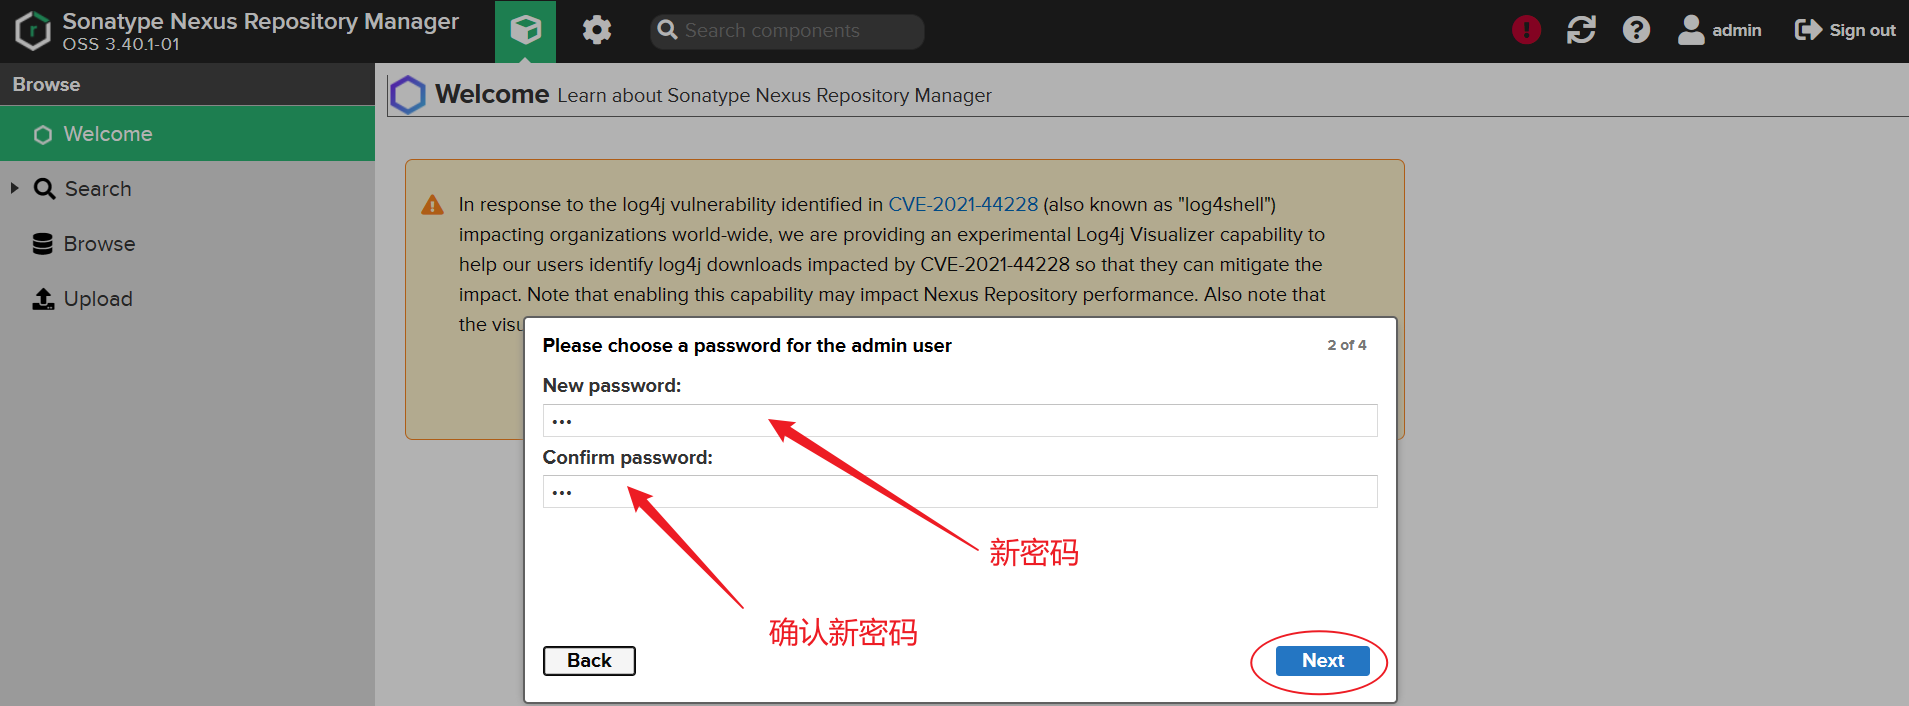
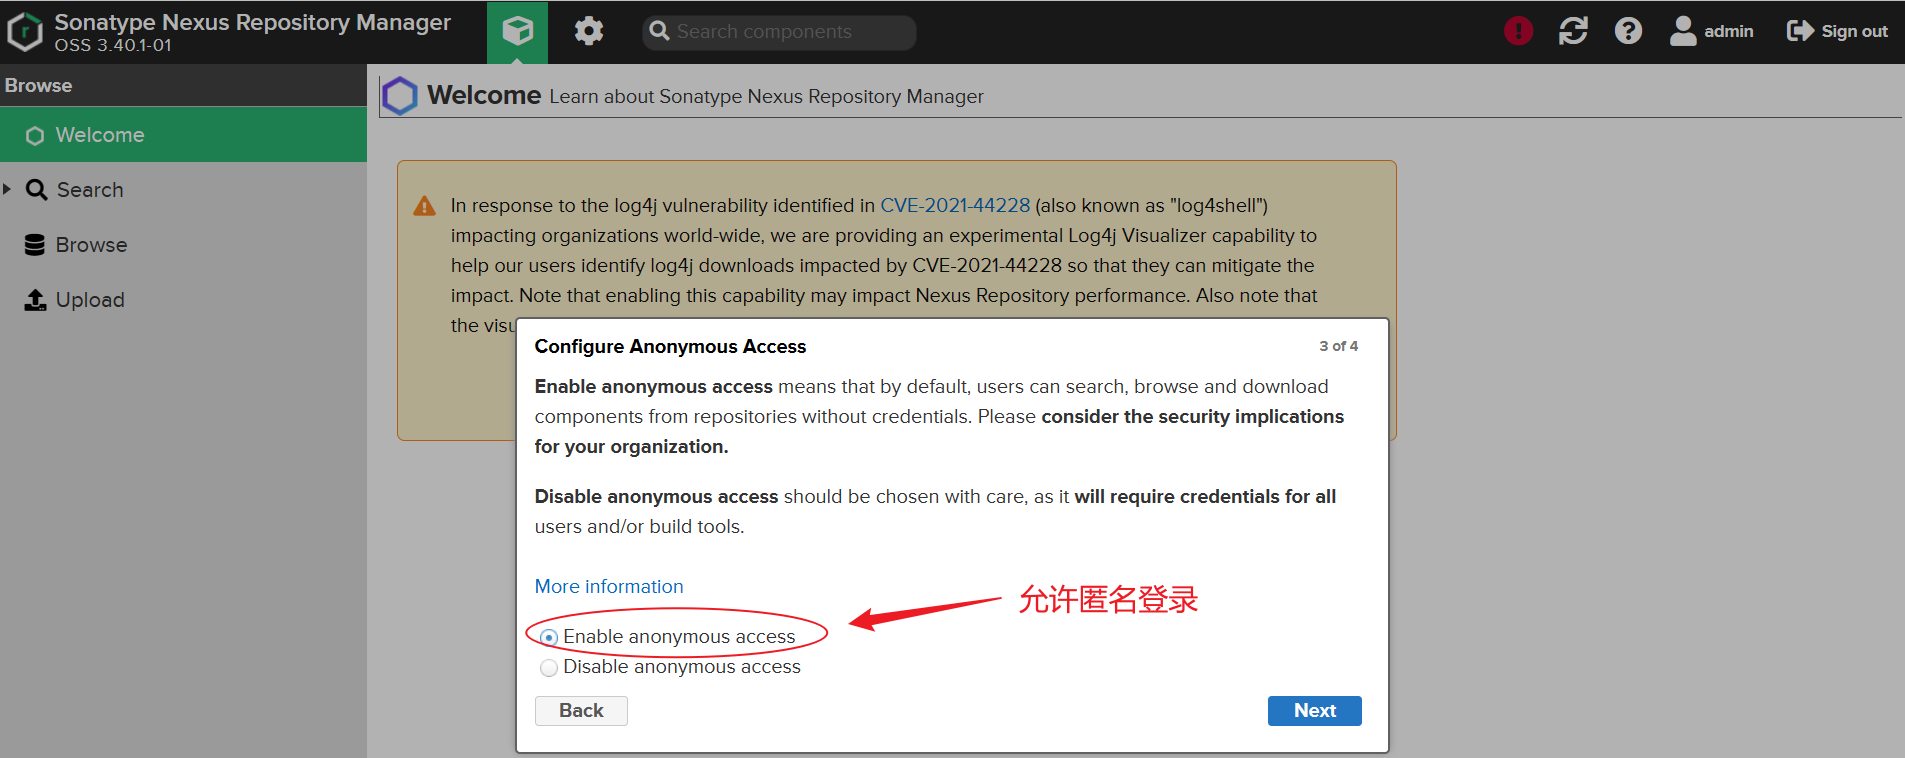
修改管理员密码
-
查看管理员账户密码
-
进入sonatype-work\nexus3文件夹
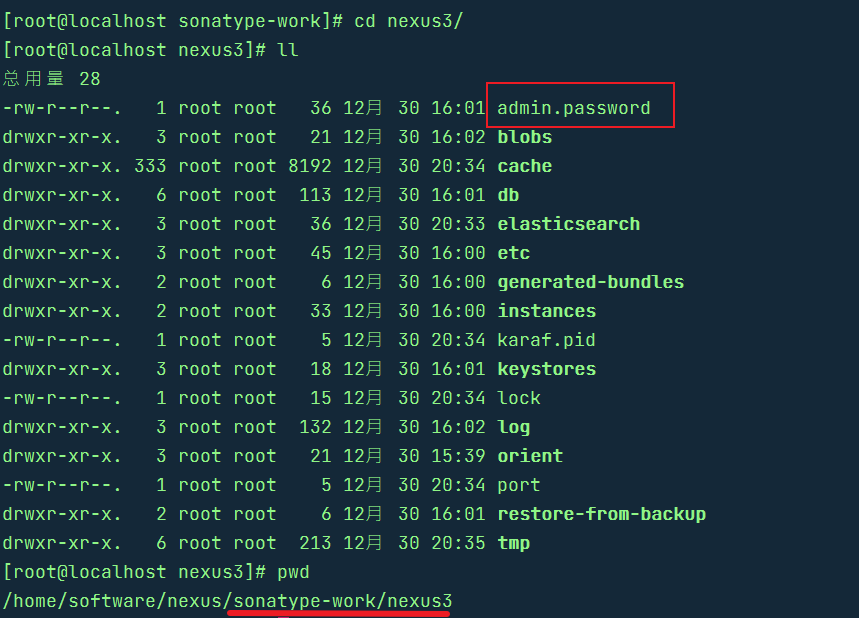
-
查看管理员密码

-
-
修改管理员密码
-
浏览器登录nexus
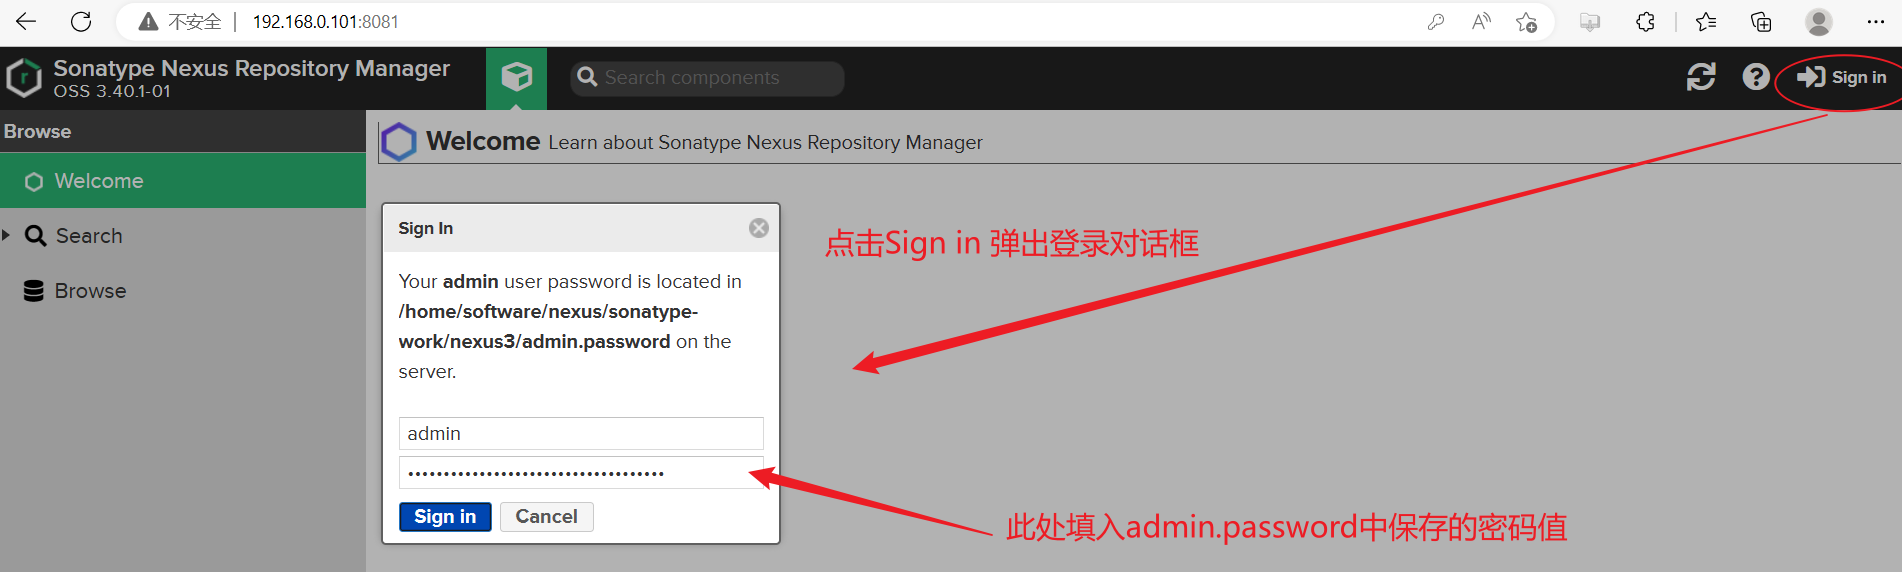
-
修改密码
-
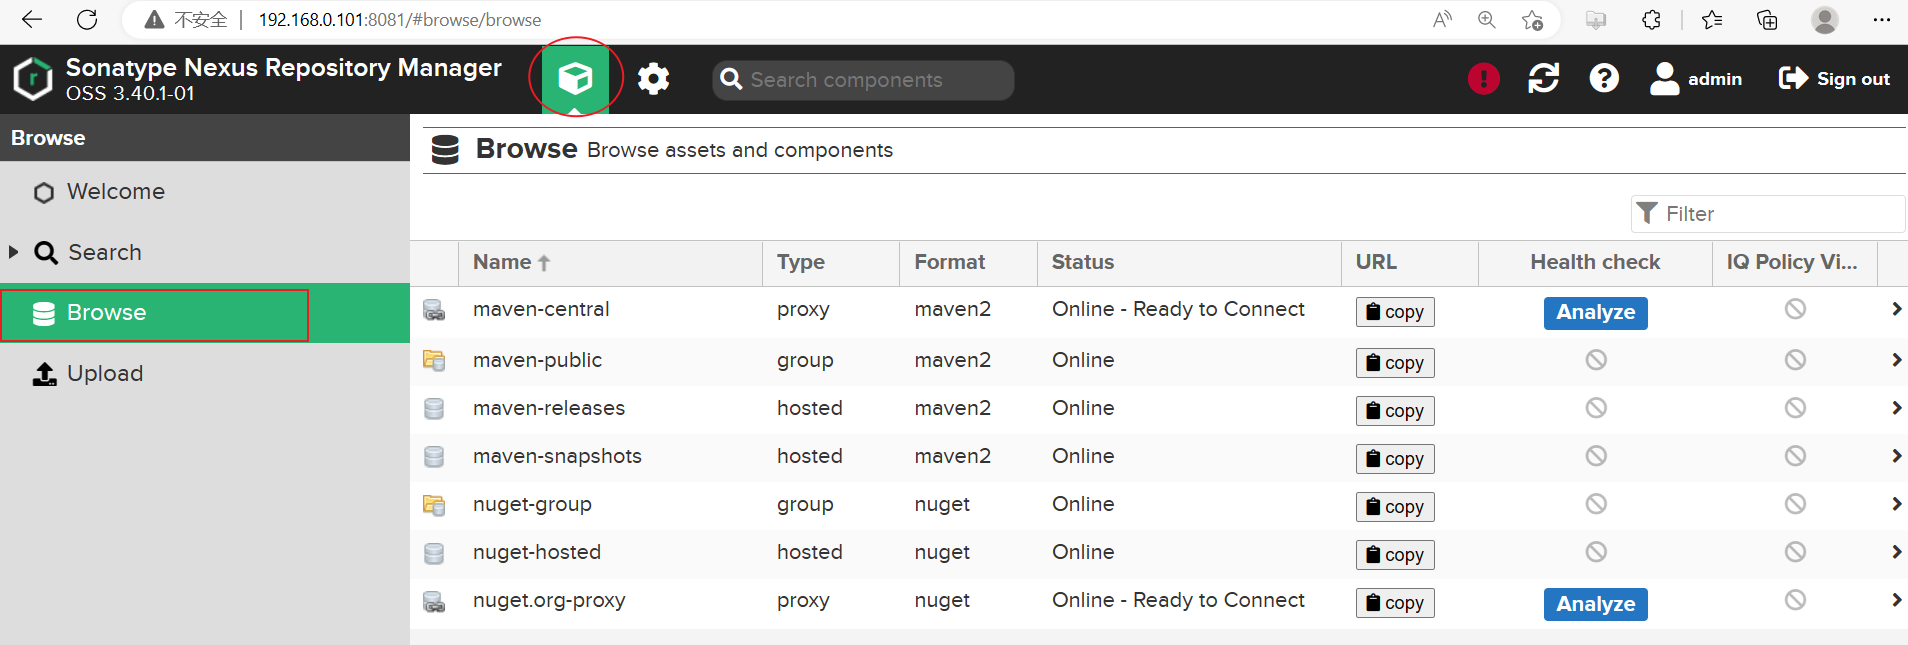
配置私有仓库
nexus中默认仓库
maven-releases (Version policy=Release)默认只允许上传不带SNAPSHOT版本尾缀的包,默认部署策略是Disable redeploy 不允许重复上传相同版本号信息的jar,避免包版本更新以后使用方无法获取到最新的包。
maven-snapshots (Version policy=Snapshot)只允许上传带SNAPSHOT版本尾缀的包,默认部署策略是Allow redeploy,允许重复上传相同版本号信息的jar,每次上传的时候会在jar的版本号上面增加时间后缀信息。
maven-central 中央仓库的拷贝,如果环境可以访问中央仓库,则可以获取到相关的包,否则没用
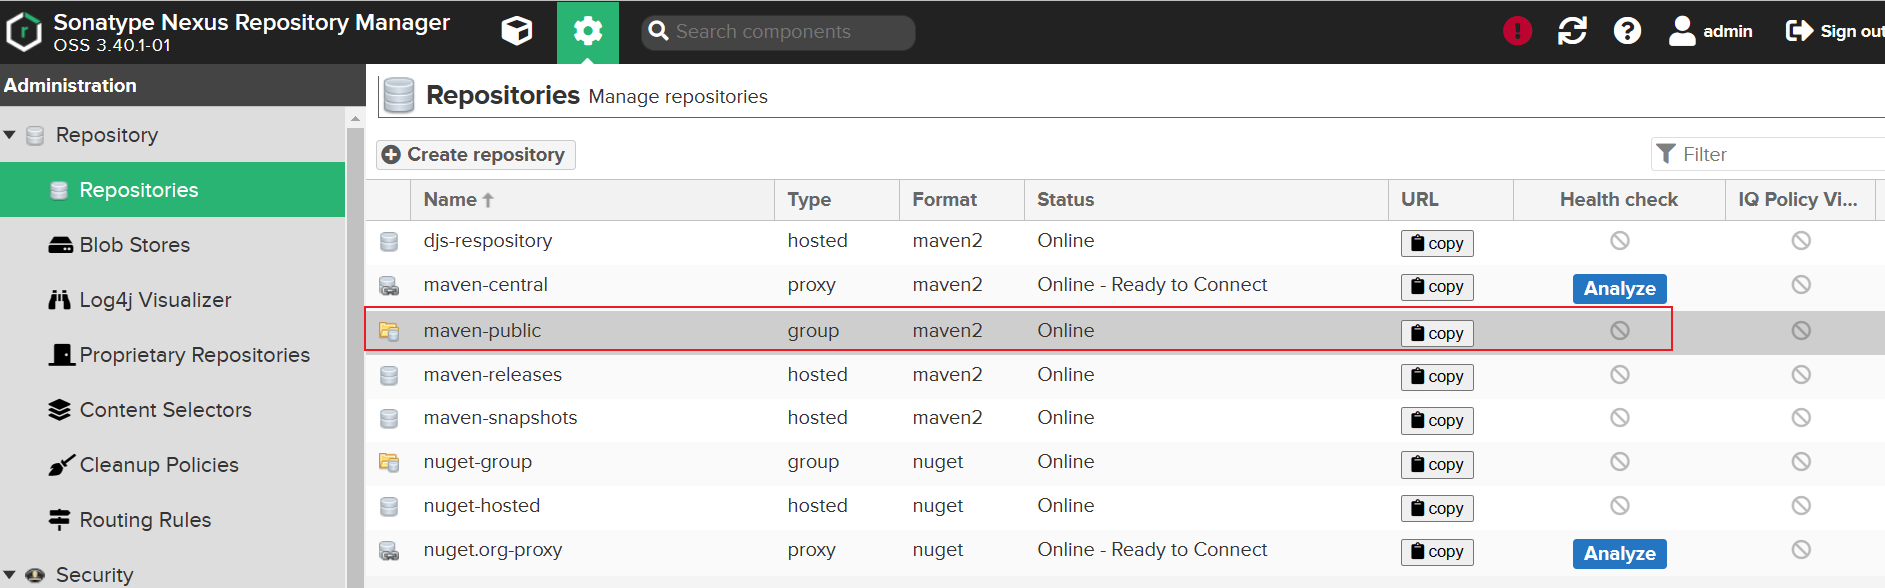
maven-public 仓库组,不是实际个一个仓库地址,只是将现有的组合到一次,可以通过它看到所属组内全部仓库的jar信息
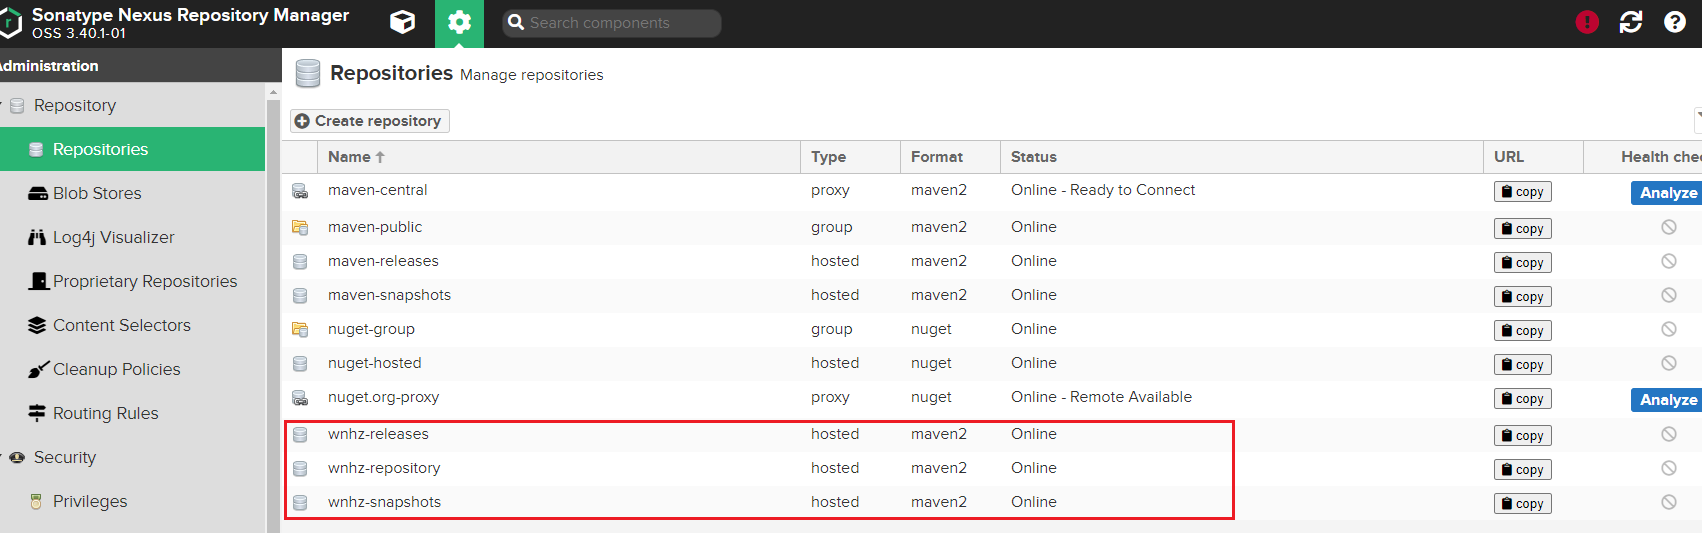
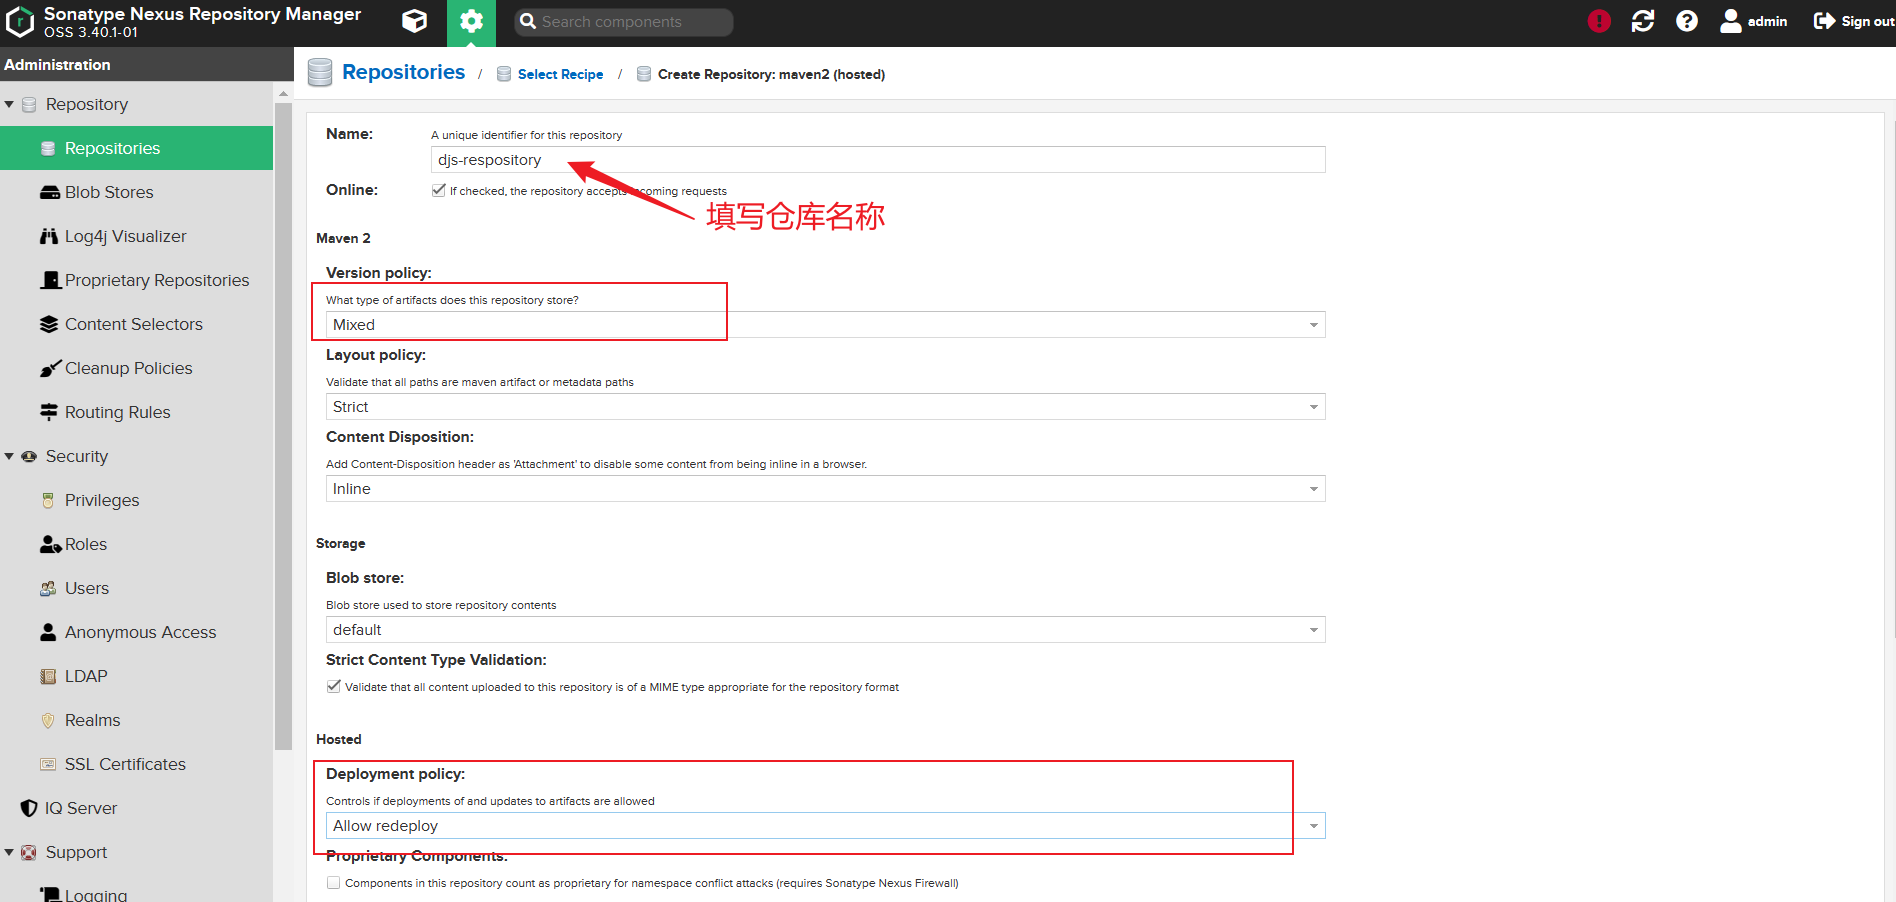
创建自定义仓库
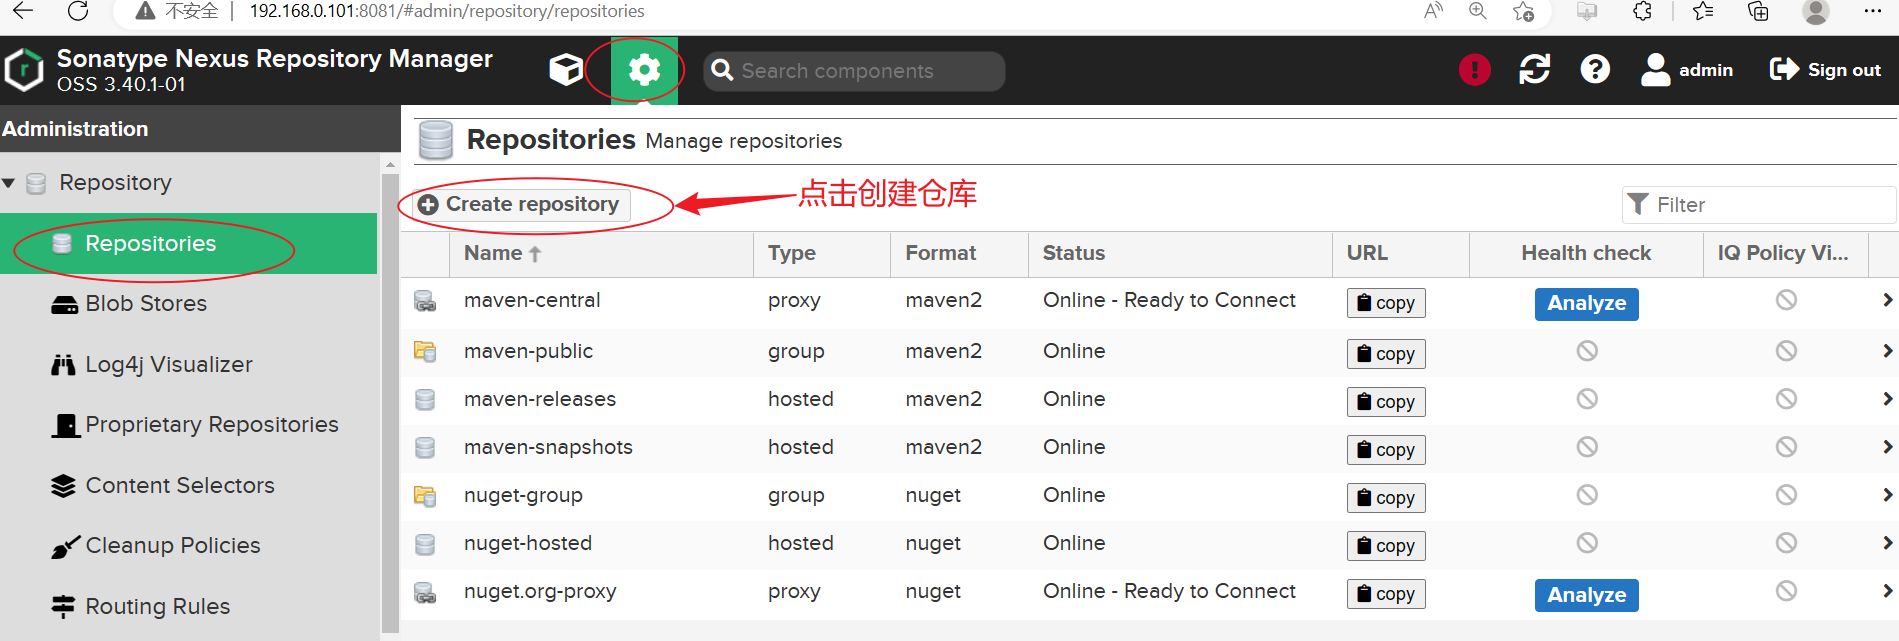
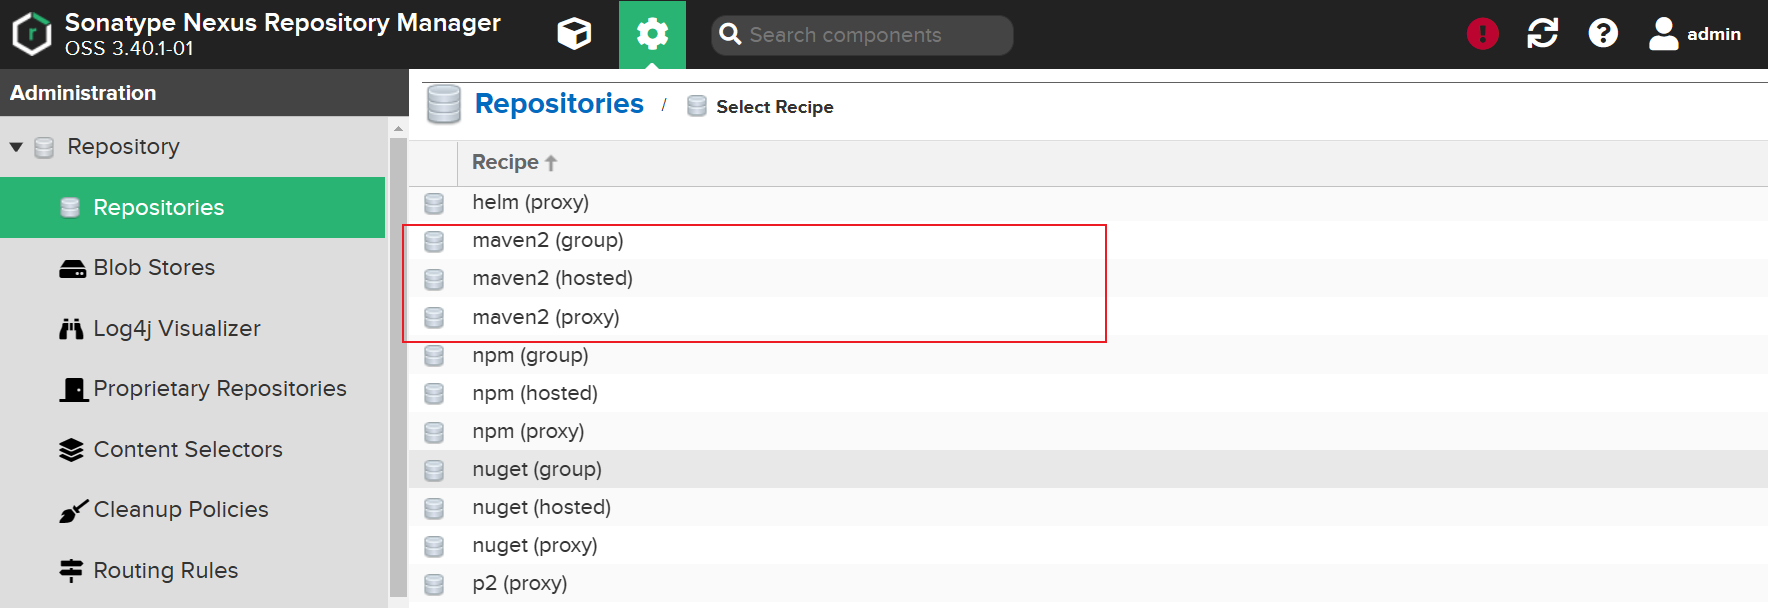
选择maven2(hosted)
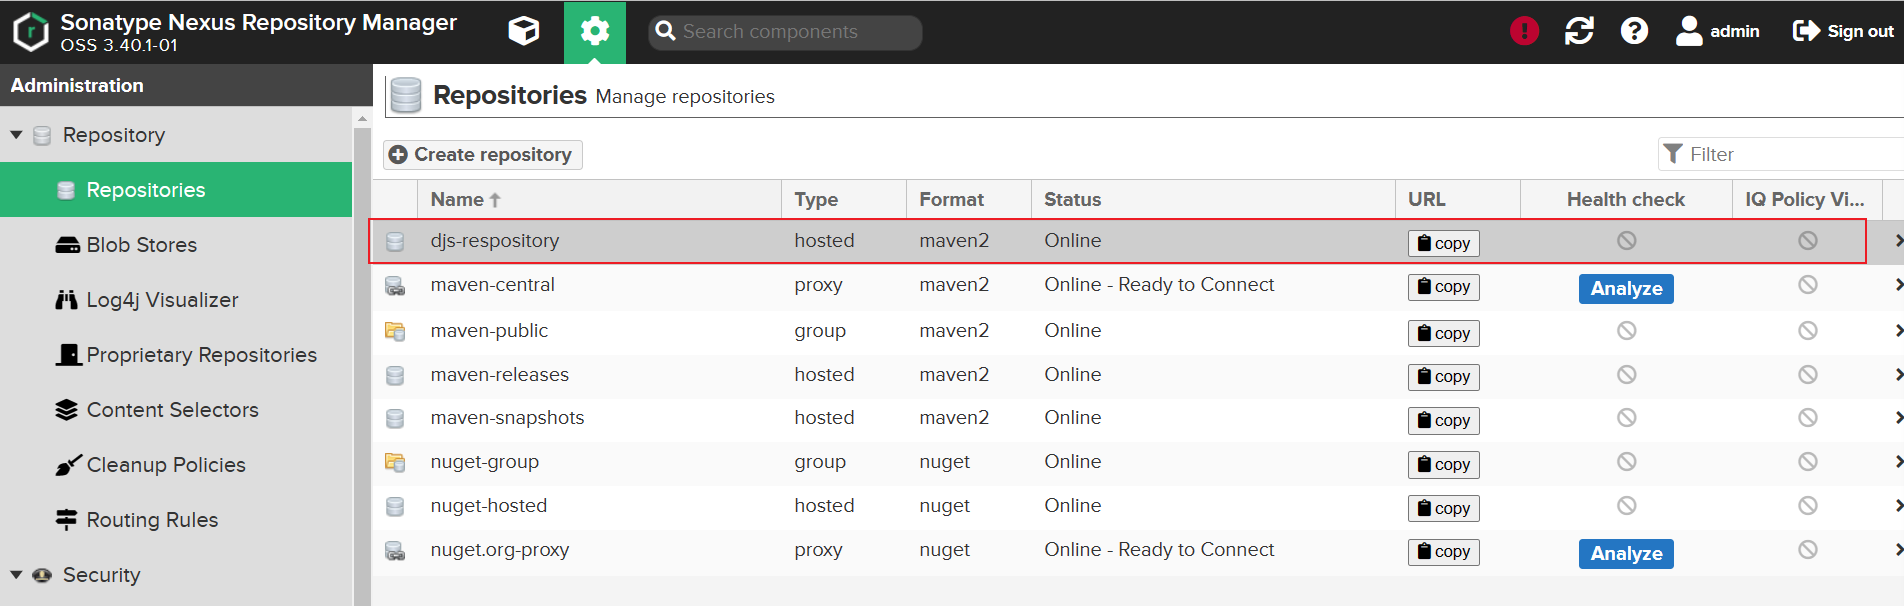
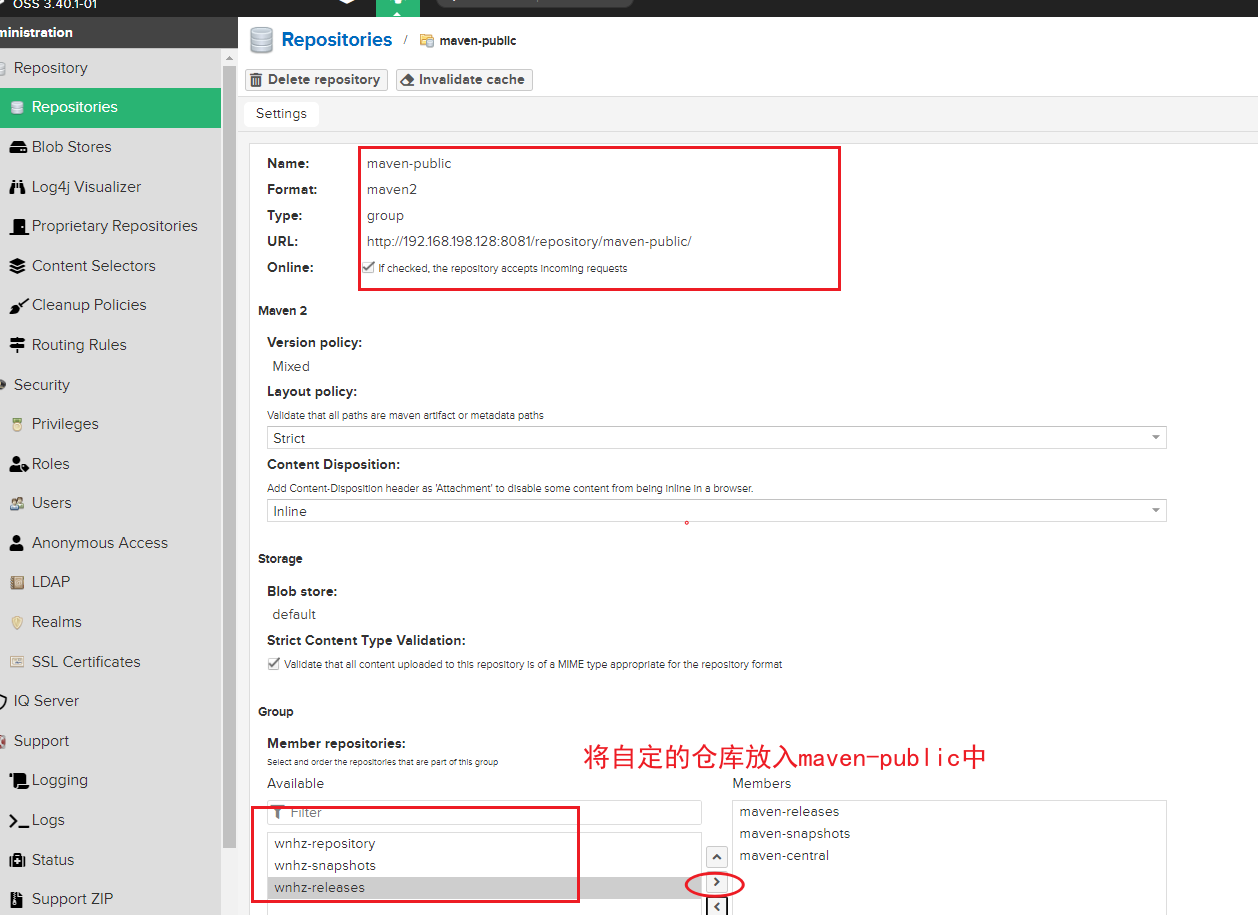
添加新建仓库到maven-public群组中
-
选中maven-public群组,之后访问maven-public就可以访问自己的私有仓库了。
-
创建三个仓库,wnhz-repository(混合拍照&发布), wnhz-releases(发布版), wnhz-snapshots(拍照班)

照片版(测试版/开发版)

发布版

混合版

-
添加仓库到群组maven-public群组中

批量上传本地文件到自定义仓库中
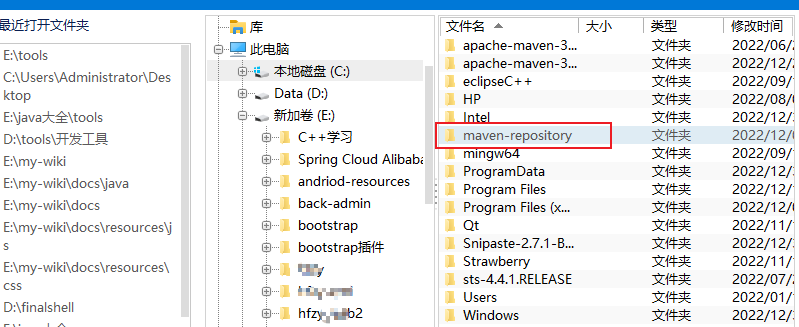
上传本地仓库内容到linux服务器

编辑批量上传脚本
在本地仓库上传的文件夹(maven-repository)下创建一个shell脚本,命名 localrepository.sh
-
创建脚本
touch localrepository.sh

-
编辑脚本
vim localrepository.sh
#!/bin/bash
while getopts ":r:u:p:" opt; do
    case $opt in
        r) REPO_URL="$OPTARG"
        ;;
        u) USERNAME="$OPTARG"
        ;;
        p) PASSWORD="$OPTARG"
        ;;
    esac
done

find . -type f -not -path './mavenimport\.sh*' -not -path '*/\.*' -not -path '*/\^archetype\-catalog\.xml*' -not -path '*/\^maven\-metadata\-local*\.xml' -not -path '*/\^maven\-metadata\-deployment*\.xml' | sed "s|^\./||" | xargs -I '{}' curl -u "$USERNAME:$PASSWORD" -X PUT -v -T {} ${REPO_URL}/{} ;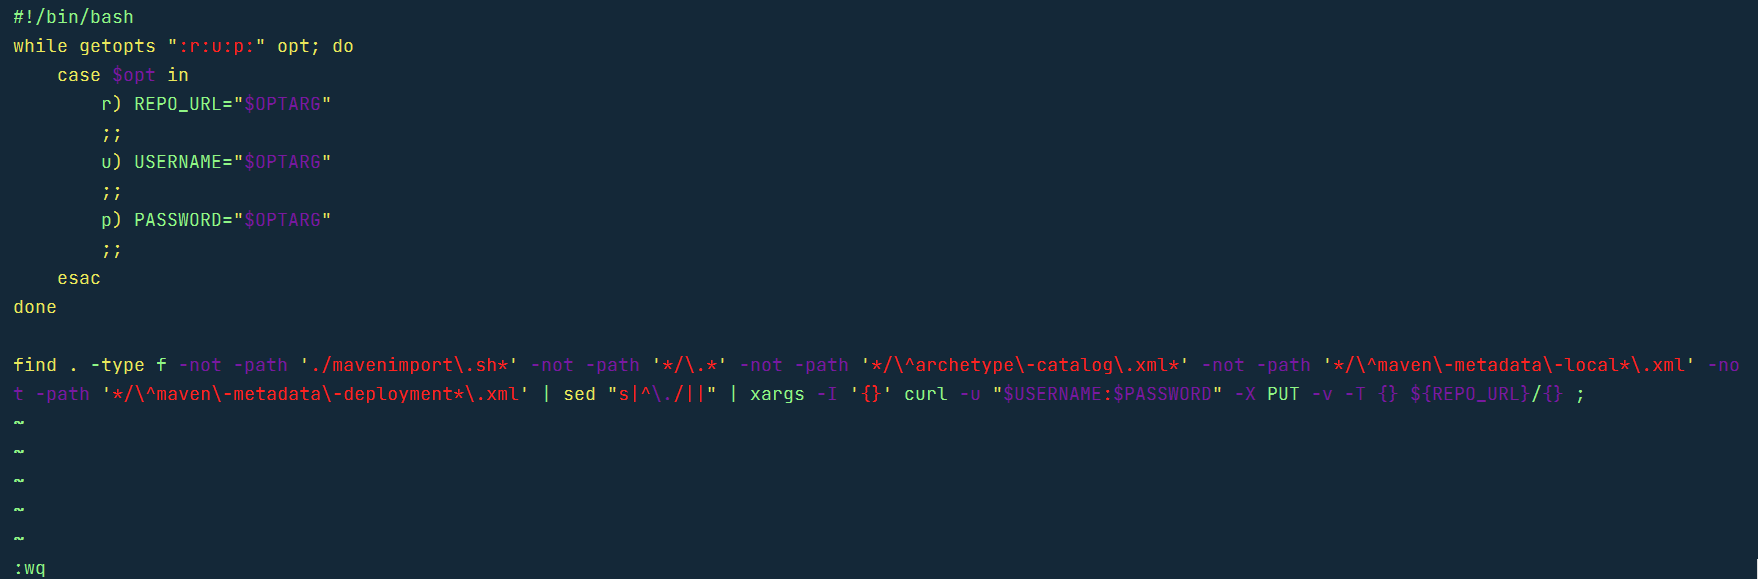
添加权限
给脚本localrepository.sh添加执行权限
chmod +x localrepository.sh

导入本地仓库到nexus私有仓库
执行以下命令
./localrepository.sh -u nexus用户名 -p nexus密码 -r 仓库地址(自定义存储混合依赖的)
./localrepository.sh -u admin -p 123 -r http://192.168.198.128:8081/repository/wnhz-repository/


项目中引用nexus库
在maven的conf/settings.xml中配置server
在settings中配置snapshots,releases和wnhz-repository服务用户名密码
注意:id必须唯一,项目pom中引用的是这个指定id。
 <servers>
    <!-- server
     | Specifies the authentication information to use when connecting to a particular server, identified by
     | a unique name within the system (referred to by the 'id' attribute below).
     |
     | NOTE: You should either specify username/password OR privateKey/passphrase, since these pairings are
     |       used together.
     |
    <server>
      <id>deploymentRepo</id>
      <username>repouser</username>
      <password>repopwd</password>
    </server>
    -->

    <!-- Another sample, using keys to authenticate.
    <server>
      <id>siteServer</id>
      <privateKey>/path/to/private/key</privateKey>
      <passphrase>optional; leave empty if not used.</passphrase>
    </server>
    -->
  	<server>
  		<id>wnhz</id>
  		<username>admin</username>
  		<password>123</password>
  	</server>
    <server>
      <id>wnhz-release</id>
      <username>admin</username>
      <password>123</password>
    </server>
    <server>
      <id>wnhz-snapshots</id>
      <username>admin</username>
      <password>123</password>
    </server>
  </servers>

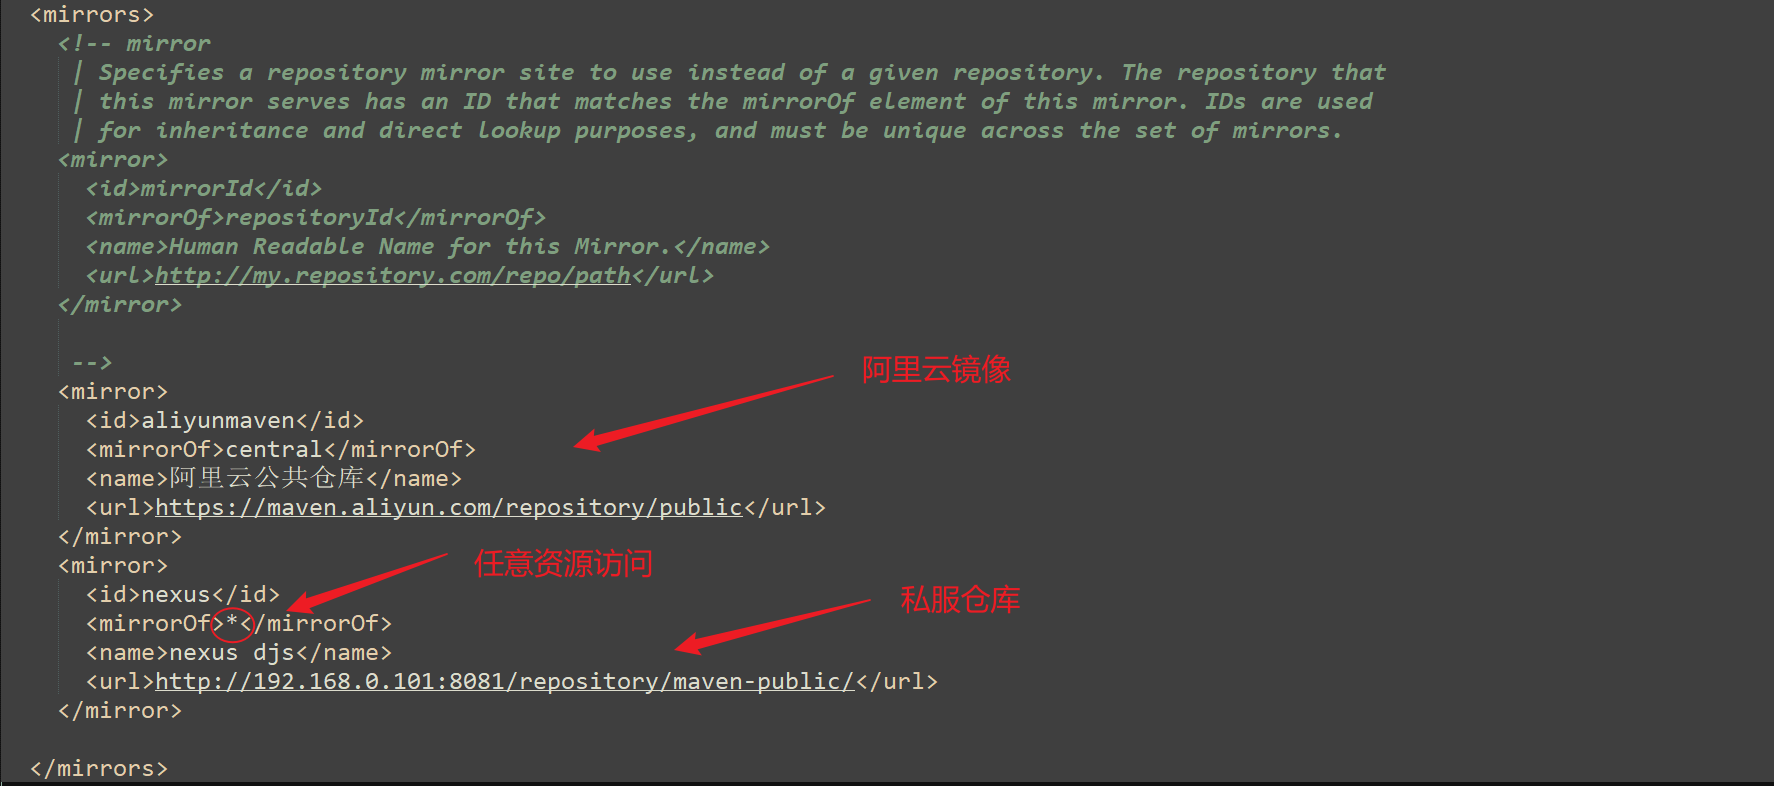
在maven中配置镜像
中央仓库的资源从阿里云访问,其它资源来自nexus私服。
  <mirrors>
    <!-- mirror
     | Specifies a repository mirror site to use instead of a given repository. The repository that
     | this mirror serves has an ID that matches the mirrorOf element of this mirror. IDs are used
     | for inheritance and direct lookup purposes, and must be unique across the set of mirrors.
    <mirror>
      <id>mirrorId</id>
      <mirrorOf>repositoryId</mirrorOf>
      <name>Human Readable Name for this Mirror.</name>
      <url>http://my.repository.com/repo/path</url>
    </mirror>

     -->
   <mirror>
      <id>aliyunmaven</id>
      <mirrorOf>central</mirrorOf>
      <name>阿里云公共仓库</name>
      <url>https://maven.aliyun.com/repository/public</url>
    </mirror>
    <mirror>
      <id>wnhzmaven</id>
      <mirrorOf>*</mirrorOf>
      <name>蜗牛杭州的maven私服仓库</name>
      <url>http://192.168.198.128:8081/repository/maven-public/</url>
    </mirror>
  </mirrors>
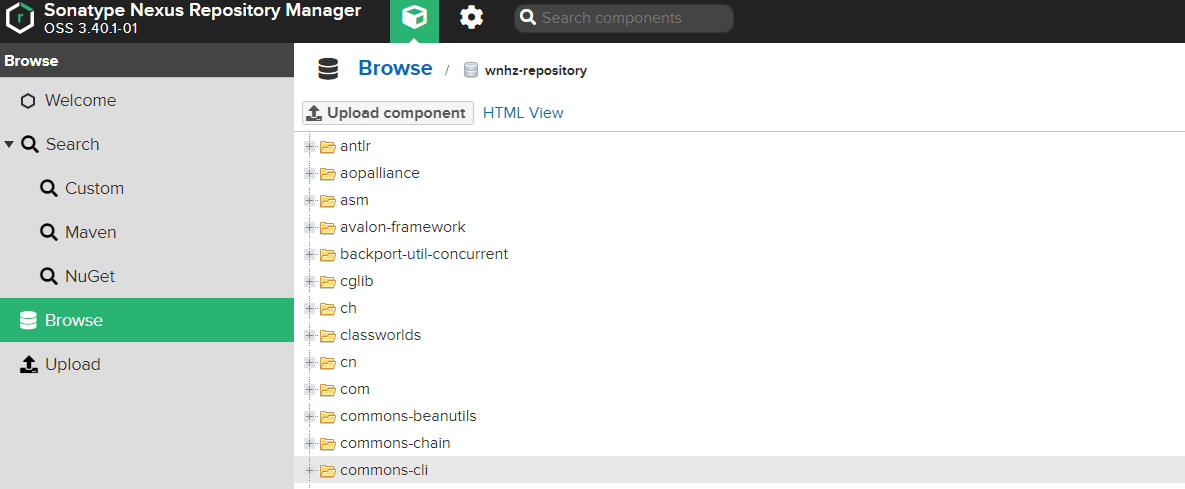
私服访问地址从下图获取:http://192.168.198.128:8081/#browse/browse:maven-public
项目中配置发布管理
在项目的pom.xml文件中添加<distributionManagement>
   <dependencyManagement>
        <dependencies>
            <dependency>
                <groupId>com.alibaba</groupId>
                <artifactId>druid-spring-boot-starter</artifactId>
                <version>${project.druid.version}</version>
            </dependency>
        </dependencies>
    </dependencyManagement>

    <distributionManagement>
        <snapshotRepository>
            <id>wnhz-snapshots</id>
            <url>http://192.168.198.128:8081/repository/wnhz-snapshots/</url>
        </snapshotRepository>
        <repository>
            <id>wnhz-releases</id>
            <url>http://192.168.198.128:8081/repository/wnhz-releases/</url>
        </repository>
    </distributionManagement>

    <repositories>
        <repository>
            <id>nexus</id>
            <url>http://192.168.198.128/repository/wnhz-repository/</url>
            <releases>
                <enabled>true</enabled>
            </releases>
            <snapshots>
                <enabled>true</enabled>
            </snapshots>
        </repository>
    </repositories>
部署项目
在maven中运行部署,部署(deploy)项目到私服。


项目中maven配置
<parenta>
继承父项目模块
<parent>
    <artifactId>wnhz-bm</artifactId>
    <groupId>com.wnhz.bm</groupId>
    <version>1.0-SNAPSHOT</version>
</parent>
当前模块坐标
<modelVersion>4.0.0</modelVersion>
<groupId>com.wnhz.bm.common</groupId>
<artifactId>bm-common</artifactId>
<packaging>pom</packaging>
packaging配置
| 序列 | 参数 | 解释 |
|---|---|---|
| 1 | pom | 表示父类型 |
| 2 | jar | 打包为jar包 |
| 3 | war | 打包为war包 |
module
配置项目的子模块名称
<modules>
    <module>bm-common</module>
    <module>bm-domain</module>
    <module>bm-book</module>
</modules>
properties
定义依赖的版本号
<properties>
    <maven.compiler.source>8</maven.compiler.source>
    <maven.compiler.target>8</maven.compiler.target>
    <druid.version>1.2.18</druid.version>
</properties>

<dependency>
    <groupId>com.alibaba</groupId>
    <artifactId>druid-spring-boot-starter</artifactId>
    <version>${druid.version}</version>
</dependency>
dependencies
引入依赖
<dependencies>
    <dependency>
        <groupId>mysql</groupId>
        <artifactId>mysql-connector-java</artifactId>
    </dependency>
    <dependency>
        <groupId>com.alibaba</groupId>
        <artifactId>druid-spring-boot-starter</artifactId>
        <version>${druid.version}</version>
    </dependency>
</dependencies>
build
构建项目模块
插件
编译插件
 <!-- 编译源代码插件 -->
<plugin>
    <groupId>org.apache.maven.plugins</groupId>
    <artifactId>maven-compiler-plugin</artifactId>
    <version>3.8.0</version>
    <configuration>
        <source>1.8</source>
        <target>1.8</target>
        <encoding>${project.build.sourceEncoding}</encoding>
    </configuration>
</plugin>
打包源码插件
   <build>
        <plugins>
            <!-- 编译源代码插件 -->
            <plugin>
                <groupId>org.apache.maven.plugins</groupId>
                <artifactId>maven-compiler-plugin</artifactId>
                <version>3.8.0</version>
                <configuration>
                    <source>1.8</source>
                    <target>1.8</target>
                    <encoding>${project.build.sourceEncoding}</encoding>
                </configuration>
            </plugin>

            <!-- 打包源代码插件 -->
            <plugin>
                <groupId>org.apache.maven.plugins</groupId>
                <artifactId>maven-source-plugin</artifactId>
                <version>2.2.1</version>
                <configuration>
                    <attach>true</attach>
                </configuration>
                <executions>
                    <execution>
                        <phase>compile</phase>
                        <goals>
                            <goal>jar</goal>
                        </goals>
                    </execution>
                </executions>
            </plugin>
        </plugins>
    </build>
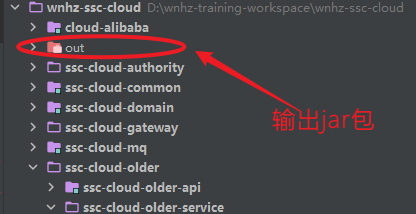
springboot打包插件
打包将jar包放到项目的更目录out下。
   <build>
        <plugins>
            <plugin>
                <groupId>org.springframework.boot</groupId>
                <artifactId>spring-boot-maven-plugin</artifactId>
                <configuration>
                    <outputDirectory>../../out</outputDirectory>
                </configuration>
            </plugin>
        </plugins>
    </build>
私服配置
distributionManagement
部署管理,适用于依赖上传
   <snapshotRepository>
            <id>wnhz-snapshots</id>
            <url>http://192.168.201.81:8081/repository/wnhz-snapshots/</url>
        </snapshotRepository>
        <repository>
            <id>wnhz-releases</id>
            <url>http://192.168.201.81:8081/repository/wnhz-releases/</url>
        </repository>
repositories
部署依赖下载
  <repositories>
        <repository>
            <id>nexus</id>
            <url>http://192.168.201.81:8081/repository/maven-public/</url>
            <releases>
                <enabled>true</enabled>
                <updatePolicy>always</updatePolicy>
            </releases>
            <snapshots>
                <enabled>true</enabled>
                <updatePolicy>always</updatePolicy>
            </snapshots>
        </repository>
    </repositories>
ory/wnhz-snapshots/
wnhz-releases
http://192.168.201.81:8081/repository/wnhz-releases/
#### repositories

> 部署依赖下载

```xml
  <repositories>
        <repository>
            <id>nexus</id>
            <url>http://192.168.201.81:8081/repository/maven-public/</url>
            <releases>
                <enabled>true</enabled>
                <updatePolicy>always</updatePolicy>
            </releases>
            <snapshots>
                <enabled>true</enabled>
                <updatePolicy>always</updatePolicy>
            </snapshots>
        </repository>
    </repositories>