vue3的大致使用

news2025/1/13 2:50:11

<template>
    <div class="login_wrap">
        <div class="form_wrap">
<!--            账号输入-->
<el-form ref="formRef"  :model="user"  class="demo-dynamic" >
<!--prop要跟属性名称对应-->
    <el-form-item prop="id"    :rules="[ { required: true, message: '账号不能为空', trigger: 'blur',}, ]">
        <el-input style="height: 50px;font-size: 30px" v-model="user.id" ><template #prepend>账号</template></el-input>
    </el-form-item>
<!--密码输入-->
    <el-form-item prop="password"  class="password-input"  :rules="[ { required: true, message: '密码不能为空', trigger: 'blur',}, ]">
        <el-input type="password" style="height: 50px;font-size: 30px" v-model="user.password" ><template #prepend>密码</template></el-input>
    </el-form-item>
<!--    验证码-->
    <el-form-item prop="identifyingcode.inputverificationcodenumber" :rules="[ { required: true, message: '验证码不能为空', trigger: 'blur',}, ]">
        <el-input style="height: 50px;font-size: 30px"  v-model="user.identifyingcode.inputverificationcodenumber" ><template #prepend>验证码</template></el-input>
    </el-form-item>

  <el-form-item>
   <div style="font-size: 30px"> 用户角色:</div>
    <el-select v-model="user.role">
      <el-option
          v-for="item in option.role"
          :key="item"
          :label="item"
          :value="item"
      />
    </el-select>
  </el-form-item>
    <canvas class='code' ref="codeimg"  @click="codetrigger"></canvas>
    </el-form>

            <el-button type="primary"  style="width: 100px;height: 40px" @click='lgintrigger' class="login-btn">登录</el-button>
        </div>
    </div>

  <div class="information">作者:甘世涛
  <br/>版权所有  违者必究
    <br/>前端框架:vue <br/>    后端框架springboot
  </div>
</template>

<script>
    import {useRouter} from "vue-router";
    import {useStore} from "vuex";
    import {get,post} from "@/util/service";
    import { reactive, onMounted, ref, toRefs } from 'vue'
    import { ElMessage} from 'element-plus'
    export default {
        setup()
        {   const router=useRouter()
            const store=useStore()
            const codeimg = ref(null)//获取div对象 ref属性为codeimg的对象  这个对象是验证码
            let userrole=""
          
          
            const data = reactive ({
                option:{
                  role:['管理员','教师','学生']
                },

                 user:{//用户
                 id:"",//用户账号
                 password:"",//用户密码
                    role:"",//用户角色
                     identifyingcode: {//验证码
                         pool: 'ABCDEFGHIJKLMNOPQRSTUVWXYZ1234567890', // 随机生成A-F 1-9的验证码
                         // pool: 'ABCDEFGHIJKLMNOPQRSTUVWXYZ1234567890', // 字符串
                         width: 360,
                         height: 200,
                         verificationcodenumber: "",/*随机生成的验证码*/
                         inputverificationcodenumber:""/*键盘输入的验证码*/
                     }

             },
              
              
                shishi:"",

            })


            onMounted(() => {//初始化函数
                data.user.identifyingcode.verificationcodenumber = draw() // 初始化绘制图片验证码
            })


            const codetrigger = () => {
                data.user.identifyingcode.verificationcodenumber = draw()  // 点击图片重新绘制
            }


            // 随机数
            const randomNum = (min, max) => {
                return parseInt(Math.random() * (max - min) + min)
            }


            const randomColor = (min, max) => { // 随机颜色
                const r = randomNum(min, max)
                const g = randomNum(min, max)
                const b = randomNum(min, max)
                return `rgb(${r},${g},${b})`
            }


            const draw = () => {// 绘制图片
                const ctx = codeimg.value.getContext('2d')// 3.填充背景颜色,背景颜色要浅一点
                ctx.fillStyle = randomColor(180, 230) // 填充颜色颜色不要太深
                ctx.fillRect(0, 0, data.user.identifyingcode.width, data.user.identifyingcode.height)// 填充的位置
                let verificationcodenumber = ''//存储四个验证码
                for (let i = 0; i < 4; i++) {               // 4.随机产生字符串,并且随机旋转
                    const text = data.user.identifyingcode.pool[randomNum(0, data.user.identifyingcode.pool.length)]  // 随机的四个字
                    verificationcodenumber += text
                    const fontSize = randomNum(100, 200) // 随机的字体大小
                    const deg = randomNum(-30, 30) // 字体随机的旋转角度
                    ctx.font = fontSize + 'px SimSun'//宋体
                    ctx.textBaseline = 'top'
                    ctx.fillStyle = randomColor(80, 150)
                    /* 用来保存Canvas的状态。save之后,可以调用Canvas的平移、放缩、旋转、错切、裁剪等操作。
                    restore:用来恢复Canvas之前保存的状态。防止save后对Canvas执行的操作对后续的绘制有影响。
                     */
                    ctx.save()
                    ctx.translate(60 * i + 15, 15)//平移
                    ctx.rotate((deg * Math.PI) / 180)//旋转
                    ctx.fillText(text, -15 + 5, -15)//填充文本
                    ctx.restore()
                }
                // 5.随机产生5条干扰线,干扰线的颜色要浅一点
                for (let i = 0; i < 5; i++) {
                    ctx.beginPath()
                    ctx.moveTo(randomNum(0, data.user.identifyingcode.width), randomNum(0, data.user.identifyingcode.height))
                    ctx.lineTo(randomNum(0, data.user.identifyingcode.width), randomNum(0, data.user.identifyingcode.height))
                    ctx.strokeStyle = randomColor(180, 230)
                    ctx.closePath()
                    ctx.stroke()
                }


                // 6.随机产生40个干扰的小点
                for (let i = 0; i < 40; i++) {
                    ctx.beginPath()
                    ctx.arc(randomNum(0, data.user.identifyingcode.width), randomNum(0, data.user.identifyingcode.height), 1, 0, 2 * Math.PI)
                    ctx.closePath()
                    ctx.fillStyle = randomColor(150, 200)
                    ctx.fill()
                }
                return verificationcodenumber
            }

          onMounted( async () => {

          })


           const lgintrigger=async () => {
               if (data.user.role === "" && data.user.accountnumber === "" || data.user.password === "" || data.user.identifyingcode.inputverificationcodenumber === "") {
                   ElMessage.error("输入信息不能为空")
                   return
               }
               if (data.user.identifyingcode.inputverificationcodenumber !== data.user.identifyingcode.verificationcodenumber) {
                   ElMessage.error("验证码不正确")
                   return
               }
               let flag;
               localStorage.setItem('userrole', data.user.role)//当前用户角色
               localStorage.setItem('id', data.user.id)//当前用户角色
               var formdata = new FormData()
               formdata.append("id", data.user.id)
               formdata.append("password", data.user.password)
               if (data.user.role === "管理员") {
                   await  post("/admin/login", formdata).then(res => {
                       if (res) {
                           localStorage.setItem('userrole', data.user.role)//当前用户角色
                           router.push('/home')
                       } else {
                           alert("不存在该账号和密码")
                       }

                   })

               } else if (data.user.role === "教师") {
                   await post("/teacher/login", formdata).then(res => {
                       if (res) {
                           localStorage.setItem('id', data.user.id)//当前用户编号
                           localStorage.setItem('userrole', data.user.role)//当前用户角色
                           router.push('/home')
                       } else {
                           alert("不存在该账号和密码")
                       }
                   })
               } else {
                   await post("/student/login", formdata).then(res => {
                       if (res) {
                           localStorage.setItem('id', data.user.id)//当前用户编号
                           localStorage.setItem('userrole', data.user.role)//当前用户角色
                           router.push('/home')
                       } else {
                           alert("不存在该账号和密码")
                       }
                   })
               }
           }


            return{
                ...toRefs(data),
                lgintrigger,
                codeimg,
                codetrigger
            }
            //
        }
    }

</script>

<style scoped>
.login_wrap{
    width: 100%;
    height: 80vh;
    background: rgb(0,186,255,100);
     background-image: url("../assets/shouye.png");
    /*
    position: relative;
    */
}

.information{
  width: 100%;
  height: 80vh;
  background: rgb(0,100,255,100);
  font-size: 30px;
  text-align: center;
}
/*这个是包括登录还有验证码一系列的框*/
.form_wrap{
    width: 500px;
    height: 380px;
    position: fixed;
    top:50%;
    left: 50%;
    transform: translate(-50%,-50%);
    background: #fff;
    padding:10px 10px;/*子组件内部变距*/
    border-radius: 5px;
    border-radius: 7%;

}
.form_wrap button{

}
.form_wrap el-input{

  height: 900px;
}
/*这个是登录按钮*/
.login-btn
{ position: fixed;
    display: block;
    margin: 0px auto;
    top:80%;
    left:40%;
}

/*这个是角色选择 角色的名称  有三种  admin student teacher*/
#rolename
{
    position: fixed;
    top:4%;
    left: 10%;


}


/*}*/
/*鼠标移动到验证码显示一个手*/
.code {
    cursor: pointer;
    width: 160px;
    height: 50px;
}
</style>

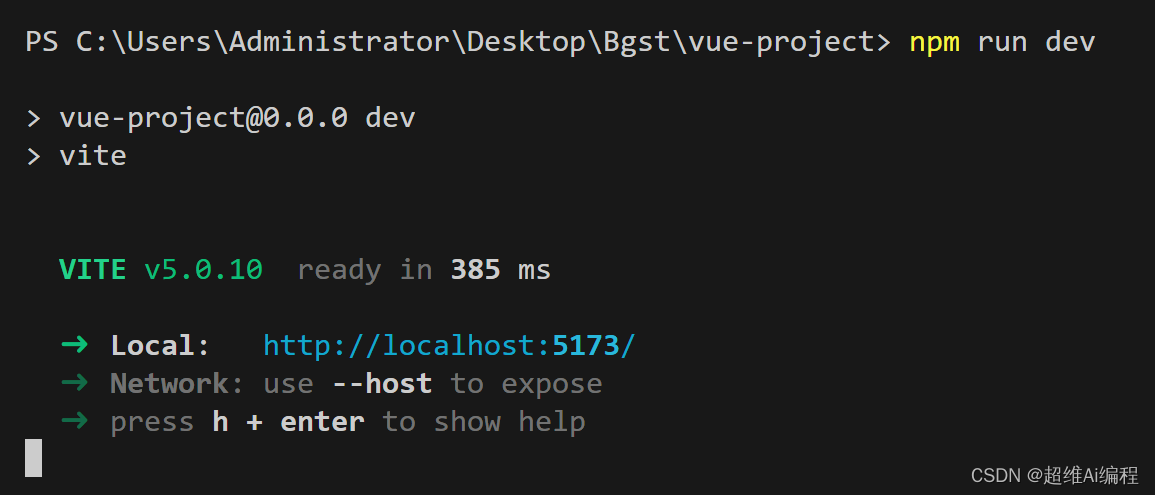
vue3启动
在这里插入图片描述
dev代表启动的环境

本文来自互联网用户投稿,该文观点仅代表作者本人,不代表本站立场。本站仅提供信息存储空间服务,不拥有所有权,不承担相关法律责任。如若转载,请注明出处:http://www.coloradmin.cn/o/1319026.html

如若内容造成侵权/违法违规/事实不符,请联系多彩编程网进行投诉反馈,一经查实,立即删除!

相关文章

呜呜呜我要拿Go赢他~ 入门,Go的最简单的 Web 服务器!

前言 继续接入上章节的呜呜呜我要拿Go赢他~ 入门,Go的基础语法! 的文章现在要学的是Go的最简单的 Web 服务器! 补充 上章节的基础语法-方法声明与调用 方法声明 四个部分&#xff1a; 关键字 func方法名字&#xff1a;首字母是否大写决定了作用域参数列表&#xff1a;返回…

C++面试宝典第6题:访问数组和联合体元素

题目 阅读下面的代码段,并给出程序的输出。 (1)访问数组元素。 int a[] = {61, 62, 63, 64, 65, 66}; int *p = (int *)(&a + 1); printf("%d, %d\n", *(a + 1), *(p - 1)); (2)访问联合体元素。 union {short i;char x[2]; }a;a.x[0] = 10; a.x[1] = 1; …

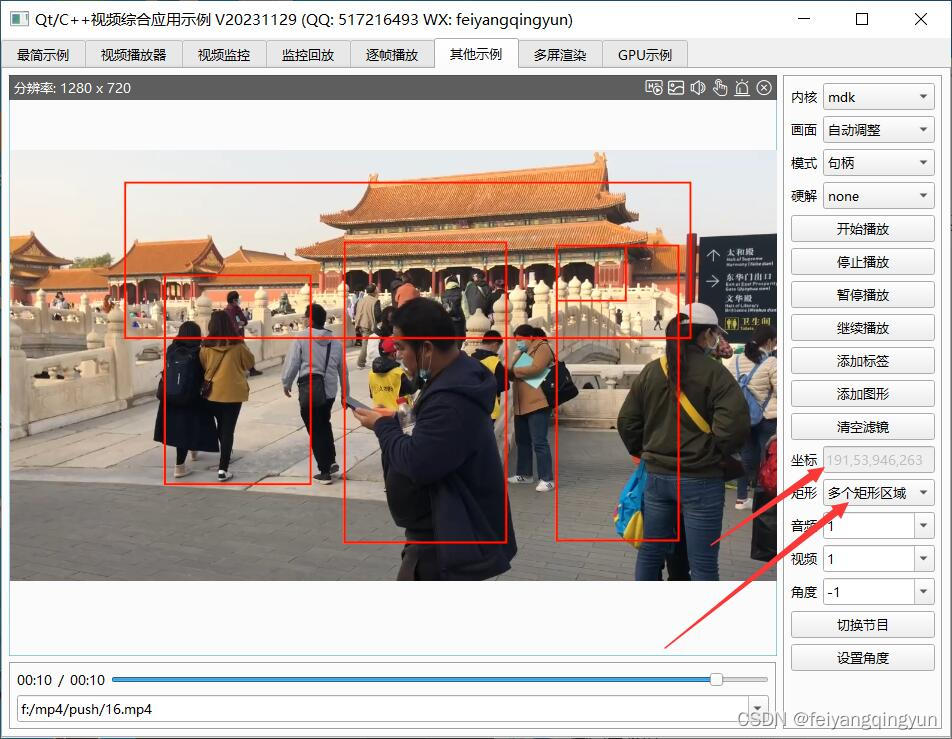
Qt/C++音视频开发60-坐标拾取/按下鼠标获取矩形区域/转换到视频源真实坐标

一、前言 通过在通道画面上拾取鼠标按下的坐标&#xff0c;然后鼠标移动&#xff0c;直到松开&#xff0c;根据松开的坐标和按下的坐标&#xff0c;绘制一个矩形区域&#xff0c;作为热点或者需要电子放大的区域&#xff0c;拿到这个坐标区域&#xff0c;用途非常多&#xff0…

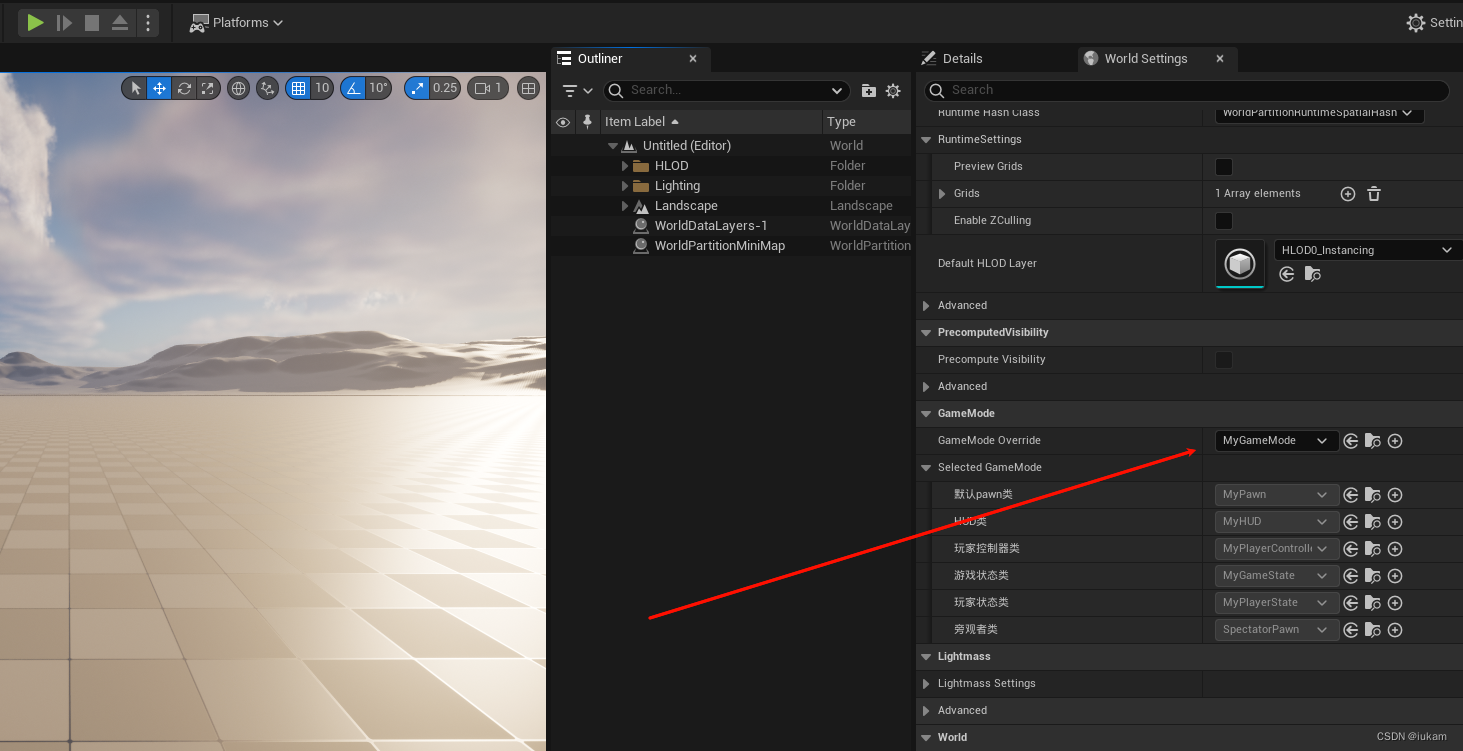
UE5 C++(二)— 游戏架构介绍

架构关系如下&#xff1a; 这里只简单描述下&#xff0c;具体的查看官方文档 AGameMode: AGameMode 是 AGameModeBase 的子类&#xff0c;拥有一些额外的功能支持多人游戏和旧行为。 所有新建项目默认使用 AGameModeBase。 如果需要此额外行为&#xff0c;可切换到从 AGameM…

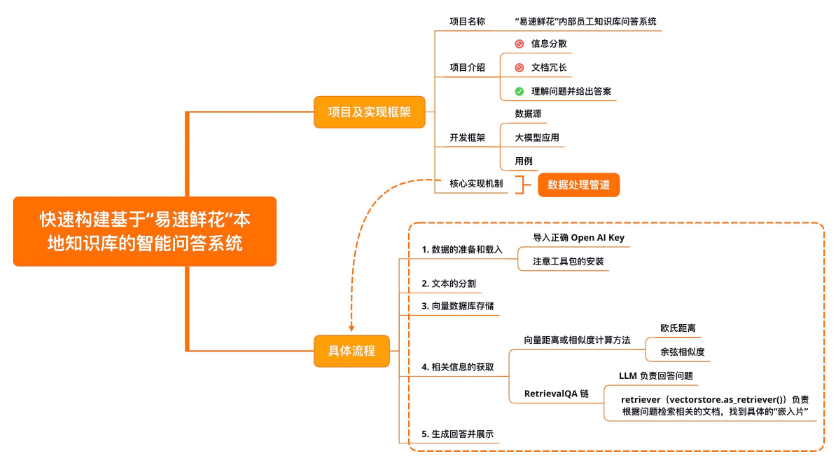
【LangChain学习之旅】—(3) LangChain快速构建本地知识库的智能问答系统

【LangChain学习之旅】—&#xff08;3&#xff09; LangChain快速构建本地知识库的智能问答系统 项目及实现框架开发框架核心实现机制数据准备及加载加载文本文本的分割向量数据库存储文本的“嵌入”概念向量数据库概念 相关信息获取RetrievalQA生成回答并展示示例小结 Refere…

云服务器部署vue/node项目

此处以阿里云服务器为例&#xff0c;配置的是LNMP环境 vue部署云服务器&#xff1a; 以阿里云服务为例&#xff0c;端口自定义99 1、在 /usr/share/nginx/html/ 该目录下新建文件夹&#xff0c;该文件夹是部署的打好包的前端项目 例&#xff1a; 2、进入nginx目录配置相关配…

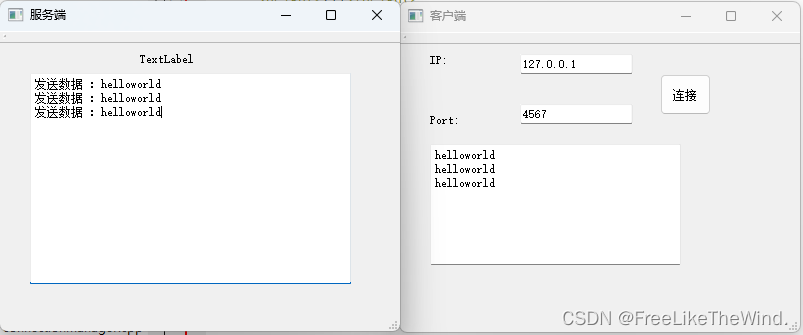
【Qt开发流程】之TCP

概述 TCP&#xff08;Transmission Control Protocol&#xff0c;传输控制协议&#xff09;是一种面向连接的、可靠的、基于字节流的传输协议。它是互联网协议套件中的一部分&#xff0c;用于在网络上可靠地传输数据。 TCP通过建立连接、数据传输和连接终止三个阶段来进行通信…

音频I2S

前言 基于网上资料对相关概念做整理汇总&#xff0c;部分内容引用自文后文章。 学习目标&#xff1a;简单了解相关概念、相关协议。 1 概述 数字音频接口DAI&#xff0c;即Digital Audio Interfaces&#xff0c;顾名思义&#xff0c;DAI表示在板级或板间传输数字音频信…

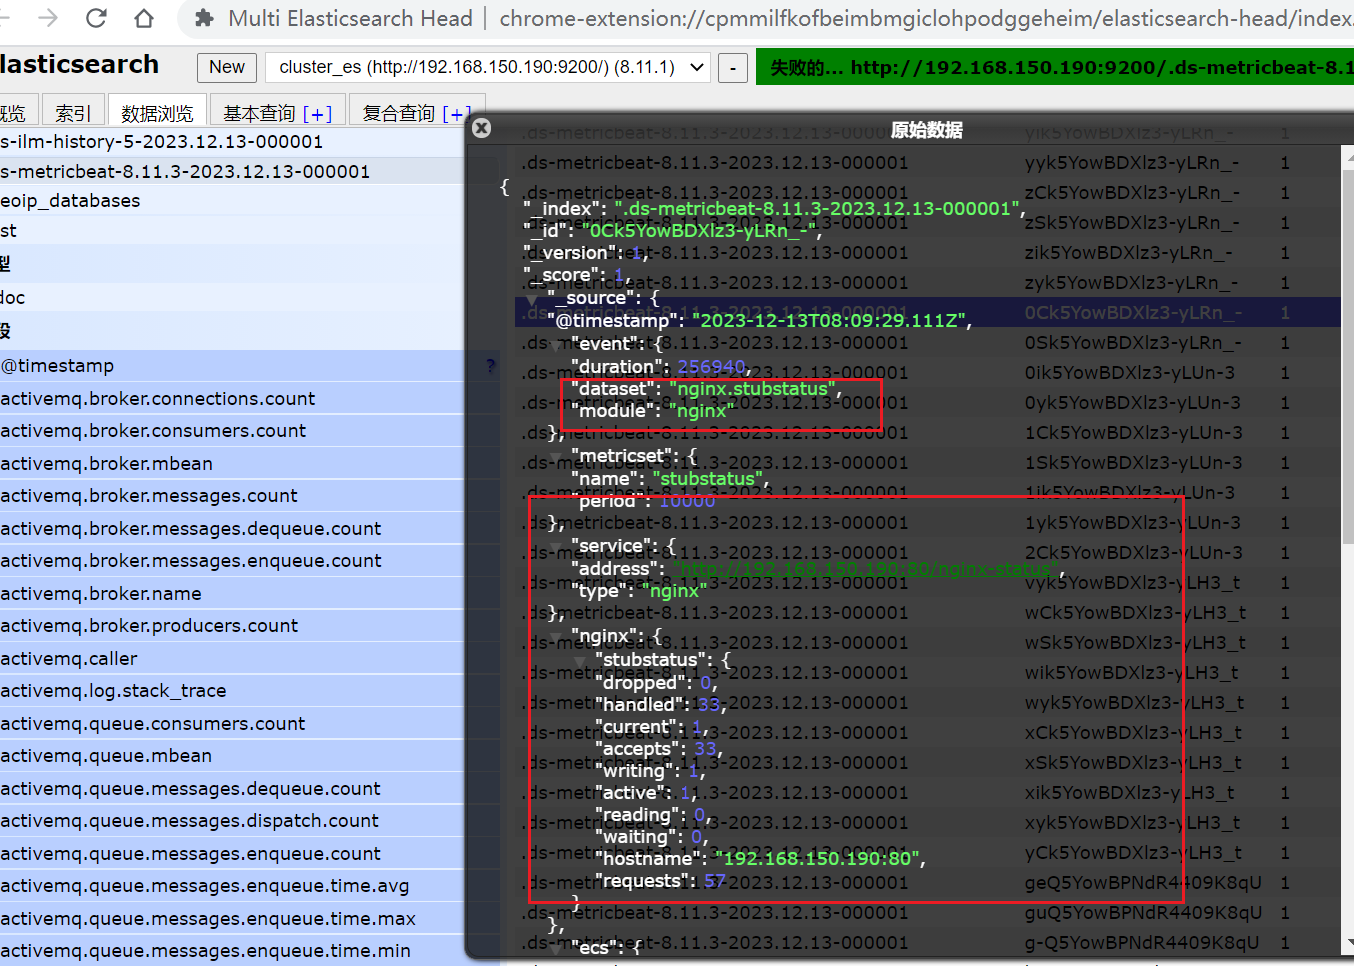
ELK(八)—Metricbeat部署

目录 介绍修改配置文件启动 Modulenginx开启状态查询配置Nginx module查看是否配置成功 介绍 Metricbeat 是一个轻量级的开源度量数据收集器&#xff0c;用于监控系统和服务。它由 Elastic 公司开发&#xff0c;并作为 Elastic Stack&#xff08;Elasticsearch、Logstash、Kiba…

Ubuntu18.04安装ffmpeg

前言 从本章开始我们将要学习嵌入式音视频的学习了 &#xff0c;使用的瑞芯微的开发板 &#x1f3ac; 个人主页&#xff1a;ChenPi &#x1f43b;推荐专栏1: 《C_ChenPi的博客-CSDN博客》✨✨✨ &#x1f525; 推荐专栏2: 《Linux C应用编程&#xff08;概念类&#xff09;_C…

解决:AttributeError: module ‘scipy.misc’ has no attribute ‘imsave’

解决&#xff1a;AttributeError: module ‘scipy.misc’ has no attribute ‘imsave’ 文章目录 解决&#xff1a;AttributeError: module scipy.misc has no attribute imsave背景报错问题报错翻译报错位置代码报错原因解决方法方法一 scipy版本回退&#xff08;不推荐&#…

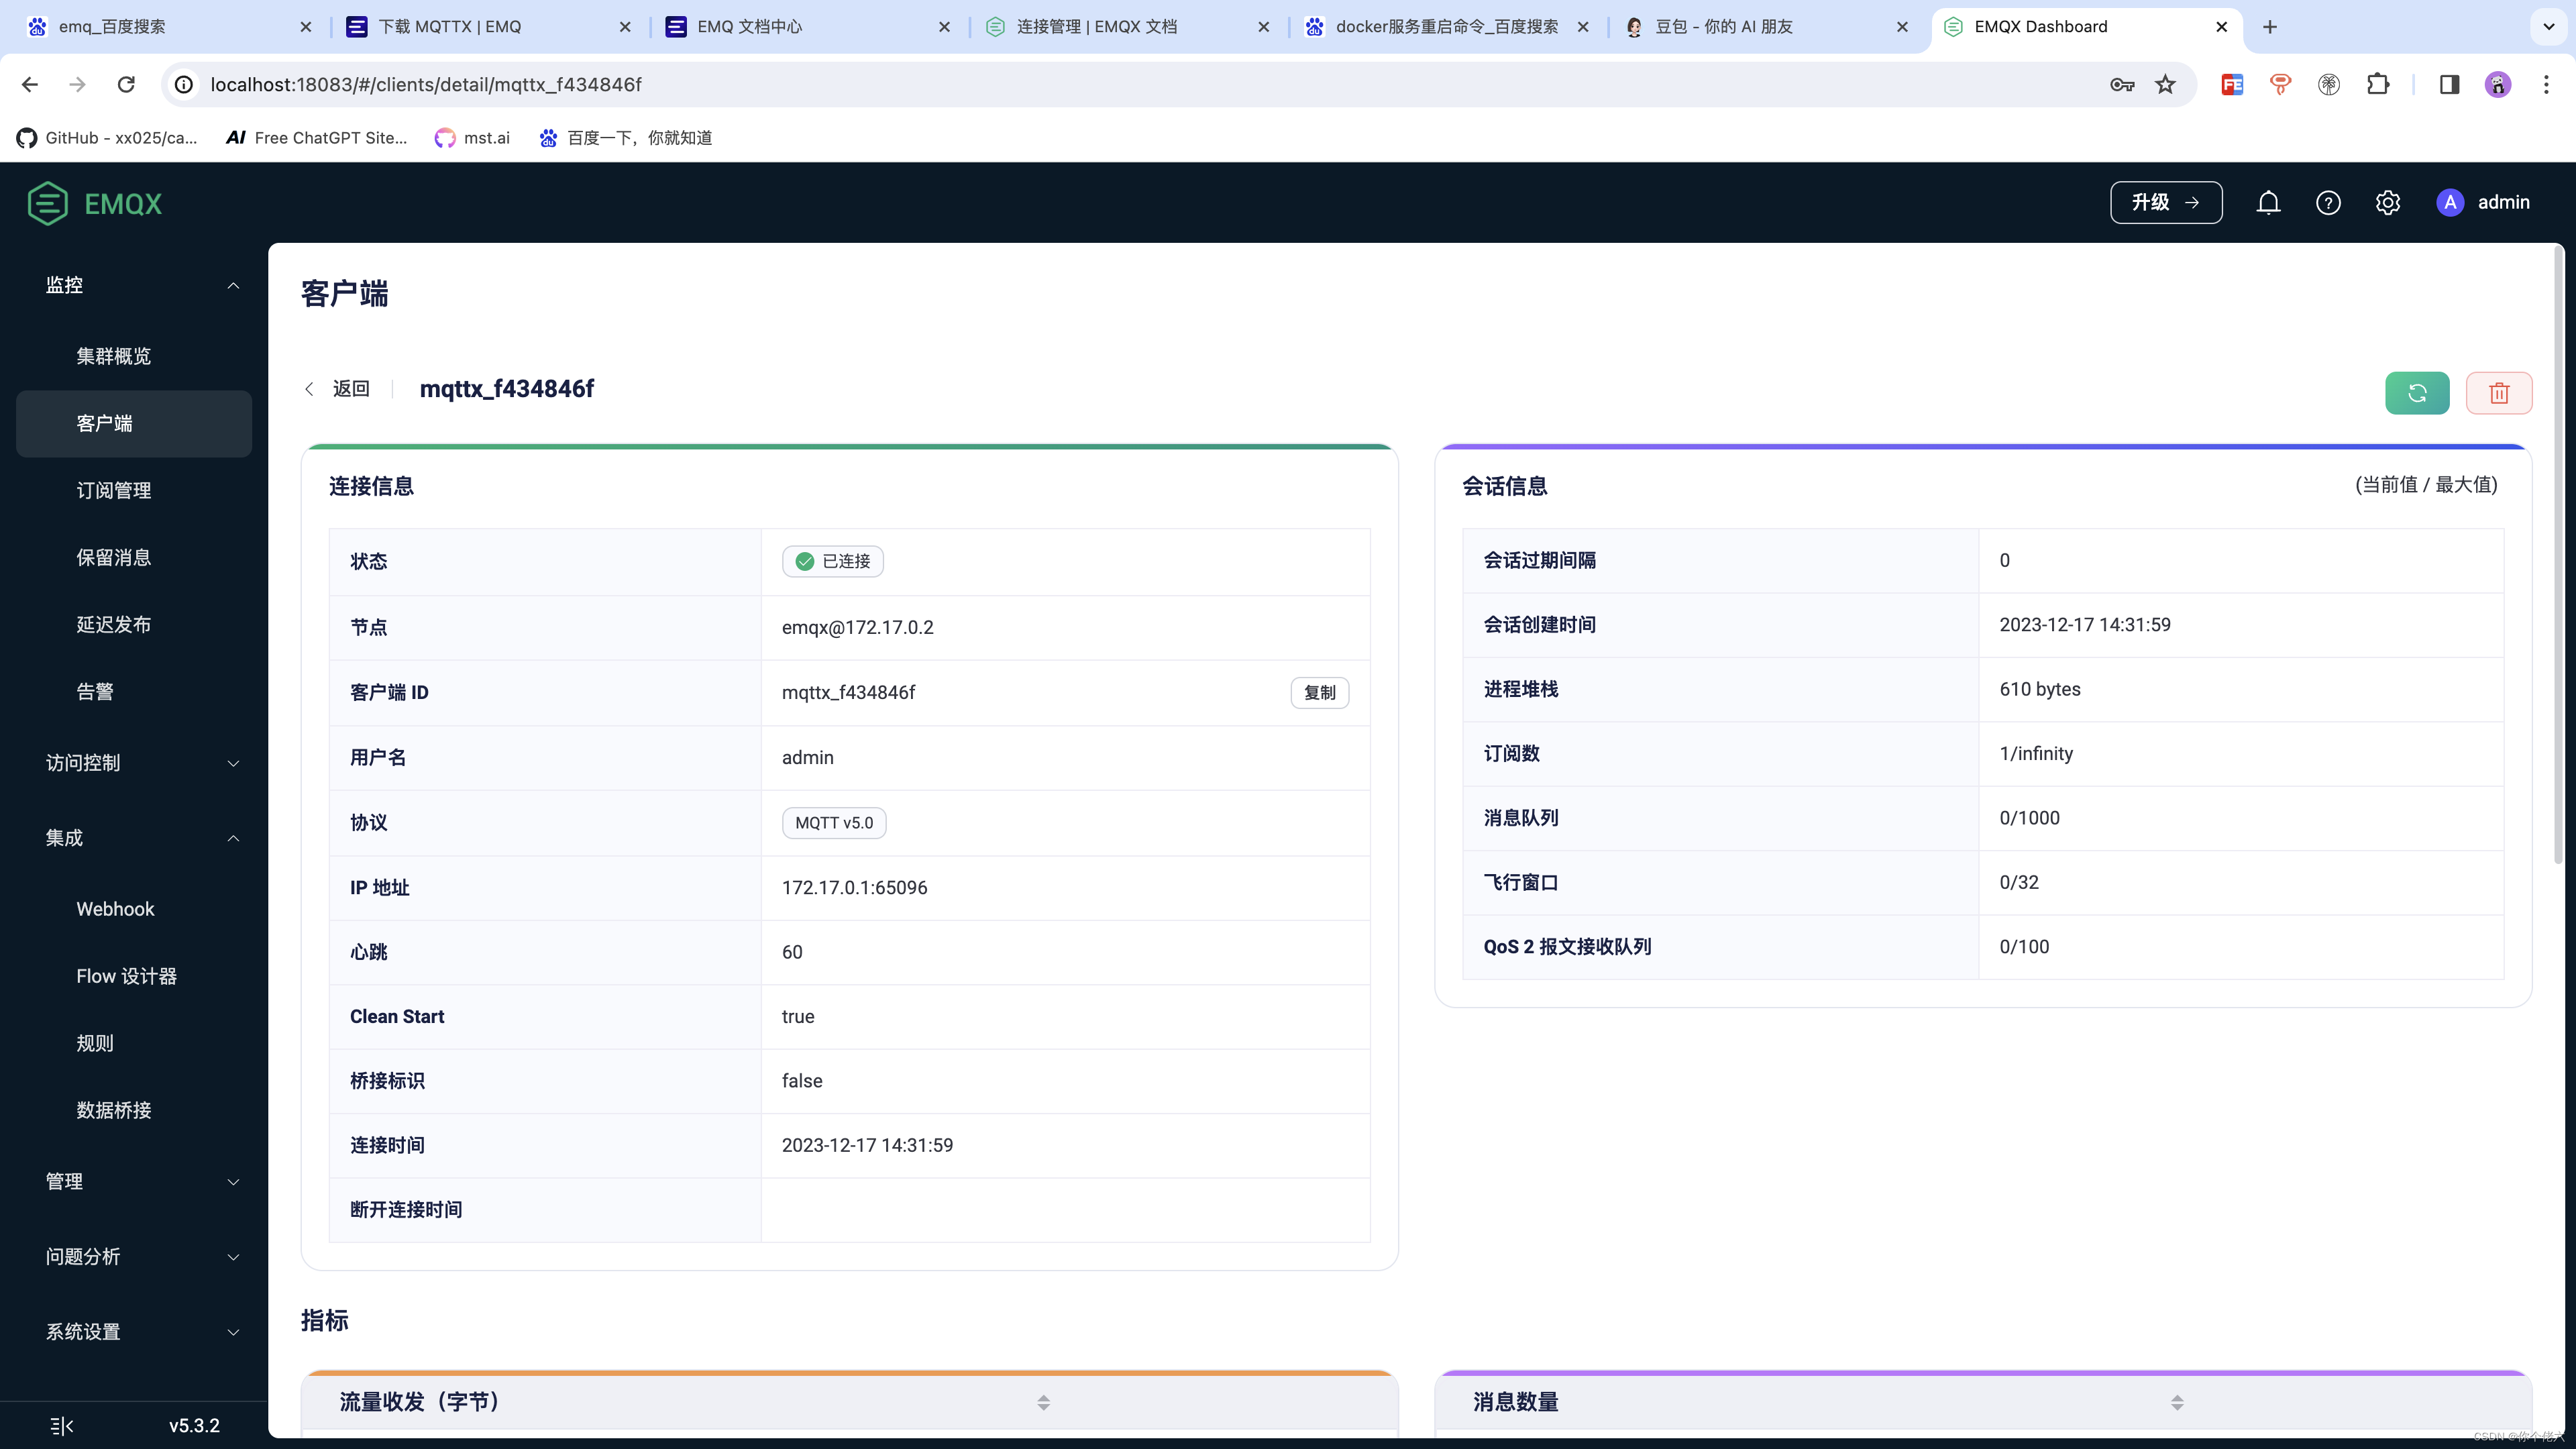
【物联网】EMQX(二)——docker快速搭建EMQX 和 MQTTX客户端使用

一、前言 在上一篇文章中&#xff0c;小编向大家介绍了物联网必然会用到的消息服务器EMQ&#xff0c;相信大家也对EMQ有了一定的了解&#xff0c;那么接下来&#xff0c;小编从这篇文章正式开始展开对EMQ的学习教程&#xff0c;本章节来记录一下如何对EMQ进行安装。 二、使用…

P2P如何使用register_attention_control为UNet的CrossAttention关联AttentionStore

上次的调试到这里了&#xff0c;写完这篇接着看&#xff0c;prepare_latents_ddim_inverted 如何预计算 inversion latents&#xff1a; /home/pgao/yue/FateZero/video_diffusion/pipelines/p2p_ddim_spatial_temporal.py 1. 原始的UNet3D的CrossAttention和SparseCausalAtte…

展示一段比较简单的人工智能自动做模型的程序

人工智能是一种模拟或模仿人类智能的技术。它通过使计算机系统具有一定的认知能力和学习能力&#xff0c;使其能够自动完成一系列复杂的任务。人工智能可以在各个领域应用&#xff0c;包括图像识别、语音识别、自然语言处理、机器学习等。人工智能还可以用于解决各种问题&#…

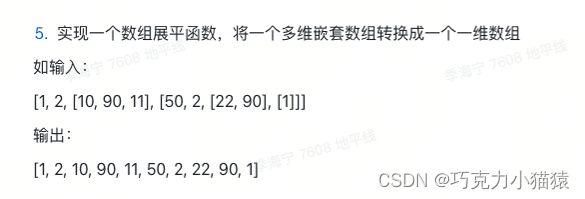
地平线前端实习一面复盘(加深对var的理解+展开运算符+平拍数组)

目录 前言一&#xff0c;var的作用二&#xff0c;展开运算符三&#xff0c;平拍数组总结 前言 地平线的面试&#xff0c;有提示&#xff0c;很专业&#xff0c;体验很好。 可惜后面未收到消息&#xff0c;但还是要做复盘。收获还是很大的。 一&#xff0c;var的作用 且看下…

30. 深度学习进阶 - 池化

Hi&#xff0c;你好。我是茶桁。 上一节课&#xff0c;我们详细的学习了卷积的原理&#xff0c;在这个过程中给大家讲了一个比较重要的概念&#xff0c;叫做input channel&#xff0c;和output channel。 当然现在不需要直接去实现, 卷积的原理PyTorch、或者TensorFlow什么的…

Python tkinter 初探Toplevel控件搭建父子窗口

目录 Toplevel控件搭建父子窗口 最简明的父子窗口框架 改进一&#xff1a;屏蔽和开放按钮 改进二&#xff1a;子窗口始终在主窗口之上 改进三&#xff1a;增加子窗口的关闭协议 改进四&#xff1a;使子窗口长获焦点 总结 Toplevel控件搭建父子窗口 最近&#xff0c;用P…

直播江湖:东方甄选与董宇辉的权力游戏

出品| 大力财经 文 | 魏力 近期&#xff0c;围绕东方甄选的小作文事件引起了广泛关注&#xff0c;有人将其解读为一场巧妙策划的事件营销&#xff0c;然而&#xff0c;舆情的不可控性使得事态逐渐演变为一场复杂的利益博弈。 东方甄选与董宇辉的“蜜月期”可以说是双方互相成就…

【机器学习】梯度下降法:从底层手写实现线性回归

【机器学习】Building-Linear-Regression-from-Scratch 线性回归 Linear Regression0. 数据的导入与相关预处理0.工具函数1. 批量梯度下降法 Batch Gradient Descent2. 小批量梯度下降法 Mini Batch Gradient Descent&#xff08;在批量方面进行了改进&#xff09;3. 自适应梯度…

【Gradle】运行时一直要下载 gradle-8.5-bin.zip

如何解决 Downloading https://services.gradle.org/distributions/gradle-8.5-bin.zip 的问题 文章目录 1. 问题描述2. 解决方法1&#xff09;找到 gradle-wrapper.properties2&#xff09;修改 distributionUrl 对应的值 3. 验证 1. 问题描述 在执行 gradlew 命令的时候&…