目录
前言
准备工作
教程来啦!!!
第一部分
第二部分
链接说明
前言
哈喽,大家好,我是木易巷。
今天给大家分享一下:如何使用GitHub创建自己的个人网站?

准备工作
需要使用GitHub,当然前提得有GitHub的账号。没有的话,赶紧去注册一个!
GitHub官网:https://github.com/
注册后,登录进入~
教程来啦!!!
第一部分:
1、点击页面右上角个人头像图标
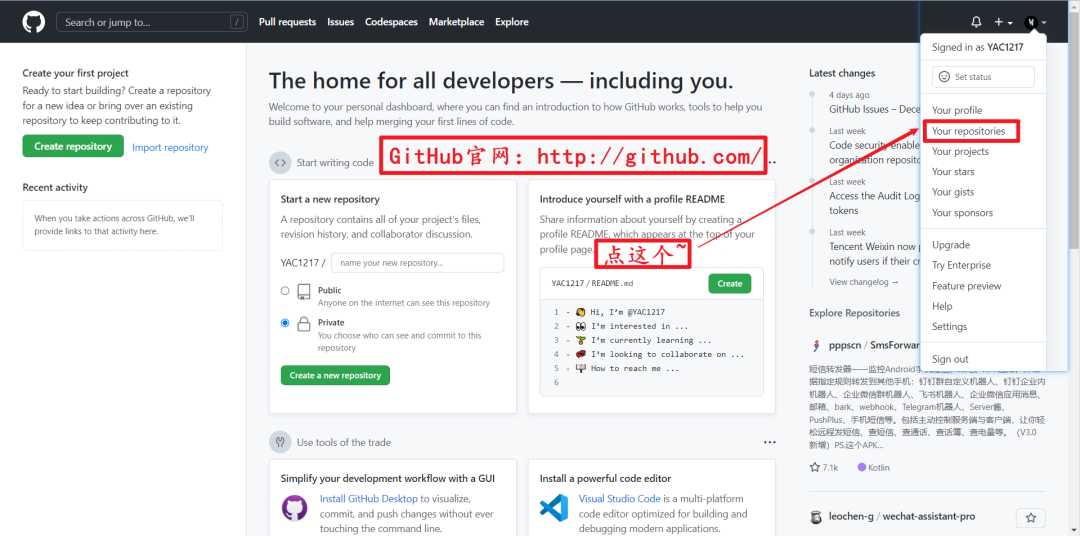
2、新建仓库

3、给仓库起个名字【注意 容易出错】
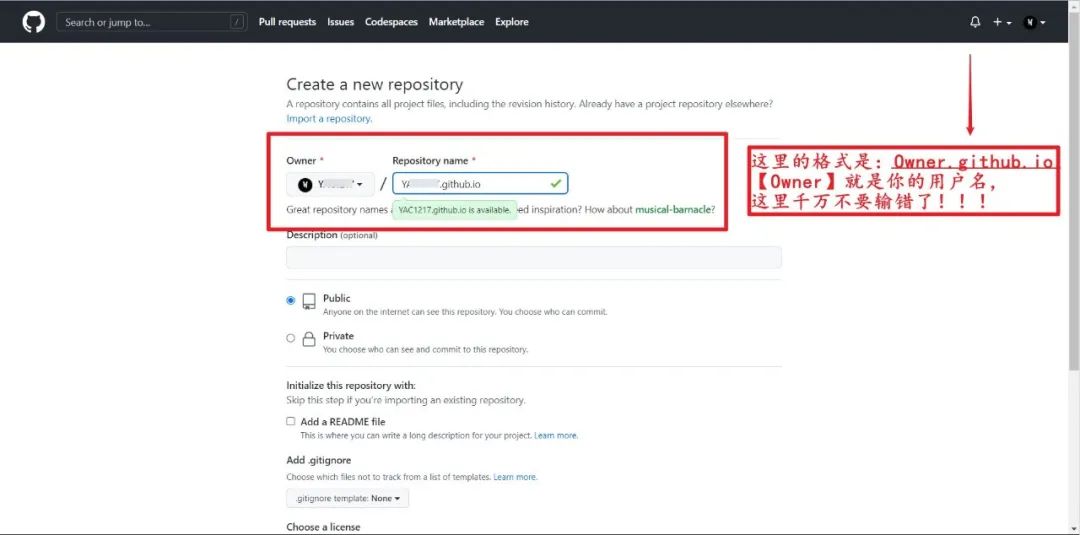
4、输完名字,下面Description是项目描述,下面的就让他默认,不用管,直接点击:Create repository 就可以了。
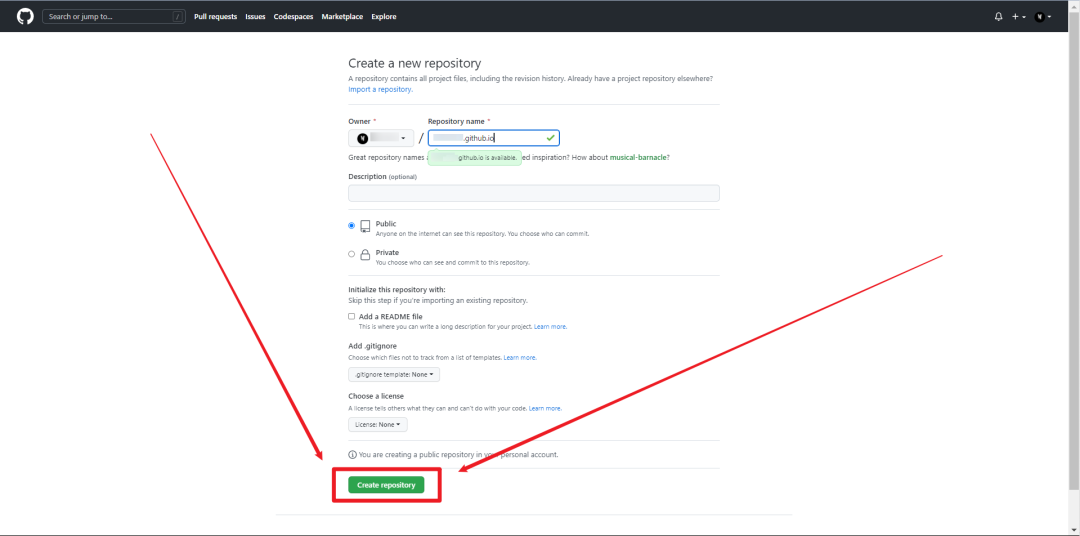
5、最后创建完 是这个样子滴
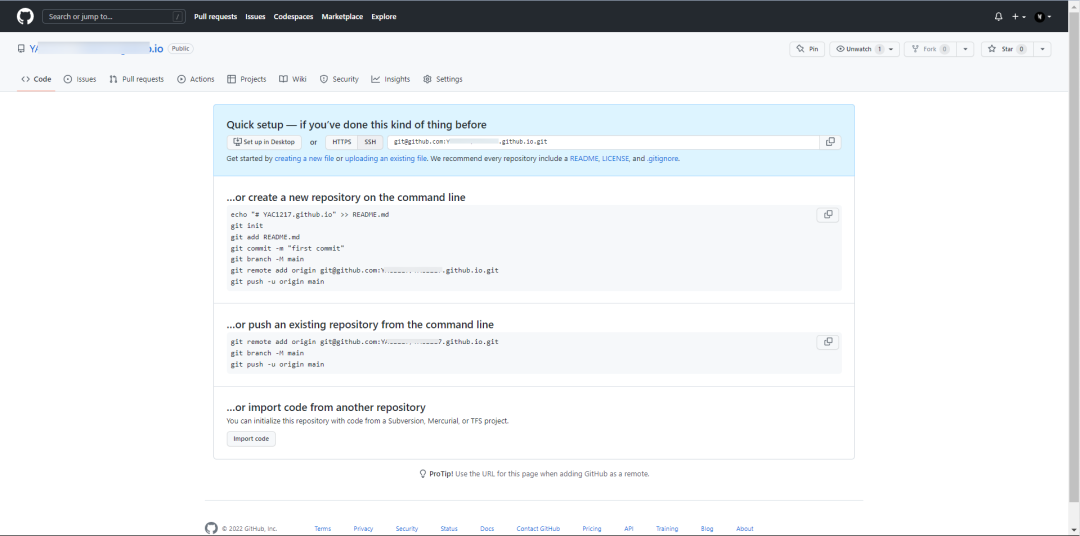
好啦,目前进度30% 继续加载~
接下来,咱们要使用git命令来操作。
如果没有安装git的小伙伴,可以去git官网下载安装适合自己系统的版本。
git官网:https://git-scm.com
第二部分:
1、在电脑上选择一个合适的路径,比如我选择的是D盘,新建一个文件夹,并给它取个名字。

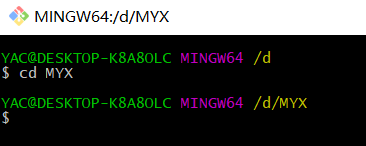
2、打开Git程序

3、进入新建的文件夹目录当中
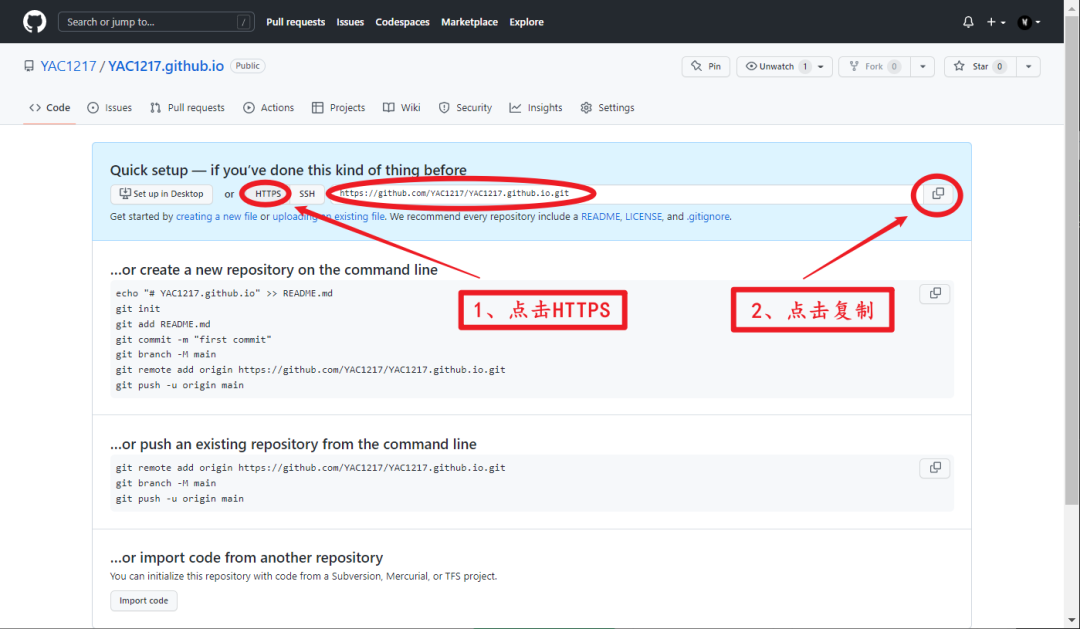
4、复制GitHub仓库地址,如图
5、在git命令行中输入:【git clone + 仓库地址】,将仓库克隆到本地。
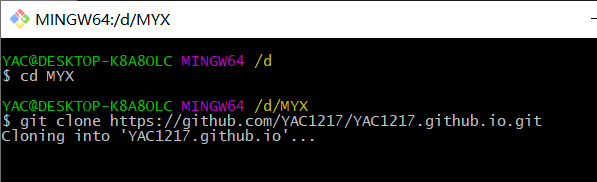
如果报错,遇到问题:fatal: unable to access ‘https://github.comxxxxxxxxxxx’: Failed to connect to xxxxxxxxxxxxx
运行:git config --global --unset http.proxy 命令
重启Git Bash
再次运行git命令!
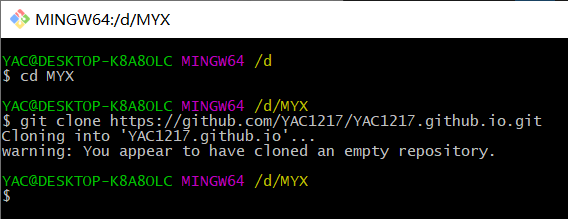
成功之后,说明克隆仓库成功。在该目录下面刷新,就会看到生成的一个文件夹:
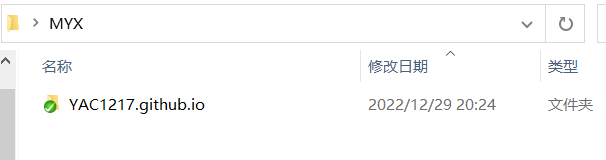
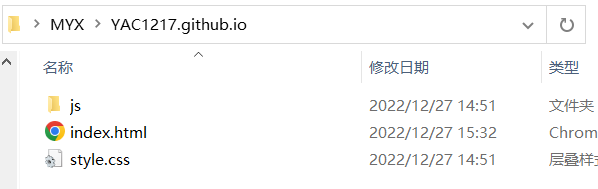
现在的文件夹是空的,双击打开之后,就可以把你的项目文件放进去啦!!!
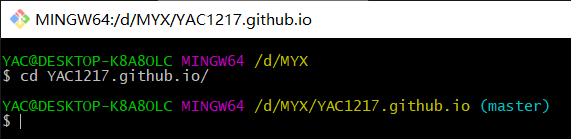
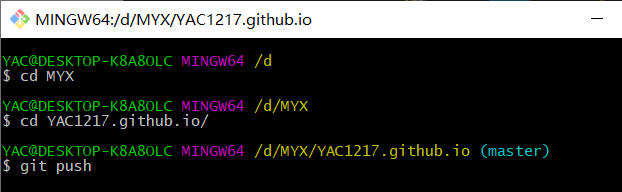
6、之后,使用git命令 进入到生成的文件夹【cd +路径】
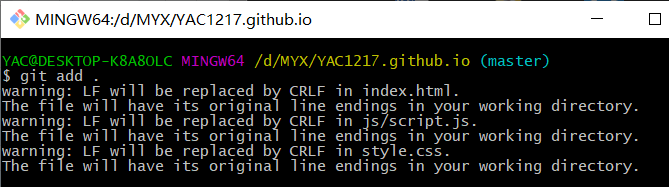
7、继续输入:【git add .】 //注意这个点 意思是 给仓库添加文件
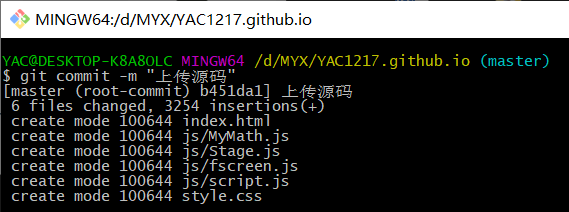
8、继续输入 【git commit -m "这里是注释" 】 意思是 给这个上传过程 起个名称
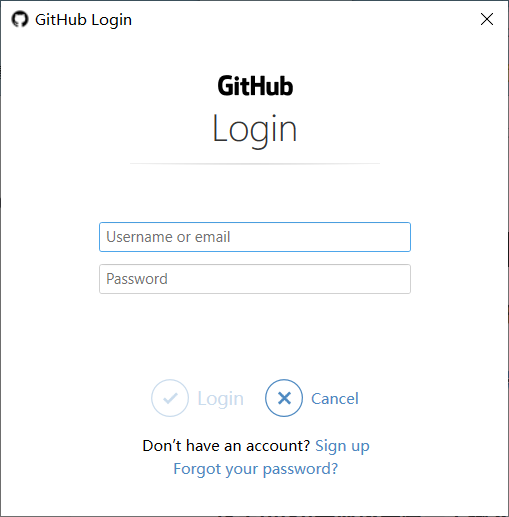
9、继续输入 【git push】 开始上传~~~
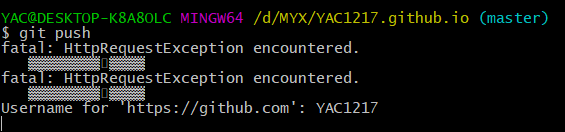
会提示输入账号和密码(GitHub账号和密码)
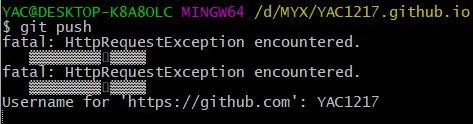
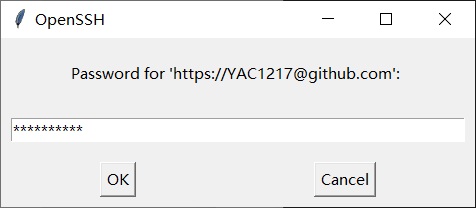
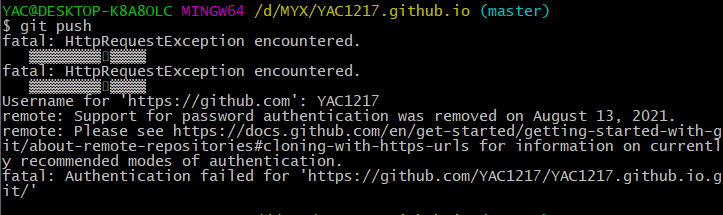
八嘎!!又出现了问题,报错:
remote: Support for password authentication was removed on August 13, 2021. Please use a personal access token instead.remote: Please see https://github.blog/2020-12-15-token-authentication-requirements-for-git-operations/ for more information.br
它的大概意思就是自 2021年 8 月 13日开始,GitHub中通过 用户名 + 密码的认证方式被移除了,只能通过个人访问码的方式进行认证。
解决方法【创建个人访问码】:
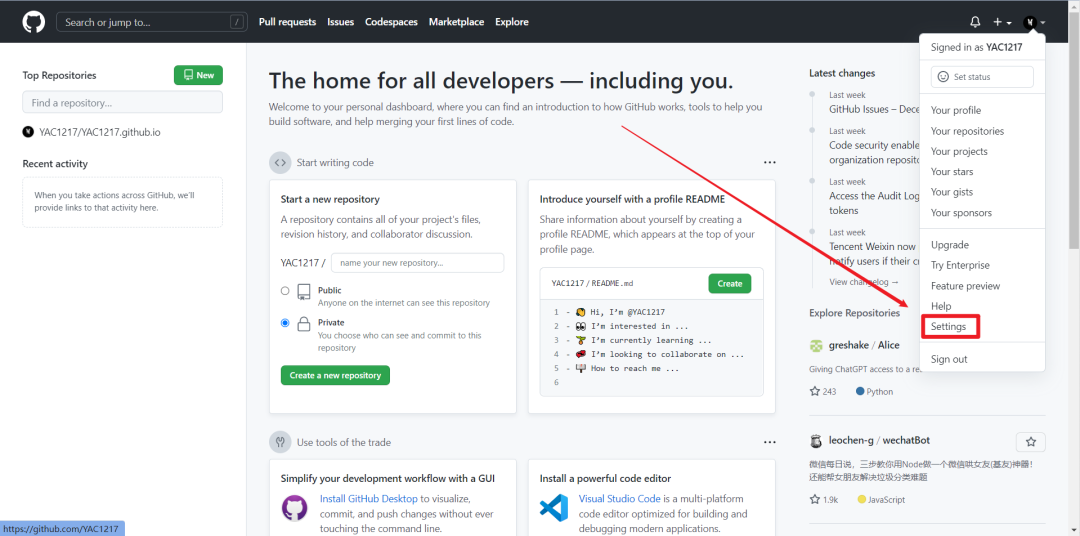
1、进入 Github 主界面,点击右上角头像,选择 “Seeting”,进入设置界面。
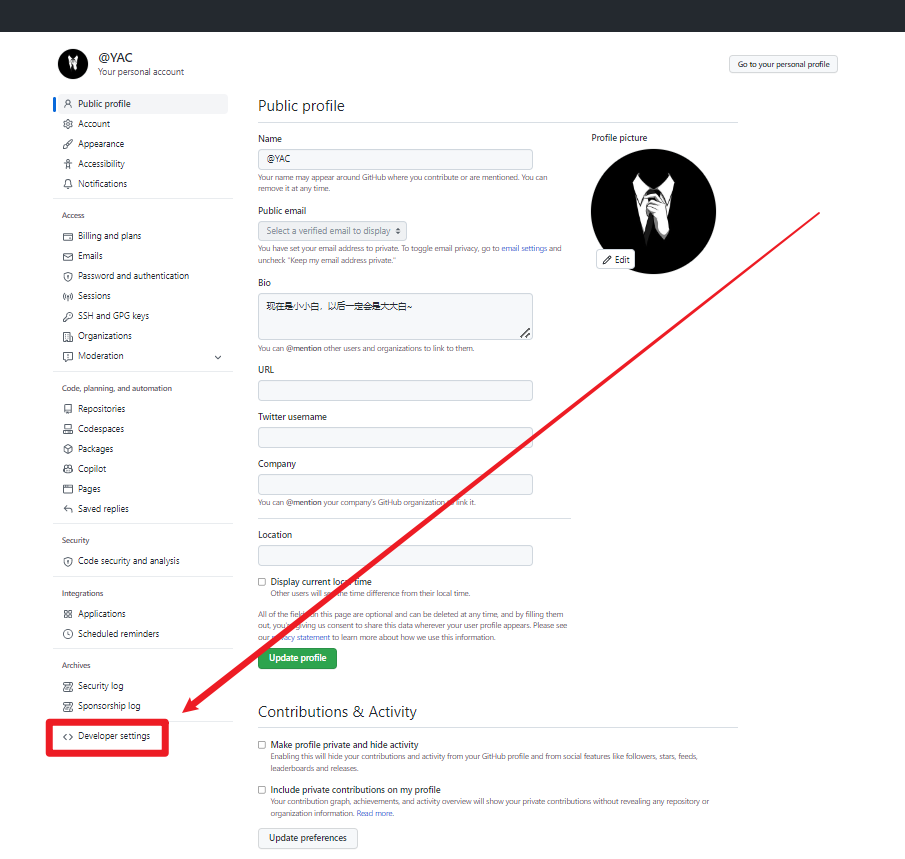
2、在左边的导航栏目里面选择 “Developer seetings”,进入开发者设置页面。
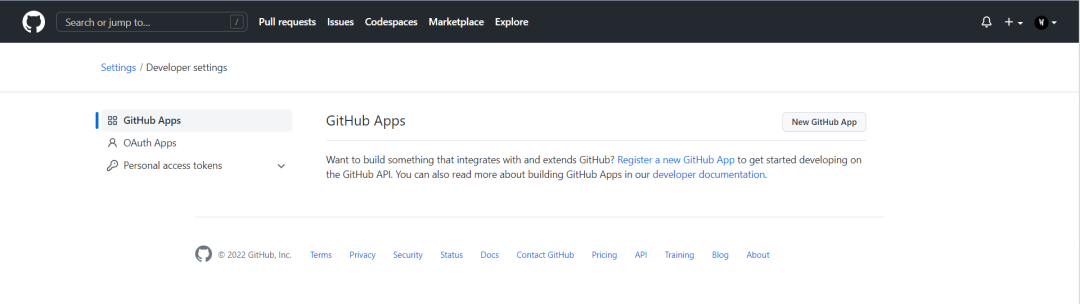
3、选择 “Personal access tokens”, 点击 “Generate new token”。
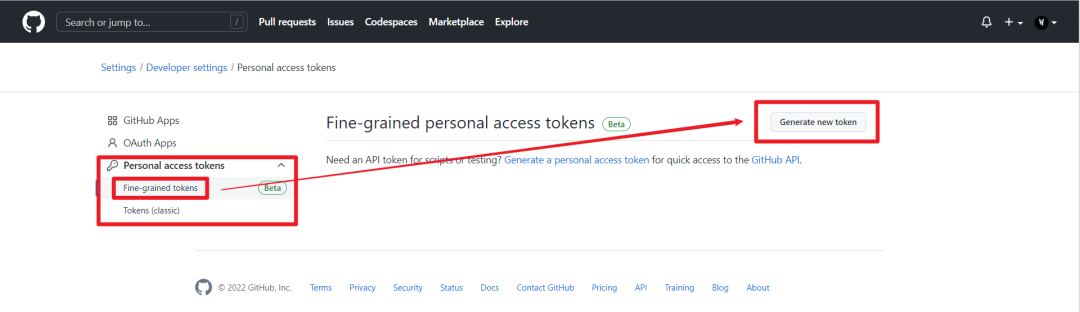
你会看到如下界面:
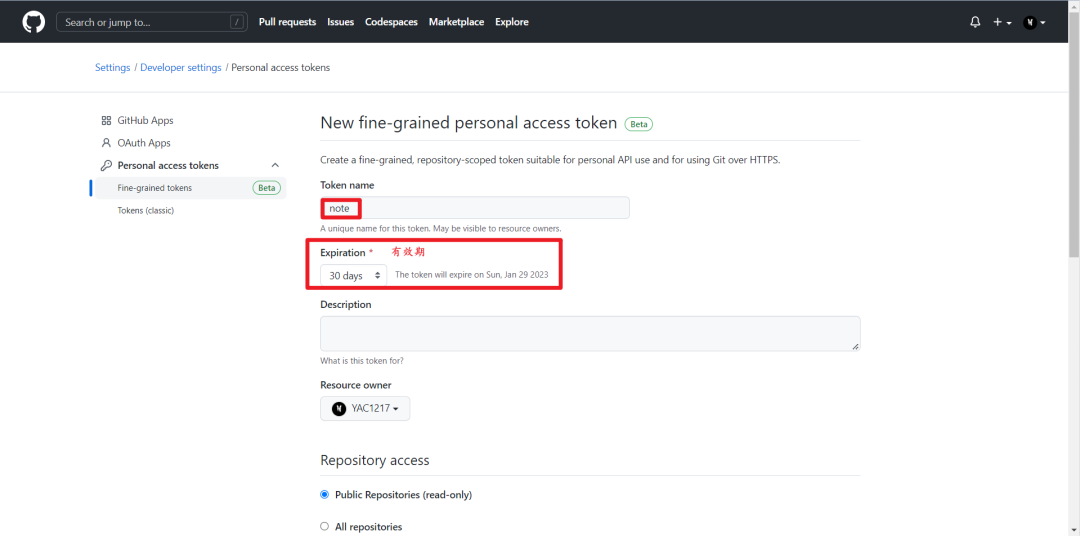
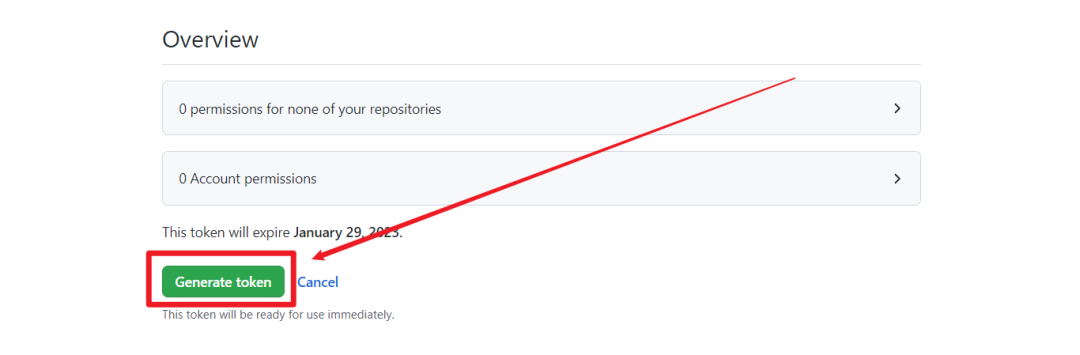
4、输入 “note”,选择 “Expiration(有效期)”,你可以自定义有效时间。下面的复选框没有特别的要求的话可以都勾上, 然后到页面最下面,点击“Generate Token”,产生对应的个人访问码。
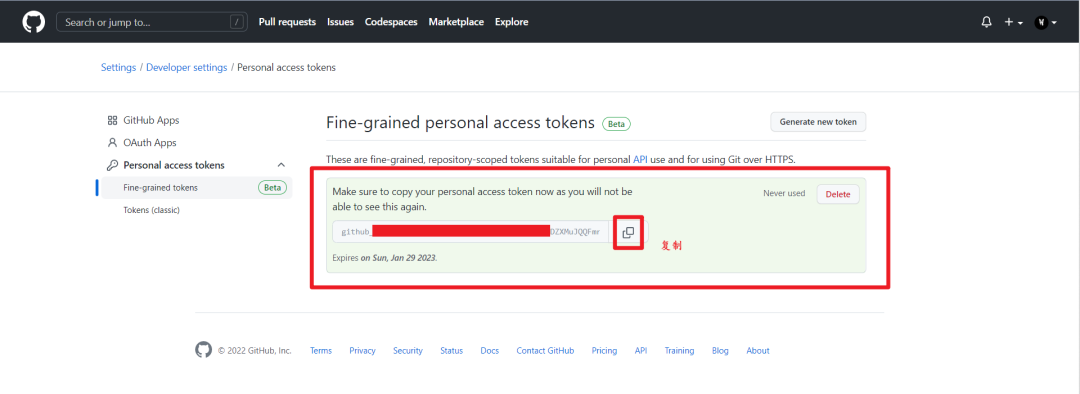
5、现在你可以看到产生的个人访问码了,复制它。建议保存到一个文件里,保存好。
6、搞定。
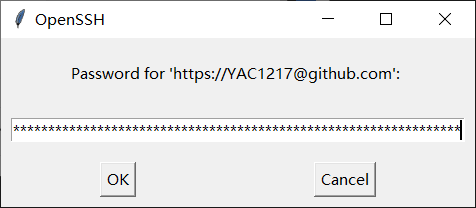
10、再次执行推送命令,这时会提示输入用户名,按照正常的输入即可;在输入用户名之后将会提示输入密码,这里就需要输入之前产生的个人访问码(Personal access token)了,直接复制输入即可。
11、成功之后,我们打开GitHub看一下
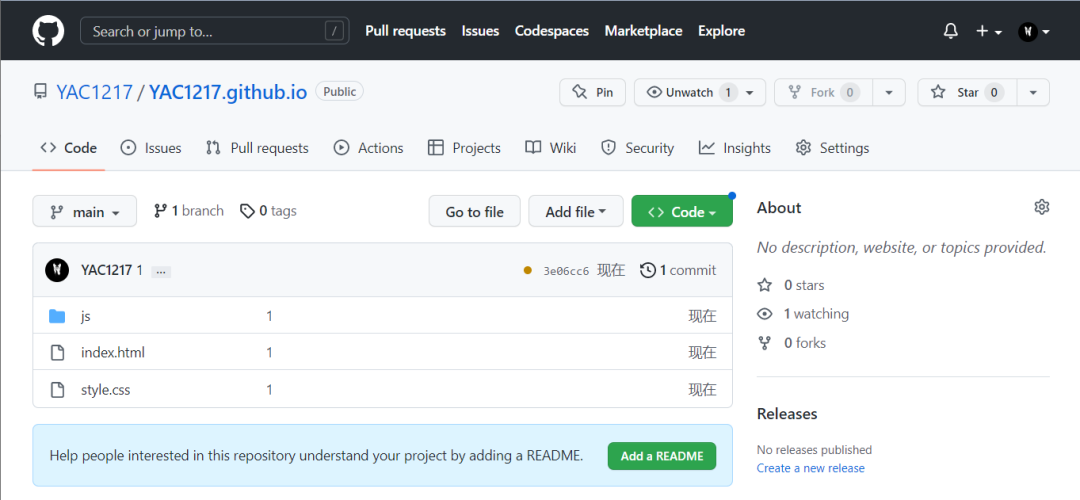
12、成功成功!!!
链接说明
我地址是:https://yac1217.github.io/【可以复制到浏览器打开】
链接就是:https://github的用户名.github.io
自行替换用户名~

如果觉得这个网址不好听,不好记,可以自己去购买域名进行配置。
但是由于github不太稳定,不太建议。