文章目录
- 1、简介
- 2、安装和测试
- 2.1 安装python
- 2.2 安装SpeechRecognition
- 2.3 安装pyaudio
- 2.4 安装pocketsphinx(offline)
- 2.5 安装Vosk (offline)
- 2.6 安装Whisper(offline)
- 3 测试
- 3.1 命令
- 3.2 fastapi
- 3.3 google
- 3.4 recognize_sphinx
- 结语
1、简介
https://pypi.org/project/SpeechRecognition/
https://github.com/Uberi/speech_recognition
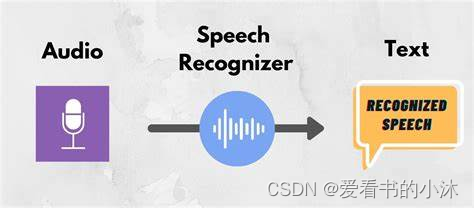
SpeechRecognition用于执行语音识别的库,支持多个引擎和 API,在线和离线。
Speech recognition engine/API 支持如下接口:
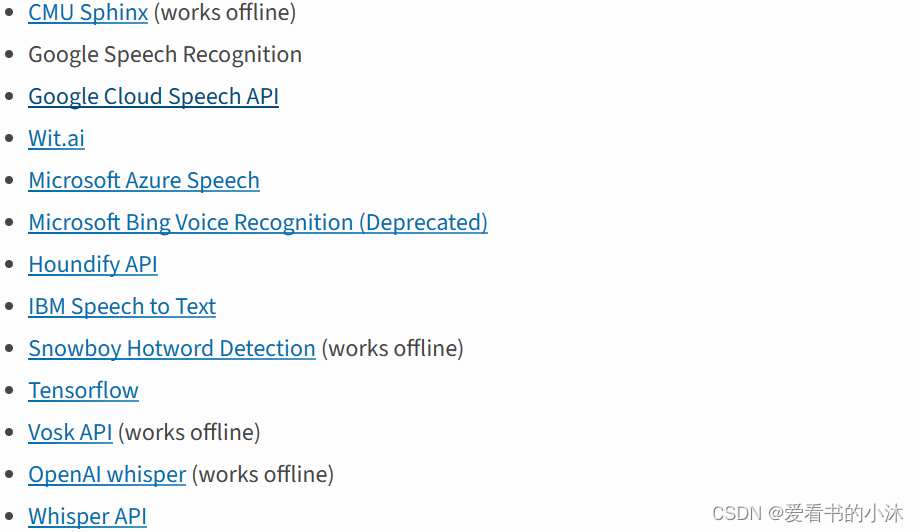
recognize_bing():Microsoft Bing Speech
recognize_google(): Google Web Speech API
recognize_google_cloud():Google Cloud Speech - requires installation of the google-cloud-speech package
recognize_houndify(): Houndify by SoundHound
recognize_ibm():IBM Speech to Text
recognize_sphinx():CMU Sphinx - requires installing PocketSphinx
recognize_wit():Wit.ai
以上几个中只有 recognition_sphinx()可与CMU Sphinx 引擎脱机工作, 其他六个都需要连接互联网。另外,SpeechRecognition 附带 Google Web Speech API 的默认 API 密钥,可直接使用它。其他的 API 都需要使用 API 密钥或用户名/密码组合进行身份验证。
2、安装和测试
-
Python 3.8+ (required)
-
PyAudio 0.2.11+ (required only if you need to use microphone input, Microphone)
-
PocketSphinx (required only if you need to use the Sphinx recognizer, recognizer_instance.recognize_sphinx)
-
Google API Client Library for Python (required only if you need to use the Google Cloud Speech API, recognizer_instance.recognize_google_cloud)
-
FLAC encoder (required only if the system is not x86-based Windows/Linux/OS X)
-
Vosk (required only if you need to use Vosk API speech recognition recognizer_instance.recognize_vosk)
-
Whisper (required only if you need to use Whisper recognizer_instance.recognize_whisper)
-
openai (required only if you need to use Whisper API speech recognition recognizer_instance.recognize_whisper_api)
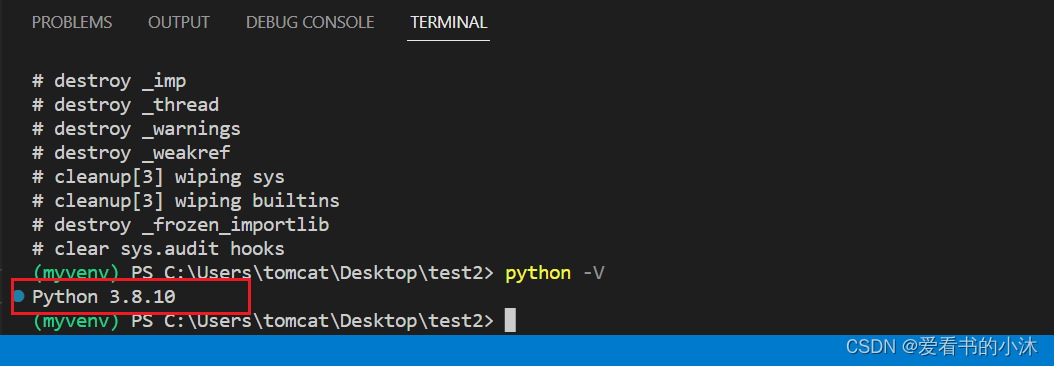
2.1 安装python
https://www.python.org/downloads/
2.2 安装SpeechRecognition
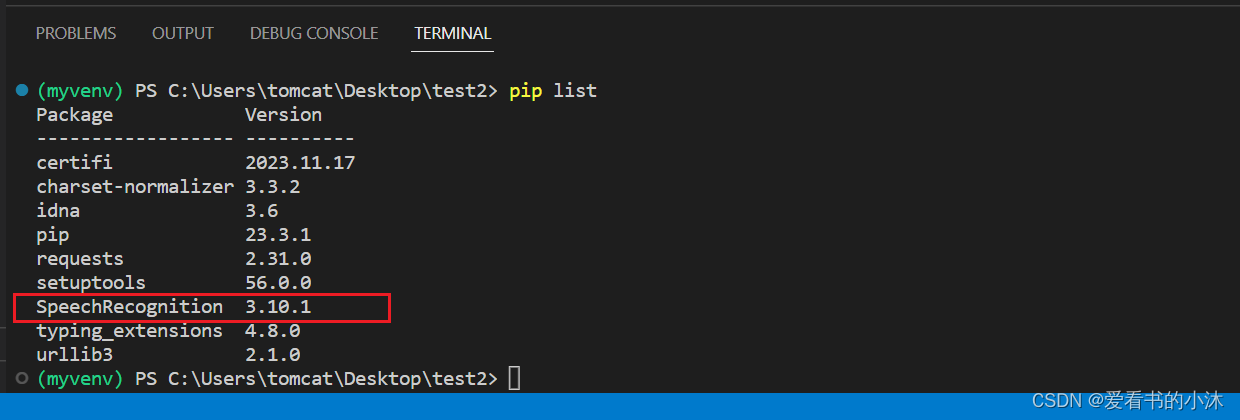
安装库SpeechRecognition:
#python -m pip install --upgrade pip
#pip install 包名 -i https://pypi.tuna.tsinghua.edu.cn/simple/
#pip install 包名 -i http://pypi.douban.com/simple/ --trusted-host pypi.douban.com
#pip install 包名 -i https://pypi.org/simple
pip install SpeechRecognition

import speech_recognition as sr
print(sr.__version__)

麦克风的特定于硬件的索引获取:
import speech_recognition as sr
for index, name in enumerate(sr.Microphone.list_microphone_names()):
    print("Microphone with name \"{1}\" found for `Microphone(device_index={0})`".format(index, name))

2.3 安装pyaudio
pip install pyaudio

2.4 安装pocketsphinx(offline)
pip install pocketsphinx
或者https://www.lfd.uci.edu/~gohlke/pythonlibs/#pocketsphinx找到编译好的本地库文件进行安装。

在这里使用的是recognize_sphinx()语音识别器,它可以脱机工作,但是必须安装pocketsphinx库.
若要进行中文识别,还需要两样东西。
1、语音文件(SpeechRecognition对文件格式有要求);
SpeechRecognition支持语音文件类型:
WAV: 必须是 PCM/LPCM 格式
AIFF
AIFF-C
FLAC: 必须是初始 FLAC 格式;OGG-FLAC 格式不可用
2、中文声学模型、语言模型和字典文件;
pocketsphinx需要安装的中文语言、声学模型。
https://sourceforge.net/projects/cmusphinx/files/Acoustic%20and%20Language%20Models/Mandarin/

下载cmusphinx-zh-cn-5.2.tar.gz并解压:


在python安装目录下找到Lib\site-packages\speech_recognition:

点击进入pocketsphinx-data文件夹,并新建文件夹zh-CN:
在这个文件夹中添加进入刚刚解压的文件,需要注意:把解压出来的zh_cn.cd_cont_5000文件夹重命名为acoustic-model、zh_cn.lm.bin命名为language-model.lm.bin、zh_cn.dic中dic改为pronounciation-dictionary.dict格式。

编写脚本测试:
import speech_recognition as sr

r = sr.Recognizer()    #调用识别器
test = sr.AudioFile("chinese.flac")   #导入语音文件
with test as source:
	# r.adjust_for_ambient_noise(source)
    audio = r.record(source) #使用 record() 从文件中获取数据
type(audio)
# c=r.recognize_sphinx(audio, language='zh-cn')     #识别输出
c=r.recognize_sphinx(audio, language='en-US')     #识别输出
print(c)
import speech_recognition as sr

# obtain path to "english.wav" in the same folder as this script
from os import path
AUDIO_FILE = path.join(path.dirname(path.realpath(__file__)), "english.wav")
# AUDIO_FILE = path.join(path.dirname(path.realpath(__file__)), "french.aiff")
# AUDIO_FILE = path.join(path.dirname(path.realpath(__file__)), "chinese.flac")

# use the audio file as the audio source
r = sr.Recognizer()
with sr.AudioFile(AUDIO_FILE) as source:
    audio = r.record(source)  # read the entire audio file

# recognize speech using Sphinx
try:
    print("Sphinx thinks you said " + r.recognize_sphinx(audio))
except sr.UnknownValueError:
    print("Sphinx could not understand audio")
except sr.RequestError as e:
    print("Sphinx error; {0}".format(e))

import speech_recognition as sr

recognizer = sr.Recognizer()
with sr.Microphone() as source:
	# recognizer.adjust_for_ambient_noise(source)
    audio = recognizer.listen(source)
c=recognizer.recognize_sphinx(audio, language='zh-cn')     #识别输出
# c=r.recognize_sphinx(audio, language='en-US')     #识别输出
print(c)
import speech_recognition as sr

# obtain audio from the microphone
r = sr.Recognizer()
with sr.Microphone() as source:
    print("Say something!")
    audio = r.listen(source)

# recognize speech using Sphinx
try:
    print("Sphinx thinks you said " + r.recognize_sphinx(audio))
except sr.UnknownValueError:
    print("Sphinx could not understand audio")
except sr.RequestError as e:
    print("Sphinx error; {0}".format(e))

2.5 安装Vosk (offline)
python3 -m pip install vosk

您还必须安装 Vosk 模型:
以下是可供下载的模型。您必须将它们放在项目的模型文件夹中,例如“your-project-folder/models/your-vosk-model”
https://alphacephei.com/vosk/models

在测试脚本的所在文件夹,新建model子文件夹,然后把上面下载的模型解压到里面如下:


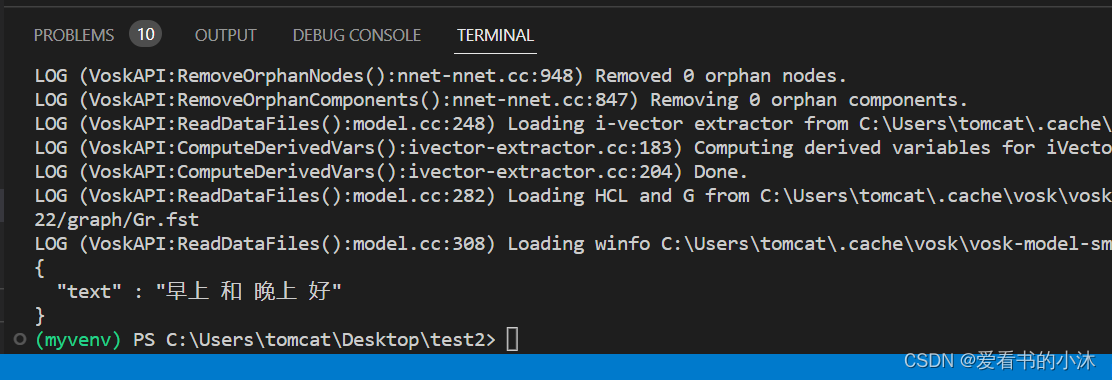
编写脚本:
import speech_recognition as sr
from vosk import KaldiRecognizer, Model

r = sr.Recognizer()
with sr.Microphone() as source:
    audio = r.listen(source, timeout=3, phrase_time_limit=3)

r.vosk_model = Model(model_name="vosk-model-small-cn-0.22")
text=r.recognize_vosk(audio, language='zh-cn')
print(text)
2.6 安装Whisper(offline)
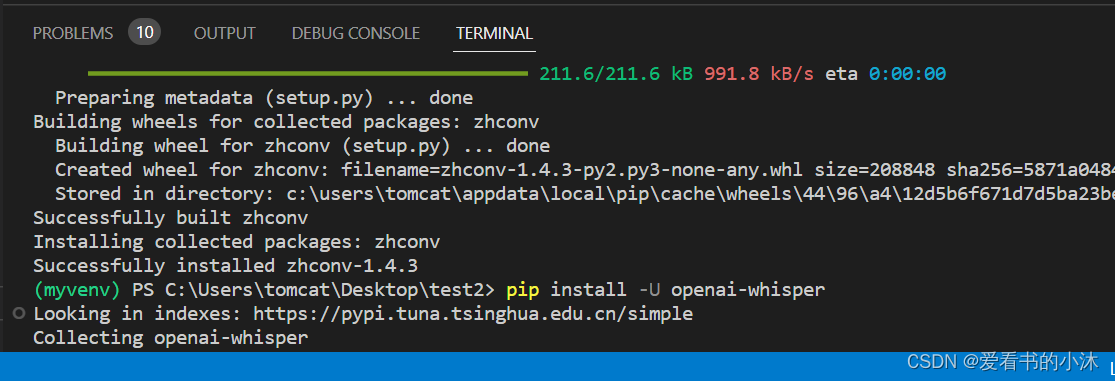
pip install zhconv
pip install whisper
pip install -U openai-whisper
pip3 install wheel
pip install soundfile
编写脚本:
import speech_recognition as sr
from vosk import KaldiRecognizer, Model

r = sr.Recognizer()
with sr.Microphone() as source:
    audio = r.listen(source, timeout=3, phrase_time_limit=5)

# recognize speech using whisper
try:
    print("Whisper thinks you said: " + r.recognize_whisper(audio, language="chinese"))
except sr.UnknownValueError:
    print("Whisper could not understand audio")
except sr.RequestError as e:
    print("Could not request results from Whisper")

3 测试
3.1 命令
python -m speech_recognition

3.2 fastapi
import json
import os
from pprint import pprint

import speech_recognition
import torch
import uvicorn
from fastapi import FastAPI, HTTPException
from pydantic import BaseModel
import soundfile
import whisper
import vosk

class ResponseModel(BaseModel):
    path: str


app = FastAPI()


def get_path(req: ResponseModel):
    path = req.path
    if path == "":
        raise HTTPException(status_code=400, detail="No path provided")

    if not path.endswith(".wav"):
        raise HTTPException(status_code=400, detail="Invalid file type")

    if not os.path.exists(path):
        raise HTTPException(status_code=404, detail="File does not exist")

    return path


@app.get("/")
def root():
    return {"message": "speech-recognition api"}


@app.post("/recognize-google")
def recognize_google(req: ResponseModel):
    path = get_path(req)
    r = speech_recognition.Recognizer()

    with speech_recognition.AudioFile(path) as source:
        audio = r.record(source)

    return r.recognize_google(audio, language='ja-JP', show_all=True)


@app.post("/recognize-vosk")
def recognize_vosk(req: ResponseModel):
    path = get_path(req)
    r = speech_recognition.Recognizer()

    with speech_recognition.AudioFile(path) as source:
        audio = r.record(source)

    return json.loads(r.recognize_vosk(audio, language='ja'))


@app.post("/recognize-whisper")
def recognize_whisper(req: ResponseModel):
    path = get_path(req)
    r = speech_recognition.Recognizer()

    with speech_recognition.AudioFile(path) as source:
        audio = r.record(source)

    result = r.recognize_whisper(audio, language='ja')
    try:
        return json.loads(result)
    except:
        return {"text": result}


if __name__ == "__main__":
    host = os.environ.get('HOST', '0.0.0.0')
    port: int = os.environ.get('PORT', 8080)

    uvicorn.run("main:app", host=host, port=int(port))
3.3 google
import speech_recognition as sr
import webbrowser as wb
import speak

chrome_path = 'C:/Program Files (x86)/Google/Chrome/Application/chrome.exe %s'

r = sr.Recognizer()

with sr.Microphone() as source:
    print ('Say Something!')
    audio = r.listen(source)
    print ('Done!')

try:
    text = r.recognize_google(audio)
    print('Google thinks you said:\n' + text)
    lang = 'en'

    speak.tts(text, lang)

    f_text = 'https://www.google.co.in/search?q=' + text
    wb.get(chrome_path).open(f_text)

except Exception as e:
    print (e)
3.4 recognize_sphinx
import logging
import speech_recognition as sr


def audio_Sphinx(filename):
    logging.info('开始识别语音文件...')
    # use the audio file as the audio source
    r = sr.Recognizer()
    with sr.AudioFile(filename) as source:
        audio = r.record(source)  # read the entire audio file

    # recognize speech using Sphinx
    try:
        print("Sphinx thinks you said: " + r.recognize_sphinx(audio, language='zh-cn'))
    except sr.UnknownValueError:
        print("Sphinx could not understand audio")
    except sr.RequestError as e:
        print("Sphinx error; {0}".format(e))

if __name__ == "__main__":
    logging.basicConfig(level=logging.INFO)

    wav_num = 0
    while True:
        r = sr.Recognizer()
        #启用麦克风
        mic = sr.Microphone()
        logging.info('录音中...')
        with mic as source:
            #降噪
            r.adjust_for_ambient_noise(source)
            audio = r.listen(source)
        with open(f"00{wav_num}.wav", "wb") as f:
            #将麦克风录到的声音保存为wav文件
            f.write(audio.get_wav_data(convert_rate=16000))
        logging.info('录音结束,识别中...')

        target = audio_Sphinx(f"00{wav_num}.wav")
        wav_num += 1
结语
如果您觉得该方法或代码有一点点用处,可以给作者点个赞,或打赏杯咖啡;╮( ̄▽ ̄)╭
如果您感觉方法或代码不咋地//(ㄒoㄒ)//,就在评论处留言,作者继续改进;o_O???
如果您需要相关功能的代码定制化开发,可以留言私信作者;(✿◡‿◡)
感谢各位大佬童鞋们的支持!( ´ ▽´ )ノ ( ´ ▽´)っ!!!





![[仅供学习,禁止用于违法]编写一个程序来手动设置Windows的全局代理开或关,实现对所有网络请求拦截和数据包捕获(抓包或VPN的应用)](https://img-blog.csdnimg.cn/direct/c45234eb3fe64d999af6c6e2665999f1.png)
