原理
-
SSM集成 = Spring+SpringMvc+Mybatis集成
-
框架集成核心,如果你的项目中,用到了Spring框架,那么其他框架主要就是和Spring集成;
-
和Spring集成的核心思路:
-
把当前框架的核心类,交给Spring管理(IOC)
-
如果框架有事务,那么事务也要统一交给Spring管理(AOP)
-
步骤
1、根据项目业务创建数据库和表格
SET FOREIGN_KEY_CHECKS=0;

-- ----------------------------
-- Table structure for `account_info`
-- ----------------------------
DROP TABLE IF EXISTS `account_info`;
CREATE TABLE `account_info` (
  `account` varchar(11) COLLATE utf8mb4_general_ci NOT NULL COMMENT '用户账号,主键',
  `acc_name` varchar(50) COLLATE utf8mb4_general_ci NOT NULL COMMENT '用户姓名',
  `password` varchar(255) CHARACTER SET utf8mb4 COLLATE utf8mb4_general_ci NOT NULL COMMENT '鐢ㄦ埛瀵嗙爜锛岄粯璁ゆ墜鏈哄彿鍚?浣?',
  `acc_phone` varchar(11) COLLATE utf8mb4_general_ci NOT NULL COMMENT '手机号11位,唯一',
  `is_enable` tinyint(1) NOT NULL COMMENT '是否启用(1:启用,0:未启用)',
  `create_time` datetime NOT NULL COMMENT '创建时间',
  `update_time` datetime NOT NULL COMMENT '更新时间',
  PRIMARY KEY (`account`),
  UNIQUE KEY `uk_phone` (`acc_phone`)
) ENGINE=InnoDB DEFAULT CHARSET=utf8mb4 COLLATE=utf8mb4_general_ci;

-- ----------------------------
-- Records of account_info
-- ----------------------------
INSERT INTO `account_info` VALUES ('YZ0001', 'admin', '92159b1631dae48aa523875174e3ea60', '13811345670', '1', '2023-08-18 11:34:28', '2023-08-18 11:34:28');
INSERT INTO `account_info` VALUES ('YZ0002', 'admin', '986fa807bbe0c721702868bae6ef8a33', '13811345679', '1', '2023-08-18 11:34:38', '2023-08-18 11:34:38');
INSERT INTO `account_info` VALUES ('YZ0003', 'admin2', '7d839f278639a38b2ba83ad67ab836a2', '13811345677', '1', '2023-08-18 14:46:05', '2023-08-18 14:46:05');
INSERT INTO `account_info` VALUES ('YZ0004', 'admin2', '35ea60fd301a3895245aff0ca4947d9e', '13811345674', '1', '2023-08-18 15:03:12', '2023-08-18 15:03:12');
2、搭建一个maven项目
3、导入坐标依赖
 <dependency>
      <groupId>org.springframework</groupId>
      <artifactId>spring-webmvc</artifactId>
      <version>5.3.8</version>
    </dependency>

    <!--    servlet依赖-->
    <dependency>
      <groupId>javax.servlet</groupId>
      <artifactId>javax.servlet-api</artifactId>
      <version>3.1.0</version>
      <scope>provided</scope>
    </dependency>

    <!--    json 相关-->
    <dependency>
      <groupId>com.fasterxml.jackson.core</groupId>
      <artifactId>jackson-databind</artifactId>
      <version>2.9.0</version>
    </dependency>
<!--    mysql驱动-->
    <dependency>
      <groupId>mysql</groupId>
      <artifactId>mysql-connector-java</artifactId>
      <version>8.0.33</version>
    </dependency>

<!--    连接池-->
    <dependency>
      <groupId>com.alibaba</groupId>
      <artifactId>druid</artifactId>
      <version>1.2.4</version>
    </dependency>

    <!--        spring整合jdbc相关坐标-->
    <dependency>
      <groupId>org.springframework</groupId>
      <artifactId>spring-jdbc</artifactId>
      <version>5.3.8</version>
    </dependency>

    <dependency>
      <groupId>org.mybatis</groupId>
      <artifactId>mybatis</artifactId>
      <version>3.4.6</version>
    </dependency>
<!--    mybatis整合spring-->
    <dependency>
      <groupId>org.mybatis</groupId>
      <artifactId>mybatis-spring</artifactId>
      <version>1.3.0</version>
    </dependency>

    <dependency>
      <groupId>org.projectlombok</groupId>
      <artifactId>lombok</artifactId>
      <version>1.18.20</version>
    </dependency>
4、编写实体类
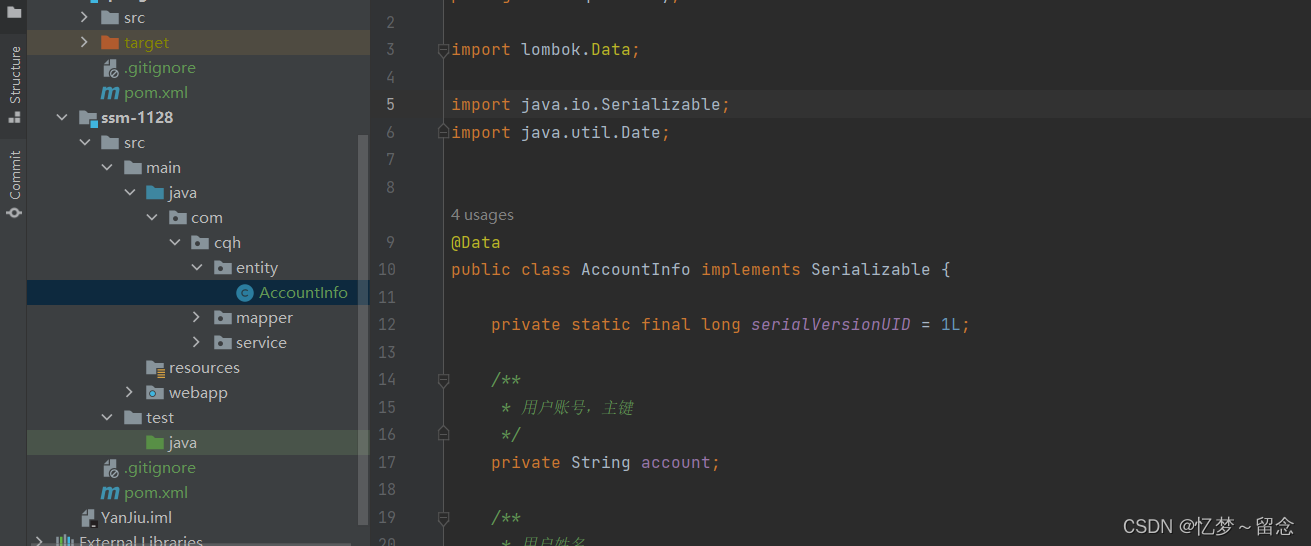
package com.cqh.entity;

import lombok.Data;

import java.io.Serializable;
import java.util.Date;


@Data
public class AccountInfo implements Serializable {

    private static final long serialVersionUID = 1L;

    /**
     * 用户账号,主键
     */
    private String account;

    /**
     * 用户姓名
     */
    private String accName;

    /**
     * 用户密码
     */
    private String password;

    /**
     * 手机号11位,唯一
     */
    private String accPhone;

    /**
     * 是否启用(1:启用,0:未启用)
     */
    private Boolean isEnable;

    /**
     * 创建时间
     */
    private Date createTime;

    /**
     * 更新时间
     */
    private Date updateTime;
}
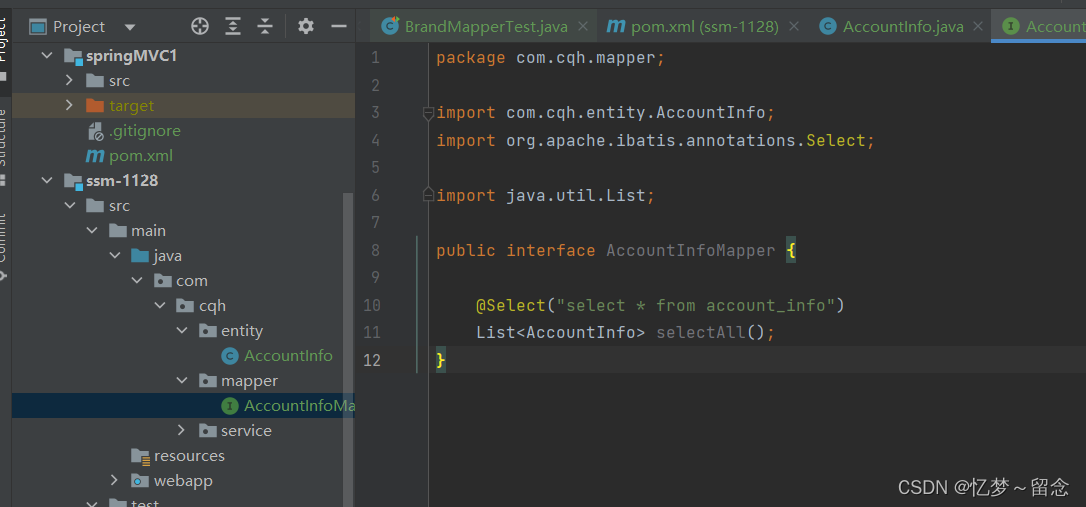
5、编写mapper接口
package com.cqh.mapper;

import com.cqh.entity.AccountInfo;
import org.apache.ibatis.annotations.Select;

import java.util.List;

public interface AccountInfoMapper {

    @Select("select * from account_info")
    List<AccountInfo> selectAll();
} 
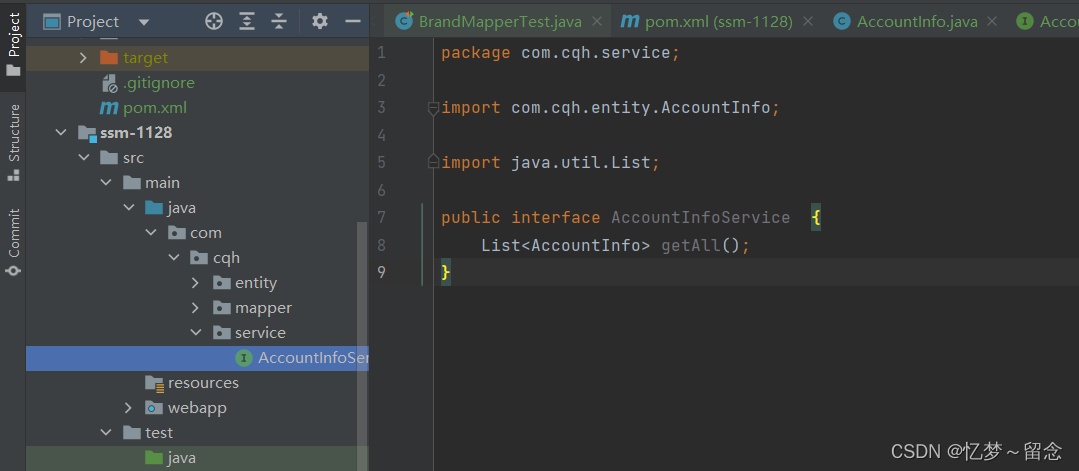
6、编写service接口和实现类
package com.cqh.service;

import com.cqh.entity.AccountInfo;

import java.util.List;

public interface AccountInfoService  {
    List<AccountInfo> getAll();
} 
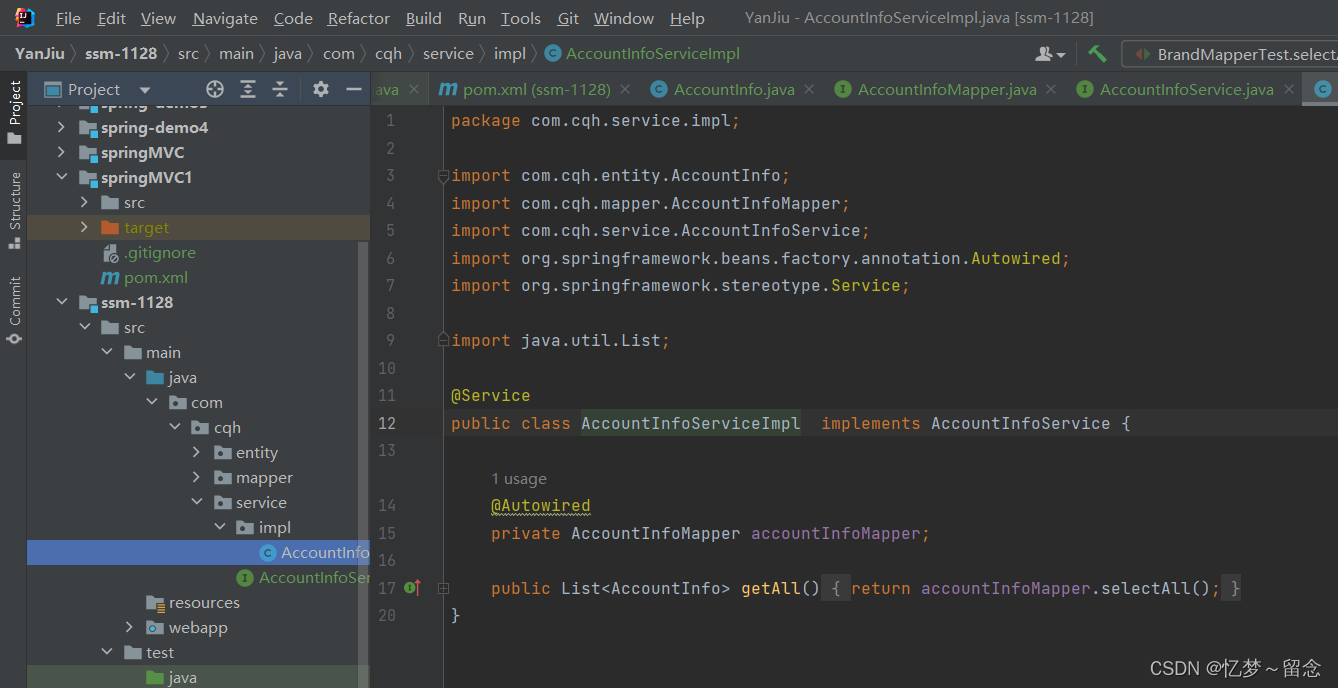
package com.cqh.service.impl;

import com.cqh.entity.AccountInfo;
import com.cqh.mapper.AccountInfoMapper;
import com.cqh.service.AccountInfoService;
import org.springframework.beans.factory.annotation.Autowired;
import org.springframework.stereotype.Service;

import java.util.List;

@Service
public class AccountInfoServiceImpl  implements AccountInfoService {

    @Autowired
    private AccountInfoMapper accountInfoMapper;

    public List<AccountInfo> getAll() {
        return accountInfoMapper.selectAll();
    }
} 
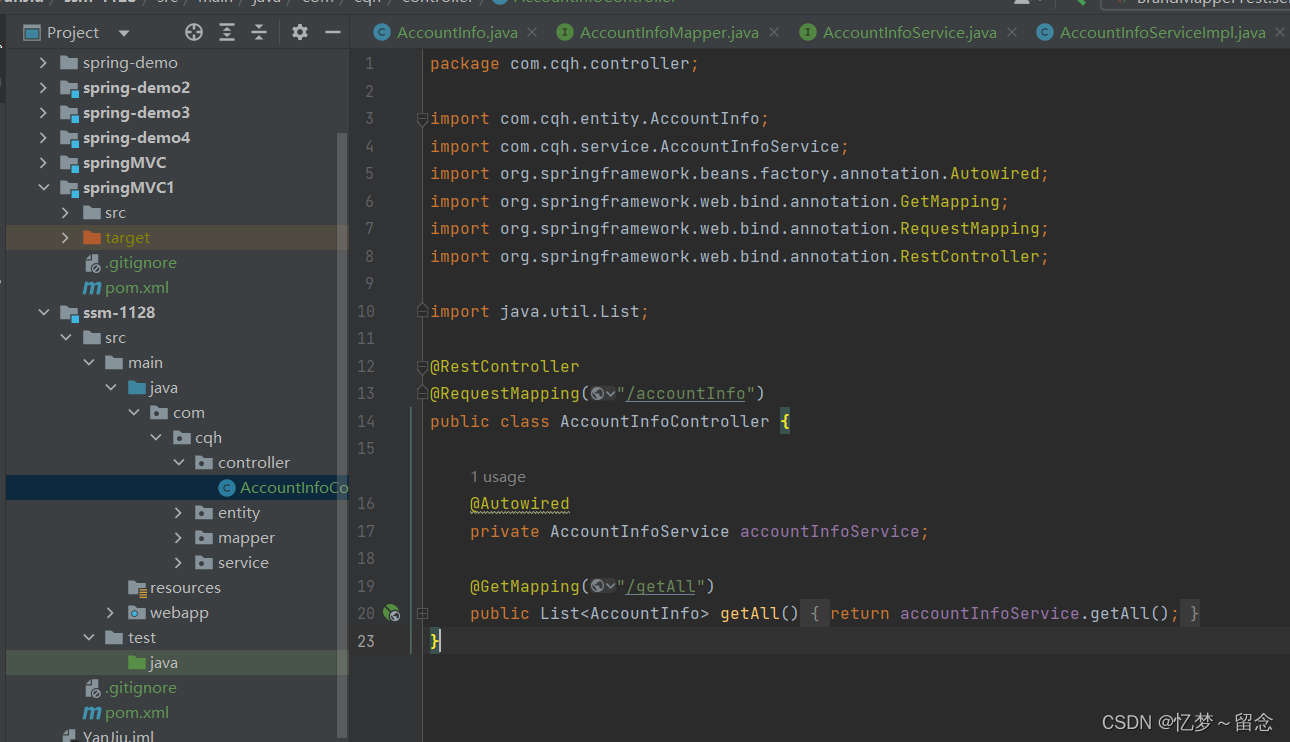
7、编写控制器
package com.cqh.controller;

import com.cqh.entity.AccountInfo;
import com.cqh.service.AccountInfoService;
import org.springframework.beans.factory.annotation.Autowired;
import org.springframework.web.bind.annotation.GetMapping;
import org.springframework.web.bind.annotation.RequestMapping;
import org.springframework.web.bind.annotation.RestController;

import java.util.List;

@RestController
@RequestMapping("/accountInfo")
public class AccountInfoController {

    @Autowired
    private AccountInfoService accountInfoService;

    @GetMapping("/getAll")
    public List<AccountInfo> getAll(){
        return accountInfoService.getAll();
    }
} 
使用注解方式搭建SSM
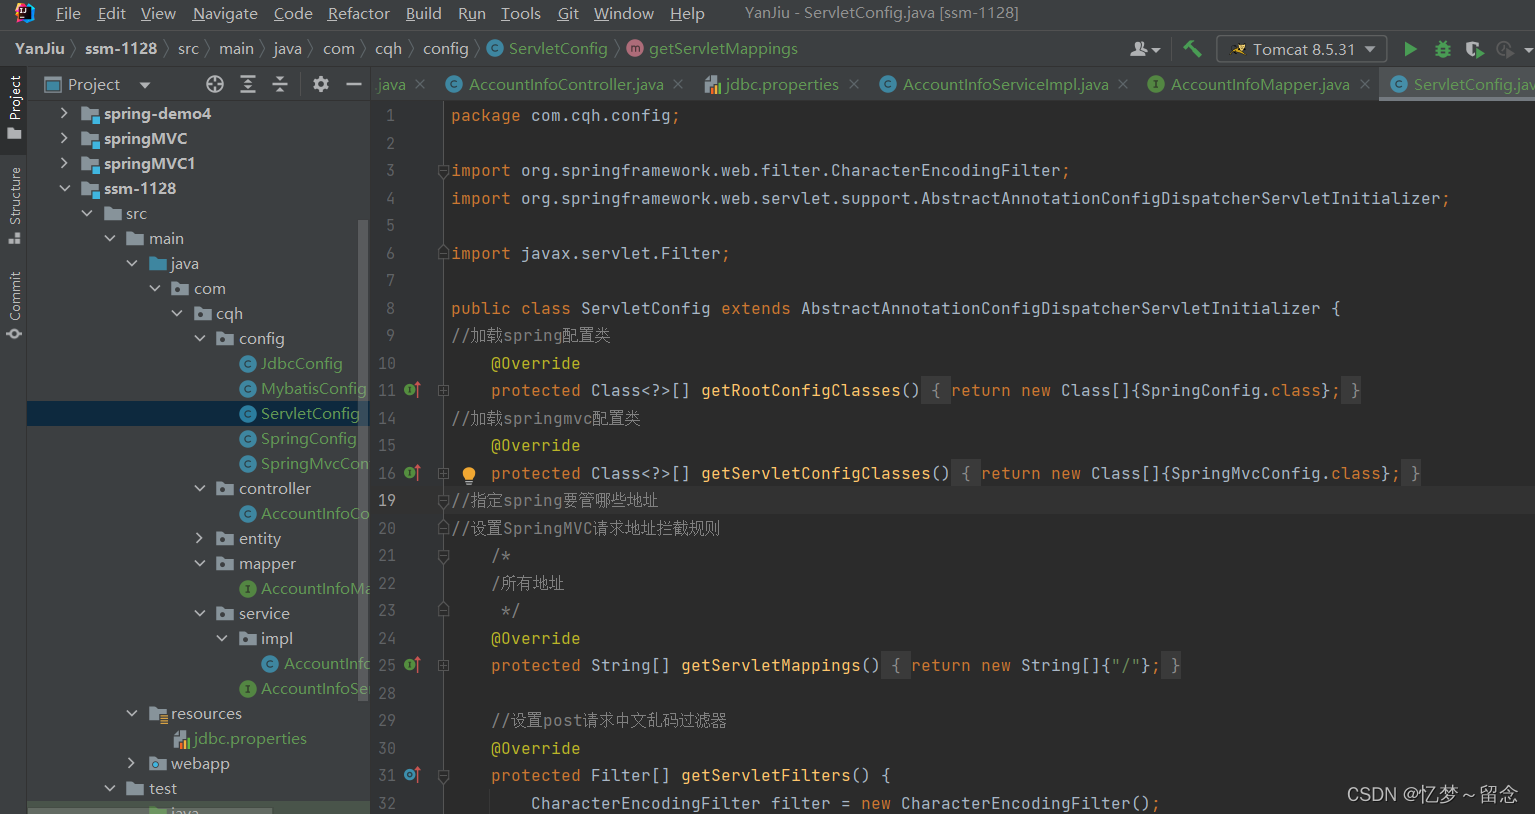
1、创建Web项目入口配置类替换web.xml
package com.cqh.config;

import org.springframework.web.filter.CharacterEncodingFilter;
import org.springframework.web.servlet.support.AbstractAnnotationConfigDispatcherServletInitializer;

import javax.servlet.Filter;

public class ServletConfig extends AbstractAnnotationConfigDispatcherServletInitializer {
//加载spring配置类
    @Override
    protected Class<?>[] getRootConfigClasses() {
        return new Class[]{SpringConfig.class};
    }
//加载springmvc配置类
    @Override
    protected Class<?>[] getServletConfigClasses() {
        return new Class[]{SpringMvcConfig.class};
    }
//指定spring要管哪些地址
//设置SpringMVC请求地址拦截规则
    /*
    /所有地址
     */
    @Override
    protected String[] getServletMappings() {
        return new String[]{"/"};
    }

    //设置post请求中文乱码过滤器
    @Override
    protected Filter[] getServletFilters() {
        CharacterEncodingFilter filter = new CharacterEncodingFilter();
        filter.setEncoding("utf-8");
        return new Filter[]{filter};
    }
}
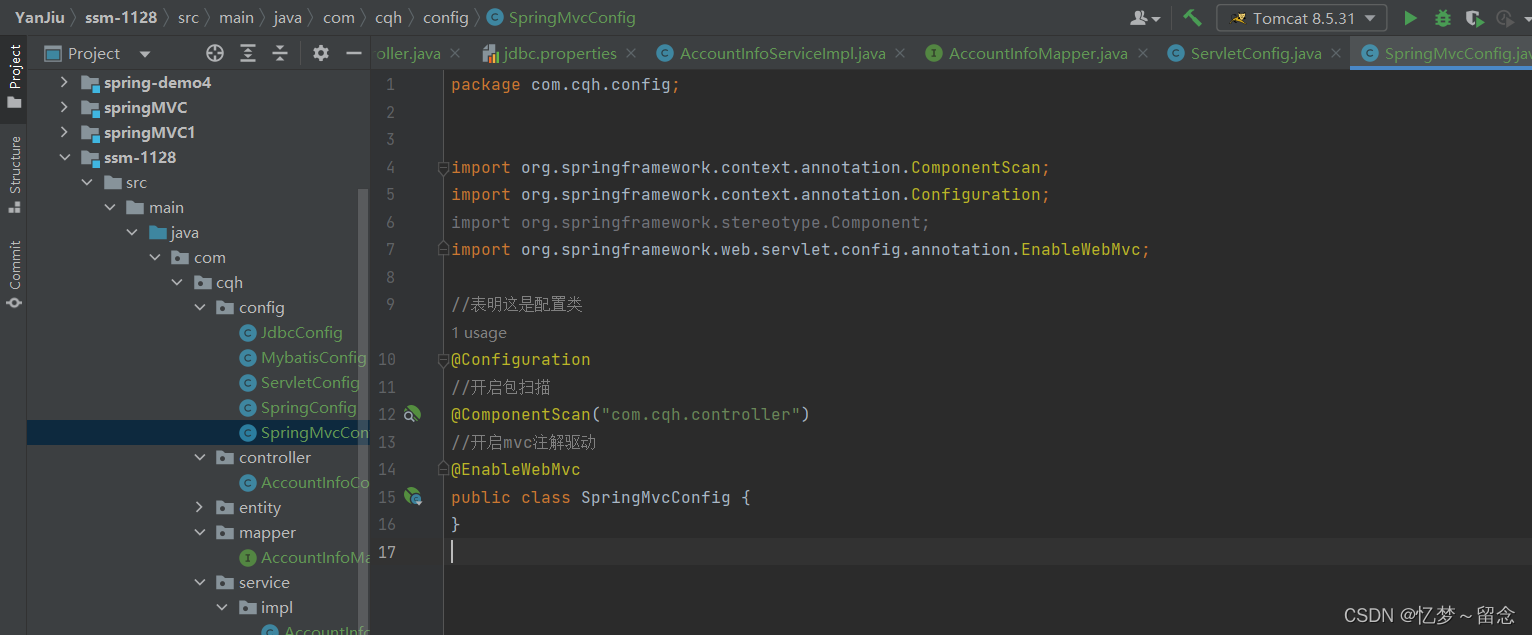
2、创建SpringMVC配置类替换springmvc.xml
package com.cqh.config;


import org.springframework.context.annotation.ComponentScan;
import org.springframework.context.annotation.Configuration;
import org.springframework.stereotype.Component;
import org.springframework.web.servlet.config.annotation.EnableWebMvc;

//表明这是配置类
@Configuration
//开启包扫描
@ComponentScan("com.cqh.controller")
//开启mvc注解驱动
@EnableWebMvc
public class SpringMvcConfig {
}
3、创建SpringConfig配置类替换applicationContext.xml
package com.cqh.config;

import org.springframework.context.annotation.ComponentScan;
import org.springframework.context.annotation.Configuration;
import org.springframework.context.annotation.Import;
import org.springframework.transaction.annotation.EnableTransactionManagement;

//表明这是配置类
@Configuration
//开启包扫描
@ComponentScan("com.cqh.service")
//开启事务平台管理器
@EnableTransactionManagement
//引入数据库配置类
@Import({MybatisConfig.class,JdbcConfig.class})

public class SpringConfig {
}

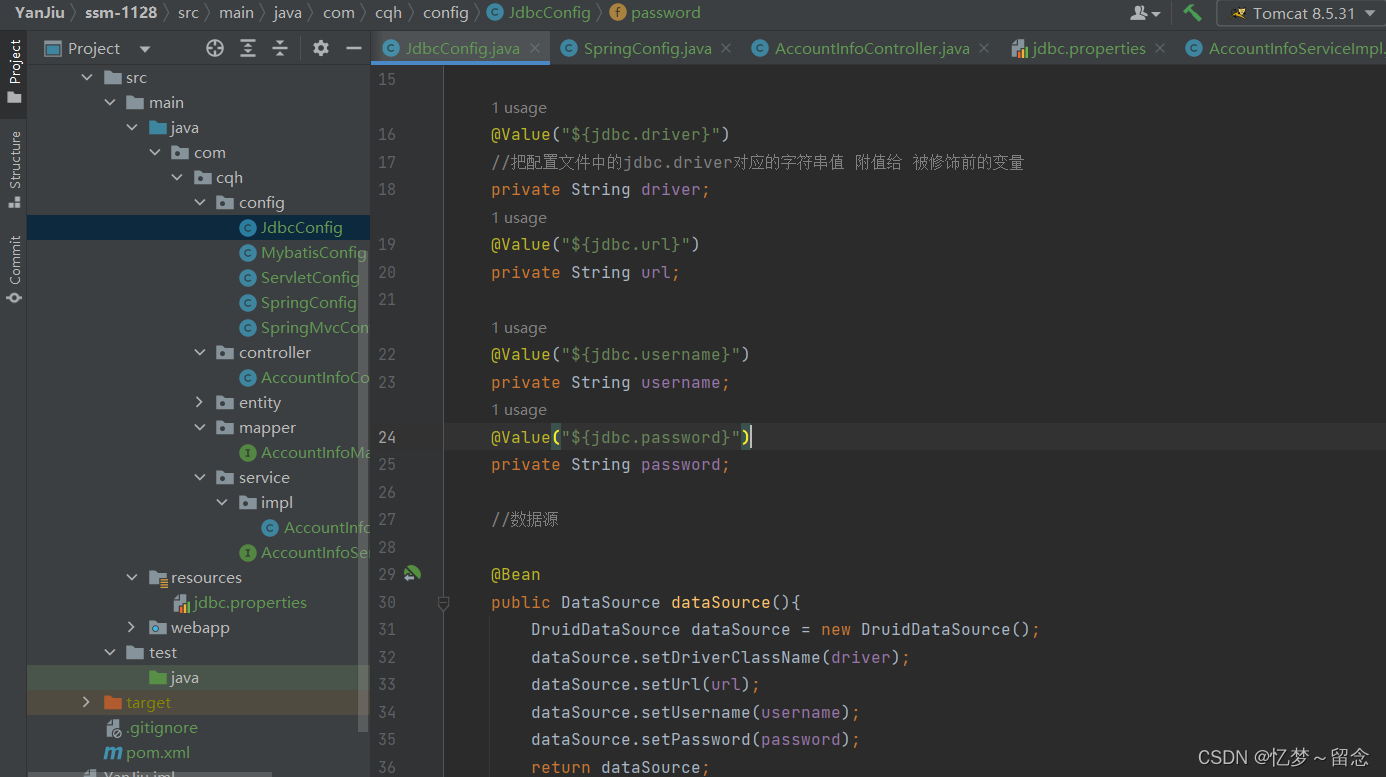
4、创建JdbcConfig配置类
package com.cqh.config;

import com.alibaba.druid.pool.DataSourceClosedException;
import com.alibaba.druid.pool.DruidDataSource;
import org.springframework.beans.factory.annotation.Value;
import org.springframework.context.annotation.Bean;
import org.springframework.context.annotation.PropertySource;
import org.springframework.jdbc.datasource.DataSourceTransactionManager;
import org.springframework.transaction.PlatformTransactionManager;

import javax.sql.DataSource;
//从resources下引入jdbc.properties
@PropertySource("classpath:jdbc.properties")
public class JdbcConfig {

    @Value("${jdbc.driver}")
    //把配置文件中的jdbc.driver对应的字符串值 附值给 被修饰前的变量
    private String driver;
    @Value("${jdbc.url}")
    private String url;

    @Value("${jdbc.username}")
    private String username;
    @Value("${jdbc.password}")
    private String password;

    //数据源

    @Bean
    public DataSource dataSource(){
        DruidDataSource dataSource = new DruidDataSource();
        dataSource.setDriverClassName(driver);
        dataSource.setUrl(url);
        dataSource.setUsername(username);
        dataSource.setPassword(password);
        return dataSource;
    }

    //平台事务管理器

    @Bean
    public PlatformTransactionManager transactionManager(DataSource dataSource){
        //创建数据事务管理器
        DataSourceTransactionManager dataSourceTransactionManager = new DataSourceTransactionManager();
        //设置事务源
        dataSourceTransactionManager.setDataSource(dataSource);
        return dataSourceTransactionManager;
    }

}
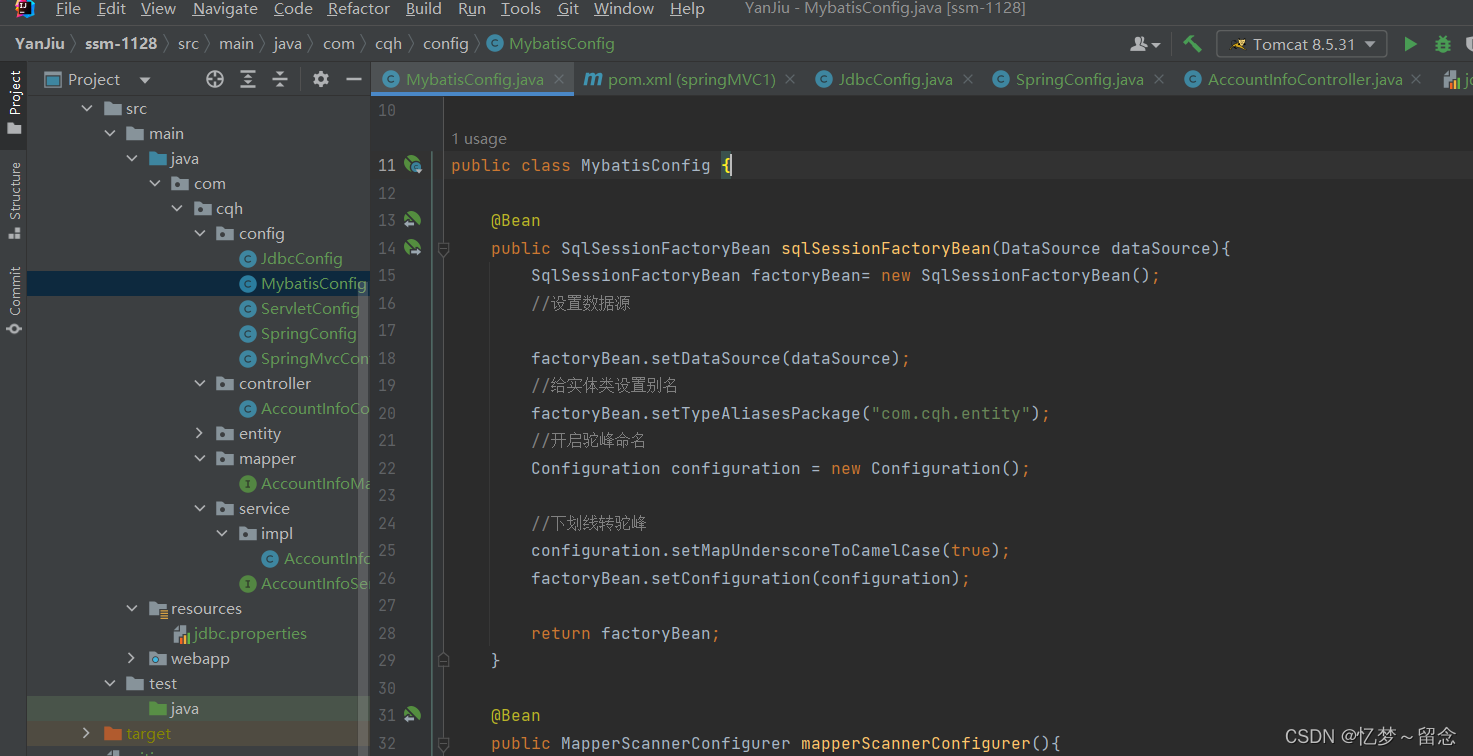
 5、创建MybatisConfig配置类
package com.cqh.config;

import org.apache.ibatis.session.Configuration;
import org.mybatis.spring.SqlSessionFactoryBean;
import org.mybatis.spring.mapper.MapperScannerConfigurer;
import org.springframework.context.annotation.Bean;

import javax.sql.DataSource;


public class MybatisConfig {

    @Bean
    public SqlSessionFactoryBean sqlSessionFactoryBean(DataSource dataSource){
        SqlSessionFactoryBean factoryBean= new SqlSessionFactoryBean();
        //设置数据源

        factoryBean.setDataSource(dataSource);
        //给实体类设置别名
        factoryBean.setTypeAliasesPackage("com.cqh.entity");
        //开启驼峰命名
        Configuration configuration = new Configuration();

        //下划线转驼峰
        configuration.setMapUnderscoreToCamelCase(true);
        factoryBean.setConfiguration(configuration);

        return factoryBean;
    }

    @Bean
    public MapperScannerConfigurer mapperScannerConfigurer(){
        MapperScannerConfigurer mapperScannerConfigurer = new MapperScannerConfigurer();
        //扫描mapper所在的包
        mapperScannerConfigurer.setBasePackage( "com.cqh.mapper");
        return mapperScannerConfigurer;
    }

}
Xml方式
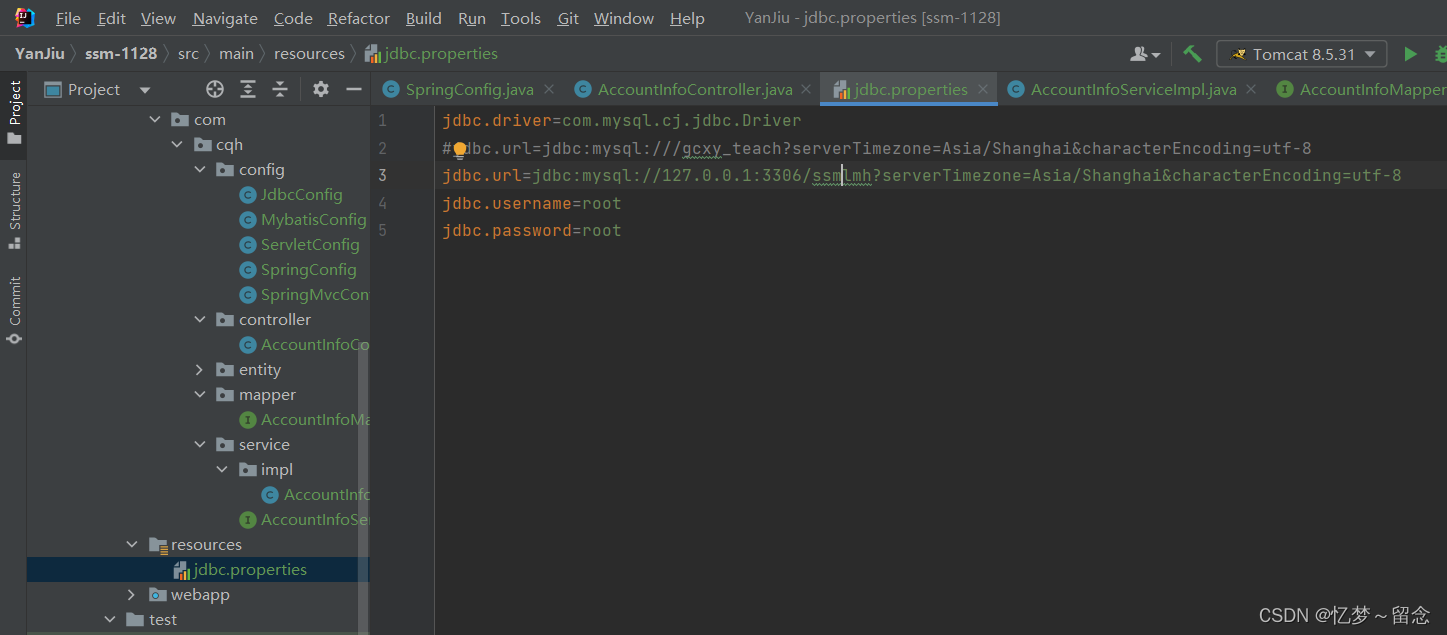
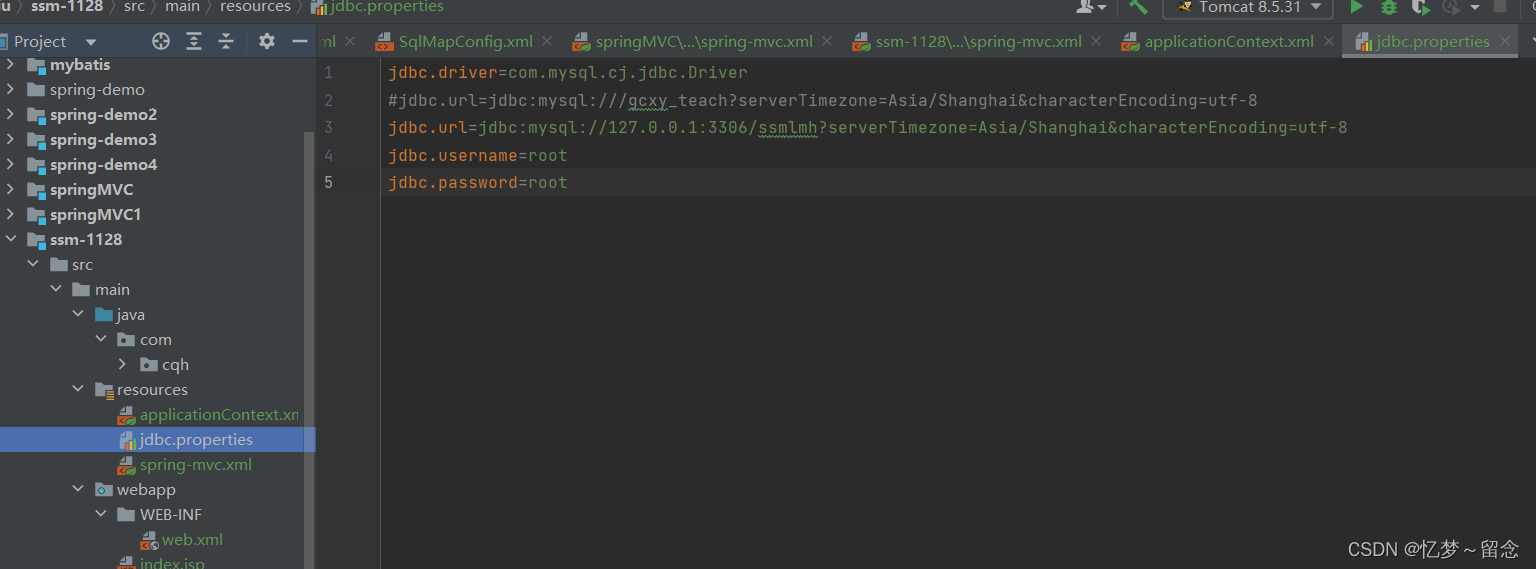
1、配置jdbc.properties
2、applicationContext.xml
<?xml version="1.0" encoding="UTF-8"?>
<beans xmlns="http://www.springframework.org/schema/beans"
       xmlns:xsi="http://www.w3.org/2001/XMLSchema-instance"
       xmlns:context="http://www.springframework.org/schema/context"
       xsi:schemaLocation="http://www.springframework.org/schema/beans http://www.springframework.org/schema/beans/spring-beans.xsd
 http://www.springframework.org/schema/context
       http://www.springframework.org/schema/context/spring-context.xsd
">

    <context:component-scan base-package="com.cqh.service"></context:component-scan>

    <context:property-placeholder location="classpath:jdbc.properties"/>

    <bean id="ds" class="com.alibaba.druid.pool.DruidDataSource">
        <property name="driverClassName" value= "${jdbc.driver}" />
        <property name="url" value="${jdbc.url}" />
        <property name="username" value="${jdbc.username}" />
        <property name="password" value="${jdbc.password}" />
    </bean>

    <bean id="sqlSessionFactory" class=" org.mybatis.spring.SqlSessionFactoryBean ">
        <property name="dataSource" ref="ds" />
        <property name="typeAliasesPackage" value="com.cqh.entity"/>
        <property name="configuration">
            <bean class="org.apache.ibatis.session.Configuration">
                <property name="mapUnderscoreToCamelCase" value="true"/>
            </bean>
        </property>
    </bean>

    <bean class=" org.mybatis.spring.mapper.MapperScannerConfigurer">
        <property name="basePackage" value="com.cqh.mapper"/>
    </bean>

</beans> 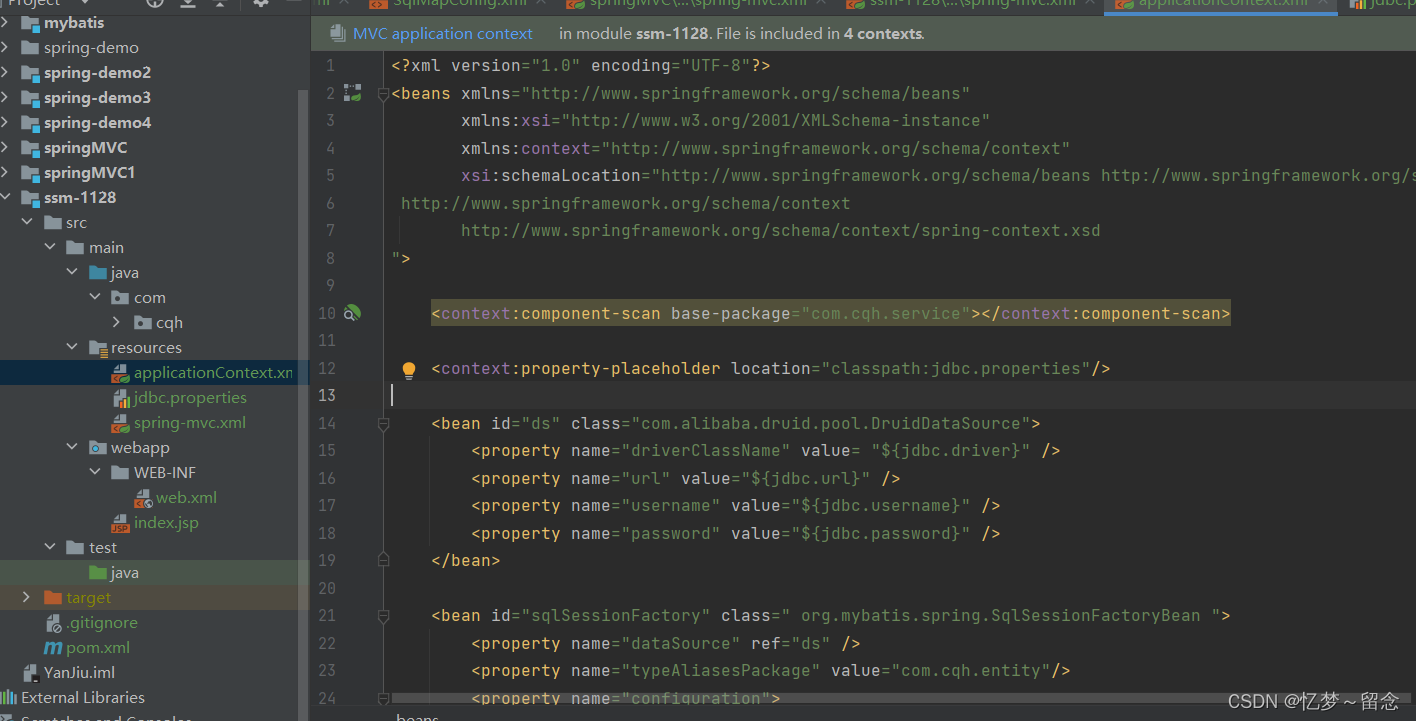
3、 spring-mvc.xml
<?xml version="1.0" encoding="UTF-8"?>
<beans xmlns="http://www.springframework.org/schema/beans"
       xmlns:xsi="http://www.w3.org/2001/XMLSchema-instance"
       xmlns:context="http://www.springframework.org/schema/context"
       xmlns:mvc="http://www.springframework.org/schema/mvc"
       xsi:schemaLocation="http://www.springframework.org/schema/beans
http://www.springframework.org/schema/beans/spring-beans.xsd
http://www.springframework.org/schema/context
http://www.springframework.org/schema/context/spring-context.xsd
http://www.springframework.org/schema/mvc
http://www.springframework.org/schema/mvc/spring-mvc.xsd">
    <context:component-scan base-package="com.cqh.controller"></context:component-scan>
    <mvc:annotation-driven />
</beans> 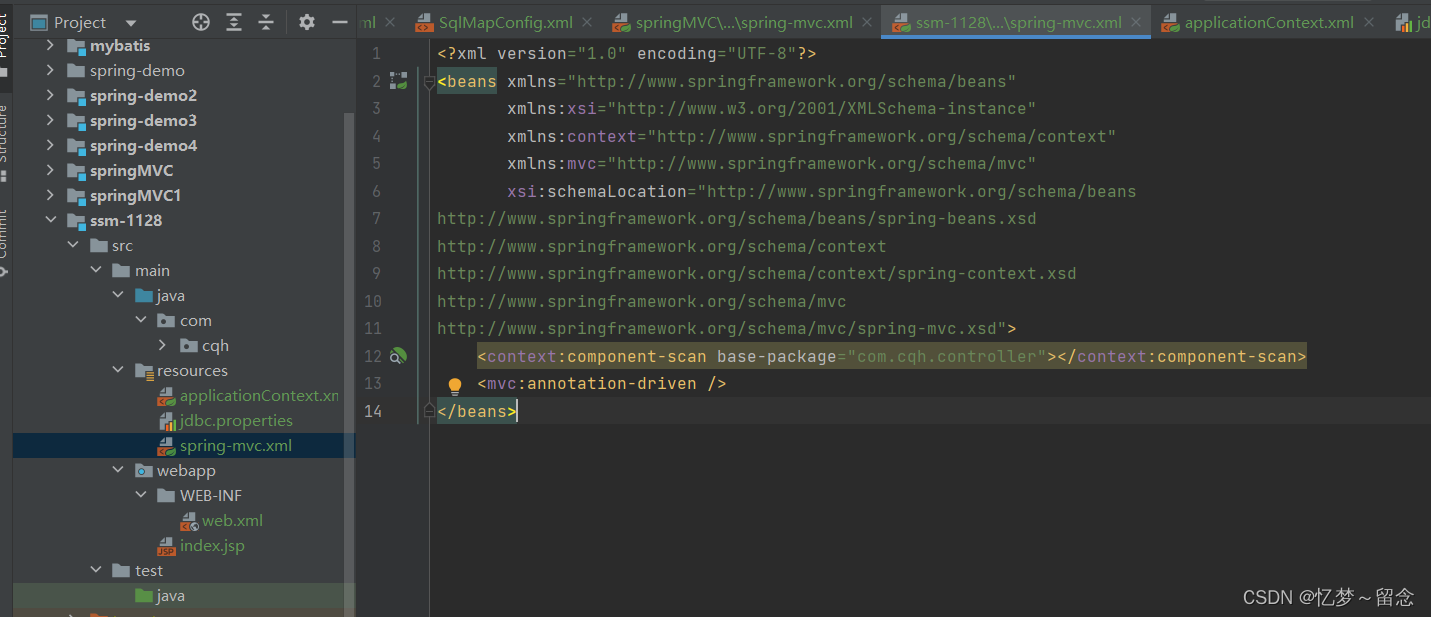
4、web.xml
<!DOCTYPE web-app PUBLIC
 "-//Sun Microsystems, Inc.//DTD Web Application 2.3//EN"
 "http://java.sun.com/dtd/web-app_2_3.dtd" >

<web-app>
  <display-name>Archetype Created Web Application</display-name>
  <!--向核心控制器告知spring的配置文件在哪-->
  <context-param>
    <param-name>contextConfigLocation</param-name>
    <param-value>classpath:applicationContext*.xml</param-value>
  </context-param>
  <!--配置spring的监听器-->
  <listener>
    <listener-class>org.springframework.web.context.ContextLoaderListener</listener-class>
  </listener>

  <servlet>
    <servlet-name>dispatcherServlet</servlet-name>
    <servlet-class>org.springframework.web.servlet.DispatcherServlet</servlet-class>
    <init-param>
      <param-name>contextConfigLocation</param-name>
      <param-value>classpath:spring-mvc.xml</param-value>
    </init-param>
    <load-on-startup>1</load-on-startup>
  </servlet>
  <servlet-mapping>
    <servlet-name>dispatcherServlet</servlet-name>
    <url-pattern>/</url-pattern>
  </servlet-mapping>

  <filter>
    <filter-name>characterEncodingFilter</filter-name>
    <filter-class>org.springframework.web.filter.CharacterEncodingFilter</filter-class>
    <init-param>
      <param-name>encoding</param-name>
      <param-value>utf-8</param-value>
    </init-param>
  </filter>
  <filter-mapping>
    <filter-name>characterEncodingFilter</filter-name>
    <servlet-name>dispatcherServlet</servlet-name>
  </filter-mapping>
</web-app>

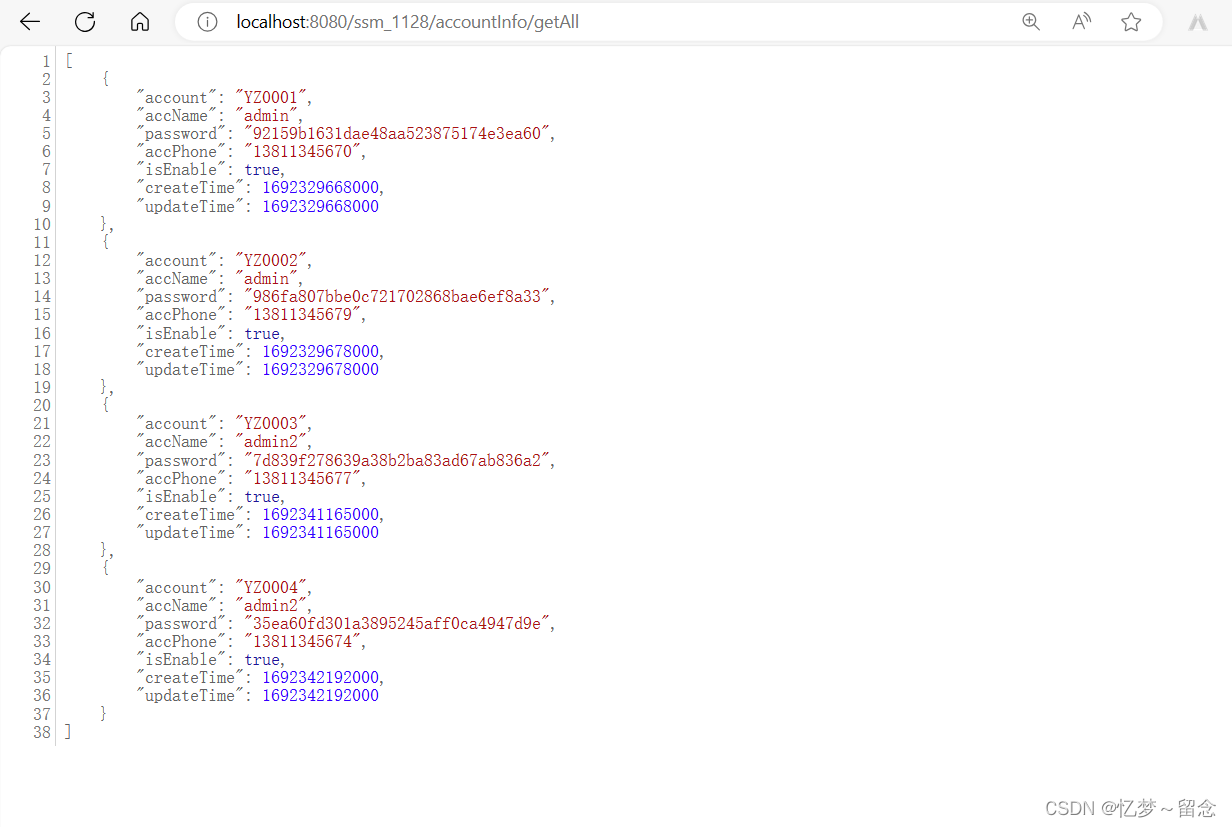
测试效果