Knife4j 是一个为 Java 开发者提供的 Swagger 文档聚合工具,它是 Swagger-Bootstrap-UI 的升级版。它的主要功能是生成和展示 API 文档,让开发者能够更轻松地查看和测试接口。
整合 Knife4j(Swagger-Bootstrap-UI 的升级版)到 Spring Boot 项目中是相对简单的,主要通过引入相关的依赖和配置来实现。
步骤 1: 添加 Maven 依赖
在你的 Spring Boot 项目的 pom.xml 文件中添加 Knife4j 的依赖
(此时不用再次引入swagger的相关依赖,knife4j已经包含了他们):
<dependency>
    <groupId>com.github.xiaoymin</groupId>
    <artifactId>knife4j-spring-boot-starter</artifactId>
    <version>3.0.2</version> <!-- 替换为最新版本 -->
</dependency>
步骤 2: 配置 Swagger 相关信息
package com.sims.config;

import io.swagger.annotations.ApiOperation;
import org.springframework.context.annotation.Bean;
import org.springframework.context.annotation.Configuration;
import springfox.documentation.builders.ApiInfoBuilder;
import springfox.documentation.builders.RequestHandlerSelectors;
import springfox.documentation.service.ApiInfo;
import springfox.documentation.service.Contact;
import springfox.documentation.spi.DocumentationType;
import springfox.documentation.spring.web.plugins.Docket;
import springfox.documentation.swagger2.annotations.EnableSwagger2;

@Configuration
@EnableSwagger2
public class SwaggerConfig2 {
    // 创建Docket存入容器,Docket代表一个接口文档
    @Bean
    public Docket webApiConfig(){
        return new Docket(DocumentationType.SWAGGER_2)
                // 创建接口文档的具体信息
                .apiInfo(webApiInfo())
                // 创建选择器,控制哪些接口被加入文档
                .select()
                // 指定@ApiOperation标注的接口被加入文档
                .apis(RequestHandlerSelectors.withMethodAnnotation(ApiOperation.class))
                .build();
    }

    // 创建接口文档的具体信息,会显示在接口文档页面中
    private ApiInfo webApiInfo(){
        return new ApiInfoBuilder()
                // 文档标题
                .title("xxxx系统接口文档")
                // 文档描述
                .description("本文档描述了xxxx信息管理系统的接口定义")
                // 版本
                .version("1.0")
                // 联系人信息
                .contact(new Contact("程序员小李", "http://xxxxx.gitee.io", "xxxx@163.com"))
                // 版权
                .license("")
                // 版权地址
                .build();
    }
}
步骤 3: 启动 Spring Boot 应用程序
一旦你添加了依赖并配置了相关的信息,启动 Spring Boot 应用程序。然后,访问 Knife4j 的 UI 界面,你应该能够看到自动生成的 API 文档。
Swagger Knife4j 默认的访问路径为 /doc.html,在你的本地服务器地址后面添加这个路径即可访问生成的 API 文档页面。例如:http://localhost:8080/doc.html
步骤3:测试
@RestController
@RequestMapping("/api/sims")
@CrossOrigin //跨域
public class ProductController {
    @GetMapping("/test")
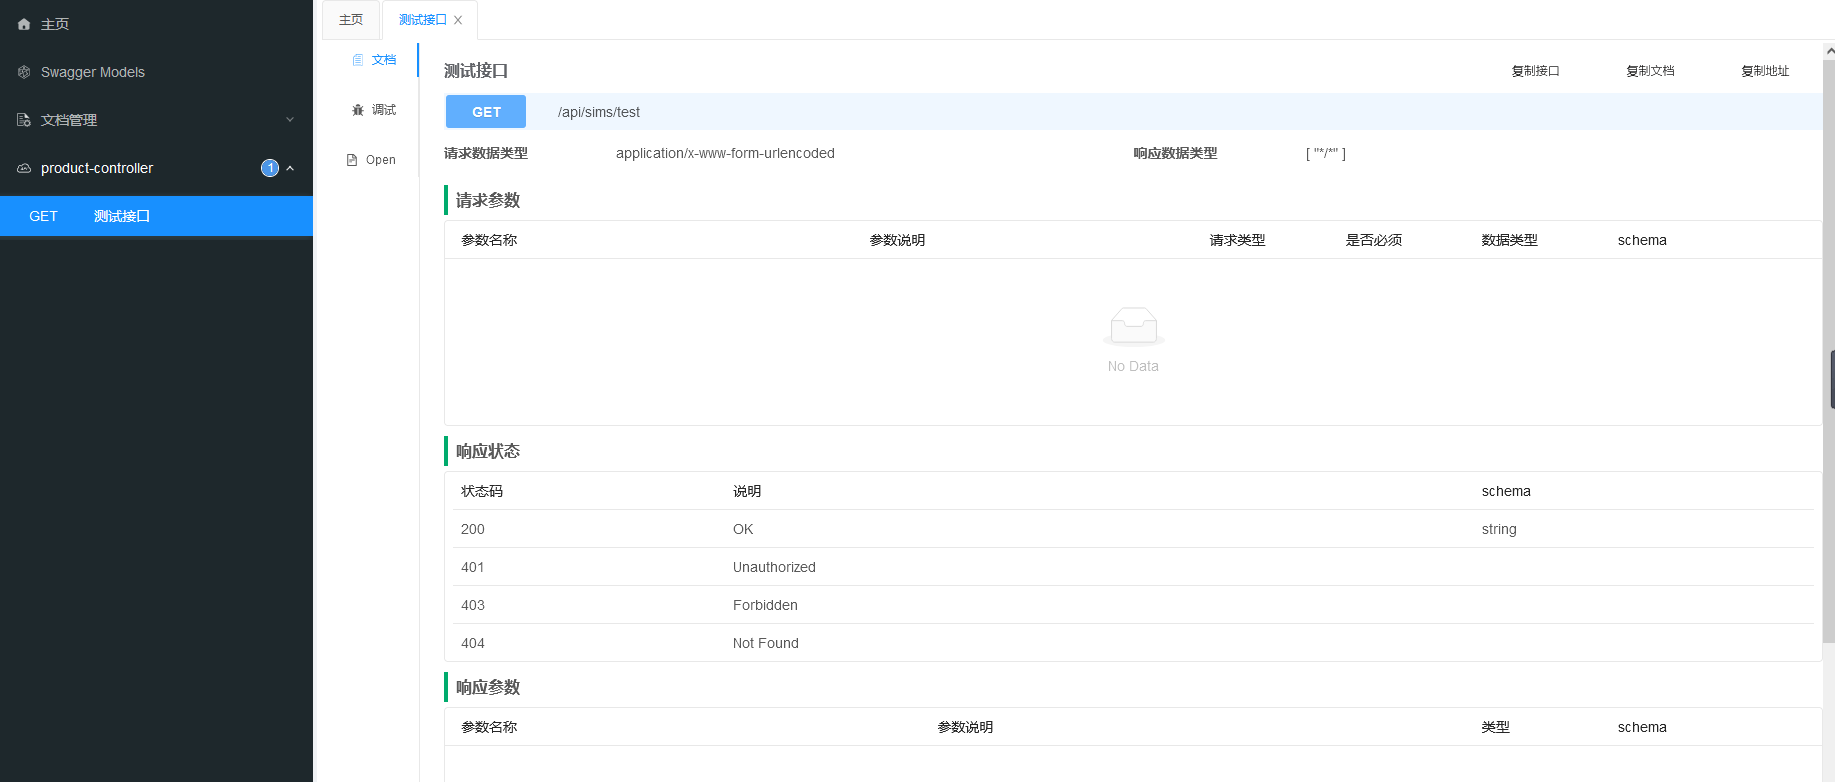
    @ApiOperation("测试接口")
    public String test(){
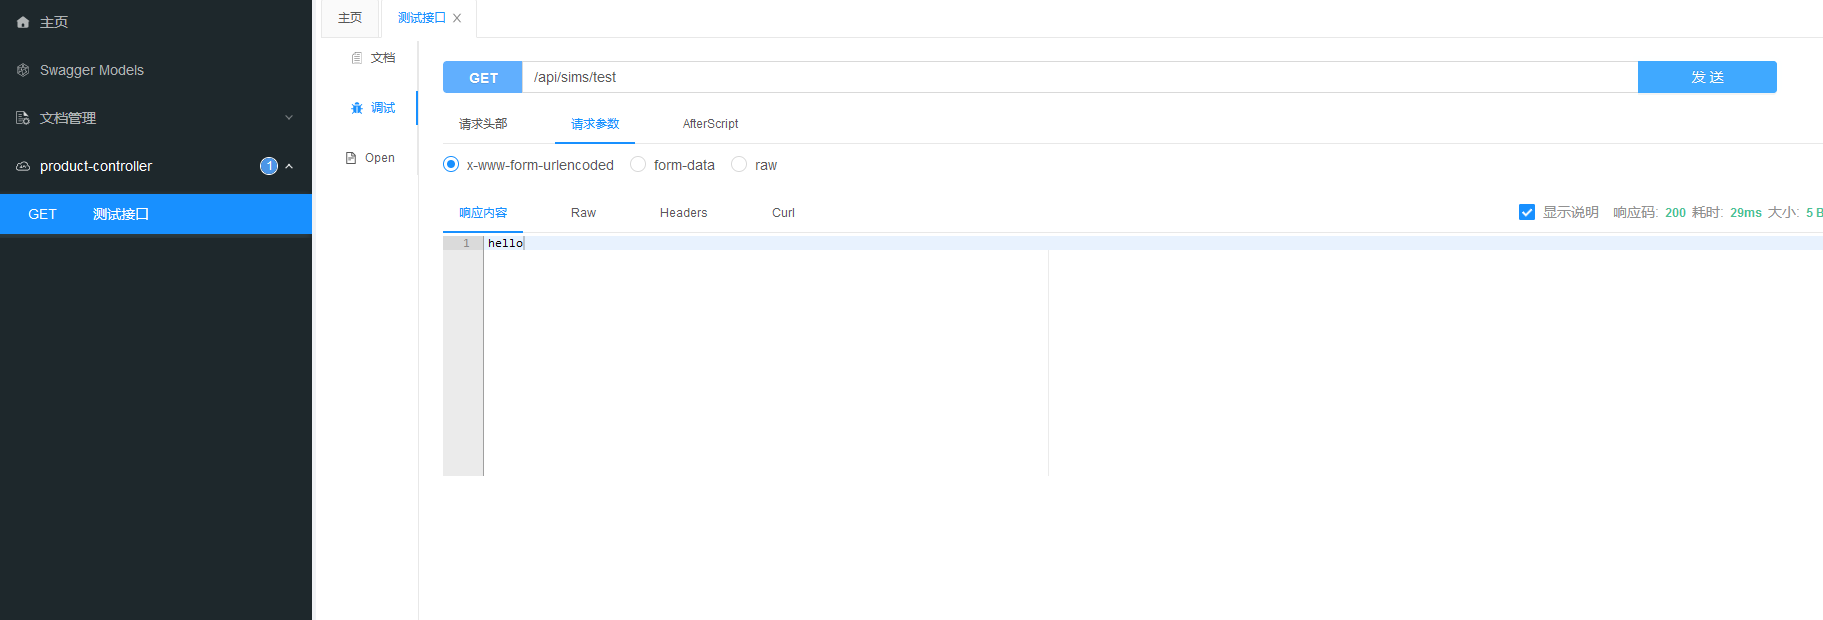
        return "hello";
    }
}
启动程序,访问:http://localhost:{your-port}/doc.htm
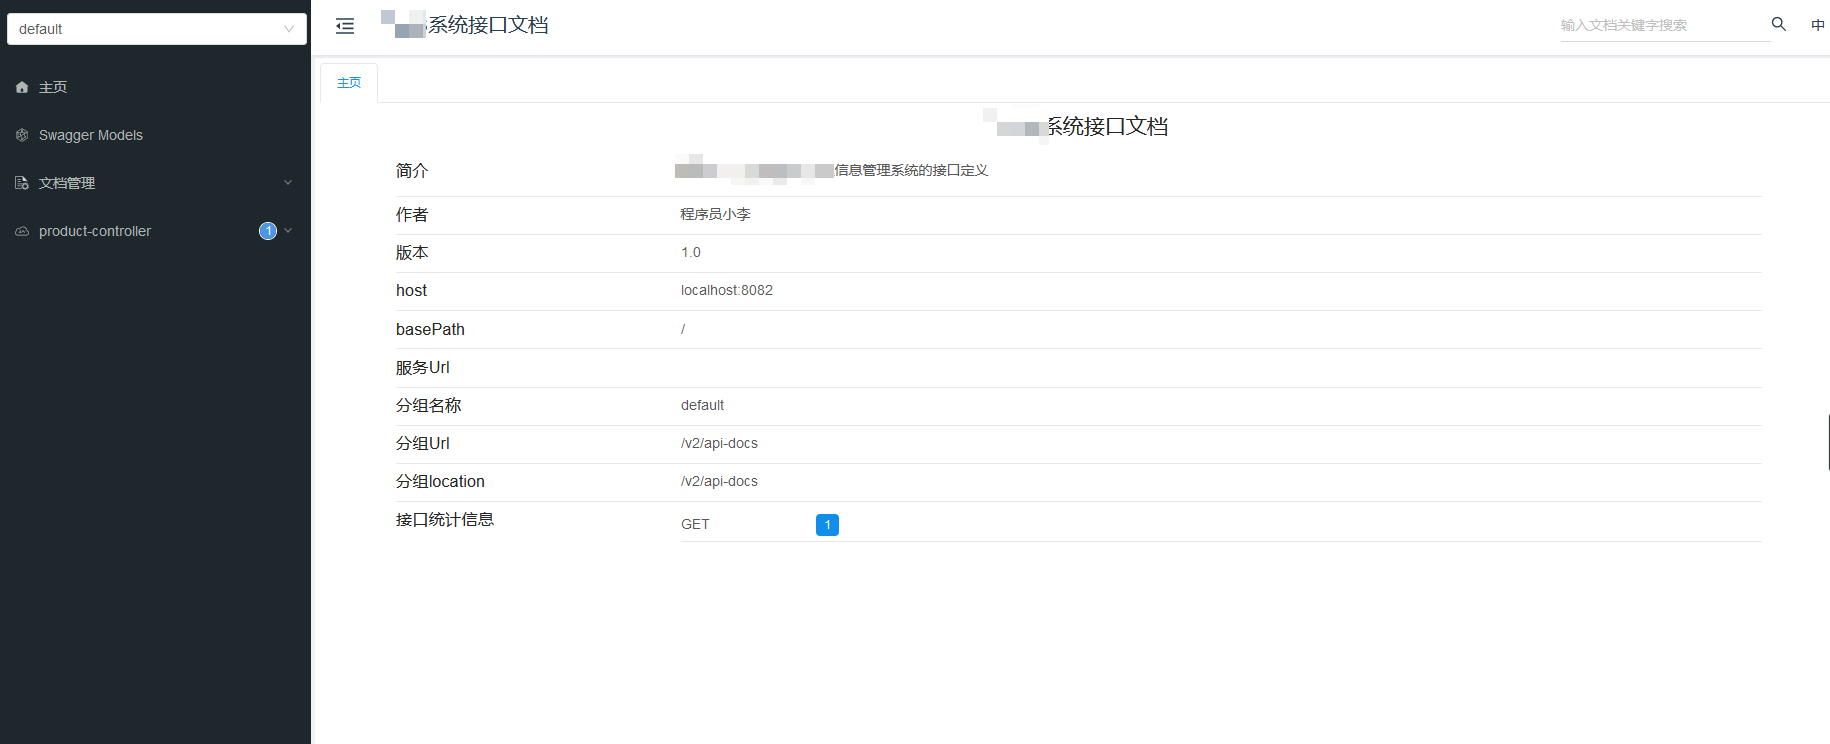
接口信息:
可以直接向接口发起请求:
其他类型的接口同理操作。
注意事项
确保你的控制器类和方法已经按照 Swagger 的注解规范进行了注解,以便 Knife4j 能够扫描并生成 API 文档。
一般来说,只需以上几步即可在 Spring Boot 项目中整合 Knife4j 来生成 API 文档,方便查看和测试接口。如果有额外的配置需求或者特定的定制需求,你可以查阅 Knife4j 官方文档或者 GitHub 仓库,了解更多详细的配置方法和定制选项。
注意
Swagger各版本访问地址:
2.9.x 访问地址:
http://ip:port/{context-path}/swagger-ui.html
3.0.x 访问地址:
http://ip:port/{context-path}/swagger-ui/index.html
3.0集成knife4j 访问地址:
http://ip:port/{context-path}/doc.html


