目录
- 一、Flex布局简介
- 什么是flex布局?
- flex属性
- 学习地址:
- 案例演示
- 二、轮播图组件及mockjs
- 三、会议OA小程序首页布局
一、Flex布局简介
布局的传统解决方案,基于盒状模型,依赖 display属性 + position属性 + float属性
什么是flex布局?
-
Flex是Flexible Box的缩写,意为”弹性布局”,用来为盒状模型提供最大的灵活性。
-
任何一个容器都可以指定为Flex布局。
-
display: ‘flex’
[外链图片转存失败,源站可能有防盗链机制,建议将图片保存下来直接上传(img-dHSqwv9X-1672215371869)(images/3791e575c48b3698be6a94ae1dbff79d.png)]
容器默认存在两根轴:水平的主轴(main axis)和垂直的交叉轴(cross axis)。主轴的开始位置(与边框的交叉点)叫做main start,结束位置叫做main end;交叉轴的开始位置叫做cross start,结束位置叫做cross end。
项目默认沿主轴排列。单个项目占据的主轴空间叫做main size,占据的交叉轴空间叫做cross size。
flex属性
- flex-direction 主轴的方向 默认为row
- flex-wrap 如果一条轴线排不下,如何换行
- flex-flow 是flex-direction属性和flex-wrap属性的简写形式
- justify-content 定义了项目在主轴上的对齐方式
- align-items 定义项目在交叉轴上如何对齐
- align-content 属性定义了多根轴线的对齐方式
注意,设为Flex布局以后,子元素的float、clear和vertical-align属性将失效。
学习地址:
http://www.runoob.com/w3cnote/flex-grammar.html
案例演示
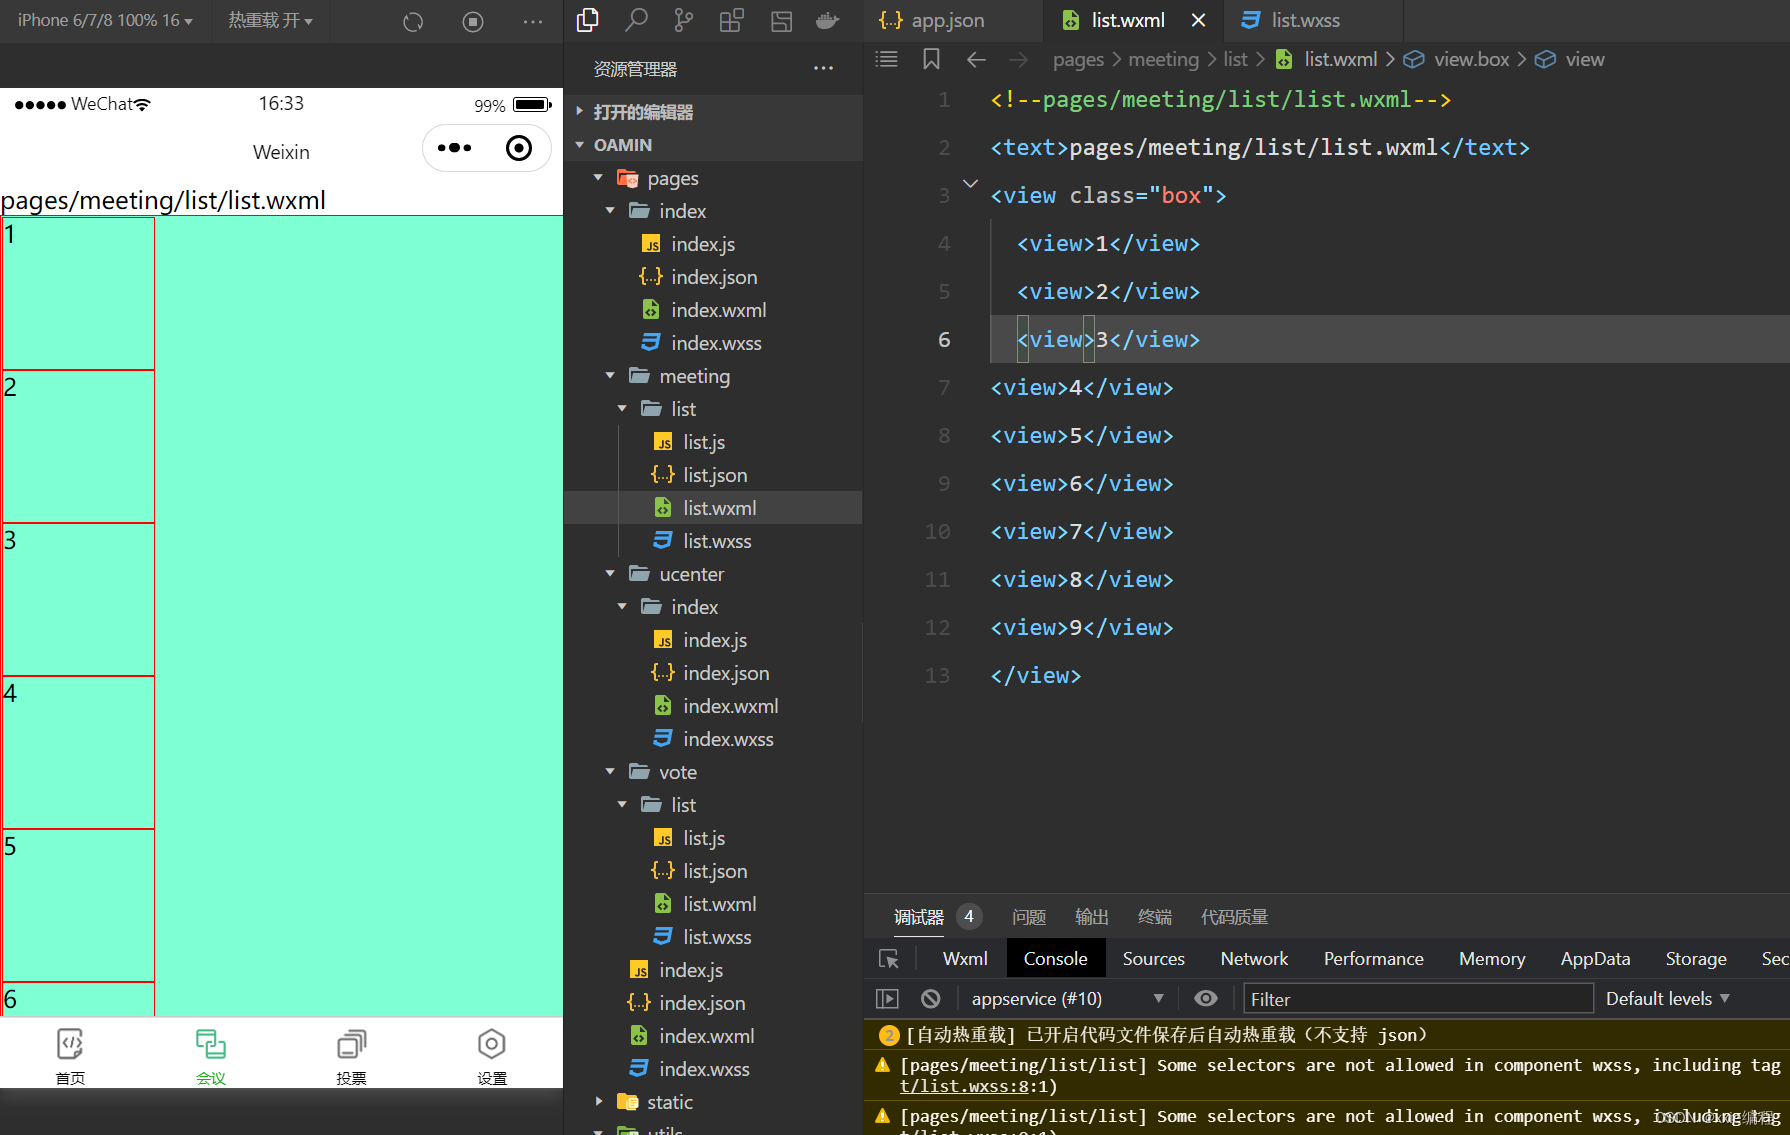
让其水平排列,加入弹性布局属性
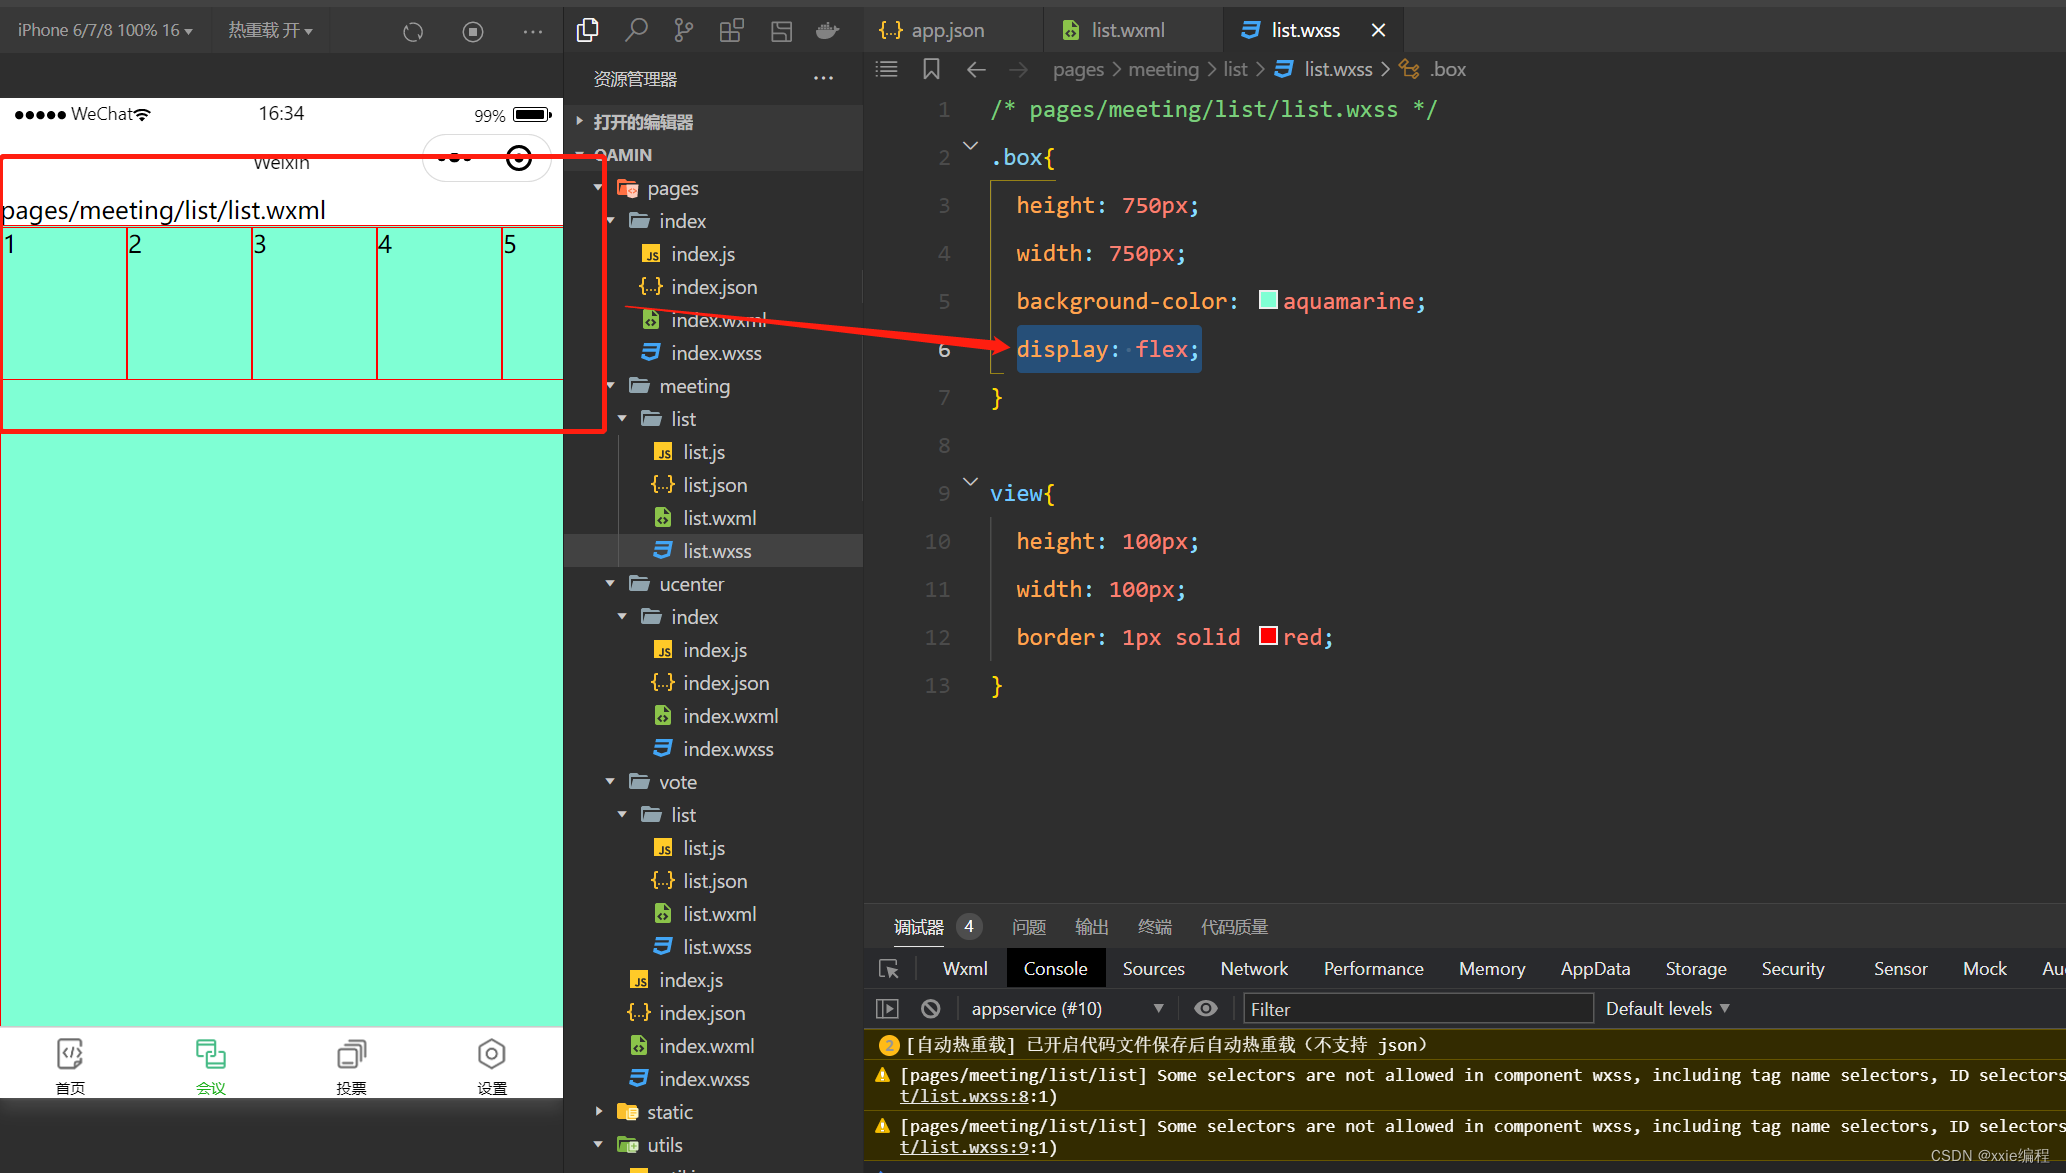
容器属性设置
flex-direction
flex-wrap
flex-flow
justify-content
align-items
align-content
具体使用可以参考官方文档
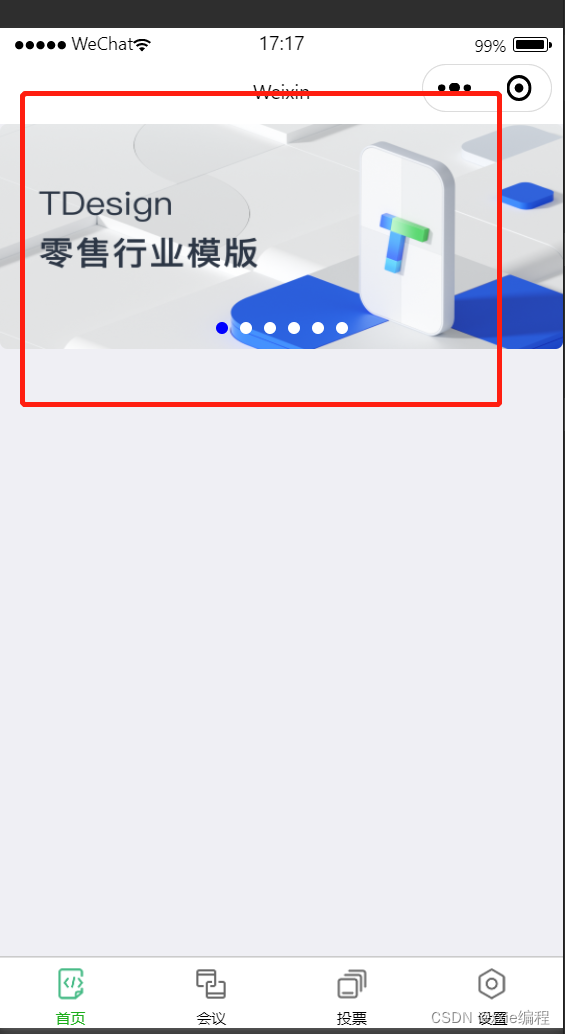
二、轮播图组件及mockjs
在首页index.wxml中引入
<view>
    <swiper autoplay="true" indicator-dots="true" indicator-color="#fff" indicator-active-color="#00f">
        <block wx:for="{{imgSrcs}}" wx:key="text">
            <swiper-item>
                <view>
                    <image src="{{item.img}}" class="swiper-item" />
                </view>
            </swiper-item>
        </block>
    </swiper>
</view>
因为现在是没有数据的,所以现在就使用接口造假数据
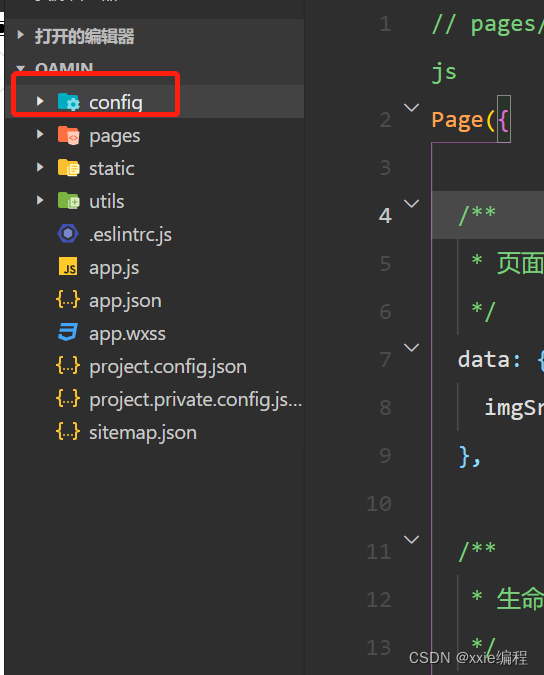
创建配置包
新建文件app.js,里面内容如下
// 以下是业务服务器API地址
 // 本机开发API地址
 var WxApiRoot = 'http://localhost:8080/demo/wx/';
 // 测试环境部署api地址
 // var WxApiRoot = 'http://192.168.0.101:8070/demo/wx/';
 // 线上平台api地址
 //var WxApiRoot = 'https://www.oa-mini.com/demo/wx/';

 module.exports = {
   IndexUrl: WxApiRoot + 'home/index', //首页数据接口
   SwiperImgs: WxApiRoot+'swiperImgs', //轮播图
   MettingInfos: WxApiRoot+'meeting/list', //会议信息
 };
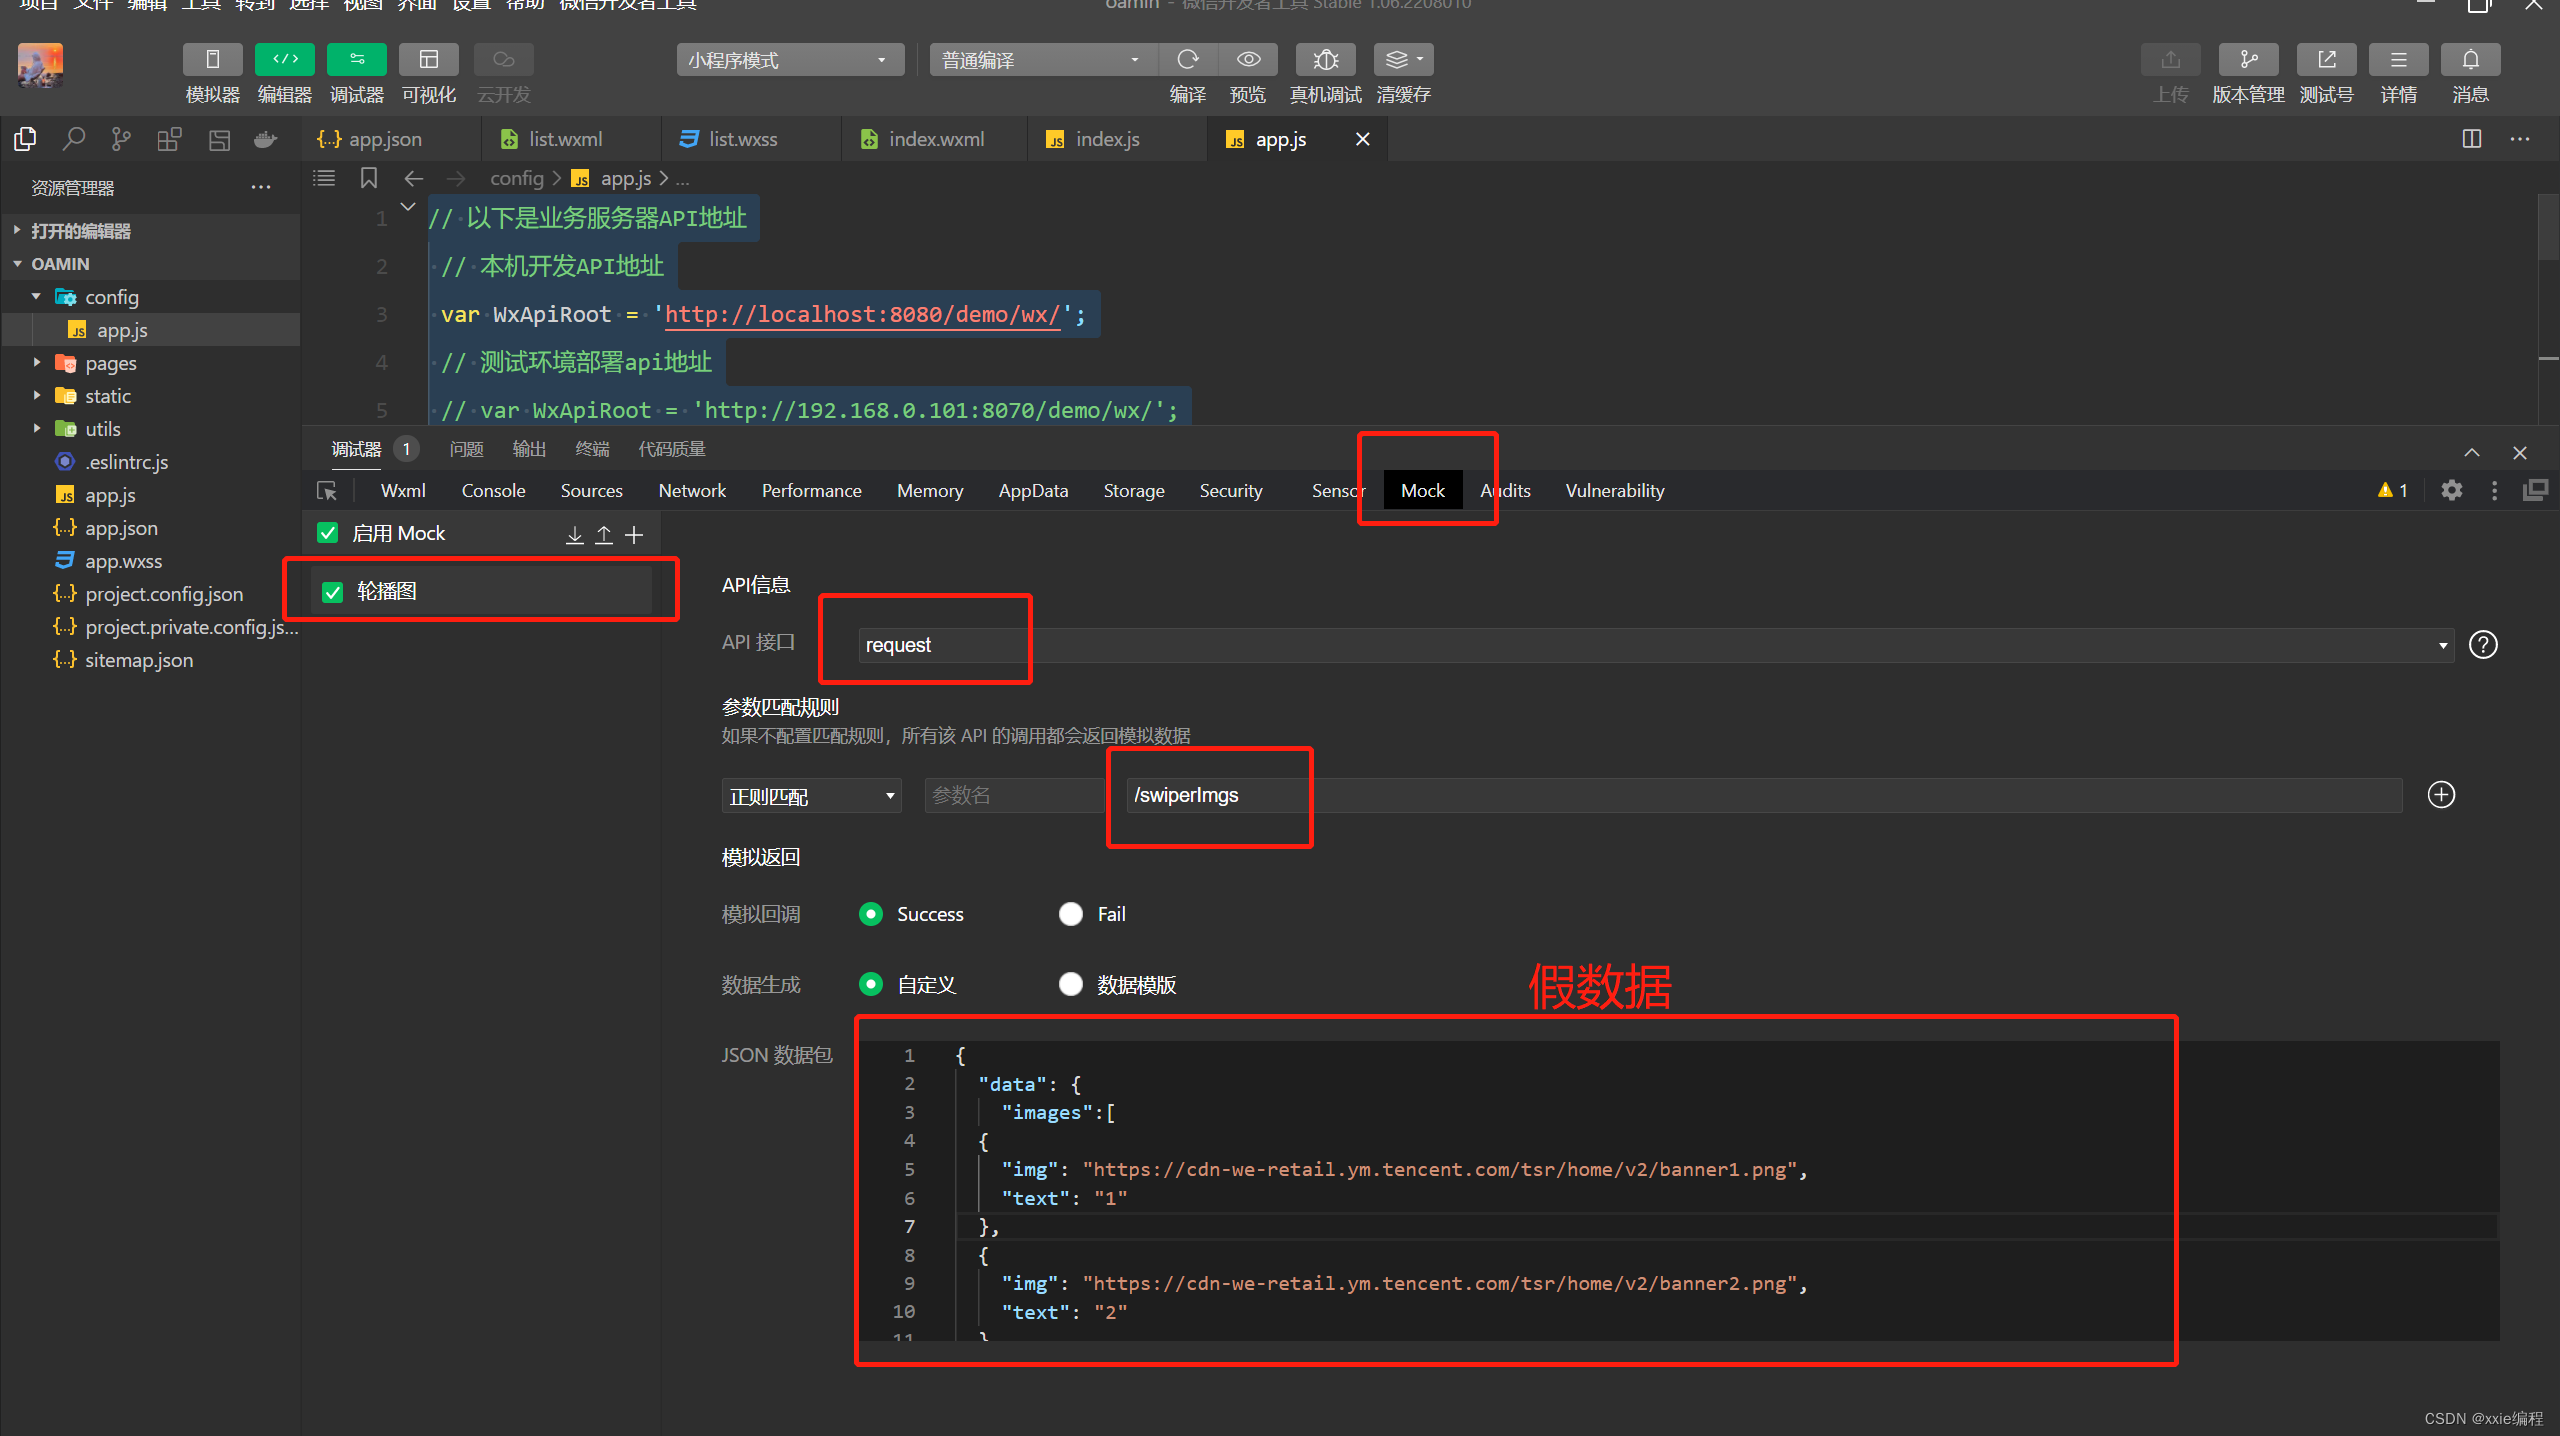
假数据
{
  "data": {
    "images":[
  {
    "img": "https://cdn-we-retail.ym.tencent.com/tsr/home/v2/banner1.png",
    "text": "1"
  },
  {
    "img": "https://cdn-we-retail.ym.tencent.com/tsr/home/v2/banner2.png",
    "text": "2"
  },
  {
    "img": "https://cdn-we-retail.ym.tencent.com/tsr/home/v2/banner3.png",
    "text": "3"
  },
  {
    "img": "https://cdn-we-retail.ym.tencent.com/tsr/home/v2/banner4.png",
    "text": "4"
  },
  {
    "img": "https://cdn-we-retail.ym.tencent.com/tsr/home/v2/banner5.png",
    "text": "5"
  },
  {
    "img": "https://cdn-we-retail.ym.tencent.com/tsr/home/v2/banner6.png",
    "text": "6"
  }
]
  },
  "statusCode": "200",
  "header": {
    "content-type":"applicaiton/json;charset=utf-8"
  }
}
使用
在index.js新增方法
# 引入接口方法
const api = require("../../../config/api")

 # 新定义的方法
 loadSwiperImgs(){
    let that=this;
    wx.request({
        url: api.SwiperImgs,
        dataType: 'json',
        success(res) {
          console.log(res)
          that.setData({
              imgSrcs:res.data.images
          })
        }
      })
  }
然后在生命周期–监听页面加载使用
/**
   * 生命周期函数--监听页面加载
   */
  onLoad(options) {
      this.loadSwiperImgs();
  },
在index.wxss加入样式
page{
	height: 100%;
	background-color: #efeff4;
}

.swiper-item {
  height: 300rpx;
  width: 100%;
  border-radius: 10rpx;
}
三、会议OA小程序首页布局
首先创建一个小程序项目
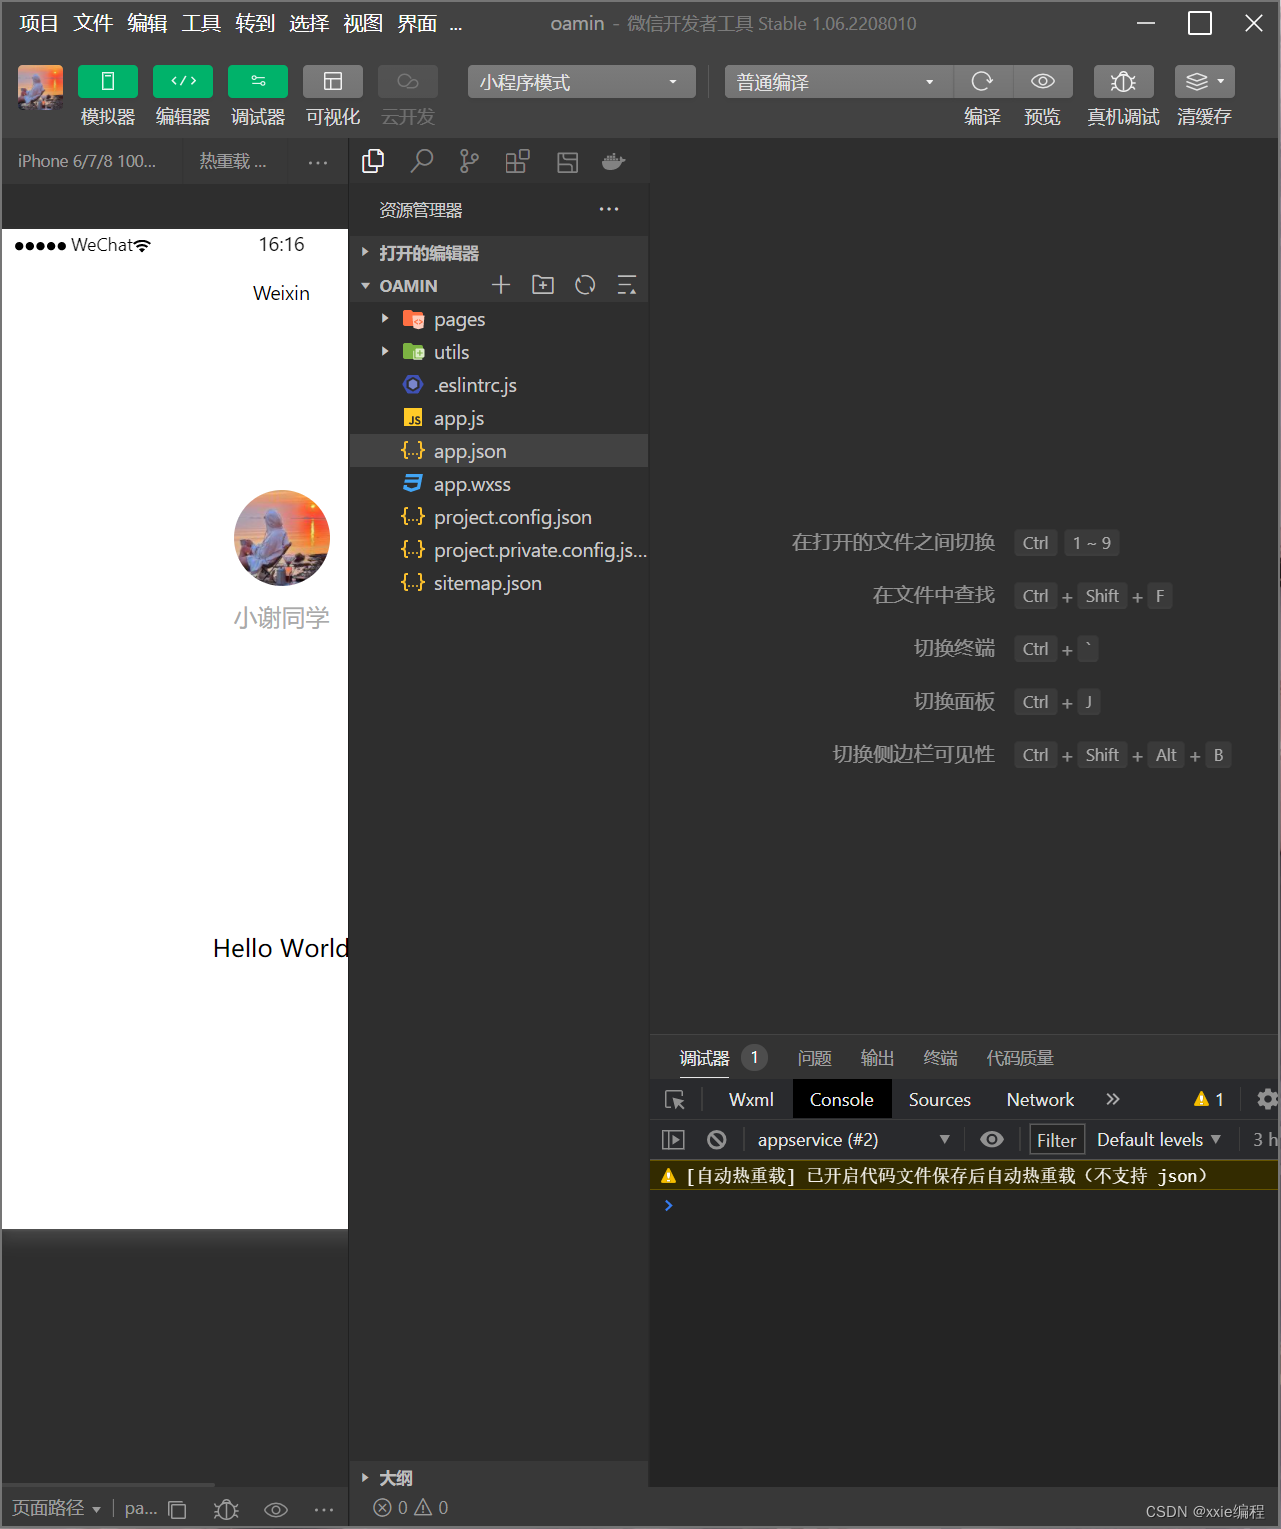
把原有的内容删除,然后在app.json加入
"list": [{
      "pagePath": "pages/index/index",
      "text": "首页",
      "iconPath": "/static/tabBar/coding.png",
      "selectedIconPath": "/static/tabBar/coding-active.png"
    },
      {
        "pagePath": "pages/meeting/list/list",
        "iconPath": "/static/tabBar/sdk.png",
        "selectedIconPath": "/static/tabBar/sdk-active.png",
        "text": "会议"
      },
      {
        "pagePath": "pages/vote/list/list",
        "iconPath": "/static/tabBar/template.png",
        "selectedIconPath": "/static/tabBar/template-active.png",
        "text": "投票"
      },
      {
        "pagePath": "pages/ucenter/index/index",
        "iconPath": "/static/tabBar/component.png",
        "selectedIconPath": "/static/tabBar/component-active.png",
        "text": "设置"
      }]
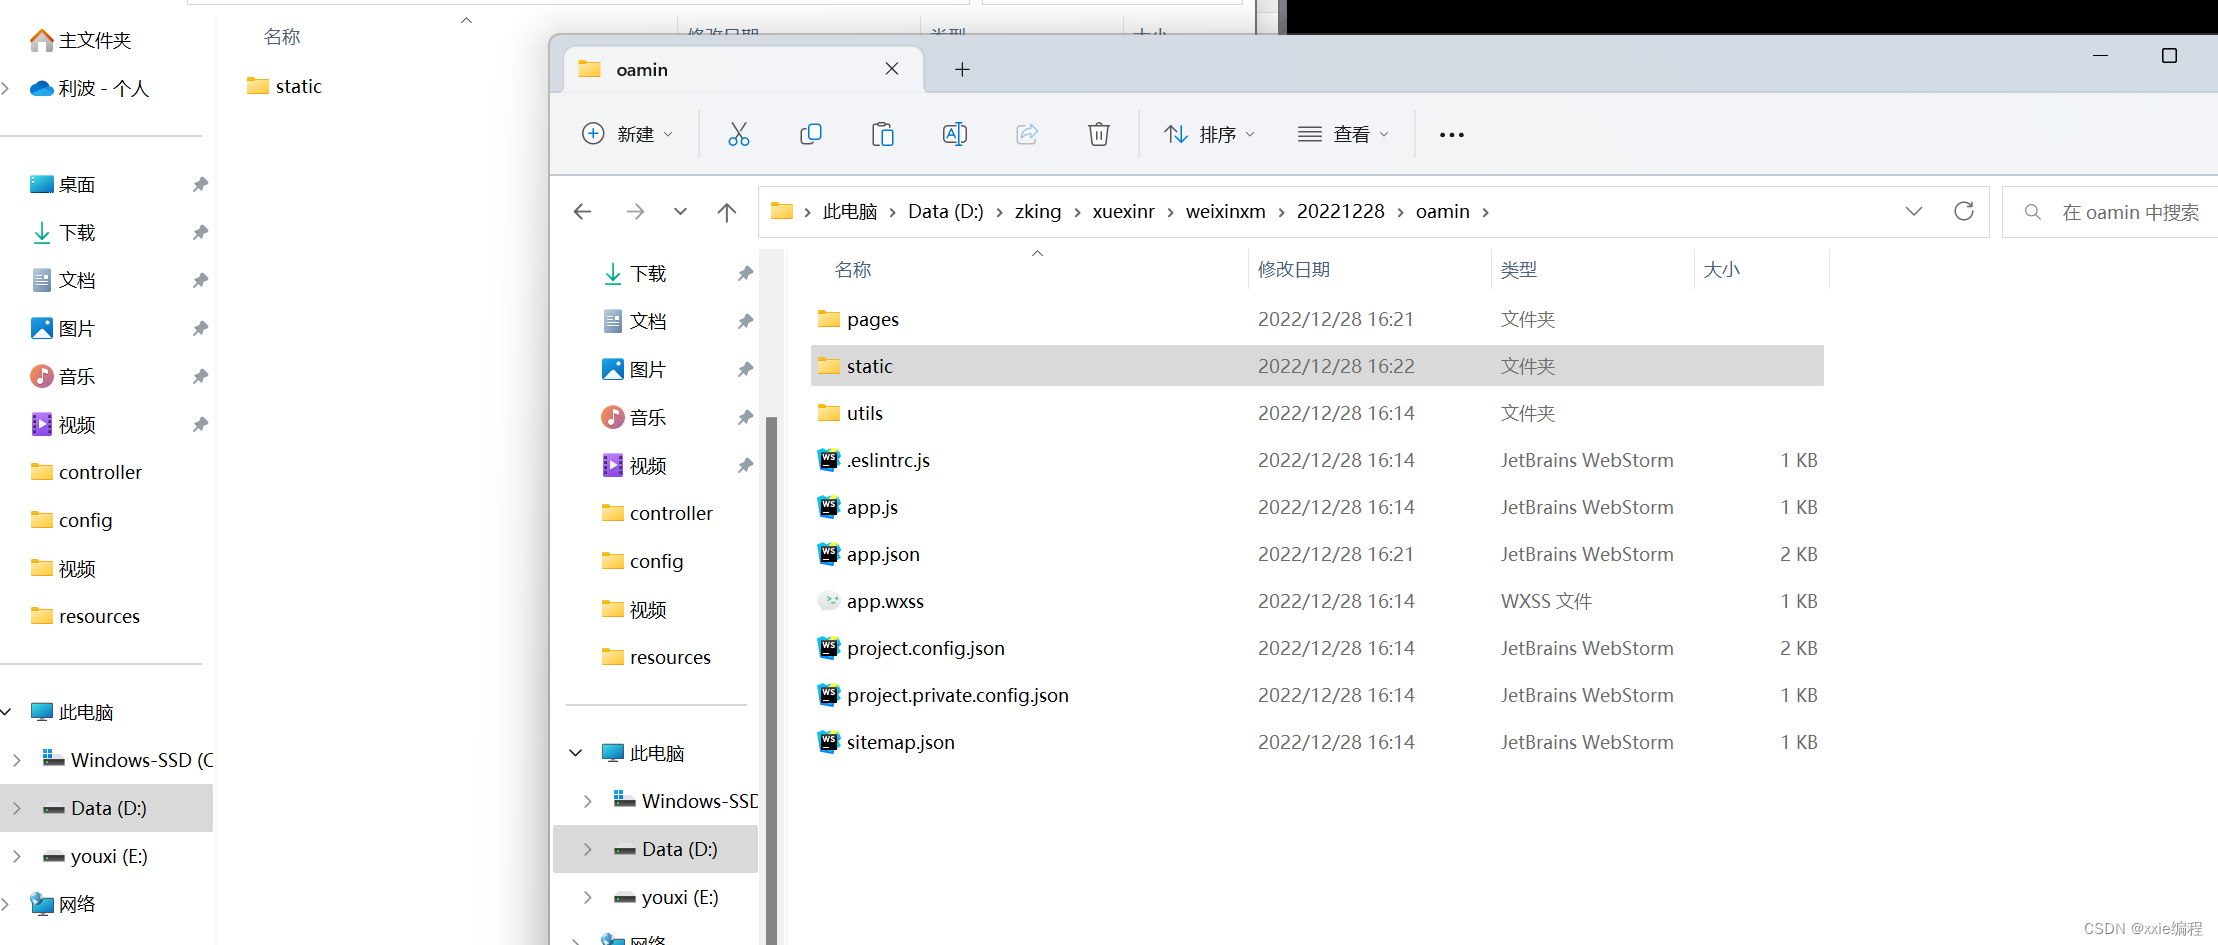
然后把static文件夹复制到本地的OA项目中
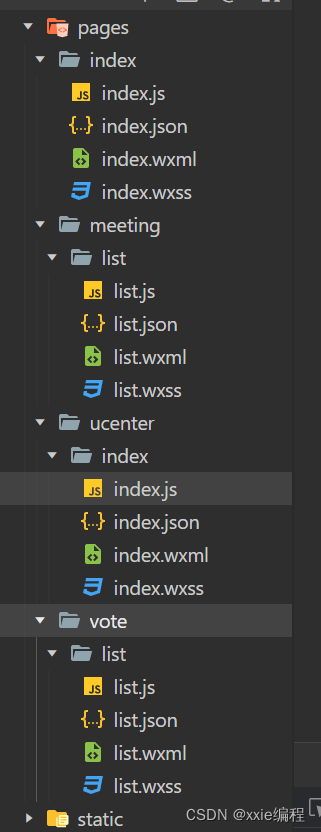
添加没有的页面
 "pages":[
    "pages/index/index",
    "pages/meeting/list/list",
    "pages/vote/list/list",
    "pages/ucenter/index/index"
  ],
往页面中加入假数据
data: {
    imgSrcs:[],//需要调用http://localhost:8080/demo/wx/swiperImgs 拿数据
    list:[
      {
        "id": "1",
        "image": "/static/persons/1.jpg",
        "title": "对话产品总监 | 深圳·北京PM大会 【深度对话小米/京东/等产品总监】",
        "num":"304",
        "state":"进行中",
        "starttime": "2022-03-13 00:00:00",
        "location": "深圳市·南山区"
      },
      {
        "id": "1",
        "image": "/static/persons/2.jpg",
        "title": "AI WORLD 2016世界人工智能大会",
        "num":"380",
        "state":"已结束",
        "starttime": "2022-03-15 00:00:00",
        "location": "北京市·朝阳区"
      },
      {
        "id": "1",
        "image": "/static/persons/3.jpg",
        "title": "H100太空商业大会",
        "num":"500",
        "state":"进行中",
        "starttime": "2022-03-13 00:00:00",
        "location": "大连市"
      },
      {
        "id": "1",
        "image": "/static/persons/4.jpg",
        "title": "报名年度盛事,大咖云集!2016凤凰国际论坛邀您“与世界对话”",
        "num":"150",
        "state":"已结束",
        "starttime": "2022-03-13 00:00:00",
        "location": "北京市·朝阳区"
      },
      {
        "id": "1",
        "image": "/static/persons/5.jpg",
        "title": "新质生活 · 品质时代 2016消费升级创新大会",
        "num":"217",
        "state":"进行中",
        "starttime": "2022-03-13 00:00:00",
        "location": "北京市·朝阳区"
      }
    ]
  },
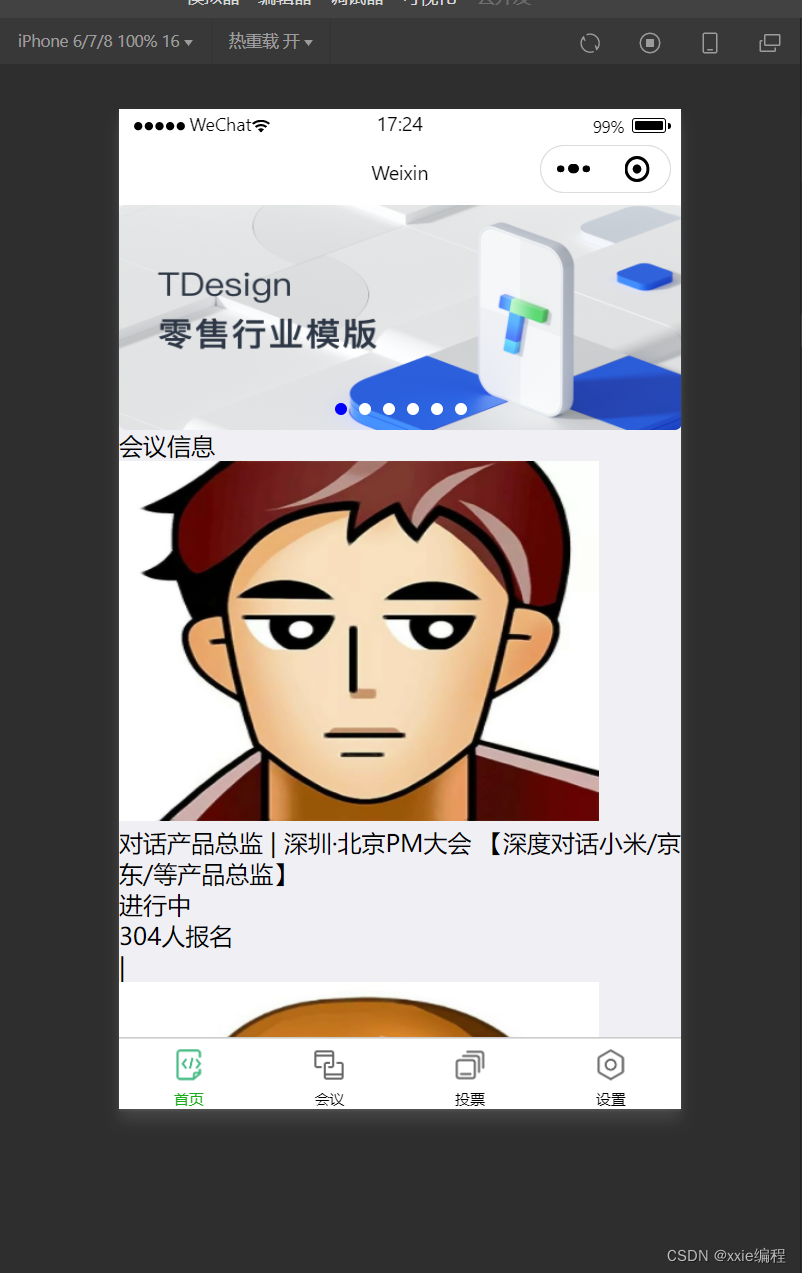
网页面加入
<view class="mobi-title">
    <text class="mobi-icon"></text>
    <text>会议信息</text>
</view>
<block wx:for-items="{{lists}}" wx:for-item="item" wx:key="item.id">
    <view class="list" data-id="{{item.id}}">
        <view class="list-img">
            <image class="video-img" mode="scaleToFill" src="{{item.image}}"></image>
        </view>
        <view class="list-detail">
            <view class="list-title"><text>{{item.title}}</text></view>
            <view class="list-tag">
                <view class="state">{{item.state}}</view>
                <view class="join"><text class="list-num">{{item.num}}</text>人报名</view>
            </view>
            <view class="list-info"><text>{{item.address}}</text>|<text>{{item.time}}</text></view>
        </view>
    </view>
</block>
<view class="section bottom-line">
		<text>到底啦</text>
</view>
然后就是导入样式
/* pages/index/index.wxss */
page{
	height: 100%;
	background-color: #efeff4;
}

.swiper-item {
  height: 300rpx;
  width: 100%;
  border-radius: 10rpx;
}

.mobi-title{
  line-height: 120%;
  font-size: 18px;
  margin: 10rpx;
}

.mobi-icon{
  background-color: red;
  padding: 3rpx;
}

.mobi-title text{
  margin-left: 10rpx;
}

.list{
  background-color: #fff;
  display: flex;
  margin: 10rpx;
  padding: 10rpx;
}

.list-img,.video-img{
  height: 150rpx;
  width: 150rpx;
}

.list-img{
  margin: 20rpx 0 0 0;
}

.list-detail{
  margin: 0 0 0 15rpx;
}

.list-title{
    font-weight: 700;
}

.list-tag{
  display: flex;
  margin: 10px 0 0 0;
}

.list-info{
  color: gray;
}

.state{
  border: 2px solid lightskyblue;
  padding: 2px;
  color: lightskyblue;
}

.join{
  border: 2px solid #fff;
  padding: 2px;
  margin: 0 0 0 20rpx;
  color: gray;
}

.list-num{
  color: red;
}

.bottom-line{
  text-align: center;
  margin-bottom: 10px;
}