Spring
- Spring IoC注解式开发
- 为什么使用注解
- Spring注解的使用
- @Value注解
- @Autowired注解
- 全注解式开发
Spring IoC注解式开发
为什么使用注解
注解的存在主要是为了简化XML的配置,注解的开发能大大提高我们的开发效率的,但它在一定程度上违背了OCP原则。
Spring注解的使用
如何使用以上的注解呢?
第一步:加入aop的依赖
加入spring-context依赖之后,会关联加入aop的依赖,不用做
第二步:在配置文件中指定扫描的包,Alt+enter添加context命名空间 annotate.xml
<?xml version="1.0" encoding="UTF-8"?>
<beans xmlns="http://www.springframework.org/schema/beans"
       xmlns:xsi="http://www.w3.org/2001/XMLSchema-instance"
       xmlns:context="http://www.springframework.org/schema/context"
       xsi:schemaLocation="http://www.springframework.org/schema/beans http://www.springframework.org/schema/beans/spring-beans.xsd http://www.springframework.org/schema/context https://www.springframework.org/schema/context/spring-context.xsd">


    <context:component-scan base-package="com.w.spring6.annotate"/>
</beans>
第三步:在Bean类上使用注解
package com.w.spring6.annotate;

import org.springframework.stereotype.Component;

@Component(value = "userBean")
public class User {
}
编写测试程序:
AnnotationTest.java
package com.w.spring.test;

import com.w.spring6.annotate.User;
import org.junit.Test;
import org.springframework.context.ApplicationContext;
import org.springframework.context.support.ClassPathXmlApplicationContext;

public class AnnotationTest {

    @Test
    public void testBean(){
        ApplicationContext applicationContext = new ClassPathXmlApplicationContext("annotate.xml");
        User userBean = applicationContext.getBean("userBean", User.class);
        System.out.println(userBean);
    }
}
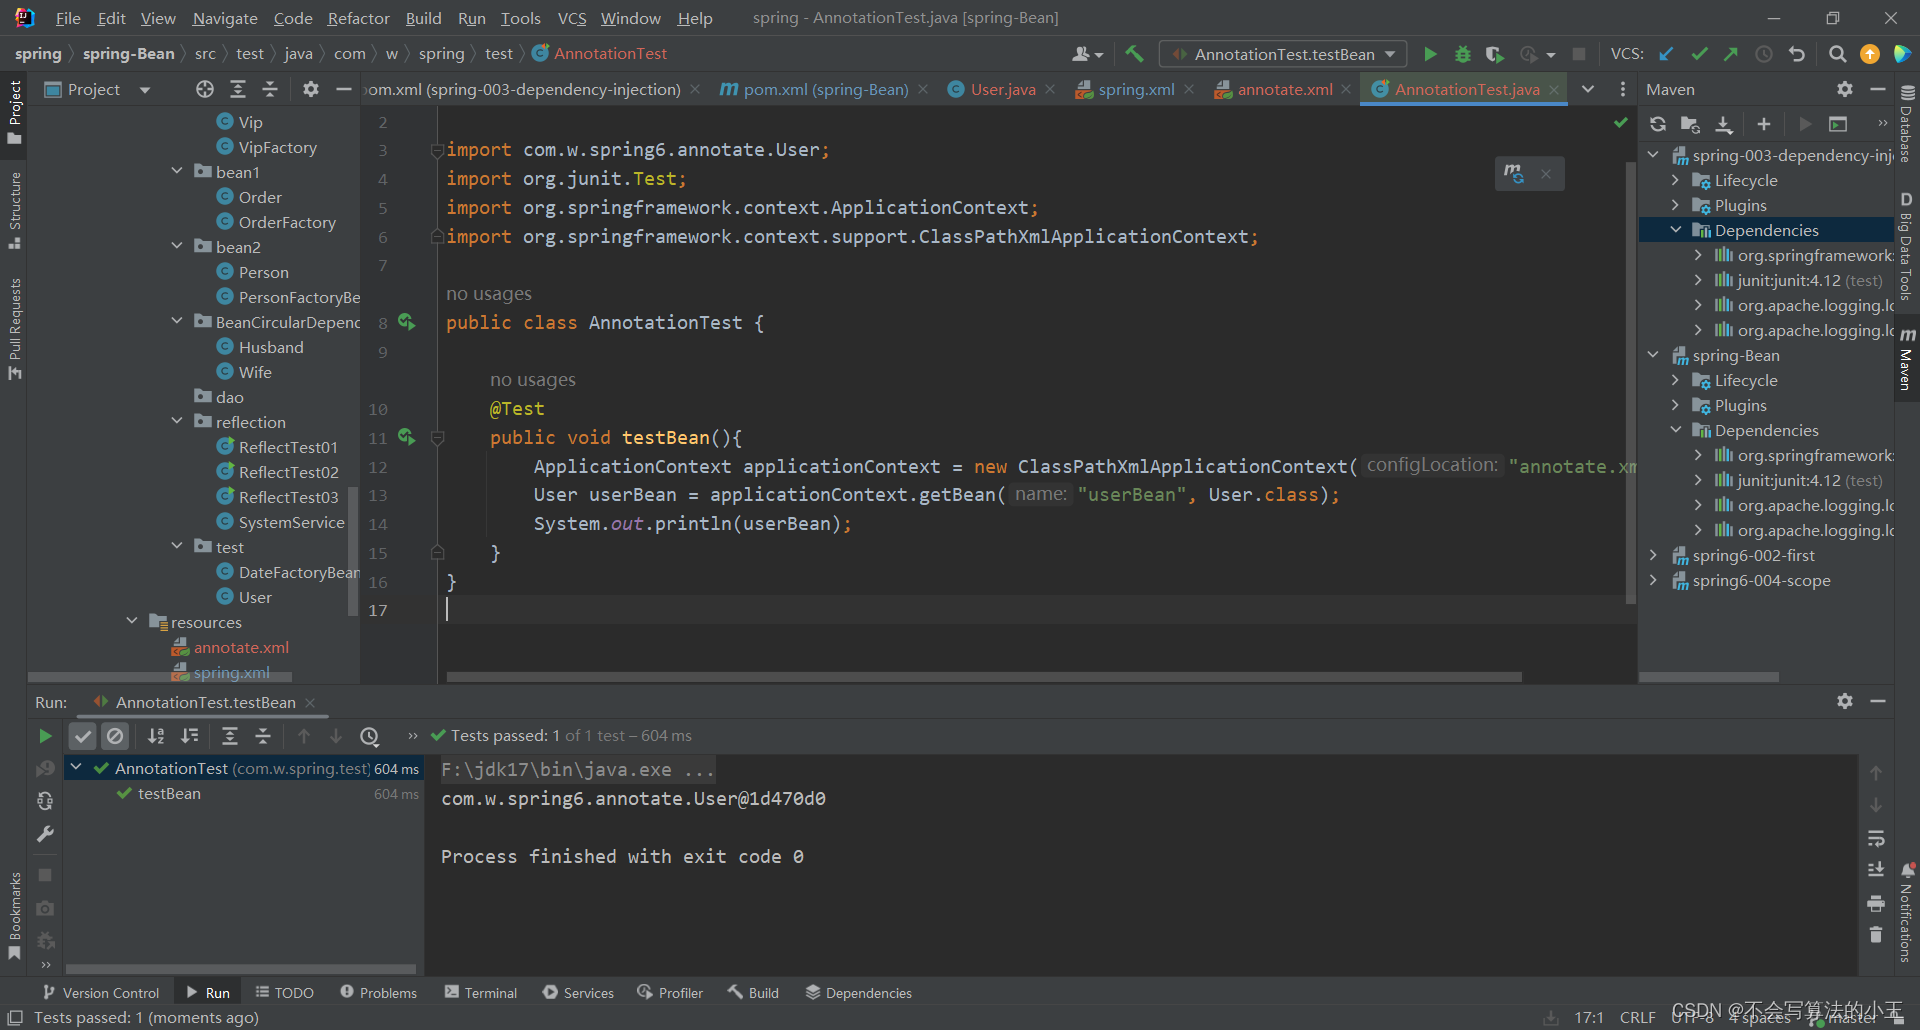
运行结果:
@Value注解
当属性的类型是简单类型时,可以使用@Value注解进行注入。
例:
User.java
package com.w.spring6.annotate;

import org.springframework.beans.factory.annotation.Value;
import org.springframework.stereotype.Component;

@Component(value = "userBean")
public class User {
    @Value(value = "zhangsan")
    private String name;
    @Value("20")
    private int age;

    @Override
    public String toString() {
        return "User{" +
                "name='" + name + '\'' +
                ", age=" + age +
                '}';
    }
}
annotate.xml
<?xml version="1.0" encoding="UTF-8"?>
<beans xmlns="http://www.springframework.org/schema/beans"
       xmlns:xsi="http://www.w3.org/2001/XMLSchema-instance"
       xmlns:context="http://www.springframework.org/schema/context"
       xsi:schemaLocation="http://www.springframework.org/schema/beans http://www.springframework.org/schema/beans/spring-beans.xsd http://www.springframework.org/schema/context https://www.springframework.org/schema/context/spring-context.xsd">


    <context:component-scan base-package="com.w.spring6.annotate"/>

</beans>
测试程序:
    @Test
    public void testValue(){
        ApplicationContext applicationContext = new ClassPathXmlApplicationContext("annotate.xml");
        Object user = applicationContext.getBean("userBean");
        System.out.println(user);
    }
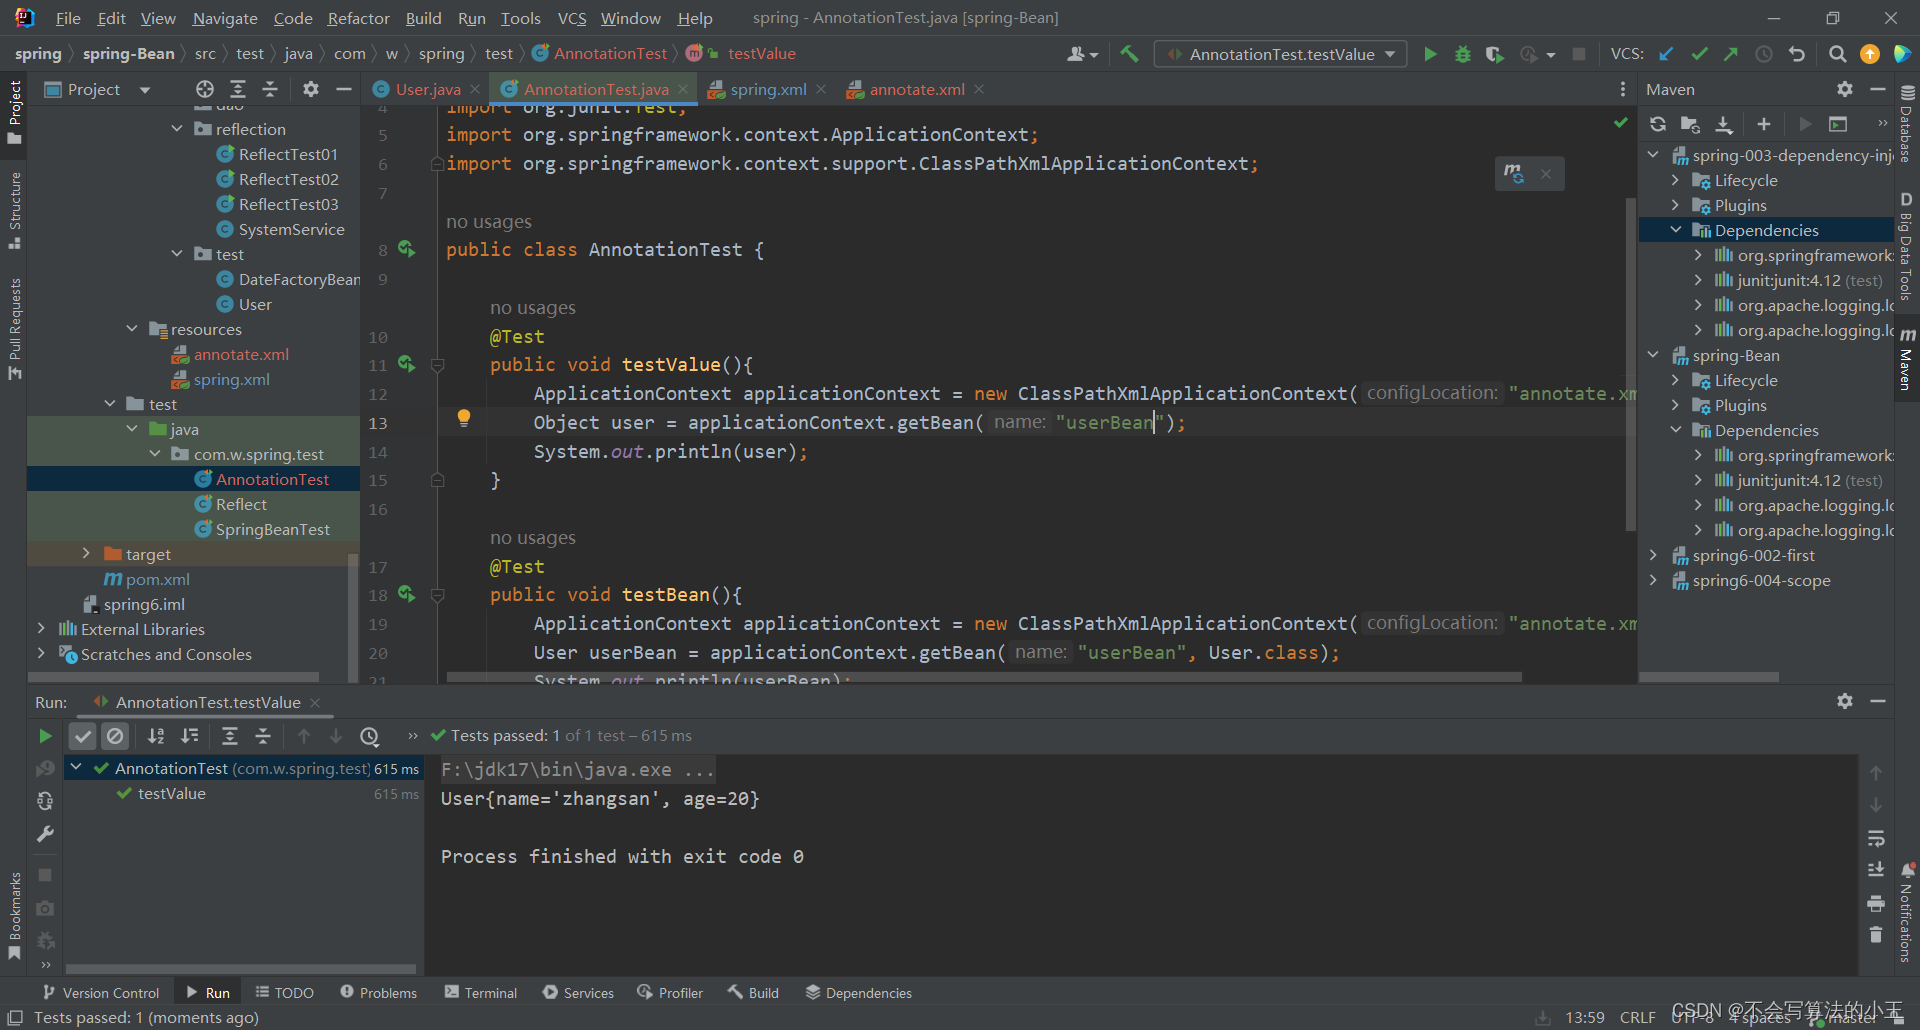
运行结果:
@Autowired注解
@Autowired注解可以用来注入非简单类型
单独使用@Autowired注解,默认根据类型装配。
例:
UserDao接口
package com.w.spring6.dao;

public interface UserDao {
    void insert();
}
UserDaoForMySQL.java
package com.w.spring6.dao;

import org.springframework.stereotype.Component;

@Component //纳入bean管理
public class UserDaoForMySQL implements UserDao{
    @Override
    public void insert() {
        System.out.println("正在向mysql数据库插入User数据");
    }
}
UserService.java
package com.w.spring6.service;

import com.w.spring6.dao.UserDao;
import org.springframework.beans.factory.annotation.Autowired;
import org.springframework.stereotype.Component;

@Component // 纳入bean管理
public class UserService {

    @Autowired // 在属性上注入
    private UserDao userDao;

    // 没有提供构造方法和setter方法。

    public void save(){
        userDao.insert();
    }
}
annotate.xml
<context:component-scan base-package="com.w.spring6.dao,com.w.spring6.service"/>
测试程序:
@Test
public void testAutowired(){
    ApplicationContext applicationContext = new ClassPathXmlApplicationContext("annotate.xml");
    UserService userService = applicationContext.getBean("userService", UserService.class);
    userService.save();
}
运行结果:

全注解式开发
所谓的全注解开发就是不再使用spring配置文件了。写一个配置类来代替配置文件。
配置类代替spring配置文件
Spring6Configuration.java
package com.w.spring6.config;

import org.springframework.context.annotation.ComponentScan;
import org.springframework.context.annotation.Configuration;

@Configuration
@ComponentScan({"com.w.spring6.dao", "com.w.spring6.service"})
public class Spring6Configuration {
}
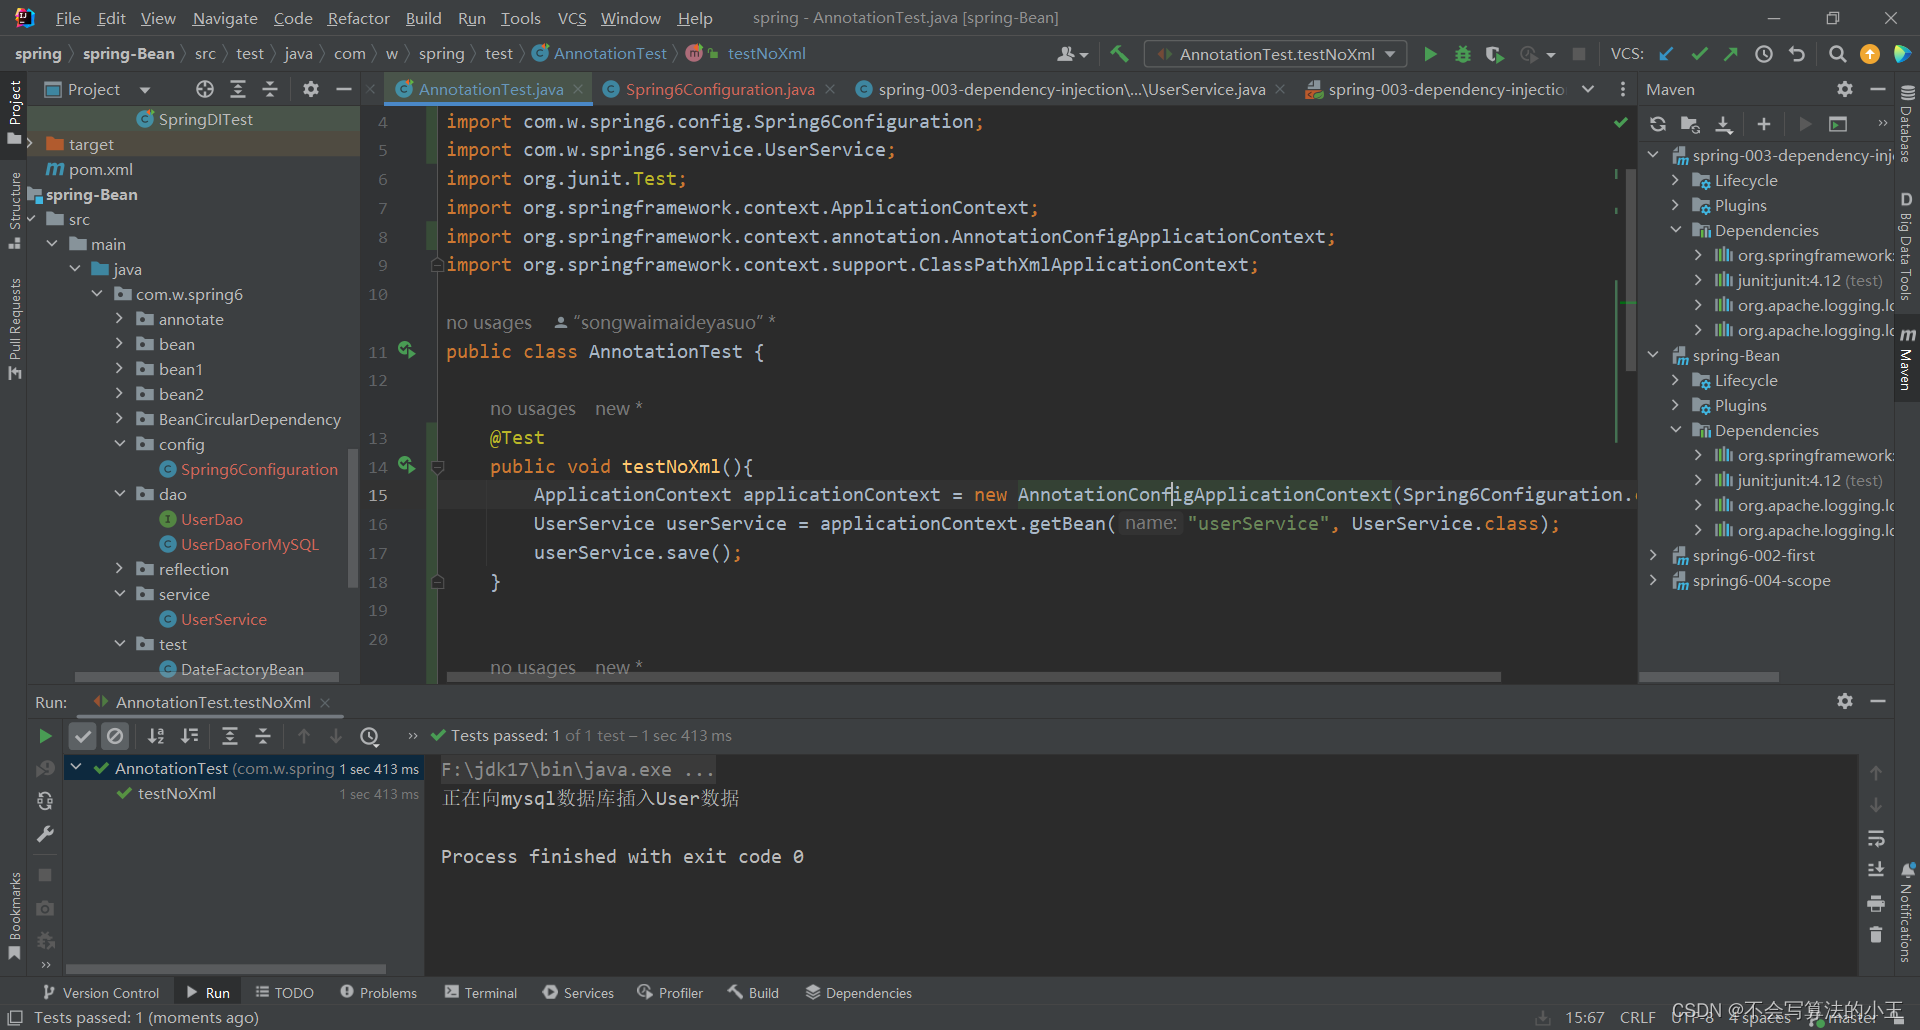
编写测试程序:不再new ClassPathXmlApplicationContext()对象了。
@Test
public void testNoXml(){
    ApplicationContext applicationContext = new AnnotationConfigApplicationContext(Spring6Configuration.class);
    UserService userService = applicationContext.getBean("userService", UserService.class);
    userService.save();
}
运行结果:
