1. 上传和解压软件
将elasticsearch-7.11.2-linux-x86_64.tar.gz和kibana-7.11.2-linux-x86_64.tar.gz 上传到/data/es目录

解压文件
tar -zxvf elasticsearch-7.11.2-linux-x86_64.tar.gz
tar -zxvf kibana-7.11.2-linux-x86_64.tar.gz 
2. 创建es用户
因为安全问题,Elasticsearch不允许root用户直接运行,所以要创建新用户,在root用户中创建新用户
useradd es #新增es用户
passwd es #为es用户设置密码
chown -R es:es /data/es  # 修改目录所有者
3. 修改系统配置
修改/etc/security/limits.conf
# 在文件末尾中增加下面内容
# 每个进程可以打开的文件数的限制
es soft nofile 65536
es hard nofile 65536
修改/etc/security/limits.d/20-nproc.conf
# 在文件末尾中增加下面内容
# 每个进程可以打开的文件数的限制
es soft nofile 65536
es hard nofile 65536
# 操作系统级别对每个用户创建的进程数的限制
* hard nproc 4096
# 注:* 带表Linux所有用户名称
修改/etc/sysctl.conf
# 在文件中增加下面内容
# 一个进程可以拥有的VMA(虚拟内存区域)的数量,默认值为65536
vm.max_map_count=655360
重新加载配置
sysctl -p
4. 修改es配置
修改/data/es/elasticsearch-7.11.2/config/elasticsearch.yml
cluster.name: elasticsearch
node.name: node-1
network.host: 0.0.0.0
http.port: 9200
cluster.initial_master_nodes: ["node-1"]
path.data: /data/es/data
path.logs: /data/es/elasticsearch-7.11.2/logs
5. 启动es
cd /data/es/elasticsearch-7.11.2/bin
su es
./elasticsearch -d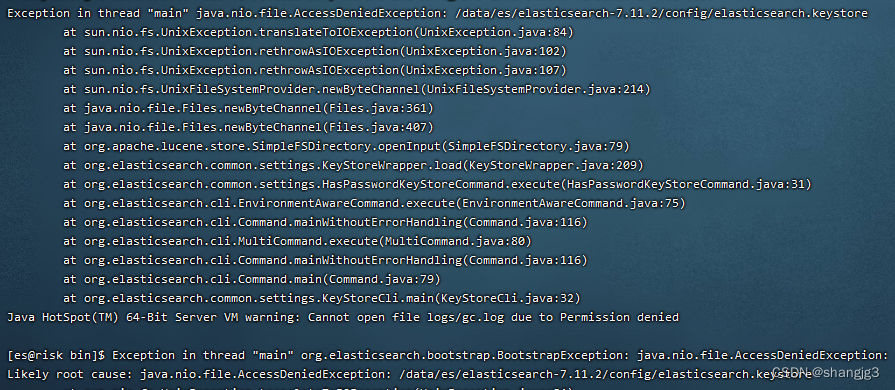
启动时,会动态生成文件,如果文件所属用户不匹配,会发生错误,需要重新进行修改用户和用户组
su root
chown -R es:es /data/es浏览器输入地址:http://10.16.60.91:9200/,查看es信息
{
  "name" : "node-1",
  "cluster_name" : "elasticsearch",
  "cluster_uuid" : "QIDJFYkJRjWZmU-fcvjeug",
  "version" : {
    "number" : "7.11.2",
    "build_flavor" : "default",
    "build_type" : "tar",
    "build_hash" : "3e5a16cfec50876d20ea77b075070932c6464c7d",
    "build_date" : "2021-03-06T05:54:38.141101Z",
    "build_snapshot" : false,
    "lucene_version" : "8.7.0",
    "minimum_wire_compatibility_version" : "6.8.0",
    "minimum_index_compatibility_version" : "6.0.0-beta1"
  },
  "tagline" : "You Know, for Search"
}
6. es 配置用户名和密码
需要在配置文件中开启x-pack验证, 修改config目录下面的elasticsearch.yml文件,在里面添加如下内容,并重启es。
xpack.security.enabled: true
xpack.license.self_generated.type: basic
xpack.security.transport.ssl.enabled: true
进入es的安装根目录bin下,执行设置用户名和密码的命令,这里需要为4个用户分别设置密码,elastic, kibana, logstash_system,beats_system
./elasticsearch-setup-passwords interactive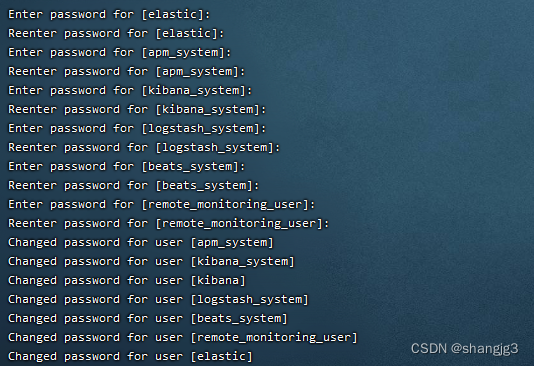
再次访问http://10.16.60.91:9200/就需要输入密码了。
修改密码时,将第一步配置删除,然后重启es,将.security-7的索引删除即可。
7.安装kibana
修改kibana.yml配置
vim /data/es/kibana-7.11.2-linux-x86_64/config/kibana.ymlserver.port: 5601
server.host: "0.0.0.0"
elasticsearch.hosts: ["http://localhost:9200"]
kibana.index: ".kibana"
kibana.defaultAppId: "app-1"
elasticsearch.username: "elastic"
elasticsearch.password: "elastic"进入kibana的bin目录执行启动命令:
/data/es/kibana-7.11.2-linux-x86_64/bin
nohup ./kibana >../logs/kibana.log &浏览器输入地址:http://10.16.60.91:5601/
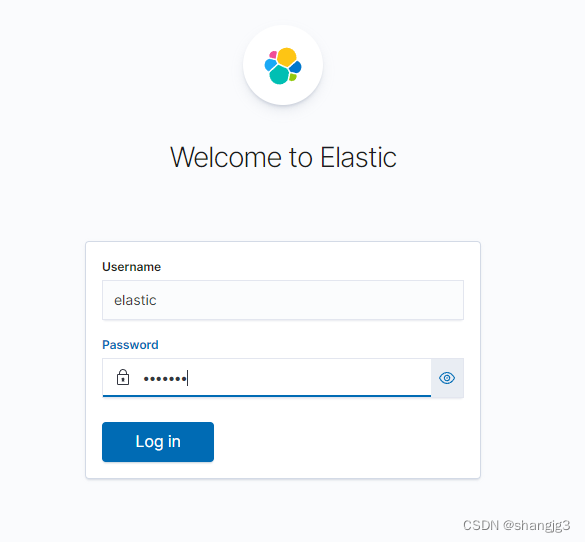
输入密码登录
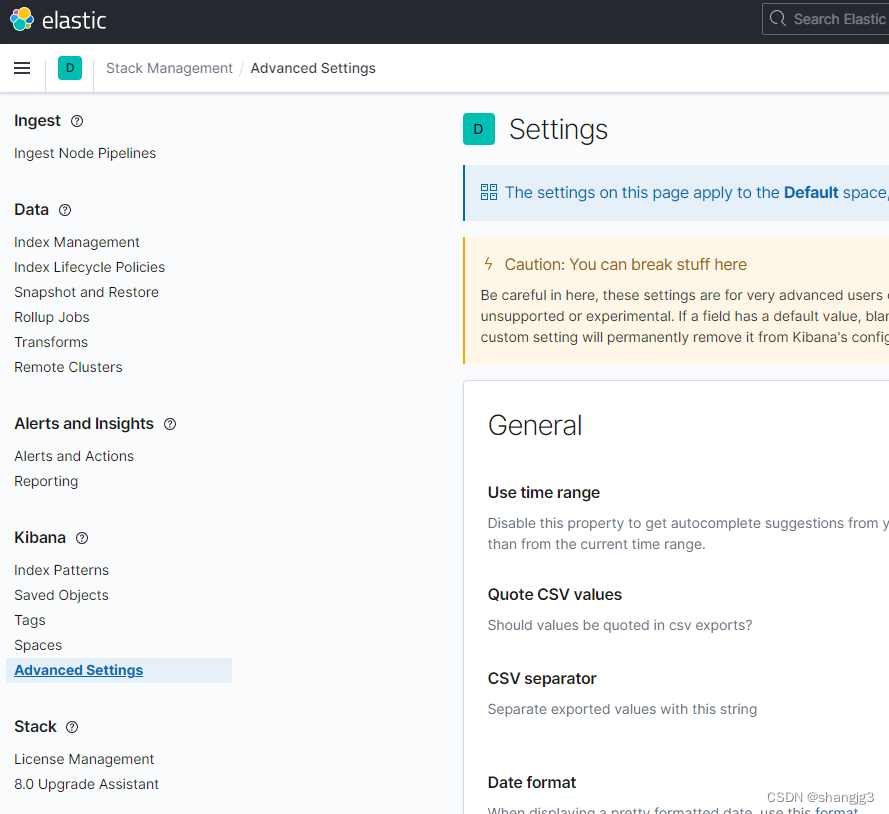
8.添加测试数据
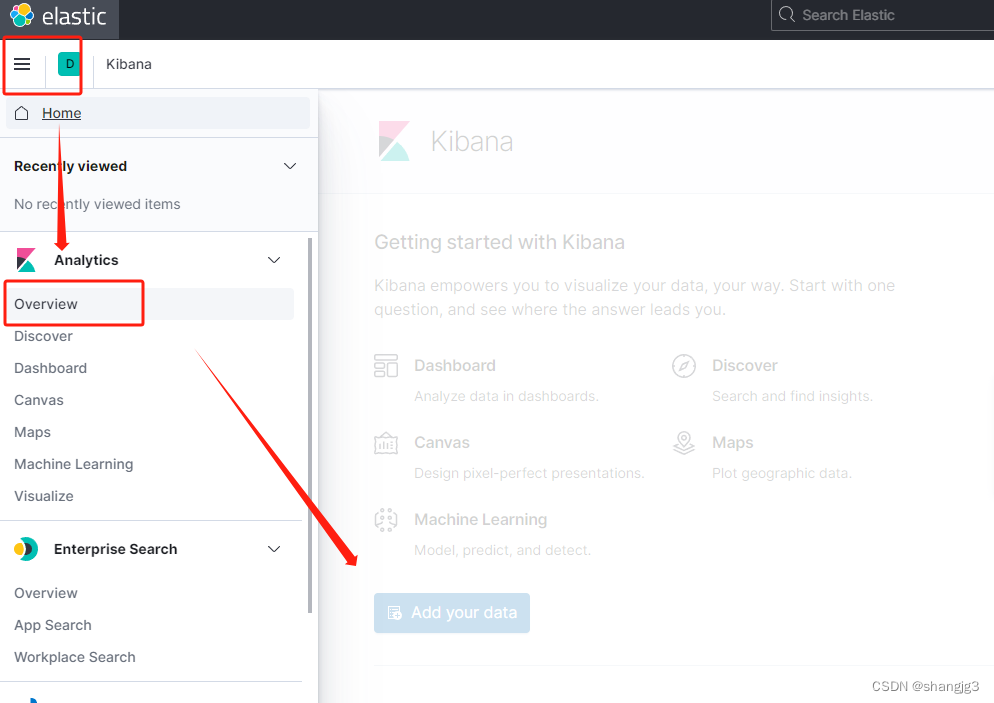
选择电商订单数据
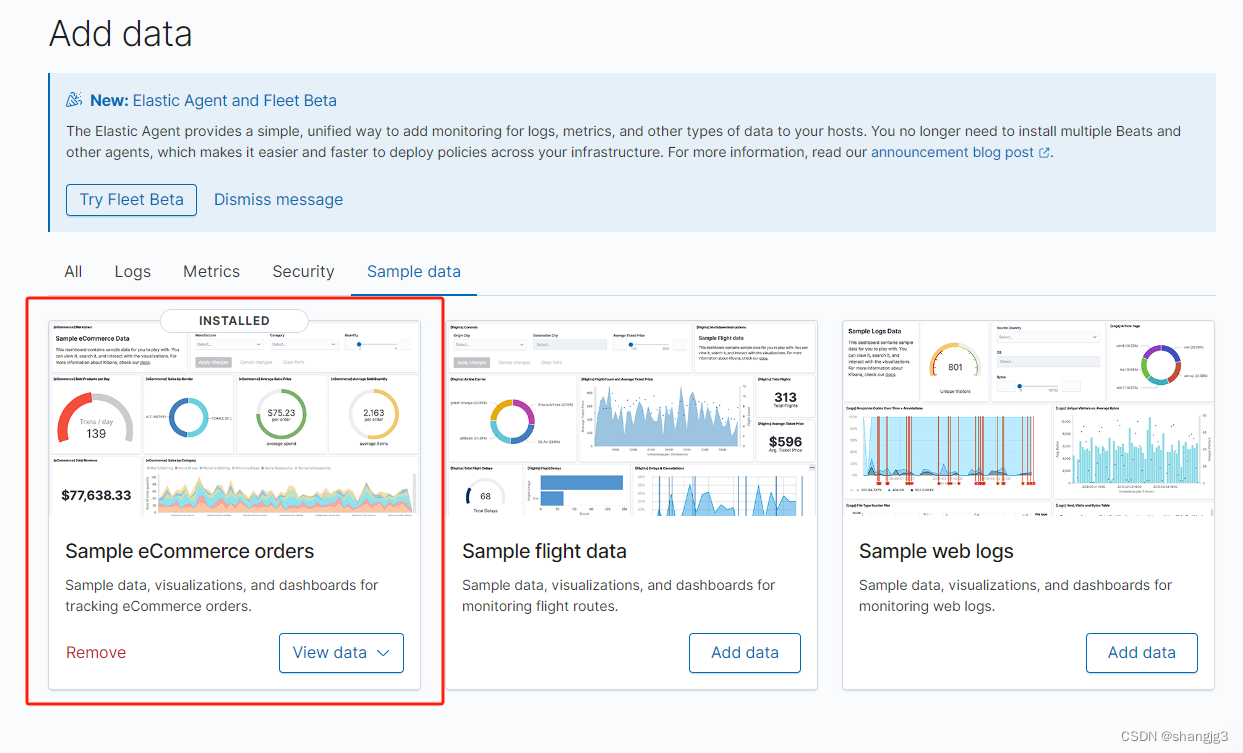
添加好之后页面如下:
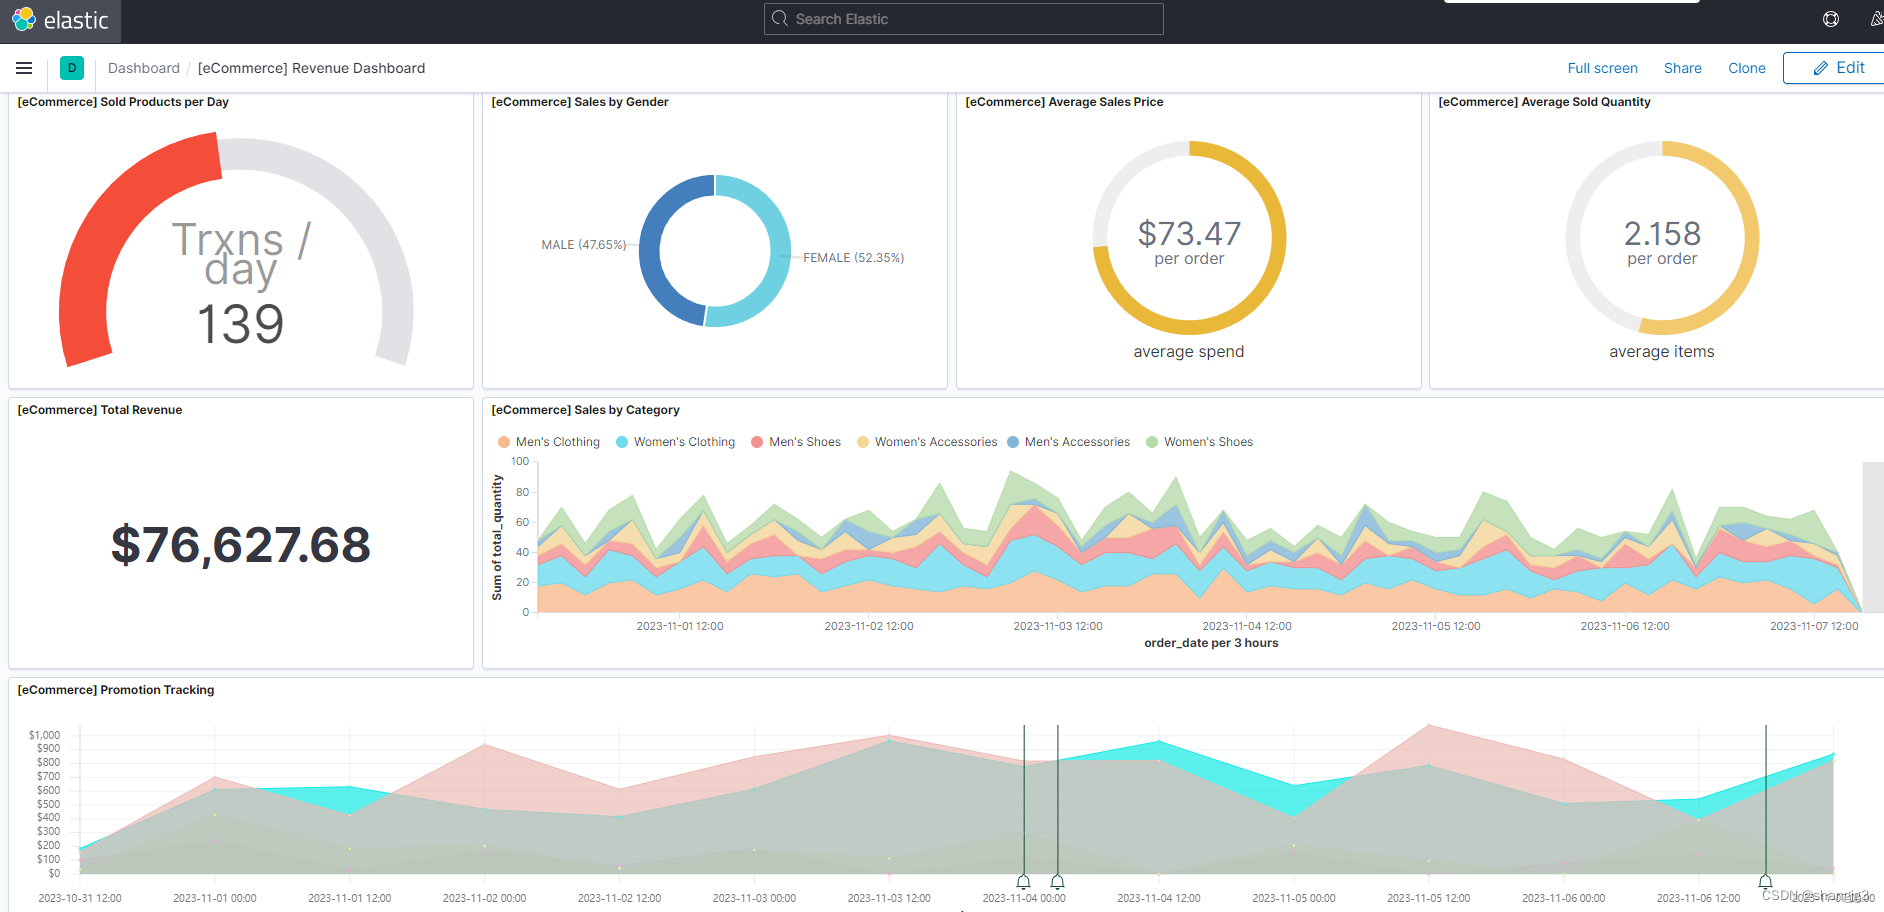
9.kibana页面修改为中文
修改kibana.yml配置
i18n.locale: "zh-CN"

