接上一章《在Win11上部署ChatGLM2-6B详细步骤--(上)准备工作》
这一节我们开始进行ChatGLM2-6B的部署
三:创建虚拟环境
1、找开cmd执行
conda create -n ChatGLM2-6B python=3.82、激活ChatGLM2-6B
conda activate ChatGLM2-6B3、下载源文件
首先我们先建一个目录,E:\project。然后在命令行执行:
cd project
git clone https://github.com/THUDM/ChatGLM2-6B
4、下载pytorch并安装
pytorch下载地址:https://pytorch.org
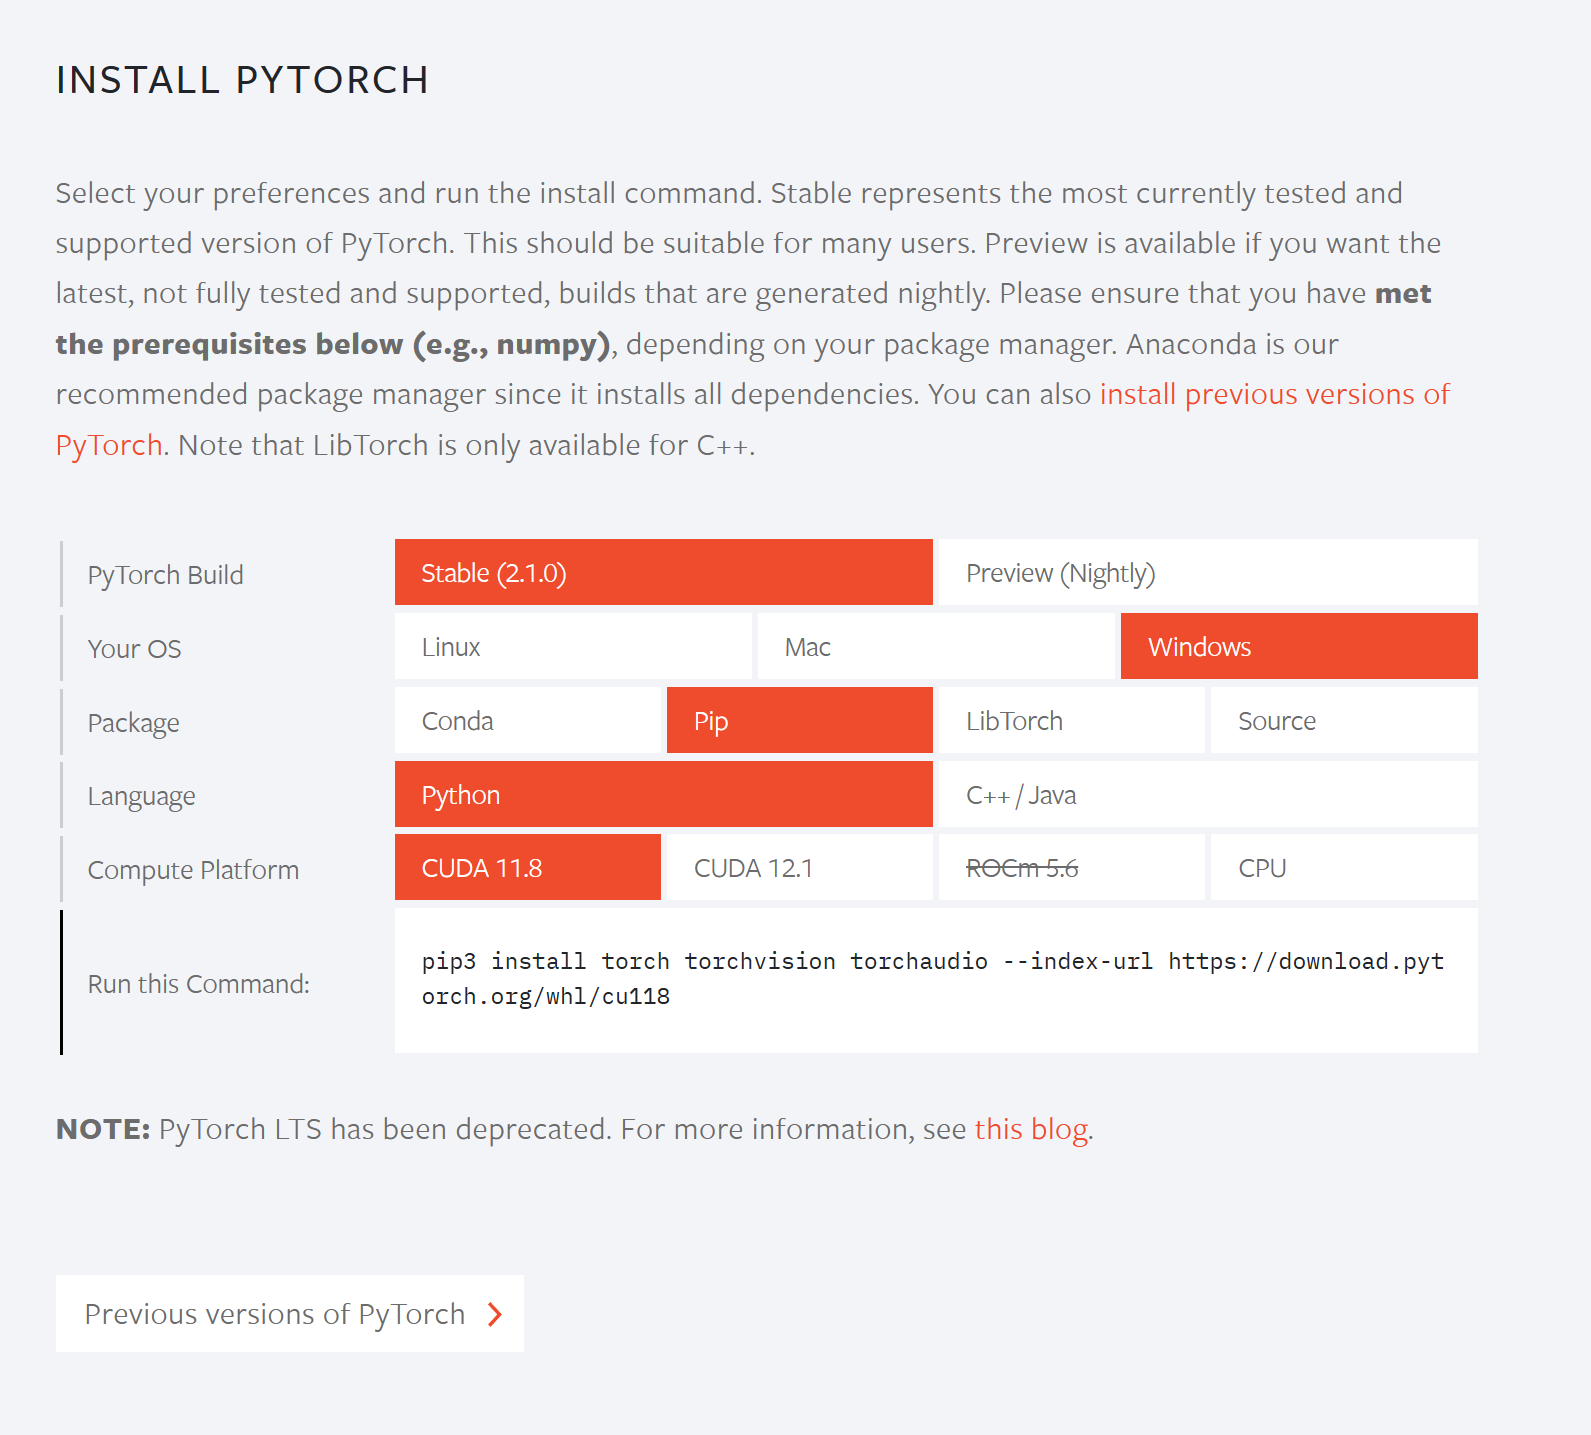
点击Previous versions of Pytorch >下载我们需要的版本。
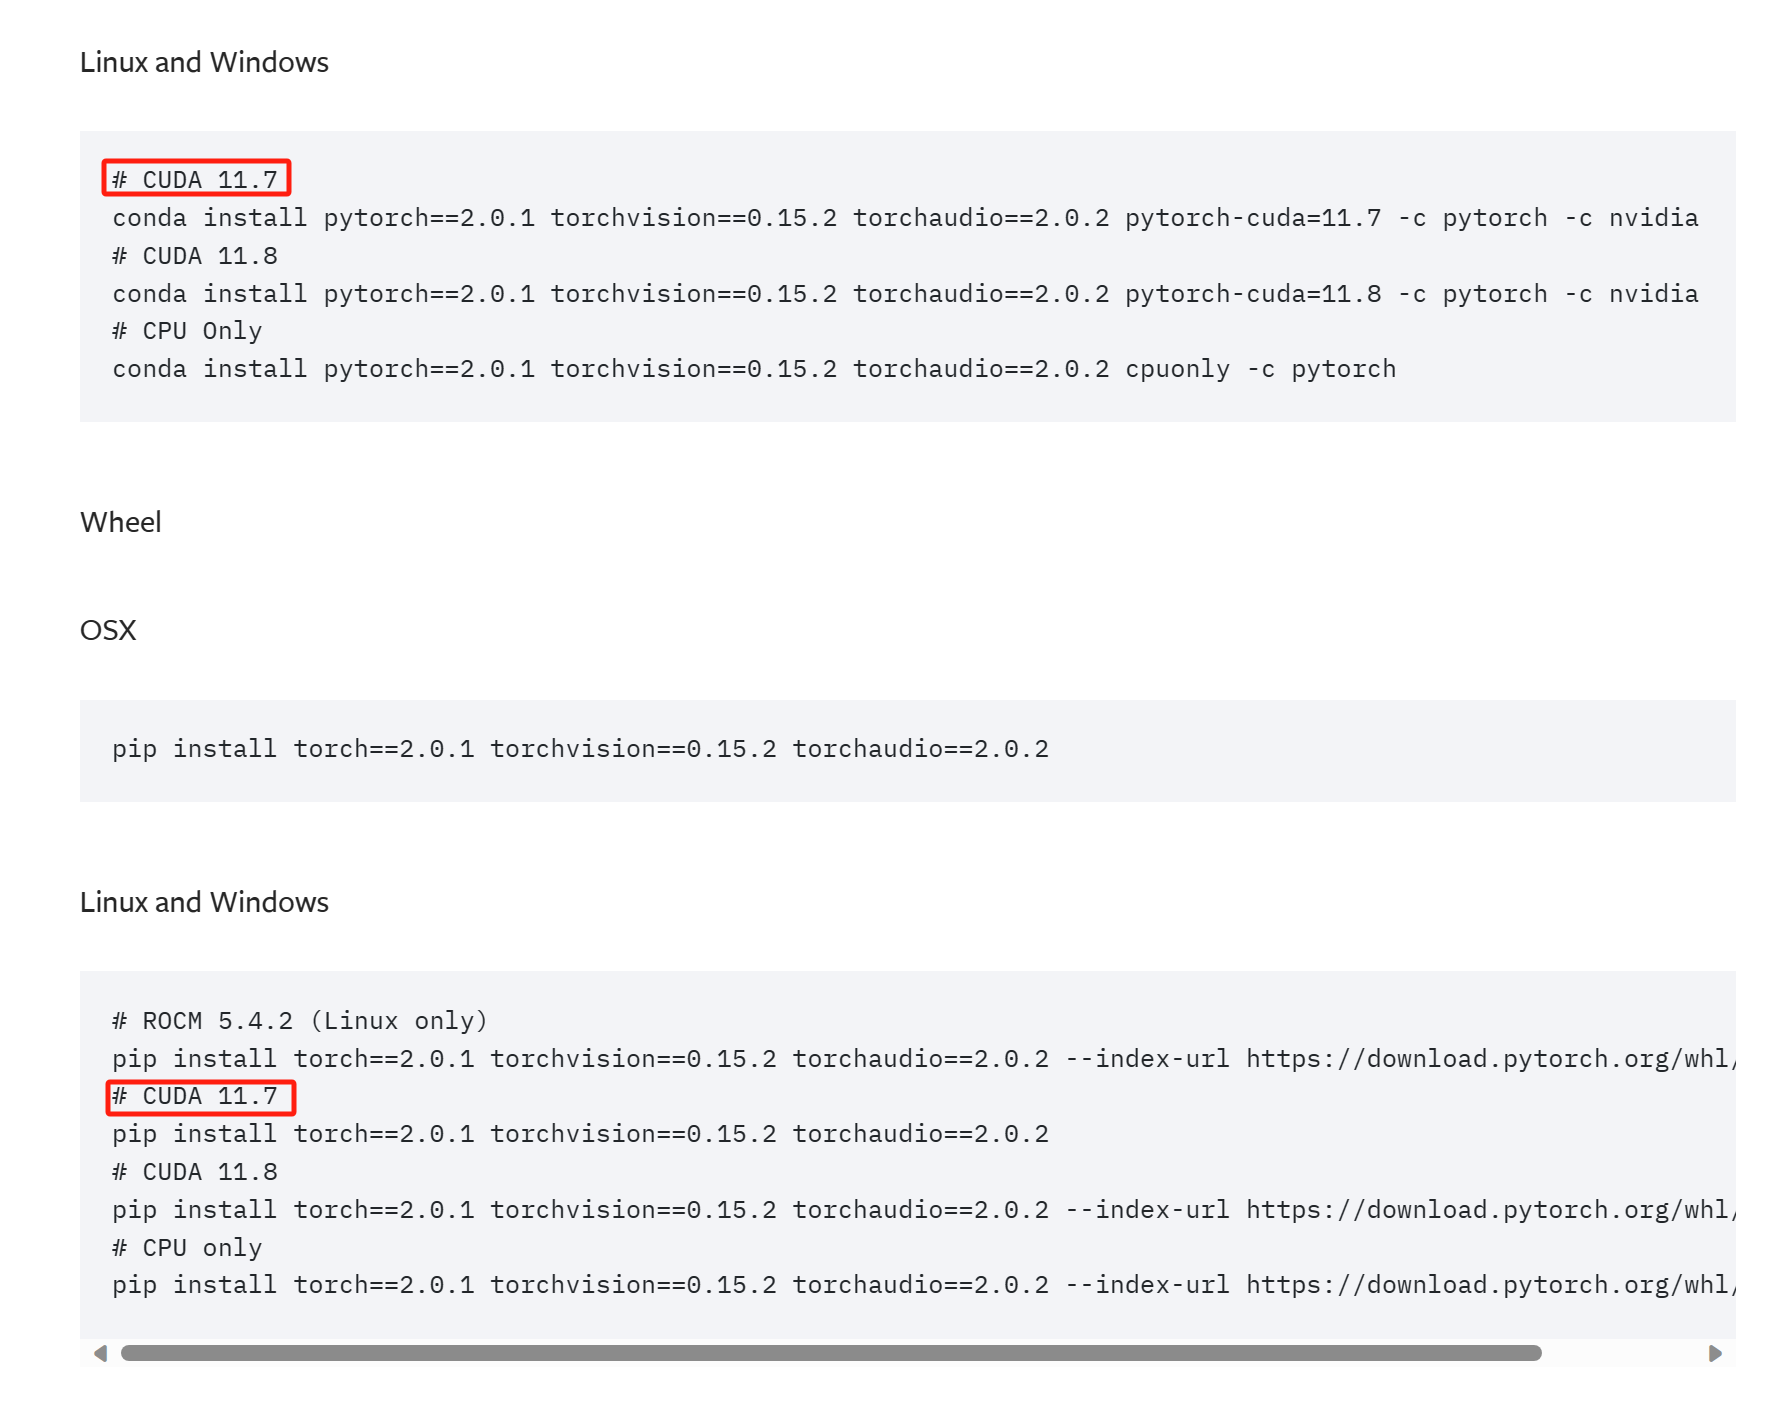
注意我们安装的CUDA是11.7,所以上面这两种安装方式都可以的,第一种是conda的方式,下面是Wheel的方式,任选其中一个就可以,不需要两种都使用。
conda install pytorch==2.0.1 torchvision==0.15.2 torchaudio==2.0.2 pytorch-cuda=11.7 -c pytorch -c nvidia如果下载的慢可以使用迅雷下载到本地安装,下载地址其实后面已经给了。下载的本地后执行:
pip install torch-2.0.1-cp39-cp39-win_amd64.whl检查pytorch是否安装成功
import torch
print(torch.cuda.is_available())
结果显示True就算成功了
5、安装ChatGLM2-6B的相关依赖
pip install -r requirements.txt四:模型文件下载
为什么整一章来说这点事,确实很多人栽倒在这里。所以详细说。
下面的是模型地址:
huggingface地址:https://huggingface.co/THUDM/chatglm2-6b
下载的方法跟上面一样:
git clone https://huggingface.co/THUDM/chatglm2-6b因为库太大,往往下载不下来,这里可以安装Git LFS大文件下载的git.
下载地址如下:https://git-lfs.com/,直接下载windows版就可以了,然后安装。
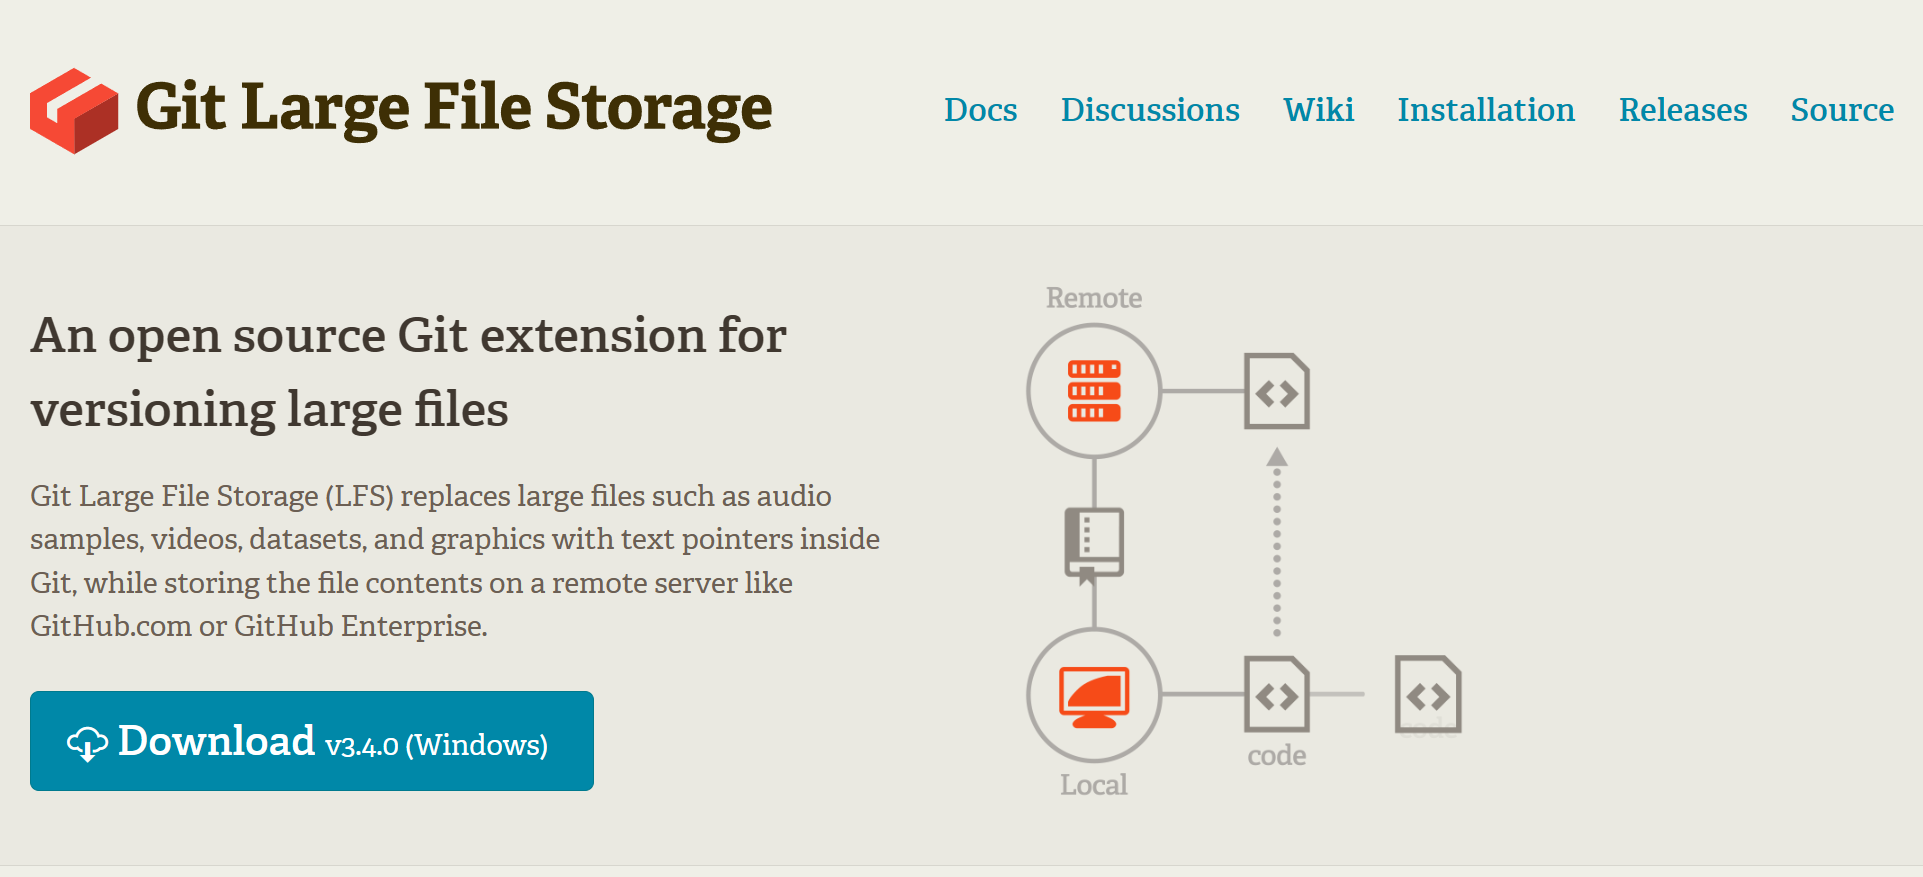
下载后安装这个git大文件版本。
然后找开Git Bash执行下面这句

GIT_LFS_SKIP_SMUDGE=1 git clone https://huggingface.co/THUDM/chatglm2-6b其实用处不大,以上只是介绍如果网站可以访问的情况下的方法。目前huggingface网站国内不好访问了。所以可以采用国内镜像的的方式获得。
重点来了,国内镜像站的地址:https://aliendao.cn/
先将model_download.py下载的本地
然后执行:
python model_download.py --repo_id THUDM/chatglm-6b --mirror
python model_download.py --repo_id THUDM/chatglm2-6b-int4 --mirror
注意这里下载的只是配置模型的配置文件,模型文件要从另外一个地方下载。
模型文件的下载
https://cloud.tsinghua.edu.cn/d/674208019e314311ab5c/?p=%2F&mode=list
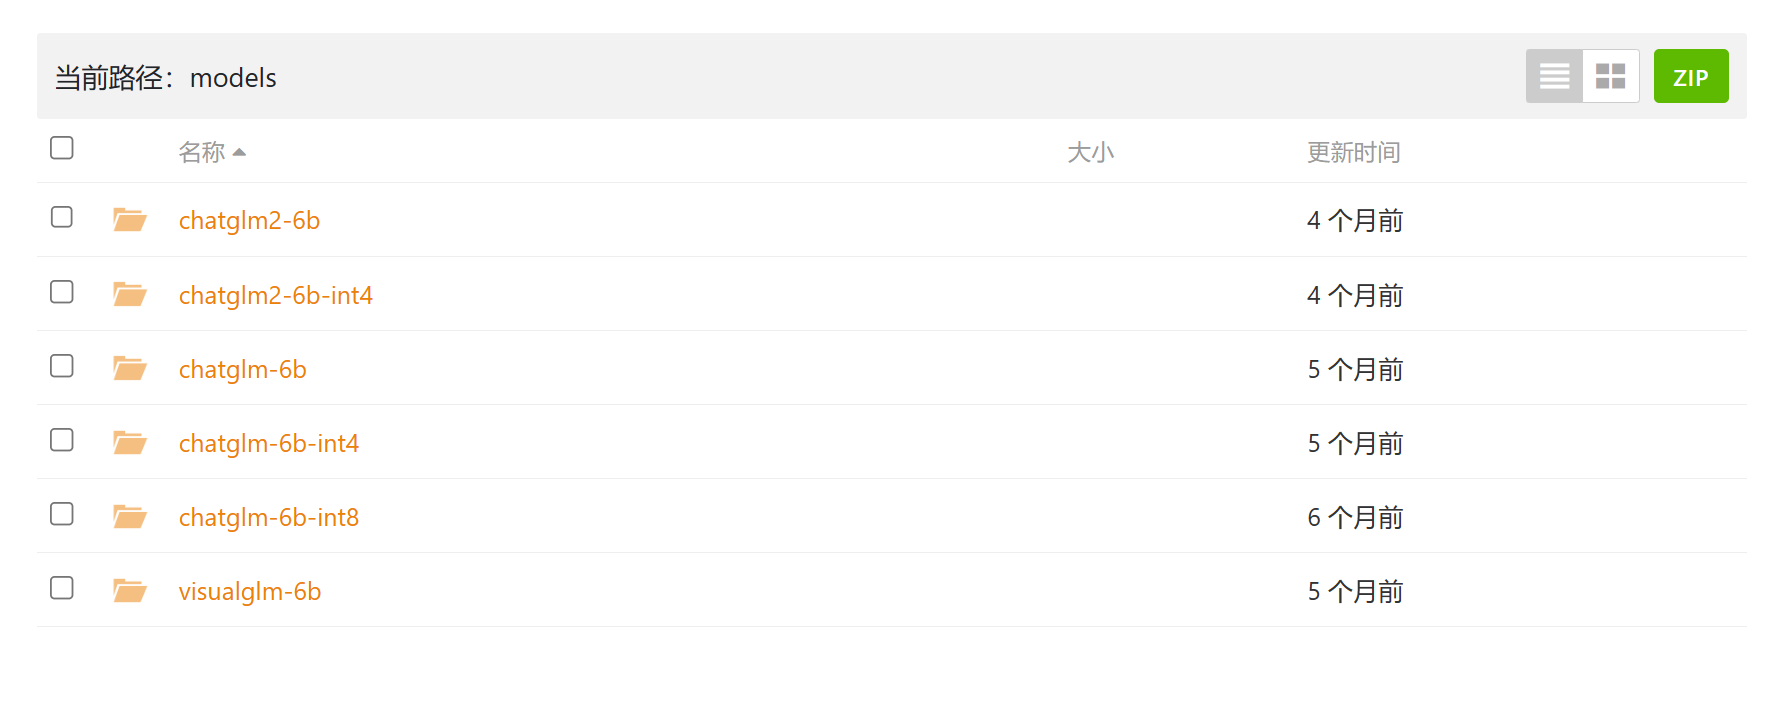
所有模型全部下载下来。
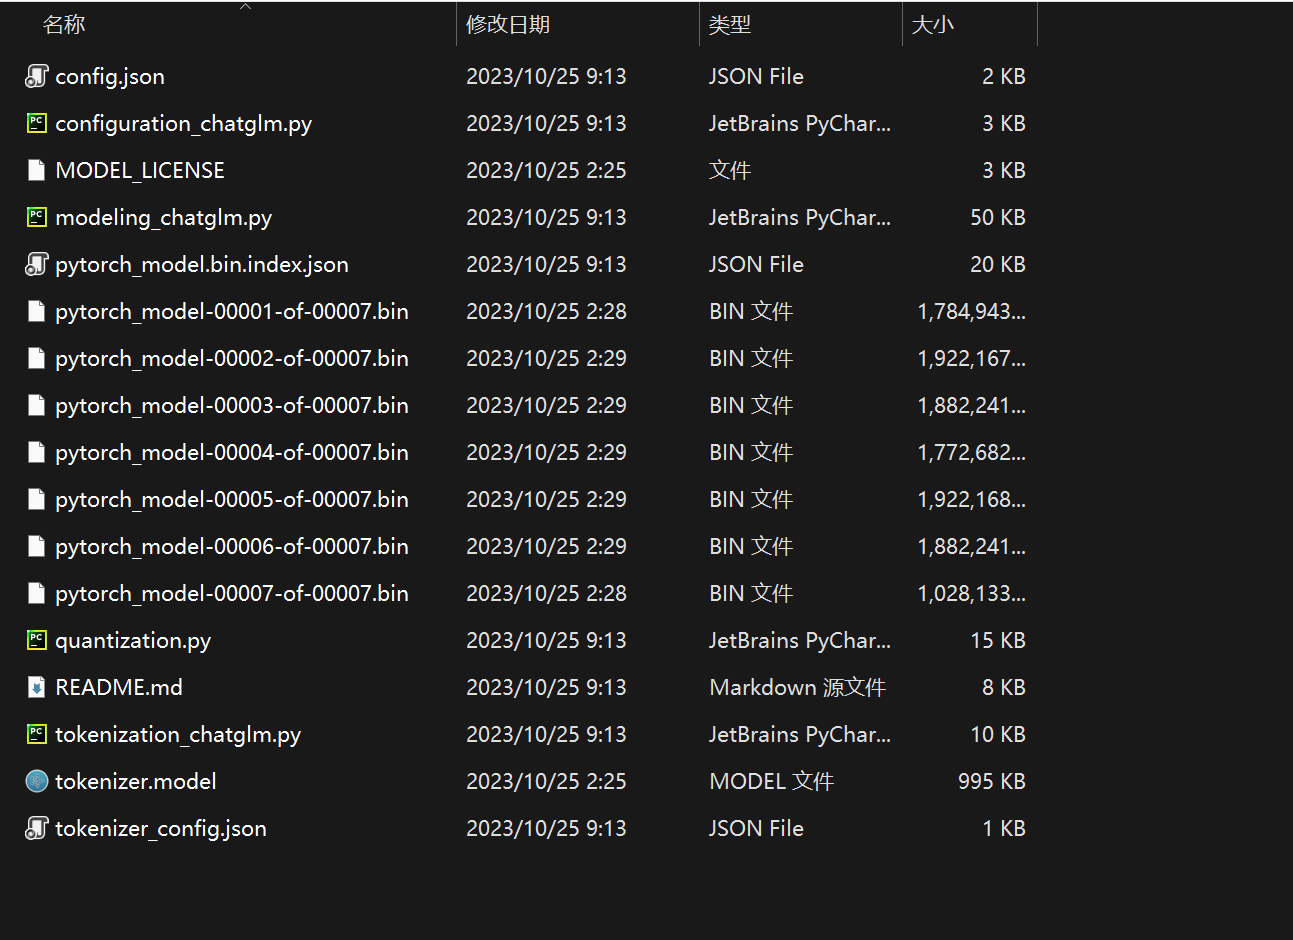
把下载的两个文件合在一起使用,均放在目录E:\\project\\ChatGLM2-6B\\THUDM\\chatglm2-6b
至此,模型文件应该就全了。大致的样子是这样的:
五:ChatGLM2-6B配置文件的修改
在ChatGLM2-6B目录下有两个web文件
1、是http登录的文件,执行python web_demo.py
2、是https登录的文件,执行 streamlit run web_demo2.py
修改这两个文件的模型所在路径,如下:
tokenizer = AutoTokenizer.from_pretrained("E:\\project\\ChatGLM2\\THUDM\\chatglm2-6b", trust_remote_code=True)
model = AutoModel.from_pretrained("E:\\project\\ChatGLM2\\THUDM\\chatglm2-6b",trust_remote_code=True).cuda()
以上路径均为我电脑上的文件路径,大家要根据自己文件的实际位置来写。
至此就算配置完了。
六:使用演示
1、WEB方式
需要安装两个文件
pip install gradio
pip install streamlit streamlit-chat
因为win11浏览器的安全比较高,所以只能使用https方式
执行:
streamlit run web_demo2.py网页自动打开,你可以跟ChatGLM聊天了。
2、指令方式:
>>> from transformers import AutoTokenizer, AutoModel
>>> tokenizer = AutoTokenizer.from_pretrained("E:\\project\\ChatGLM2\\THUDM\\chatglm2-6b", trust_remote_code=True)
>>> model = AutoModel.from_pretrained("E:\\project\\ChatGLM2\\THUDM\\chatglm2-6b", trust_remote_code=True, device='cuda')
>>> model = model.eval()
>>> response, history = model.chat(tokenizer, "你好", history=[])
>>> print(response)

你好👋!我是人工智能助手 ChatGLM2-6B,很高兴见到你,欢迎问我任何问题。

>>> response, history = model.chat(tokenizer, "晚上睡不着应该怎么办", history=history)
>>> print(response)
3、API方式,大家用参考项目地址吧。


