- 一、动静分离
- 环境准备
- 静态资源配置(10.36.192.169)
- 安装nginx
- 修改配置文件
- 重启nginx
- 动态资源配置(192.168.20.135)
- yum安装php
- 修改nginx配置文件
- 重启nginx
- nginx代理机配置(192.168.20.134)
- 修改nginx子自配置文件
- 重启nginx
- 客户端访问
- 二、防盗链
- nginx防止网站资源被盗用模块
- 如何区分哪些是不正常的用户
- 盗链实验
- 在正版网站发布资源
- 浏览器访问
- 盗版网站盗用
- 浏览器访问盗版网站
- 观察正版服务器的日志
- 防盗链实验
- 修改正版网站的配置文件
一、动静分离
实质 :使用正则表达式,匹配过滤,交给不同的服务器
优点 :把动态页面和静态页面分别由不同的服务器来解析,加快解析速度,降低单个服务器的压力
环境准备
静态资源配置(10.36.192.169)
安装nginx
echo '
[nginx-stable]
name=nginx stable repo
baseurl=http://nginx.org/packages/centos/$releasever/$basearch/
gpgcheck=1
enabled=1
gpgkey=https://nginx.org/keys/nginx_signing.key
module_hotfixes=true

[nginx-mainline]
name=nginx mainline repo
baseurl=http://nginx.org/packages/mainline/centos/$releasever/$basearch/
gpgcheck=1
enabled=0
gpgkey=https://nginx.org/keys/nginx_signing.key
module_hotfixes=true ' > /etc/yum.repos.d/nginx.repo
yum clean all
yum makecache
yum repolist
yum install yum-utils
yum -y install nginx
修改配置文件
vim /etc/nginx/conf.d/default.conf
server {
        listen 80;
        server_name     localhost;

        location ~ \.(html|jpg|png|js|css|gif|bmp|jpeg) {
        root /usr/share/nginx/html;
        }
}
重启nginx
nginx -t
nginx -s reload
动态资源配置(192.168.20.135)
yum安装php
rpm -Uvh https://mirror.webtatic.com/yum/el7/epel-release.rpm
rpm -Uvh https://mirror.webtatic.com/yum/el7/webtatic-release.rpm
yum install php71w-xsl php71w php71w-ldap php71w-cli php71w-common php71w-devel php71w-gd php71w-pdo php71w-mysql php71w-mbstring php71w-bcmath php71w-mcrypt -y
yum install -y php71w-fpm
systemctl start php-fpm
systemctl enable php-fpm
yum 安装nginx方法如上
修改nginx配置文件
vim /etc/nginx/conf.d/default.conf
server {
        listen      80;
        server_name     localhost;
        location ~ \.php$ {
            root           /usr/local/nginx/html;  #指定网站目录
            fastcgi_pass   127.0.0.1:9000;    #指定访问地址
            fastcgi_index  index.php;		#指定默认文件
            fastcgi_param  SCRIPT_FILENAME  $document_root$fastcgi_script_name; #站点根目录,取决于root配置项
            include        fastcgi_params;  #包含nginx常量定义
        		}
        }
重启nginx
nginx -t
nginx -s reload
nginx代理机配置(192.168.20.134)
修改nginx子自配置文件
vim /etc/nginx/conf.d/default.conf
upstream static  {
  server 10.36.192.169   weight=1  max_fails=2  fail_timeout=2s;
}
upstream php {
  server 192.168.20.135   weight=2  max_fails=2  fail_timeout=2s;
}

server {

   listen       80;
   server_name  localhost;
   location ~ \.php$ {
           proxy_pass http://php;
           proxy_set_header Host $host:$server_port;
           proxy_set_header X-Real-IP $remote_addr;
           proxy_set_header X-Forwarded-For $proxy_add_x_forwarded_for;
               }
location ~ .*\.(html|gif|jpg|png|bmp|swf|css|js)$ {
           proxy_pass http://static;
           proxy_set_header Host $host:$server_port;
           proxy_set_header X-Real-IP $remote_addr;
           proxy_set_header X-Forwarded-For $proxy_add_x_forwarded_for;

}
}
重启nginx
nginx -t
nginx -s reload
客户端访问

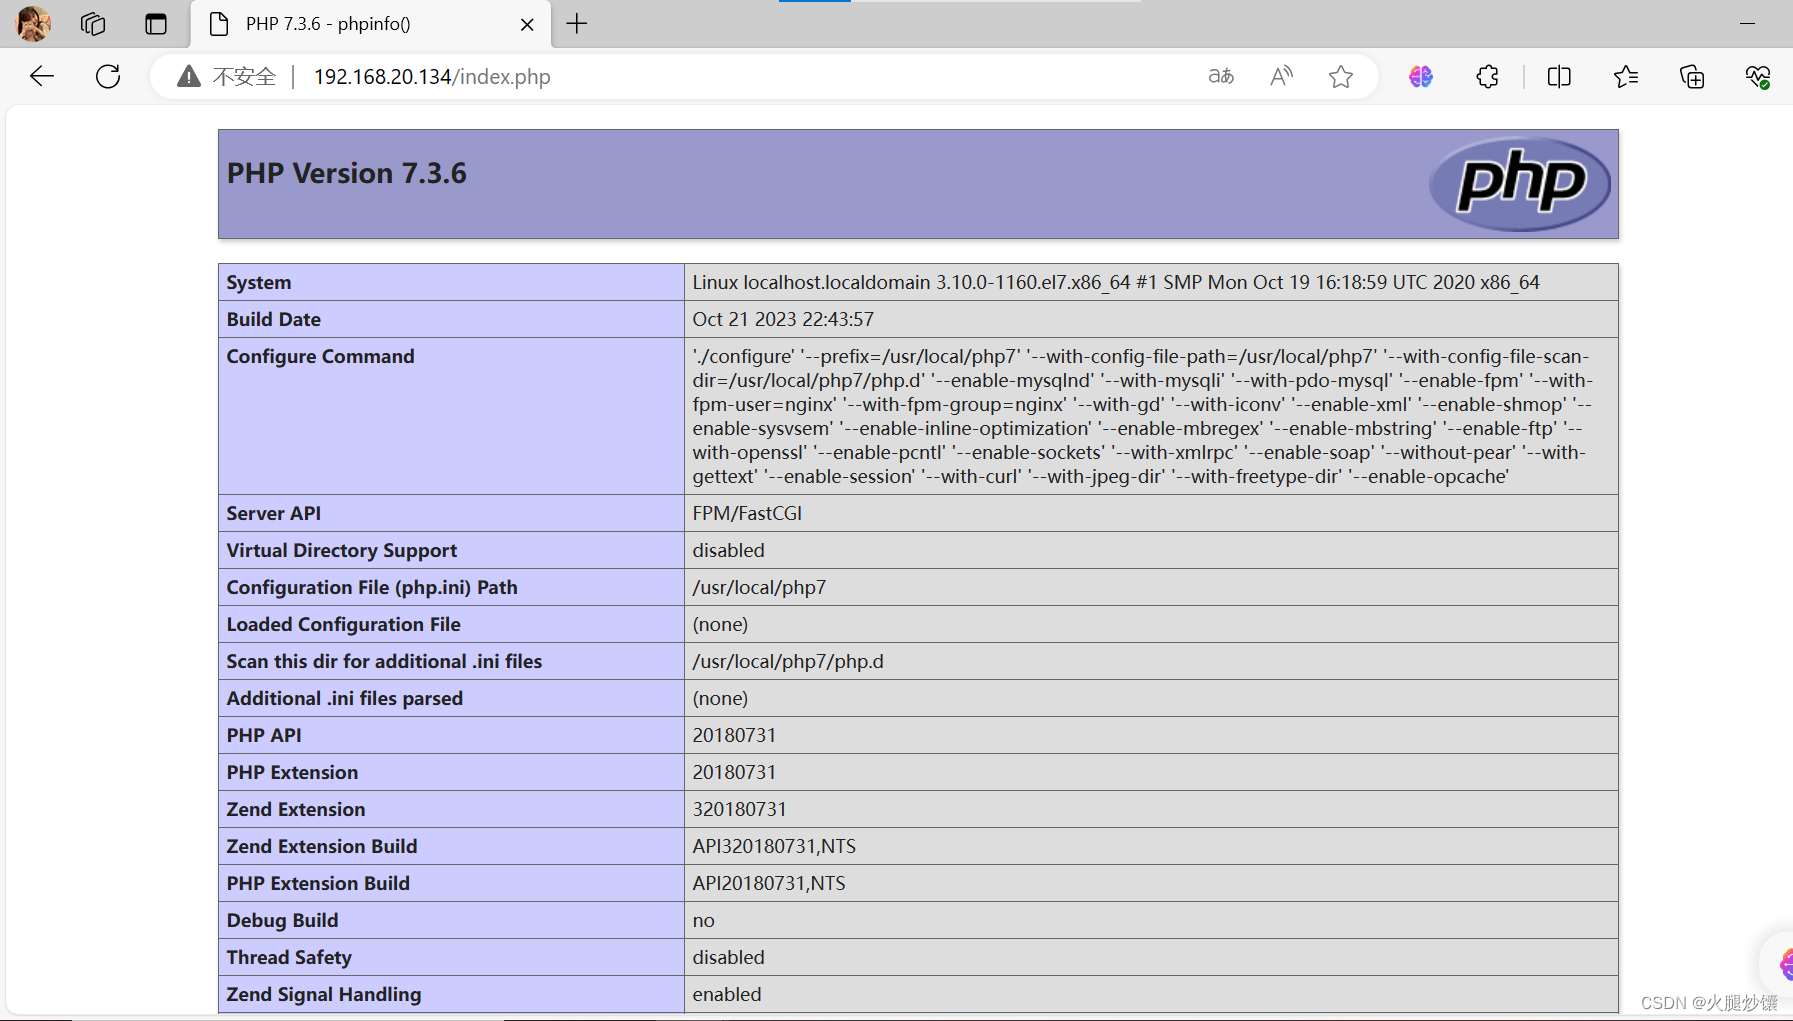
当访问静态页面的时候location 匹配到 (html|jpg|png|js|css|gif|bmp|jpeg) 通过转发到静态服务器,静态服务通过location的正则匹配来处理请求。
当访问动态页面时location匹配到 .php 结尾的文件转发到后端php服务处理请求。
二、防盗链
盗链 :两个网站A和B,A网站引用了B网站上的资源,这种行为叫做盗链
防盗链 : 防止A引用B的资源
nginx防止网站资源被盗用模块
ngx_http_referer_module
如何区分哪些是不正常的用户
HTTP Referer是header的一部分,当浏览器向web服务器发送请求时,一般会带上Referer,告诉服务器我从那个页面链接过来,服务器借此可以获得一些信息用于处理,例如防止未经允许的网站盗链图片,文件等.因此HTTP Referer可以是通过程序来伪装生成的,所以通过Reterer信息防盗链并非100%可靠,它能够限制大部分的盗链情况
盗链实验
服务器1IP: 192.168.231.171 (正版网站)
服务器2IP: 192.168.231.173
在正版网站发布资源
修改配置文件(发布图片1.jpg)
[root@localhost ~]# vim /etc/nginx/conf.d/default.conf

server {
    listen  80;
    server_name  localhost;
    location /{
    root  /usr/share/nginx/html; #网站默认发布路径
     index  1.jpg;
}
}
重启nginx服务
nginx -t
nginx -s reload
浏览器访问

盗版网站盗用
修改网站发布页面
[root@daili ~]# cd /usr/share/nginx/html/ #yum安装nginx的默认发布路径
[root@daili html]# vim index.html
<html>
<head>
    <meta charset="utf-8">
    <title>qf.com</title>
</head>
<body style="background-color:red;">     #背景为红色
    <img src="http://192.168.231.171/1.jpg"/>    #盗用171IP的1.jpg这个图片
</body>
</html>
浏览器访问盗版网站

观察正版服务器的日志

防盗链实验
服务器1IP: 192.168.231.171 (正版网站)
服务器2IP: 192.168.231.173
==[root@nginx-server ~]# vim /etc/nginx/nginx.conf
#日志格式添加" h t t p r e f e r e r " l o g f o r m a t m a i n ′ http_referer" log_format main ' httpreferer"logformatmain′remote_addr - r e m o t e u s e r [ remote_user [ remoteuser[time_local] “KaTeX parse error: Double superscript at position 37: … '̲status b o d y b y t e s s e n t " body_bytes_sent " bodybytessent"http_referer” ’
‘“ h t t p u s e r a g e n t " " http_user_agent" " httpuseragent""http_x_forwarded_for”’;
#valid_referers 使用方式
Syntax: valid_referers none | blocked | server_names | string …;
Default: —
Context: server, location
none : 允许没有http_referer的请求访问资源
blocked : 允许不是http://开头的,不带协议的请求访问资源;
server_names : 只允许指定ip/域名来的请求访问资源(白名单)
修改正版网站的配置文件
vim /etc/nginx/conf.d/default.conf

server {
    listen  80;
    server_name  localhost;
    location /{
    root  /usr/share/nginx/html;
     index  1.jpg;
valid_referers server_names  192.168.231.173;   #server_names 只允许指定ip域名来访问资源

if ($invalid_referer) {
 return 502;              #其他ip或者域名来访问a服务器,返回502
}

}
}
相当于将173这个ip添加到白名单中,只有173可以访问正版服务器的资源
重启服务
nginx -t
nginx -s reload
[root@localhost ~]# vim /etc/nginx/conf.d/default.conf

server {
    listen  80;
    server_name  localhost;
    location /{
    root  /usr/share/nginx/html;
     index  1.jpg;
valid_referers server_names  www.baidu.com;
if ($invalid_referer) {
 return 502;
}
}
}

重启服务
nginx -s reload
只有百度可以访问正版服务器


