JavaCV + FFmpeg 播放音视频
- 1、导入JavaCV库
- 1.1 使用ffmpeg必要库
- 1.2 简单FFmpeg命令
- 待续~~~~
FFmpeg documentation
bytedeco/javacv - GitHub
1、导入JavaCV库
gradle下面这种会导入javacv-platform所有包,非常耗时:https://repo.maven.apache.org/maven2/org/bytedeco/
dependencies {
  implementation group: 'org.bytedeco', name: 'javacv-platform', version: '1.5.9'
}
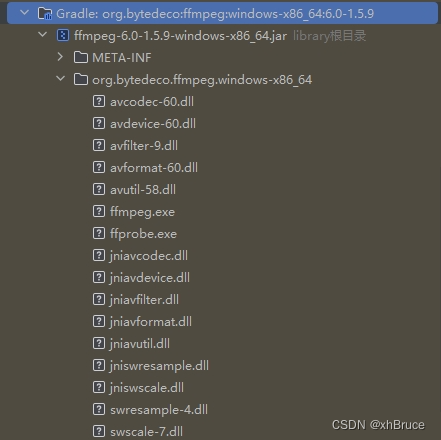
1.1 使用ffmpeg必要库
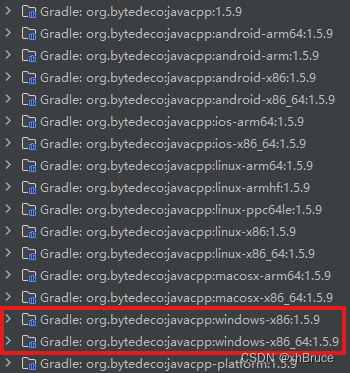
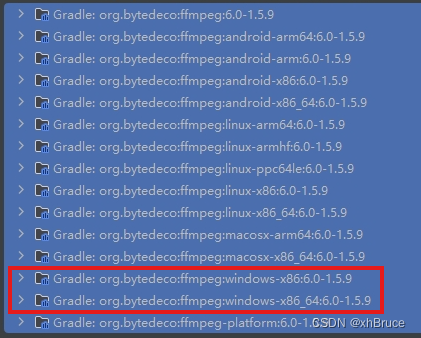

https://repo.maven.apache.org/maven2/org/bytedeco/
ext {
    javacvVersion = '1.5.9'
    ffmpegVersion = '6.0'
    windowsVersion = 'windows-x86_64'
}
dependencies {
    implementation "org.bytedeco:javacpp:${javacvVersion}"
    implementation "org.bytedeco:javacpp:${javacvVersion}:${windowsVersion}"
    implementation "org.bytedeco:javacv:${javacvVersion}"
    implementation "org.bytedeco:ffmpeg:${ffmpegVersion}-${javacvVersion}"
    implementation "org.bytedeco:ffmpeg:${ffmpegVersion}-${javacvVersion}:${windowsVersion}"
}
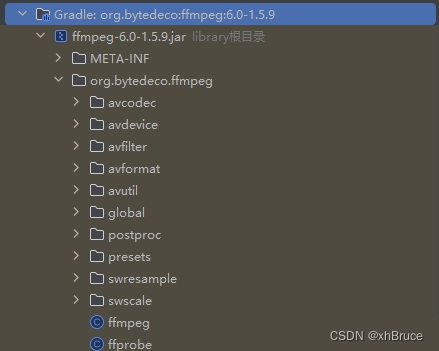
1.2 简单FFmpeg命令
- ffmpeg -i input.avi -hide_banner
String url = "C:\\Users\\Administrator\\Desktop\\input.avi";
// 解封装上下文
AVFormatContext pFormatCtx = new AVFormatContext(null);
if (null == pFormatCtx) {
    XLog.e("获取解封装上下文失败");
    return;
}

// 打开流媒体
if (avformat_open_input(pFormatCtx, url, null, null) != 0) {
    XLog.e("打开媒体失败");
    return;
}

// 读取流媒体数据,以获得流的信息
if (avformat_find_stream_info(pFormatCtx, (PointerPointer<Pointer>) null) < 0) {
    XLog.e("获得媒体流信息失败");
    return;
}

// 控制台打印流媒体信息
av_dump_format(pFormatCtx, 0, (BytePointer) null, 0);

待续~~~~
在 java 中使用 ffmpeg 的四个阶段
Java版流媒体编解码和图像处理(JavaCPP+FFmpeg)
