前言
当使用注解和 XML 配置结合时,可以使用注解 @Autowired、@Qualifier 和 @Primary 来实现自动装配并进行依赖注入。
一、了解 @Autowired、@Qualifier 和 @Primary 注解
@Autowired注解:用于自动装配依赖。在需要进行依赖注入的地方,添加@Autowired注解即可。Spring 容器会根据类型找到对应的 Bean,并将其注入到目标对象中。
@Qualifier注解:用于指定具体的 Bean 进行装配。当存在多个相同类型的 Bean 时,使用@Autowired没法区分哪个 Bean 要注入。此时,可以结合@Qualifier注解来指定要注入的具体 Bean。
@Primary注解:用于标记首选的 Bean。当存在多个相同类型的 Bean,但想要优先使用其中的一个 Bean 进行注入时,可以在该 Bean 上添加@Primary注解。
了解了这三个注解是干嘛用的,我们就来写个案例实现一下吧。
二、开始学习 @Autowired
1、新建项目,结构如下

2、导入 spring 依赖
    <!-- spring 的核心依赖 -->
    <dependencies>
        <!-- https://mvnrepository.com/artifact/org.springframework/spring-context -->
        <dependency>
            <groupId>org.springframework</groupId>
            <artifactId>spring-context</artifactId>
            <version>5.3.23</version>
        </dependency>

        <dependency>
            <groupId>ch.qos.logback</groupId>
            <artifactId>logback-classic</artifactId>
            <version>1.4.5</version>
        </dependency>


    </dependencies>
3、在 service 包下新建一个 Userservice 接口,在 impl 包下新建一个 UserServiceImpl 实现类
UserService 接口
public interface UserService {

    void add();

}
UserServiceImpl 实现类
@Slf4j
@Service("userService")
public class UserServiceImpl implements UserService {
    @Override
    public void add() {
        log.info("添加用户.....");
    }
}
4、在 controller 包下新建一个 UserController 类
@Controller
public class UserController {

    /**
     * 字段注入 (spring 不推荐从字段注入)
     * 不推荐使用字段注入,不安全
     */
    private UserService userService;


    @Autowired
    public UserController(UserService userService) {
        this.userService = userService;
    }


    public void add() {
        userService.add();
    }

}
5、在 resources 下新建一个 spring 的 xml 文件 application.xml
<?xml version="1.0" encoding="UTF-8"?>
<beans xmlns="http://www.springframework.org/schema/beans"
       xmlns:xsi="http://www.w3.org/2001/XMLSchema-instance"
       xmlns:context="http://www.springframework.org/schema/context"
       xsi:schemaLocation="http://www.springframework.org/schema/beans http://www.springframework.org/schema/beans/spring-beans.xsd http://www.springframework.org/schema/context https://www.springframework.org/schema/context/spring-context.xsd">

    <!-- 启用包扫描 -->
    <context:component-scan base-package="edu.nf.ch08"/>

</beans>
6、测试
public class Main {

    public static void main(String[] args) {
        ApplicationContext context = new ClassPathXmlApplicationContext("application.xml");
        UserController bean = context.getBean(UserController.class);
        bean.add();
    }

}
运行结果

这个案例是一个基于 Spring 框架的示例,展示了使用依赖注入和组件扫描来管理对象和实现控制反转(IoC)的过程。
- 首先,在
UserServiceImpl类中使用@Slf4j注解引入了一个日志记录器,并使用@Service("userService")注解将该类标记为一个服务组件。UserServiceImpl实现了UserService接口,并实现了其中的add()方法用于添加用户。- 在
UserController类中,它使用@Autowired注解将UserService依赖注入到private UserService userService字段中。通过构造方法注入,将UserService实例传递给UserController的构造函数,从而实现了依赖注入。- 在
Main类中,它使用ApplicationContext加载了一个应用程序上下文,并通过context.getBean(UserController.class)获取了UserController的实例。这是通过组件扫描和类路径上的application.xml文件中的配置<context:component-scan base-package="edu.nf.ch08"/>实现的。- 组件扫描是 Spring 框架的一项功能,它会自动扫描指定包中的类,并将带有特定注解(例如
@Service、@Controller)的类识别为组件,并进行实例化和管理。这样,就无需手动创建对象和处理对象之间的依赖关系,Spring 框架会自动完成这些工作。
总的来说,这段代码展示了使用 Spring 框架进行对象管理和依赖注入的基本流程,通过组件扫描和注解来简化配置和提高开发效率。
三、开始学习 @Qualifier、@Primary注解
上面的案例是只有一个实现类的情况下使用@Autowired 注解自动装配的,那么如果是有两个或多个实现类的时候该怎么办呢?如果只使用 @Autowired 它是否会成功运行调用方法呢?那我们就继续来完成下面的案例。
1、在上面的基础上在 service 包下的 impl 包下新建一个StudentServiceImpl 实现类
@Slf4j
@Service("studentService")
public class StudentServiceImpl implements UserService {
    @Override
    public void add() {
        log.info("添加学生.....");
    }
}
2、测试
public class Main {

    public static void main(String[] args) {
        ApplicationContext context = new ClassPathXmlApplicationContext("application.xml");
        UserController bean = context.getBean(UserController.class);
        bean.add();
    }

}
运行结果
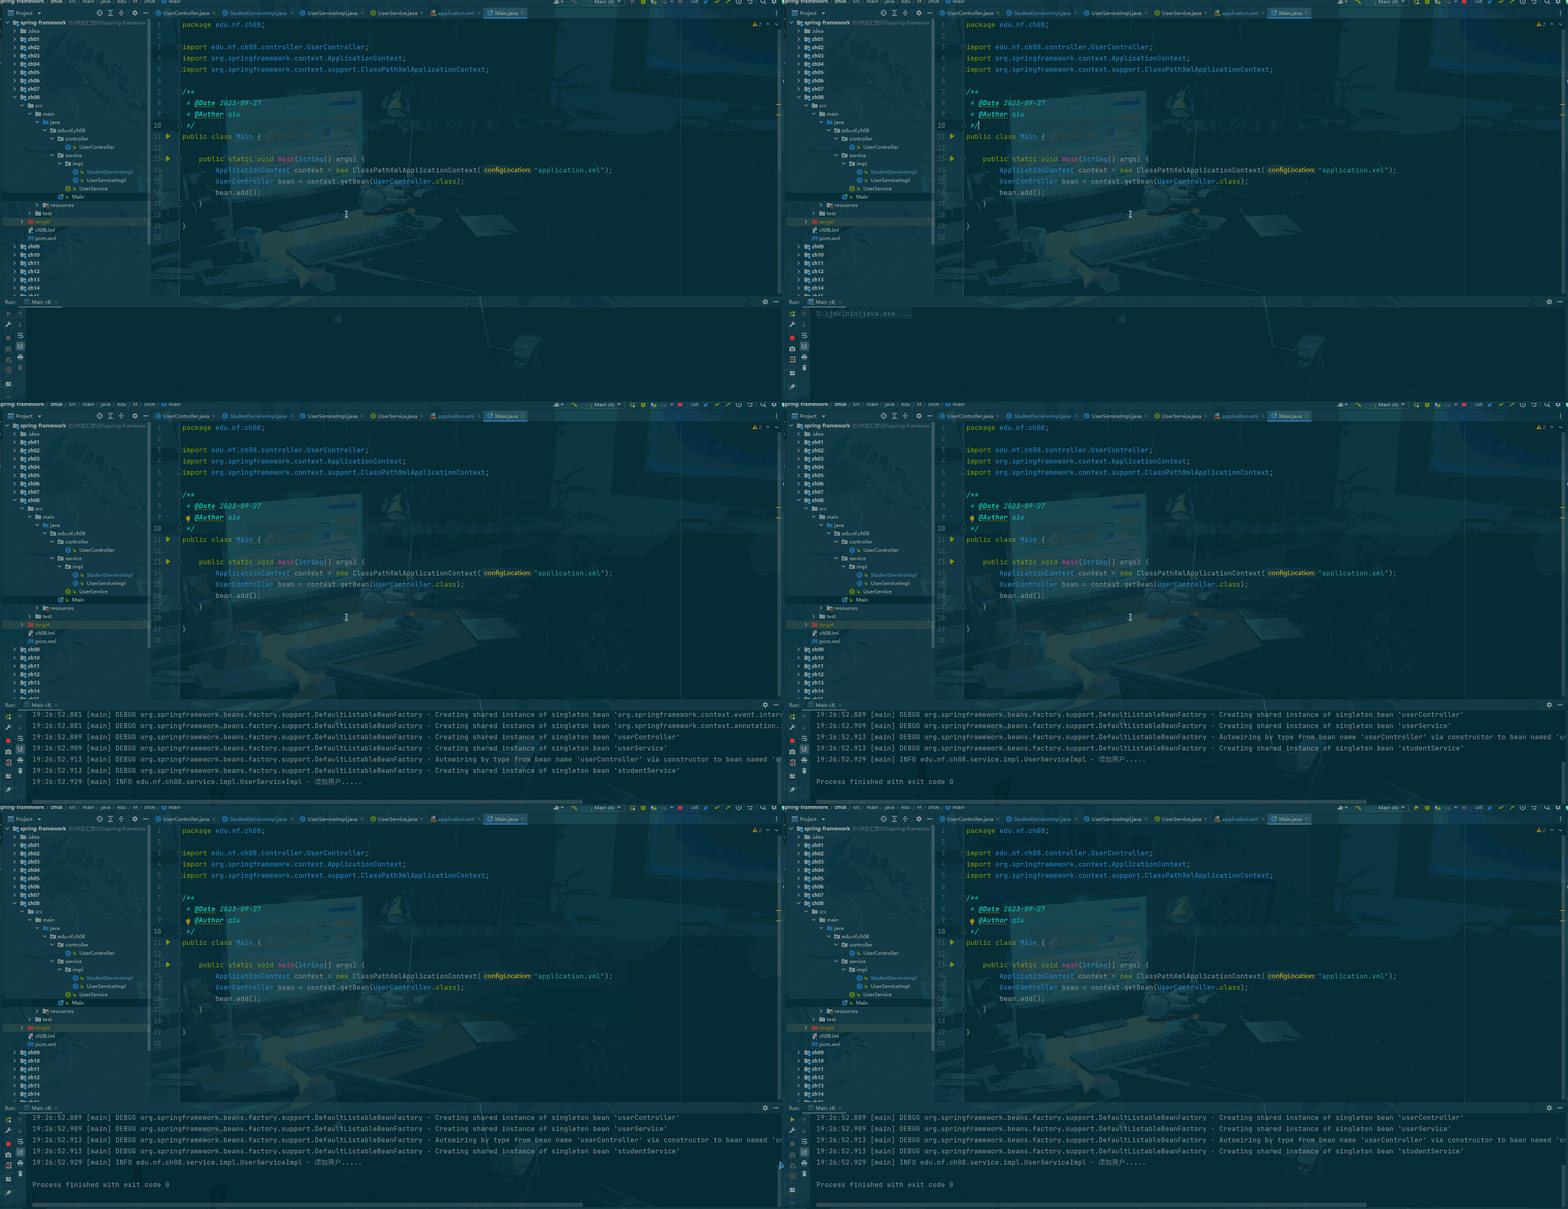
大家可以发现,我们现在有两个是实现类,并且都装配为 bean,在 UserController 中调用 add()方法,为什么有两个 add() 方法,调用的是添加用户的而不是添加学生的呢?
在这段代码中,Main 类通过应用程序上下文获取了 UserController 类的实例对象,并调用了它的 add() 方法。但是,没有明确指定要使用哪个实现类的实例。因此,在这里执行的方法将由 @Autowired 注解注入的 UserService 实例决定。
- 如果在
application.xml配置文件中将userService注册为组件,则将注入UserServiceImpl的实例,并执行UserServiceImpl类中的add()方法。- 如果将
studentService注册为组件,则注入StudentServiceImpl的实例,并执行StudentServiceImpl类中的add()方法。
如果既没有注册 userService 也没有注册 studentService,则代码将无法正常工作并抛出异常。
因此,要确定执行哪个方法,需要在 application.xml 文件中明确指定要使用哪个实现类的实例,例如通过 <bean> 元素或 @Component 注解来注册 UserService 或 StudentService。
如果我们要调用添加学生的add()方法要怎么做呢?
3、使用注解 @Qualifier
有三种方法实现,分别是字段注入、setter方法注入、构造方法注入,不推荐使用字段注入,不安全。
1)字段注入
@Controller
public class UserController {

    /**
     * 字段注入 (spring 不推荐从字段注入)
     * 不推荐使用字段注入,不安全
     */
    @Autowired
    @Qualifier("studentService")
    private UserService userService;


    public void add() {
        userService.add();
    }

}
在这段代码中,UserController 类的 userService 字段上使用了 @Autowired 注解进行依赖注入。但是,为了明确指定要注入的实现类,还使用了 @Qualifier("studentService") 注解。
@Qualifier注解用于指定要注入的 Bean 的名称或标识,以区分同一接口有多个实现类的情况。在这里,@Qualifier("studentService")指定了要注入的是名为 "studentService" 的 Bean。因此,在执行
UserController类的add()方法时,将使用通过@Autowired和@Qualifier("studentService")注入的UserService实例,即StudentServiceImpl类的实例。然后,调用该实例的add()方法。
测试
public class Main {

    public static void main(String[] args) {
        ApplicationContext context = new ClassPathXmlApplicationContext("application.xml");
        UserController bean = context.getBean(UserController.class);
        bean.add();
    }

}
运行结果
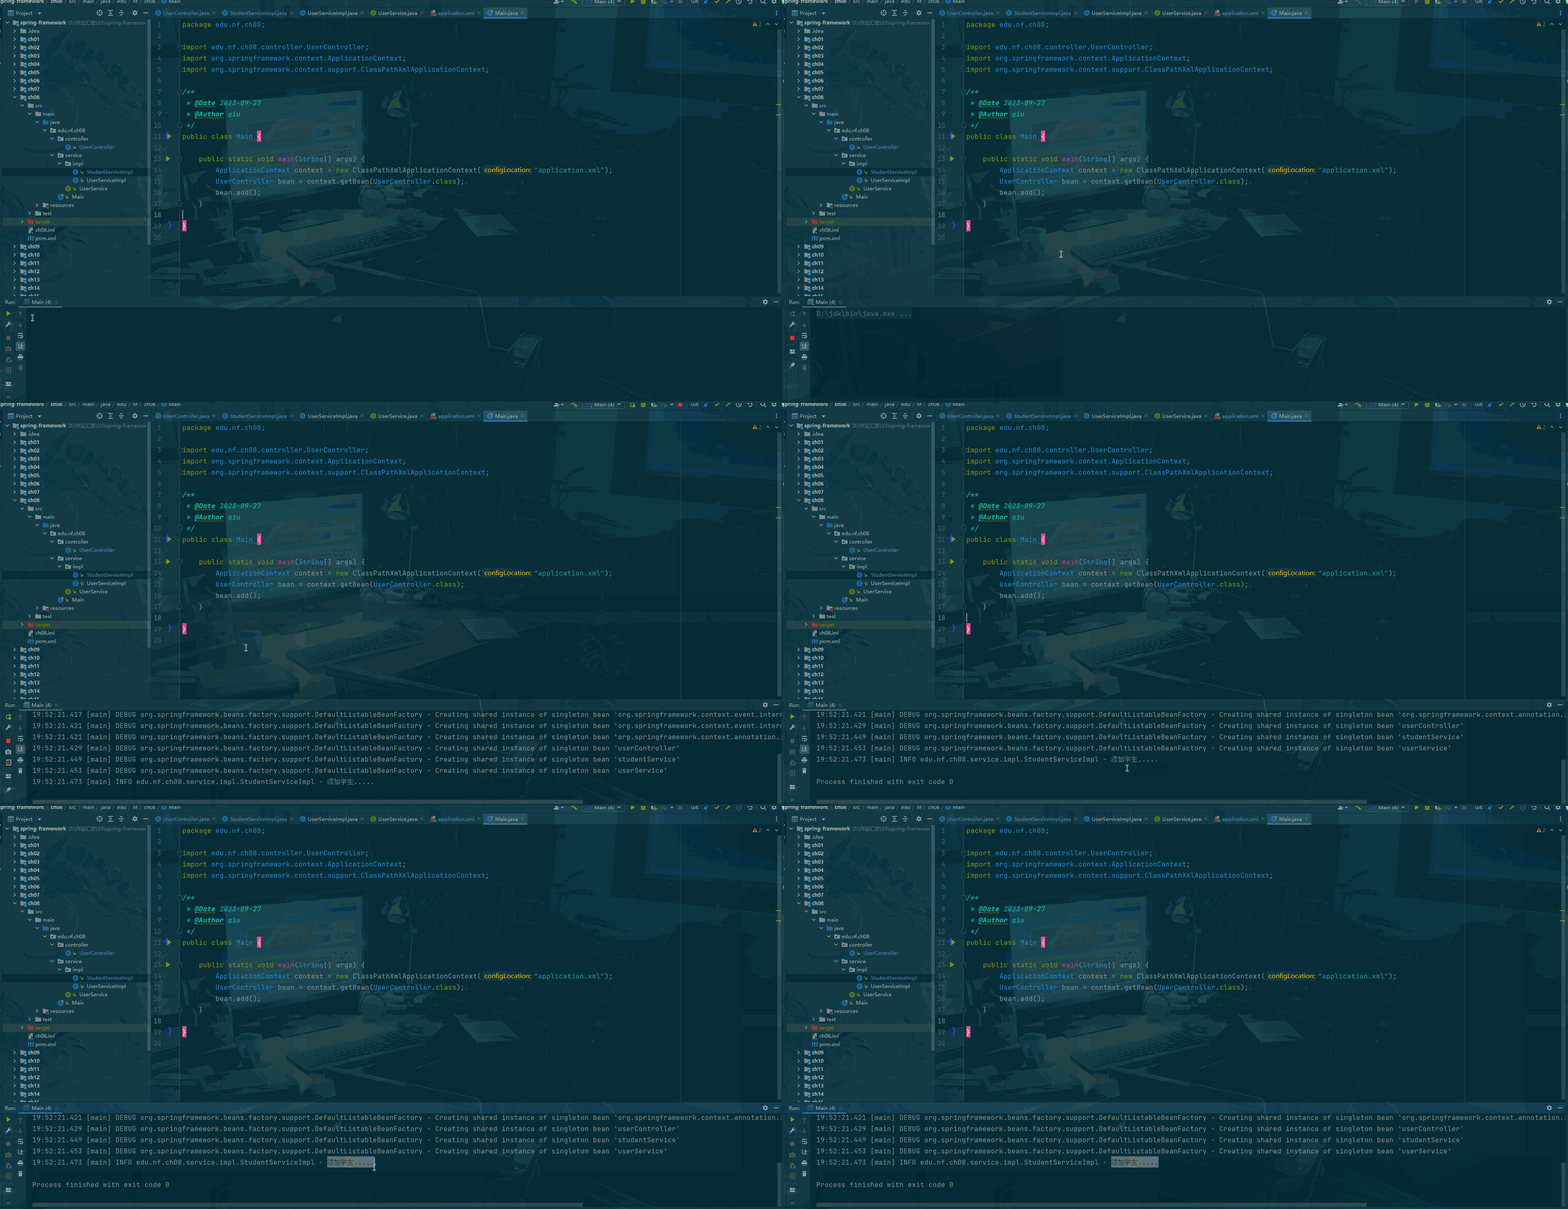
通过使用 @Qualifier 注解,并且指定 bean 为 studentService,就成功的调用到添加学生的方法,那么如果需要使用添加用户的方法怎么办呢?只需要把 studentService 改为 userService 即可。
2)setter 方法注入
@Controller
public class UserController {

    /**
     * 字段注入 (spring 不推荐从字段注入)
     * 不推荐使用字段注入,不安全
     */
    private UserService userService;

    /**
     * set 方法注入
     * @param userService
     */
    @Autowired
    @Qualifier("userService")
    public void setUserService(UserService userService) {
        this.userService = userService;
    }

    public void add() {
        userService.add();
    }

}
测试
public class Main {

    public static void main(String[] args) {
        ApplicationContext context = new ClassPathXmlApplicationContext("application.xml");
        UserController bean = context.getBean(UserController.class);
        bean.add();
    }

}
运行结果
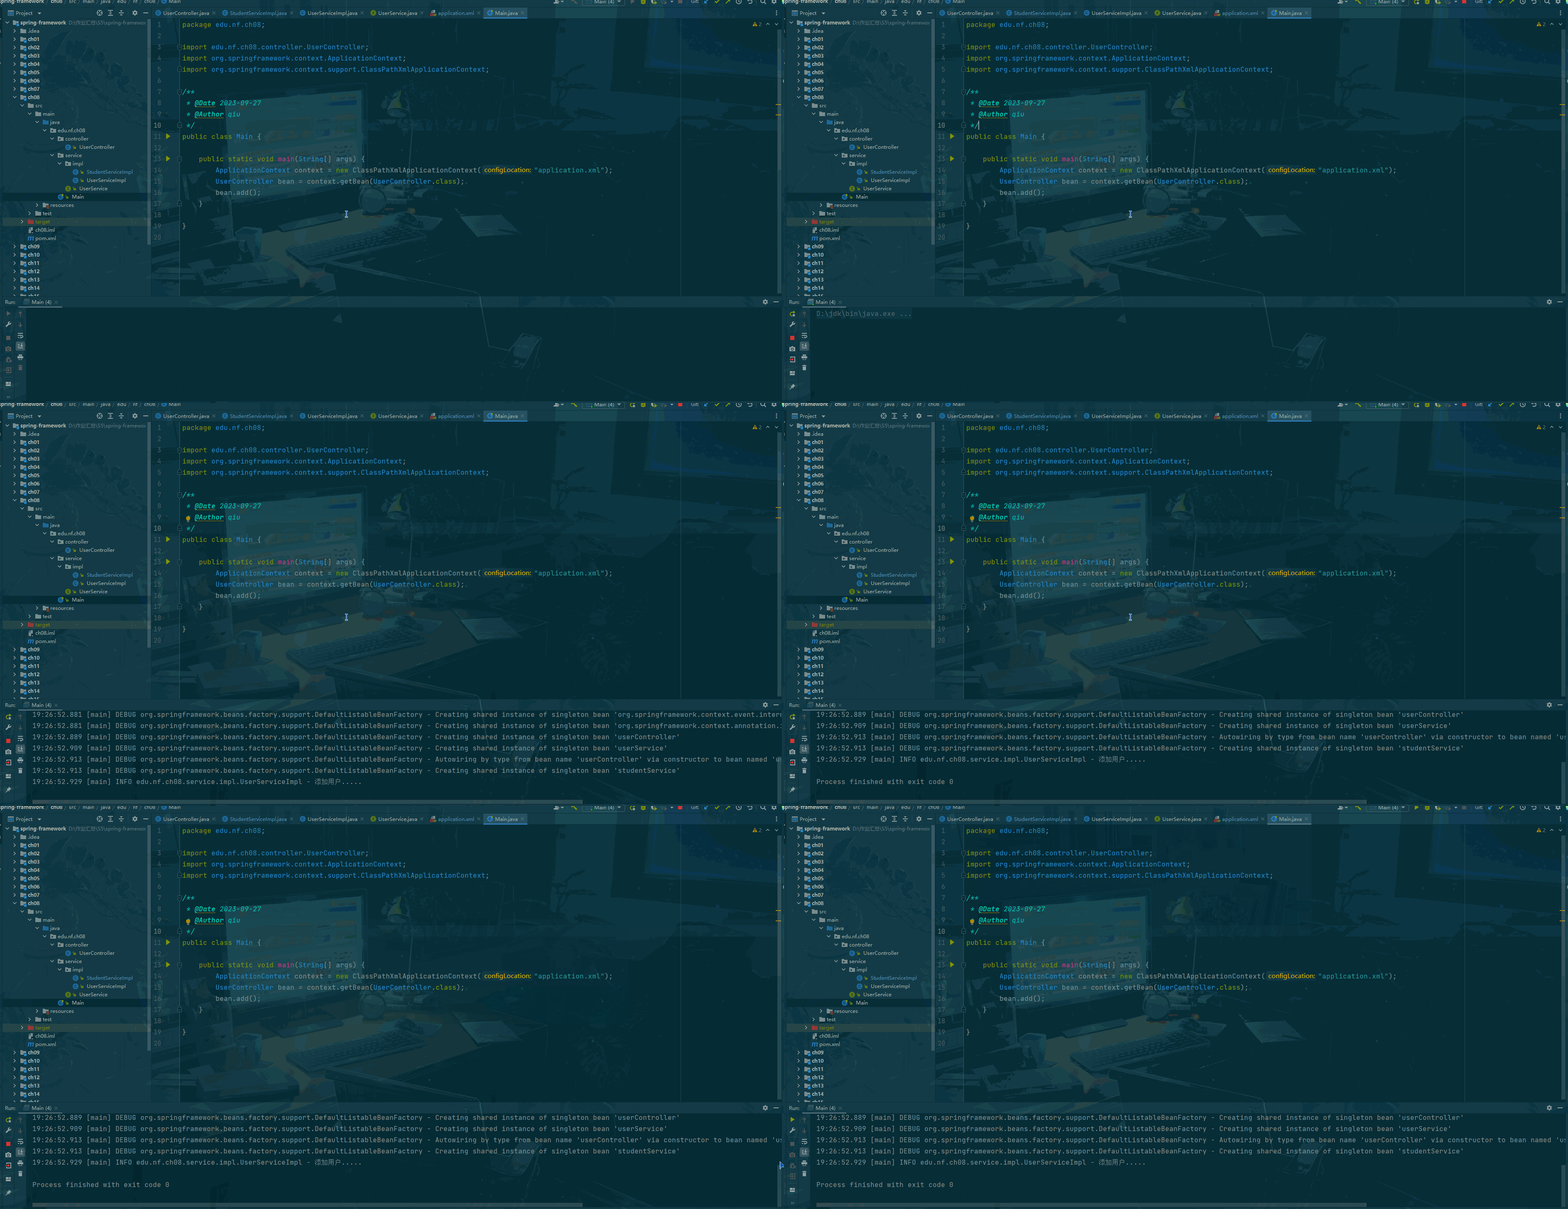
同上....
3) 构造方法注入
@Controller
public class UserController {

    /**
     * 字段注入 (spring 不推荐从字段注入)
     * 不推荐使用字段注入,不安全
     */
    private UserService userService;

    @Autowired
    @Qualifier("studentService")
    public UserController(UserService userService) {
        this.userService = userService;
    }


    public void add() {
        userService.add();
    }

}
测试
public class Main {

    public static void main(String[] args) {
        ApplicationContext context = new ClassPathXmlApplicationContext("application.xml");
        UserController bean = context.getBean(UserController.class);
        bean.add();
    }

}
运行结果
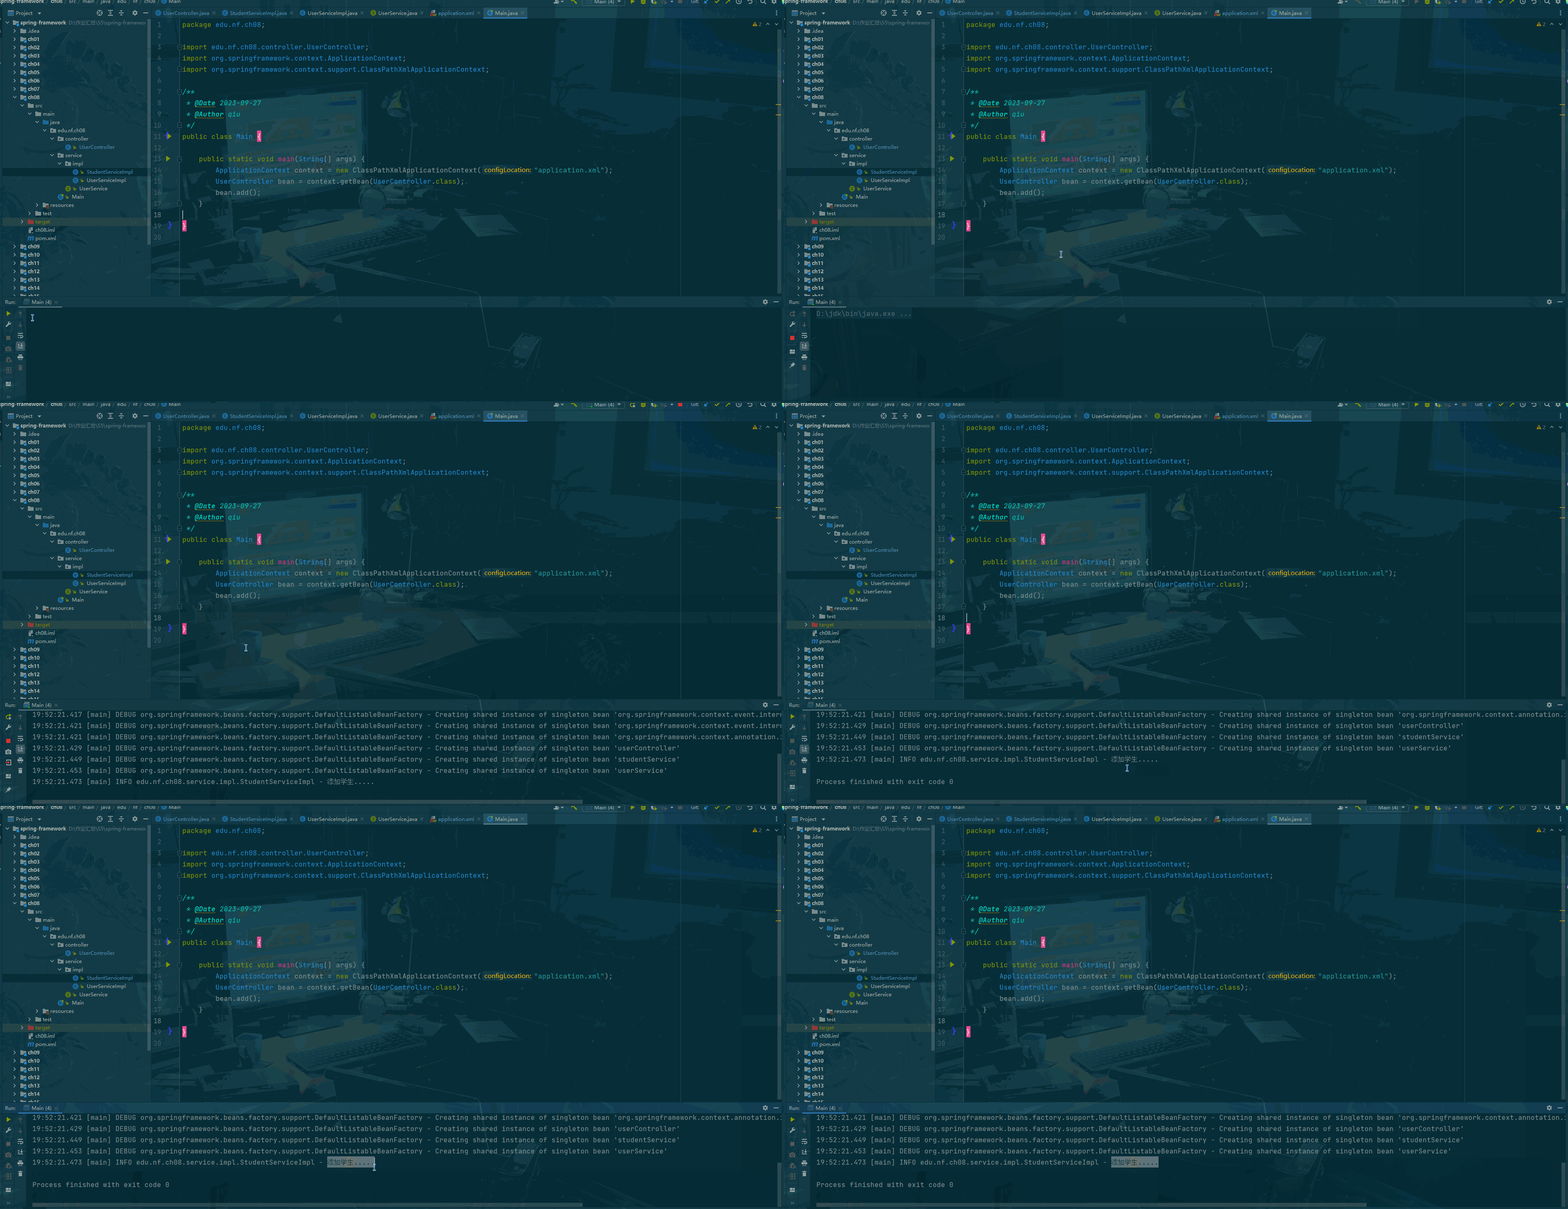
4、使用 @Primary 注解注入
同样也有三种方法实现,字段、setter方法、构造方法注入。
1)、更改 StudentServiceImpl 类
@Slf4j
@Service("studentService")
@Primary
public class StudentServiceImpl implements UserService {
    @Override
    public void add() {
        log.info("添加学生.....");
    }
}在这段代码中,StudentServiceImpl 类上使用了 @Service("studentService") 注解将它标记为组件,并且实现了 UserService 接口。同时,还使用了 @Primary 注解,将该类标记为默认的 Bean 实现。
当有多个实现了相同接口的 Bean 时,通过 @Autowired 注解注入时,默认将注入带有 @Primary 注解的 Bean 实现,如果有多个带有 @Primary 注解的 Bean 实现,则会抛出异常。
因此,在执行 UserController 类的 add() 方法时,由于没有显示地指定要注入哪个实现类,应用程序框架将使用默认的 Bean 实现对 UserService 进行依赖注入,即通过 @Autowired 和 @Primary 注解注入的 UserService 实例,即 StudentServiceImpl 类的实例。然后,调用该实例的 add() 方法。
需要注意的是,如果存在多个 UserService 的实现类都使用了 @Primary 注解,则会抛出异常。确保只有一个实现了 UserService 接口的类被标记为 @Primary。
2)通过构造方法注入
@Controller
public class UserController {

    /**
     * 字段注入 (spring 不推荐从字段注入)
     * 不推荐使用字段注入,不安全
     */
    private UserService userService;


    @Autowired
    public UserController(UserService userService) {
        this.userService = userService;
    }


    public void add() {
        userService.add();
    }

}
测试
public class Main {

    public static void main(String[] args) {
        ApplicationContext context = new ClassPathXmlApplicationContext("application.xml");
        UserController bean = context.getBean(UserController.class);
        bean.add();
    }

}
运行结果
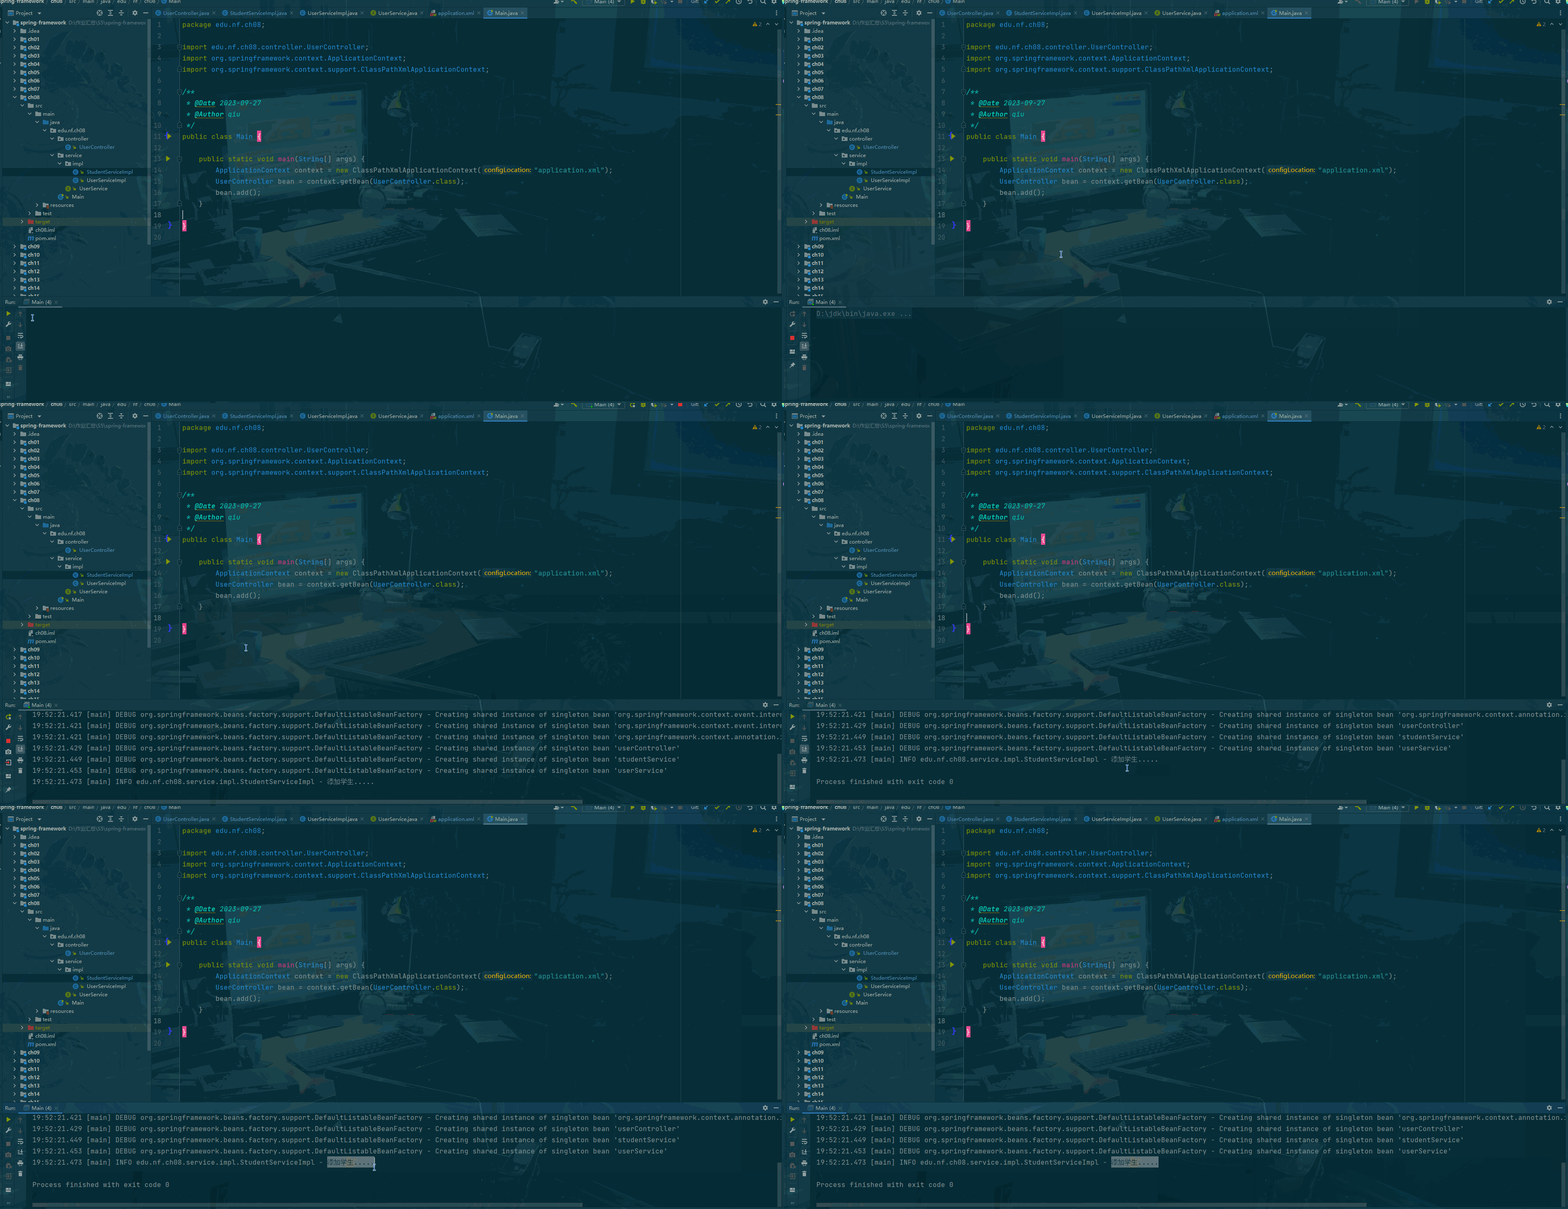
那么如果想要使用 UserServiceImpl 的 add() 方法呢?
只需要把 StudentServiceImpl 的 @Primary 注解删掉,在 UserServiceImpl 类上加上 @Primary 注解即可。
四、总结
@Autowired 注解默认是根据类型注入(只有一个实现类),如果存在多个实现类的时候,则是根据参数名称进行注入,如果存在多个实现类并且参数名称不匹配,则会引发异常此时应该结合 @Qualifier 来指定来注入的 bean,但是这个注解只能用在普通的方法上也可以使用 @Primary 注解声明在某个类上实现,这样 spring 就会优先注入这个实现类
从 spring4.2 版本开始,如果使用的是构造方法注入,可以不需要任何的注入注解,默认就按照类型注入
五、gitee 案例
案例完整地址:https://gitee.com/qiu-feng1/spring-framework.git


