摘要:
通过filebeat收集服务器上各个应用的日志到elasticsearch,通过tags区分不同的应用创建不同的索引保存日志。
官网地址:
https://www.elastic.co/cn/downloads/past-releases#filebeat
安装步骤:
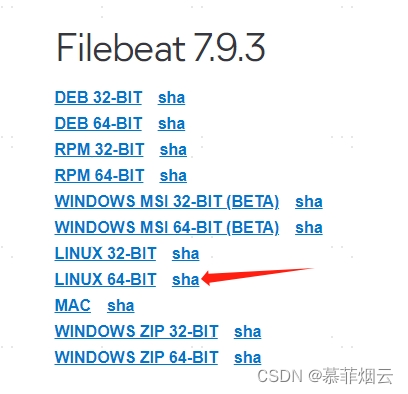
1:下载并解压(以7.9.3版本为例)
cd /usr/local/src
wget https://artifacts.elastic.co/downloads/beats/filebeat/filebeat-7.9.3-linux-x86_64.tar.gz
tar -zxvf filebeat-7.9.3-linux-x86_64.tar.gz
2:修改配置文件filebeat.yml
cd filebeat-7.9.3-linux-x86_64
vi filebeat.yml
filebeat.inputs:
- type: log
enabled: true
paths:
- /logs/app1*.log
tags: ["app1"]
- type: log
enabled: true
paths:
- /logs/app2*.log
tags: ["app2"]output.elasticsearch:
hosts: ["172.19.12.3:9200"]
protocol: "http"
username: "elastic"
password: "123456"
indices:
- index: "app1-%{+yyyy-MM-dd}"
when.contains:
tags: "app1"
- index: "app2-%{+yyyy-MM-dd}"
when.contains:
tags: "app2"
3:启动filebeat
./filebeat -e -c filebeat.yml
#后台运行
nohup  ./filebeat  -c  filebeat.yml  -e  >/dev/null  2>&1  &
问题与解决:
问题一:runtime/cgo: pthread_create failed: Operation not permitted
 解决:
解决:
在filebeat.yml配置文件添加如下配置,重启filebeat
seccomp:
  default_action: allow
  syscalls:
  - action: allow
    names:
    - rseq
参考文档:
Filebeat and GLIBC Errors on Ubuntu 22.04 - Beats - Discuss the Elastic Stack
问题二:错误日志分行显示
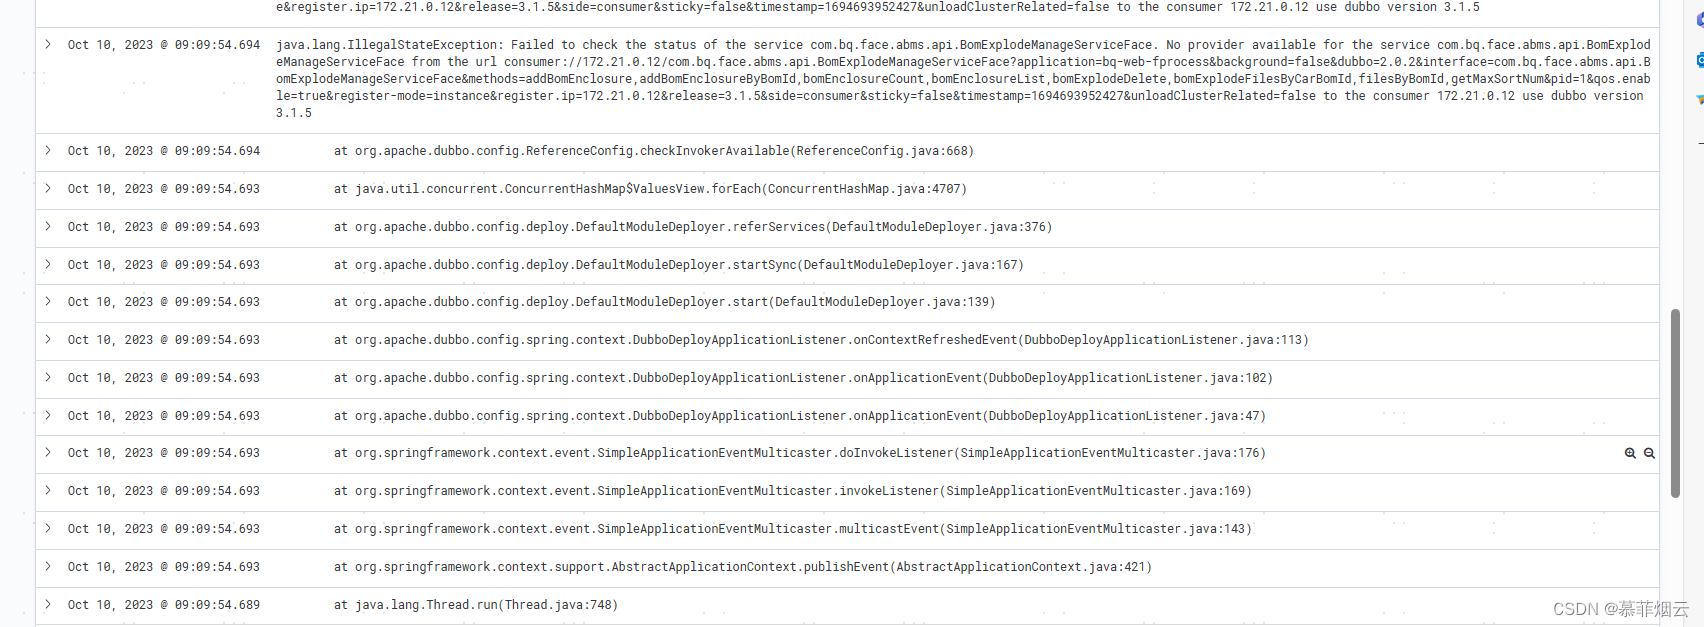 解决:添加正则表达式多行合并
  multiline:
    pattern: '^[[:space:]]+(at|\.{3})\b|^Caused by:'
    negate: true
    match: after
pattern:正则表达式
negate:true 或 false;默认是false,匹配pattern的行合并到上一行;true,不匹配pattern的行合并到上一行
match:after 或 before,合并到上一行的末尾或开头
max_lines:合并最大行,默认500
timeout:一次合并事件的超时时间,默认5s,防止合并消耗太多时间甚至卡死
参考文档:(八)Filebeat收集日志方法_filebeat按日期收集-CSDN博客
