vertx的学习总结7之用kotlin 与vertx搞一个简单的http

news2024/11/18 23:36:47

这里我就简单的聊几句,如何用vertx web来搞一个web项目的

1、首先先引入几个依赖,这里我就用maven了,这个是kotlin+vertx web

<?xml version="1.0" encoding="UTF-8"?>
<project xmlns="http://maven.apache.org/POM/4.0.0"
         xmlns:xsi="http://www.w3.org/2001/XMLSchema-instance"
         xsi:schemaLocation="http://maven.apache.org/POM/4.0.0 http://maven.apache.org/xsd/maven-4.0.0.xsd">
    <modelVersion>4.0.0</modelVersion>

    <groupId>org.example</groupId>
    <artifactId>kotlin-vertx</artifactId>
    <version>1.0-SNAPSHOT</version>

    <properties>
        <maven.compiler.source>17</maven.compiler.source>
        <maven.compiler.target>17</maven.compiler.target>
        <project.build.sourceEncoding>UTF-8</project.build.sourceEncoding>
        <kotlin.version>1.8.20</kotlin.version>
    </properties>


    <dependencies>
        <dependency>
            <groupId>io.vertx</groupId>
            <artifactId>vertx-core</artifactId>
        </dependency>

        <dependency>
            <groupId>io.vertx</groupId>
            <artifactId>vertx-codegen</artifactId>
        </dependency>

        <dependency>
            <groupId>io.vertx</groupId>
            <artifactId>vertx-service-proxy</artifactId>
        </dependency>

        <dependency>
            <groupId>io.vertx</groupId>
            <artifactId>vertx-web</artifactId>
        </dependency>

        <dependency>
            <groupId>io.vertx</groupId>
            <artifactId>vertx-auth-common</artifactId>
        </dependency>

        <dependency>
            <groupId>ch.qos.logback</groupId>
            <artifactId>logback-classic</artifactId>
            <version>1.2.3</version>
        </dependency>
        <dependency>
            <groupId>org.jetbrains.kotlinx</groupId>
            <artifactId>kotlinx-coroutines-core</artifactId>
            <version>1.7.1</version>
        </dependency>
        <dependency>
            <groupId>org.jetbrains.kotlin</groupId>
            <artifactId>kotlin-stdlib-jdk8</artifactId>
            <version>${kotlin.version}</version>
        </dependency>
        <dependency>
            <groupId>org.jetbrains.kotlin</groupId>
            <artifactId>kotlin-test</artifactId>
            <version>${kotlin.version}</version>
            <scope>test</scope>
        </dependency>
    </dependencies>

    <build>
        <plugins>
            <plugin>
                <groupId>org.jetbrains.kotlin</groupId>
                <artifactId>kotlin-maven-plugin</artifactId>
                <version>${kotlin.version}</version>
                <executions>
                    <execution>
                        <id>compile</id>
                        <phase>compile</phase>
                        <goals>
                            <goal>compile</goal>
                        </goals>
                        <configuration>
                            <sourceDirs>
                                <source>src/main/java</source>
                                <source>target/generated-sources/annotations</source>
                            </sourceDirs>
                        </configuration>
                    </execution>
                    <execution>
                        <id>test-compile</id>
                        <phase>test-compile</phase>
                        <goals>
                            <goal>test-compile</goal>
                        </goals>
                    </execution>
                </executions>
                <configuration>
                    <jvmTarget>${maven.compiler.target}</jvmTarget>
                </configuration>
            </plugin>
            <plugin>
                <groupId>org.apache.maven.plugins</groupId>
                <artifactId>maven-compiler-plugin</artifactId>
                <executions>
                    <execution>
                        <id>default-compile</id>
                        <phase>none</phase>
                    </execution>
                    <execution>
                        <id>default-testCompile</id>
                        <phase>none</phase>
                    </execution>
                    <execution>
                        <id>compile</id>
                        <phase>compile</phase>
                        <goals>
                            <goal>compile</goal>
                        </goals>
                    </execution>
                    <execution>
                        <id>testCompile</id>
                        <phase>test-compile</phase>
                        <goals>
                            <goal>testCompile</goal>
                        </goals>
                    </execution>
                </executions>
            </plugin>
        </plugins>
    </build>

    <dependencyManagement>
        <dependencies>
            <dependency>
                <groupId>io.vertx</groupId>
                <artifactId>vertx-dependencies</artifactId>
                <version>4.4.4</version>
                <type>pom</type>
                <scope>import</scope>
            </dependency>
        </dependencies>
    </dependencyManagement>

</project>

2、先创建一个简单的httpweb

package org.example.kotlin_web

import io.vertx.core.AbstractVerticle
import io.vertx.core.Vertx
import io.vertx.core.http.HttpServerOptions
import io.vertx.ext.web.Router
import kotlinx.coroutines.delay

class HttpWeb : AbstractVerticle() {
    override fun start() {
        var router = Router.router(vertx);
        router.get("/hello").handler { context ->
            context.response().end("Hello World")
        };
        vertx.createHttpServer().requestHandler(router).listen(8080)
    }
}
fun main(){
    var vertx = Vertx.vertx();
    vertx.deployVerticle(HttpWeb())
}

这里用了路由,也就是说访问localhost:8080/hello  它会输出Hello World,这个是get请求

3、get请求带参数

package org.example.kotlin_web

import io.vertx.core.AbstractVerticle
import io.vertx.core.Vertx
import io.vertx.ext.web.Router

class HttpWeb : AbstractVerticle() {
    override fun start() {
        var router = Router.router(vertx);
        router.get("/hello").handler { ctx ->
            val name: String = ctx.request().getParam("name")
            // 处理逻辑
            val message = "Hello, $name!"
            // 返回响应
            ctx.response().end(message)
        };
        vertx.createHttpServer().requestHandler(router).listen(8080)
    }
}
fun main(){
    var vertx = Vertx.vertx();
    vertx.deployVerticle(HttpWeb())
}

可以看到非常简单

4、post请求带参数

package org.example.kotlin_web

import io.vertx.core.AbstractVerticle
import io.vertx.core.Vertx
import io.vertx.core.buffer.Buffer
import io.vertx.ext.web.Router
import io.vertx.ext.web.RoutingContext
import io.vertx.ext.web.handler.StaticHandler

class HttpWeb : AbstractVerticle() {
    override fun start() {
        var router = Router.router(vertx);
        router.route().handler(StaticHandler.create("src/main/resources/static").setCachingEnabled(false).setDefaultContentEncoding("UTF-8"));
        router.get("/hello").handler { ctx ->
            val name: String = ctx.request().getParam("name")
            // 处理逻辑
            val message = "Hello, $name!"
            // 返回响应
            ctx.response().end(message)
        };
        router.post().path("/index").handler { ctx: RoutingContext ->
            val request = ctx.request()
            val response = ctx.response()
            response.putHeader("Content-Type", "text/plain; charset=utf-8")
            val formAttributes = request.formAttributes()
            request.bodyHandler { body: Buffer ->
                val formData = body.toString()
                println("Received form data: $formData")
                response.setStatusCode(200)
                response.end("Form submitted successfully")
            }
        }

        vertx.createHttpServer().requestHandler(router).listen(8080)
    }
}
fun main(){
    var vertx = Vertx.vertx();
    vertx.deployVerticle(HttpWeb())
}

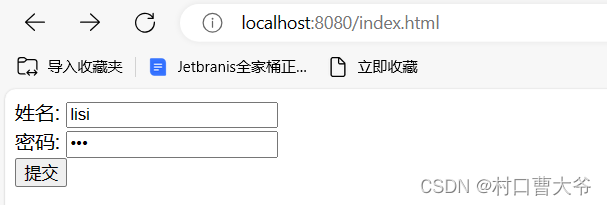
index.html

<!DOCTYPE html>
<html lang="en">
<head>
    <meta charset="UTF-8">
    <title>index</title>
</head>
<body>
<form method="post" action="http://localhost:8080/index">
  姓名:  <input type="text" name="name" ><br>
  密码:  <input type="password" name="password"> <br>
    <input type="submit">
</form>
</body>
</html>

这里的所有代码都写到了同一个文件里面,这样极其的不美观,可以优化一下
本文来自互联网用户投稿,该文观点仅代表作者本人,不代表本站立场。本站仅提供信息存储空间服务,不拥有所有权,不承担相关法律责任。如若转载,请注明出处:http://www.coloradmin.cn/o/1062717.html

如若内容造成侵权/违法违规/事实不符,请联系多彩编程网进行投诉反馈,一经查实,立即删除!

相关文章

华为云云耀云服务器L实例评测|基于canal缓存自动更新流程 SpringBoot项目应用案例和源码

前言 最近华为云云耀云服务器L实例上新&#xff0c;也搞了一台来玩&#xff0c;期间遇到各种问题&#xff0c;在解决问题的过程中学到不少和运维相关的知识。 在之前的博客中&#xff0c;介绍过canal的安装和配置&#xff0c;参考博客 拉取创建canal镜像配置相关参数 & …

【数据库——MySQL】(14)过程式对象程序设计——游标、触发器

目录 1. 游标1.1 声明游标1.2 打开游标1.3 读取游标1.4 关闭游标1.5 游标示例 2. 触发器2.1 创建触发器2.2 修改触发器2.3 删除触发器2.4 触发器类型2.5 触发器示例 参考书籍 1. 游标 游标一般和存储过程一起配合使用。 1.1 声明游标 要使用游标&#xff0c;需要用到 DECLAR…

<C++> String

目录 一、标准库中的string类 1. string类 2. string类的常用接口说明 2.1 string类对象的常见构造 2.2 string类对象的容量操作 2.3 string类对象的访问及遍历操作 2.4 string类对象的修改操作 2.5 string类非成员函数 总结 前言 C语言中&#xff0c;字符串是以 \0 结尾的一些…

用JMeter对HTTP接口进行压测(一)压测脚本的书写、调试思路

文章目录 安装JMeter和Groovy为什么选择Groovy&#xff1f; 压测需求以及思路准备JMeter脚本以及脚本正确性验证使用Test Script Recorder来获取整条业务线上涉及的接口为什么使用Test Script Recorder&#xff1f; 配置Test Script Recorder对接口进行动态化处理处理全局变量以…

2. 资源管理

2. 资源管理 文章目录 2. 资源管理2.1 资源管理介绍2.2 YAML语言介绍2.3 资源管理方式2.2.1 命令式对象管理2.2.2 命令式对象配置2.2.3 声明式对象配置 2.4. 模拟使用普通用户来操作 2.1 资源管理介绍 在kubernetes中&#xff0c;所有的内容都抽象为资源&#xff0c;用户需要通…

二十九、【进阶】MySQL索引的概述和索引查询

1、索引概述 2、 普通查询和索引查询 &#xff08;1&#xff09;基础演示 无索引查询&#xff1a;在查询信息时&#xff0c;比如查询年龄age45的员工&#xff0c;系统会遍历字段为age的列&#xff0c;在找到age45的员工后&#xff0c;依旧会向下扫描&#xff0c;直到表末&…

如何使用 Dijkstra 算法找到从源到所有顶点的最短路径--附C++/Java源码

给定一个图和图中的源顶点,找到从源到给定图中所有顶点的最短路径。 例子: 输入: src = 0,图形如下图所示。 输出: 0 4 12 19 21 11 9 8 14解释:从 0 到 1 的距离 = 4。 从 0 到 2 的最小距离 = 12。0->1->2 从 0 到 3 的最小距离 = 19。0 ->1-

Python基础语法(3)

目录 一、函数 1.1 函数是什么 1.2 函数语法格式 1.3 函数参数 1.4 函数返回值 a. 一个函数中可以有多个 return 语句 b. 执行到 return 语句&#xff0c;函数就会立即执行结束&#xff0c;回到调用位置 c. 一个函数是可以一次返回多个返回值的。使用 , 来分割多个返回值…

Jmeter基础篇

1.性能测试指标 【虚拟用户数】&#xff1a;线程用户 【并发数】&#xff1a;指在某一时间&#xff0c;一定数量的虚拟用户同时对系统的某个功能进行交互&#xff0c;一般通过集合点实现 【事务】:事务代表一个完整的功能&#xff0c;一个接口可以是事务&#xff0c;多个接口…

MyBatisPlus(十一)包含查询:in

说明 包含查询&#xff0c;对应SQL语句中的 in 语句&#xff0c;查询参数包含在入参列表之内的数据。 in Testvoid inNonEmptyList() {// 非空列表&#xff0c;作为参数List<Integer> ages Stream.of(18, 20, 22).collect(Collectors.toList());in(ages);}Testvoid in…

【C语言】转圈报数问题(三种方法--指针,数组)

题目&#xff1a;有n个人围成一圈&#xff0c;顺序排号。从第一个人开始报数&#xff08;从1到3报数&#xff09;&#xff0c;凡报到3的人退出圈子&#xff0c;问最后留下的是原来第几号的那位。 方法一&#xff1a; #include <stdio.h> #define N 10int main() {int …

systemverilog function的一点小case

关于function的应用无论是在systemverilog还是verilog中都有很广泛的应用&#xff0c;但是一直有一个模糊的概念困扰着我&#xff0c;今天刚好有时间来搞清楚并记录下来。 关于fucntion的返回值的问题&#xff1a; function integer clog2( input logic[255:0] value);for(cl…

实验三十五、LM117 稳压电源的设计

一、题目 利用 LM117 设计一个稳压电路&#xff0c;要求输出电压的调节范围为 5 ∼ 20 V 5\sim20\,\textrm V 5∼20V&#xff0c;最大负载电流为 400 mA 400\,\textrm{mA} 400mA。利用 Multisim 对所设计电路进行仿真&#xff0c;并测试所有性能指标。 二、仿真电路 仿真电…

安装NodeJS并使用yarn下载前端依赖

文章目录 1、安装NodeJS1.1 下载NodeJS安装包1.2 解压并配置NodeJS1.3 验证是否安装成功2、使用yarn下载前端依赖2.1 安装yarn2.2 使用yarn下载前端依赖参考目标:在Windows下安装新版NodeJS,并使用yarn下载前端依赖,实现运行前端项目。 1、安装NodeJS 1.1 下载NodeJS安装包…

Vue中实现自定义编辑邮件发送到指定邮箱(纯前端实现)

formspree里面注册账号 注册完成后进入后台新建项目并且新建表单 这一步完成之后你将得到一个地址 最后就是在项目中请求这个地址 关键代码如下&#xff1a; submitForm() {this.fullscreenLoading true;this.$axios({method: "post",url: "https://xxxxxxx…

【python海洋专题十一】colormap调色

【python海洋专题十一】colormap调色 上期内容 本期内容 图像的函数包调用&#xff01; Part01. 自带颜色条Colormap 调用方法&#xff1a; cmap3plt.get_cmap(ocean)查询方法&#xff01; Part02. seaborn函数包 01&#xff1a;sns.cubehelix_palette cmap5 sns.cu…

【MySQL】错误1166 Incorrect column name

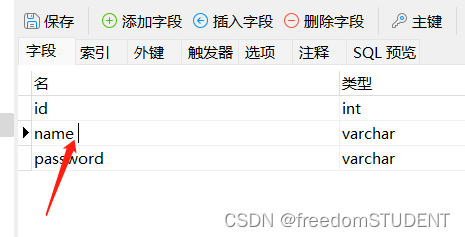
错误1166 Incorrect column name 是指字段名里有空格 Incorrect column name ‘name’ 图中报错的原因是name字段中有空格 删除空格即可

基于SpringBoot的视频网站系统

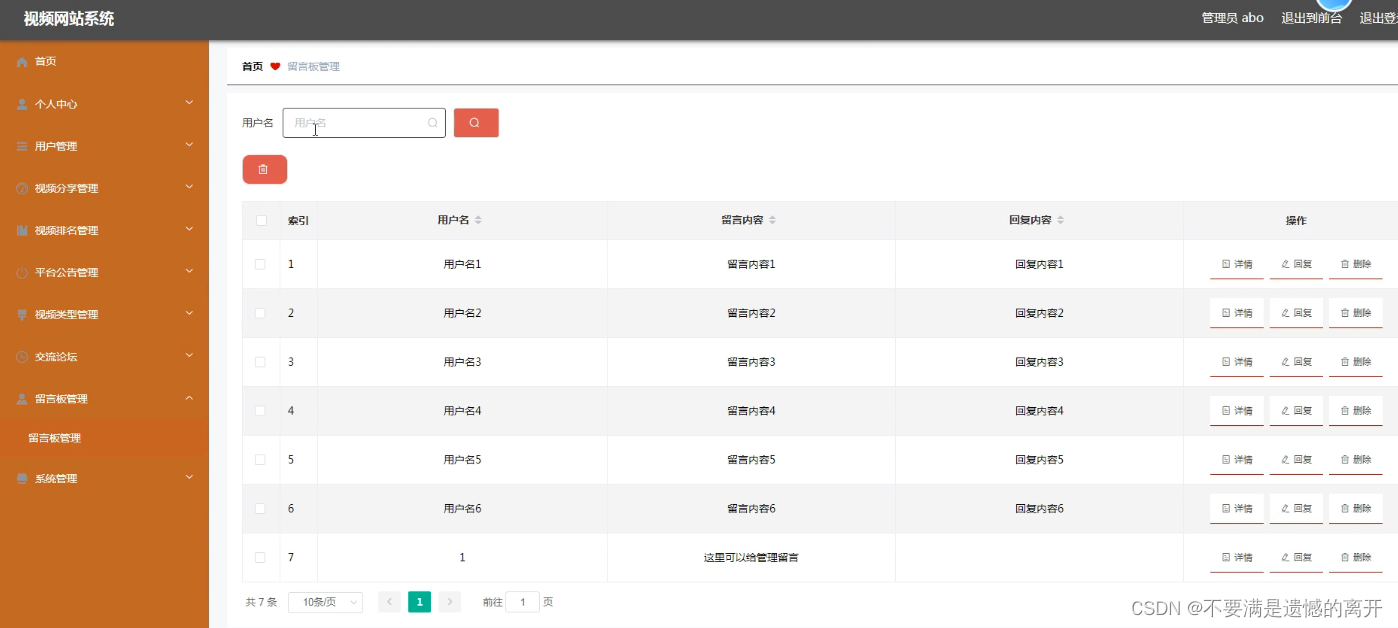
目录 前言 一、技术栈 二、系统功能介绍 用户信息管理 视频分享管理 视频排名管理 交流论坛管理 留言板管理 三、核心代码 1、登录模块 2、文件上传模块 3、代码封装 前言 使用旧方法对视频信息进行系统化管理已经不再让人们信赖了&#xff0c;把现在的网络信息技术运…

ParagonNTFSforMac_15.5.102中文版最受欢迎的NTFS硬盘格式读取工具

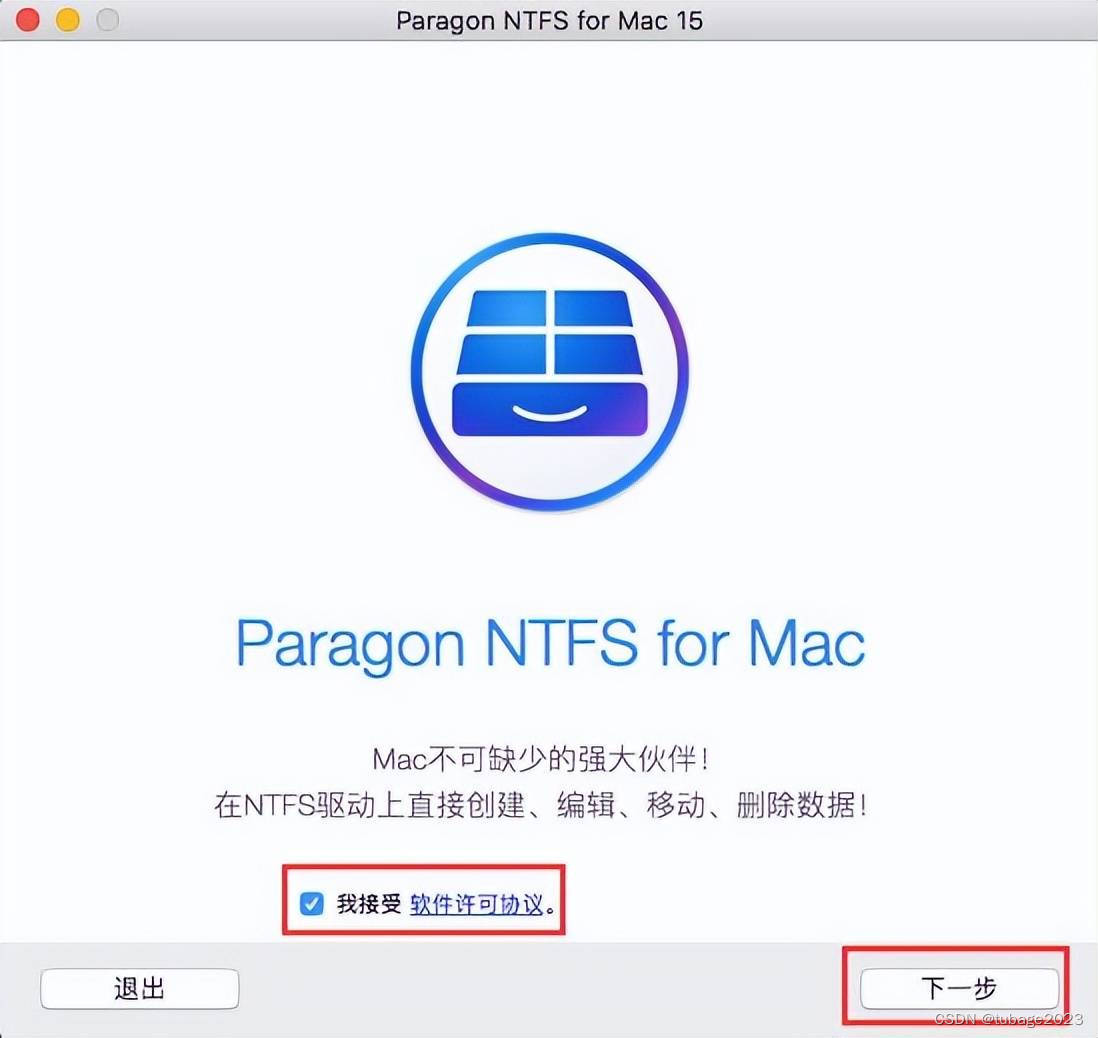
Paragon NTFS for Mac是一款可以为您轻松解决Mac平台上不能识别Windows通用的NTFS文件难题&#xff0c;这是一款强大的Mac读写工具&#xff0c;相信在很多时候&#xff0c;Mac用户需要对NTFS文件的移动硬盘进行写入&#xff0c;但是macOS系统默认是不让写入的&#xff0c;使用小…

妙不可言的Python之旅----(二)

Python基础语法 什么是字面量 字面量&#xff1a;在代码中&#xff0c;被写下来的的固定的值&#xff0c;称之为字面量 常用的值类型 类型 描述 说明 数字&#xff08;Number&#xff09; 支持 • 整数&#xff08;int&#xff09; • 浮点数&#xff08;float&#xff…