目录
第一步:查看系统IP地址和网卡名称
第二步:更改网络配置模式
第三步、重启network
查看iptablies ,将第十行,十一行删除
第四步:关闭config
第五步:创建nginx 文件夹
查看目录下的文件
进入nginx文件夹
第六步:下载Nginx的安装包
第七步:解压Nginx的压缩包:
查看nginx文件夹目录
进入nginx-1.23.1文件夹
第八步:下载并安装Nginx所需的依赖库和包:
第九步:配置Nginx脚本
第十步:编译并安装Nginx
至此,nginx安装成功:
第十一步:安装php和php-fpm
1、安装php源
2、安装rpm包
3、下载php各类依赖+工具
备注:尽量使用初始纯净环境
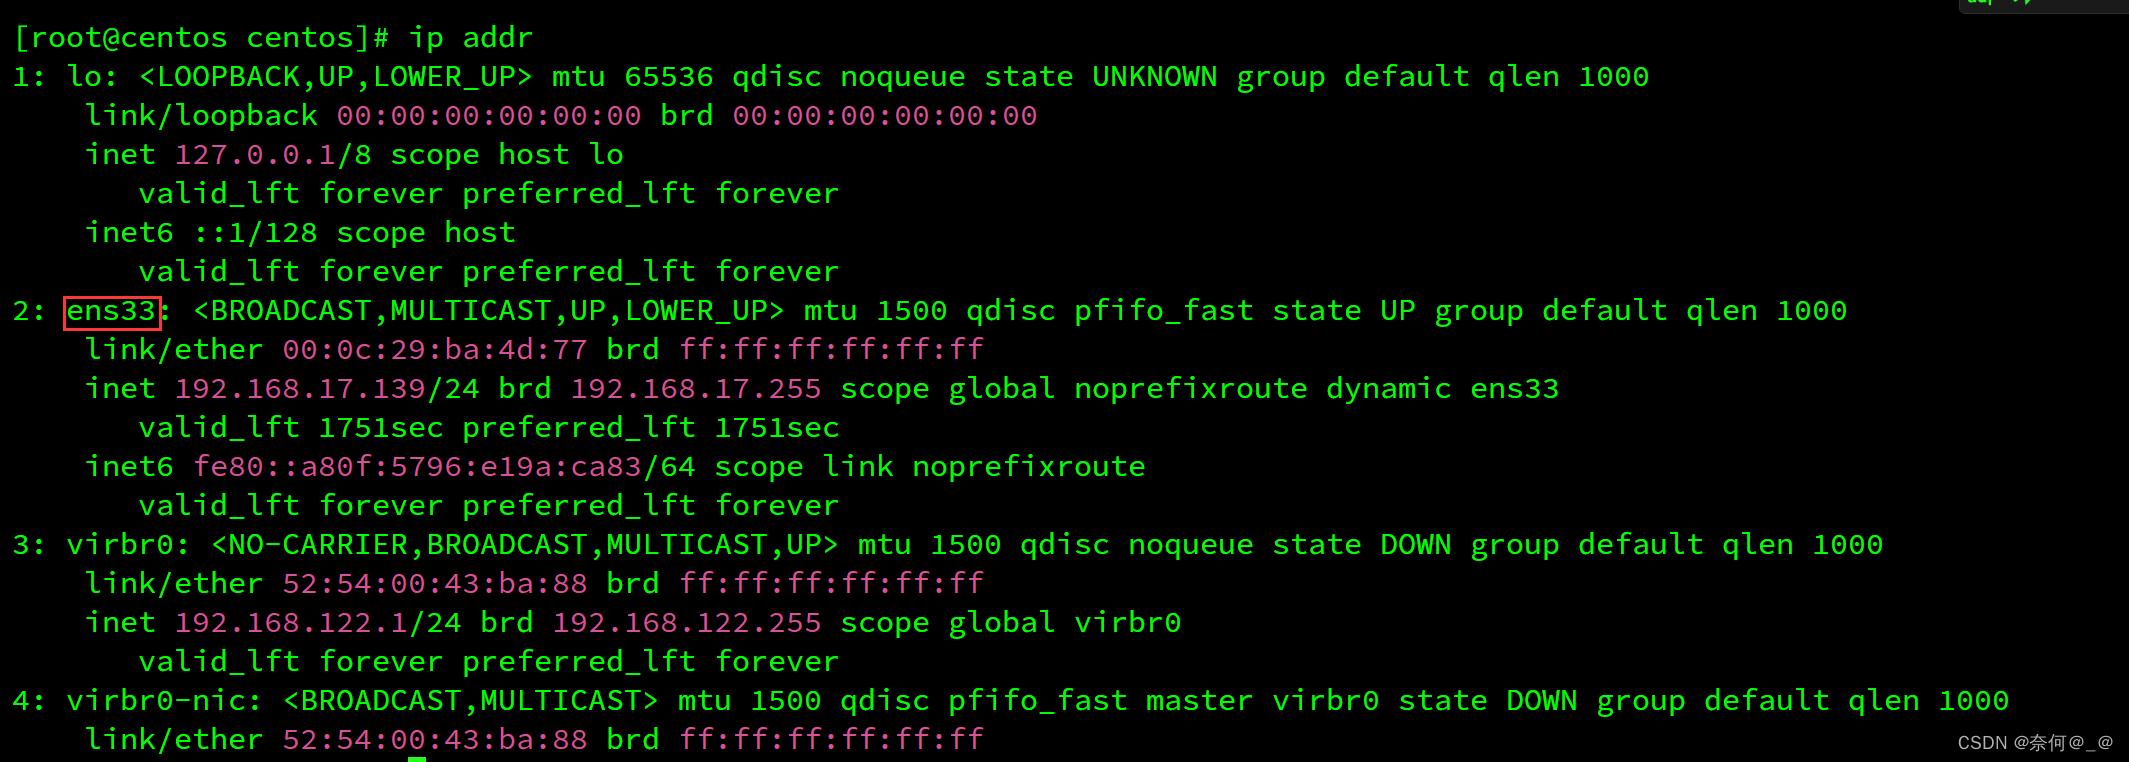
第一步:查看系统IP地址和网卡名称
IP地址分配模式是DHCP,网卡名称是ens33
由于DHCP自动分配IP地址和其他相关配置给计算机或其他网络设,因此在配置过程中可能导致IP地址改变,从而引起配置失败
第二步:更改网络配置模式
由于DHCP在分配地址时会随机分配,可能导致IP地址改变,因此将DHCP模式更改为static静态模式
[root@localhost centos]# vim /etc/sysconfig/network-scripts/ifcfg-ens33

第三步、重启network
[root@localhost centos]# service network restart

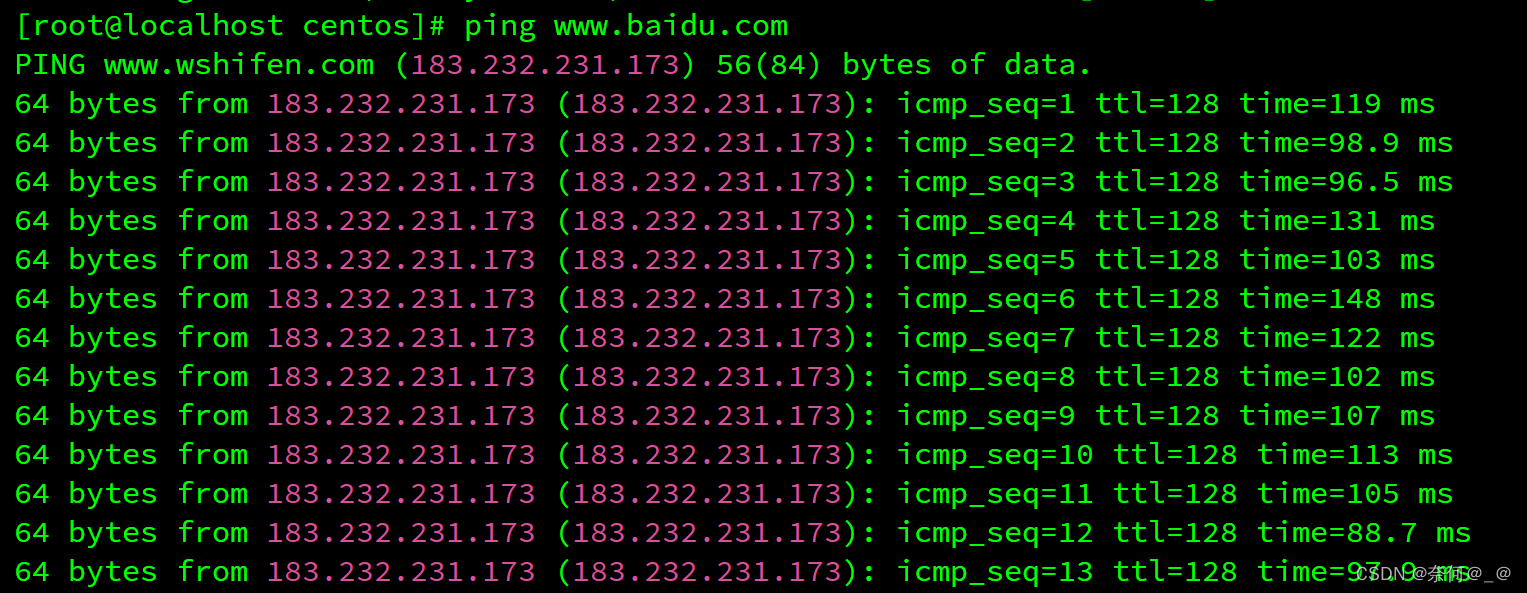
ping联通测试
查看iptablies ,将第十行,十一行删除
[root@centos centos]# service sshd restart
Redirecting to /bin/systemctl restart sshd.service
[root@localhost centos]# iptables -nvxL INPUT

[root@localhost centos]# iptables -D INPUT 10

连续删两次第十行即可,懂得都懂
第四步:关闭config
[root@localhost centos]# vim /etc/selinux/config

前四步做完后最好重启以下虚拟机
第五步:创建nginx 文件夹
[root@localhost centos]# mkdir nginx
查看目录下的文件
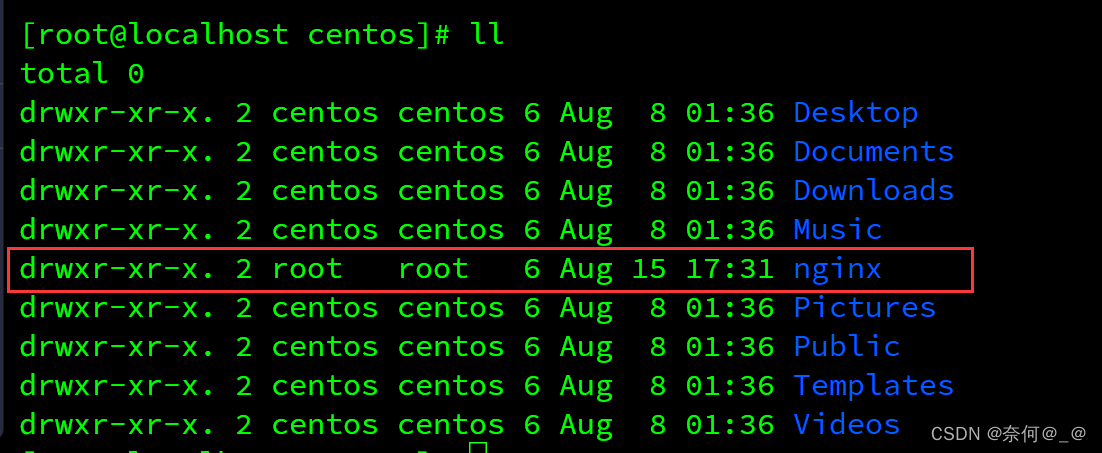
此时nginx文件夹是root普通用户权限
进入nginx文件夹
[root@localhost centos]# cd nginx/
第六步:下载Nginx的安装包
[root@localhost nginx]# wget https://nginx.org/download/nginx-1.23.1.tar.gz

第七步:解压Nginx的压缩包:
[root@localhost nginx]# tar -xvzf nginx-1.23.1.tar.gz
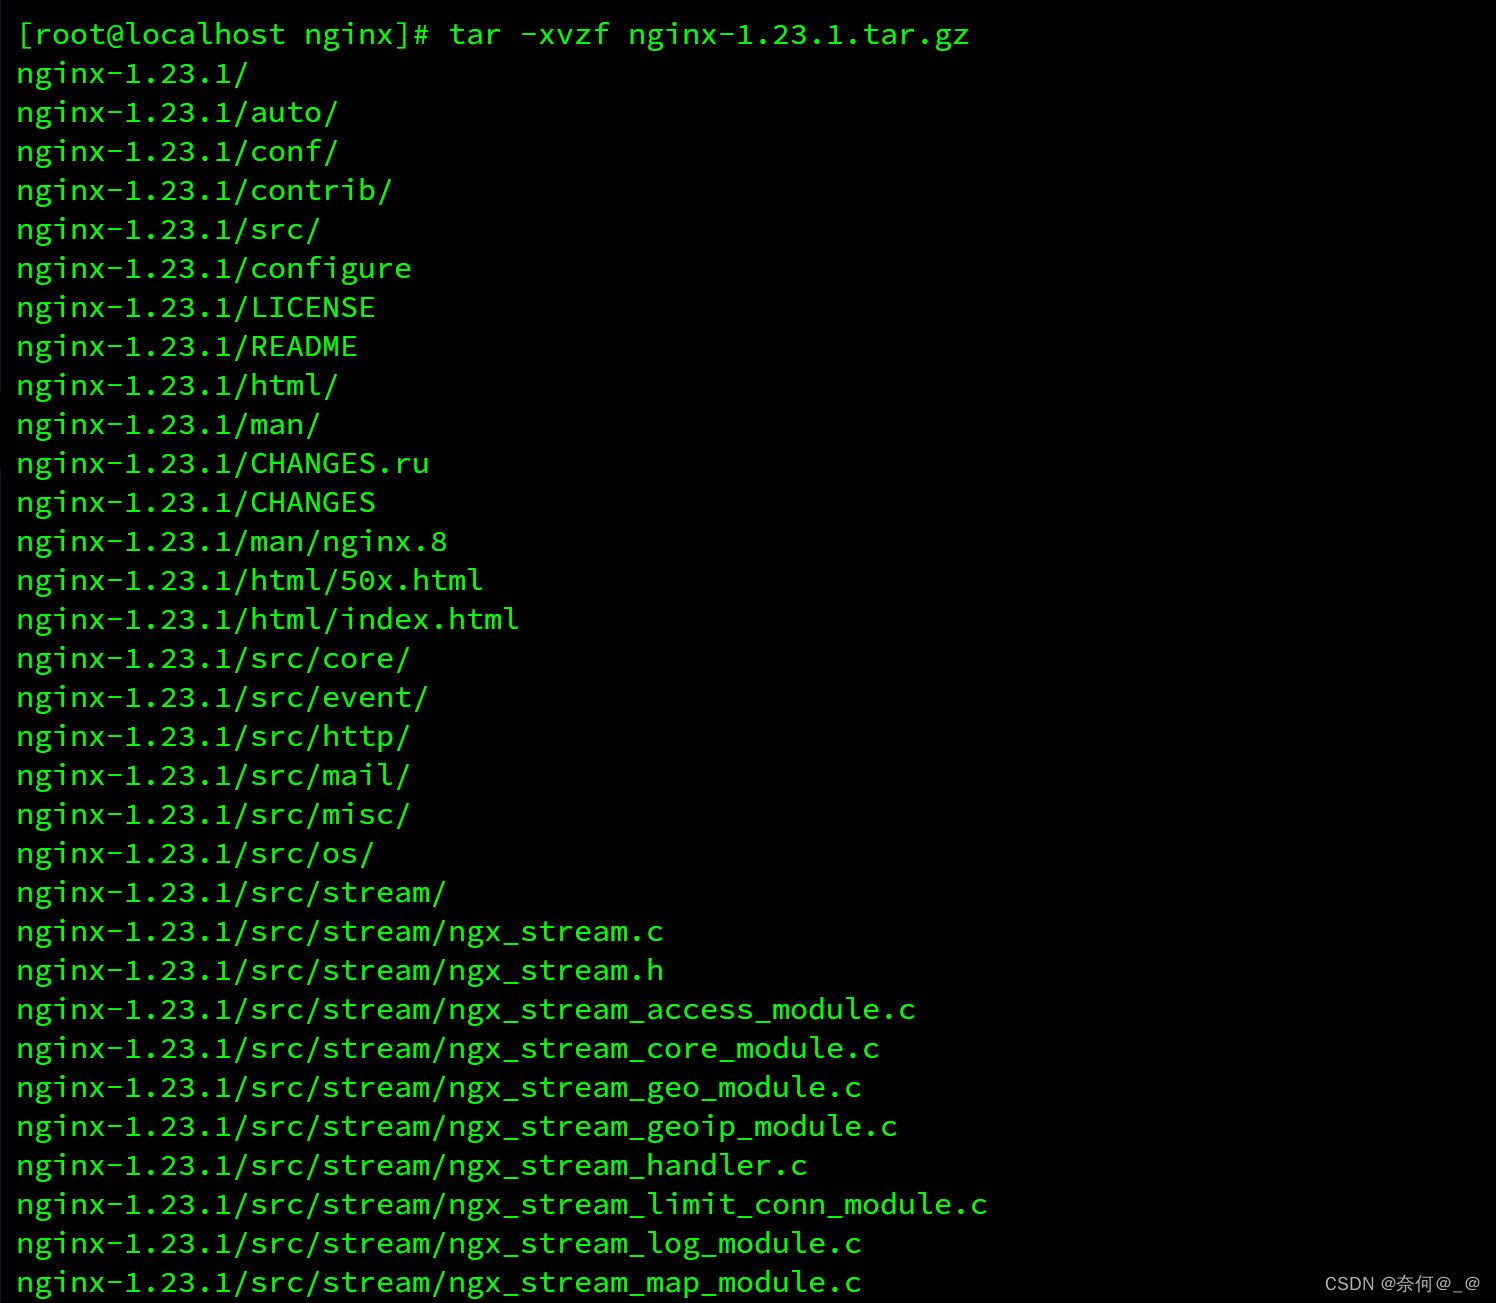
查看nginx文件夹目录

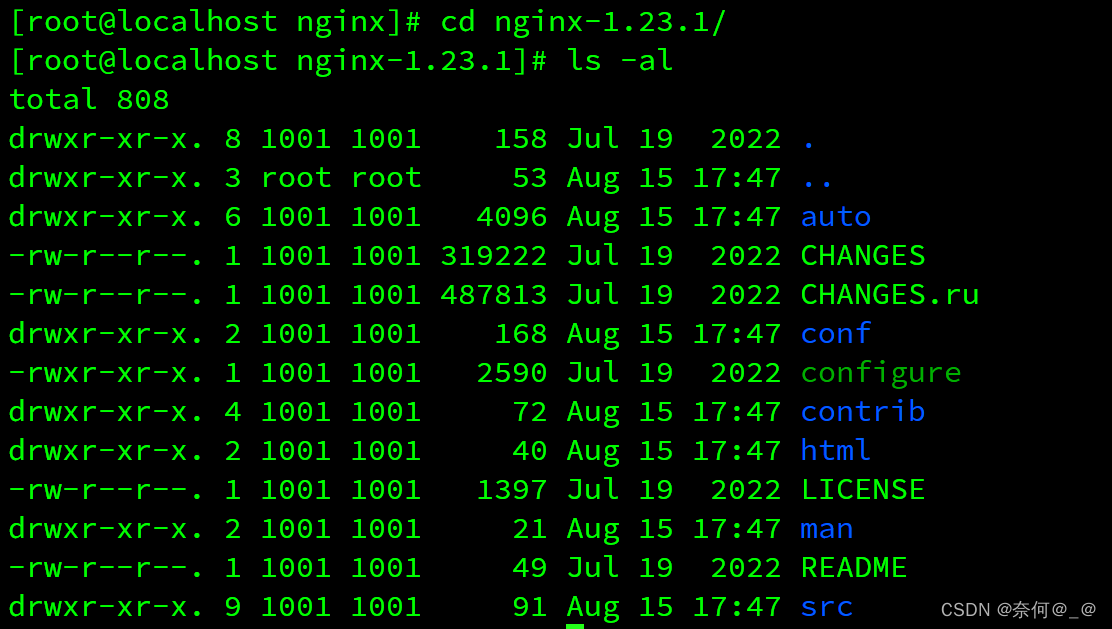
进入nginx-1.23.1文件夹
[root@localhost nginx]# cd nginx-1.23.1/
第八步:下载并安装Nginx所需的依赖库和包:
[root@localhost]# yum install --downloadonly --downloaddir=/soft/nginx/ gcc-c++
[root@localhost]# yum install --downloadonly --downloaddir=/soft/nginx/ pcre pcre-devel4
[root@localhost]# yum install --downloadonly --downloaddir=/soft/nginx/ zlib zlib-devel
[root@localhost]# yum install --downloadonly --downloaddir=/soft/nginx/ openssl openssl-devel
也可以通过yum命令一键下载(推荐上面哪种方式):
[root@localhost]# yum -y install gcc zlib zlib-devel pcre-devel openssl openssl-devel

执行完成后,然后ls查看目录文件,会看一大堆依赖:
[root@localhost centos]# cd /soft/nginx
[root@localhost nginx]# ls

紧接着通过rpm命令依次将依赖包一个个构建,或者通过如下指令一键安装所有依赖包:
[root@localhost]# rpm -ivh --nodeps *.rpm
此时niginx目录已建成


第九步:配置Nginx脚本
[root@localhost]# cd nginx-1.23.1
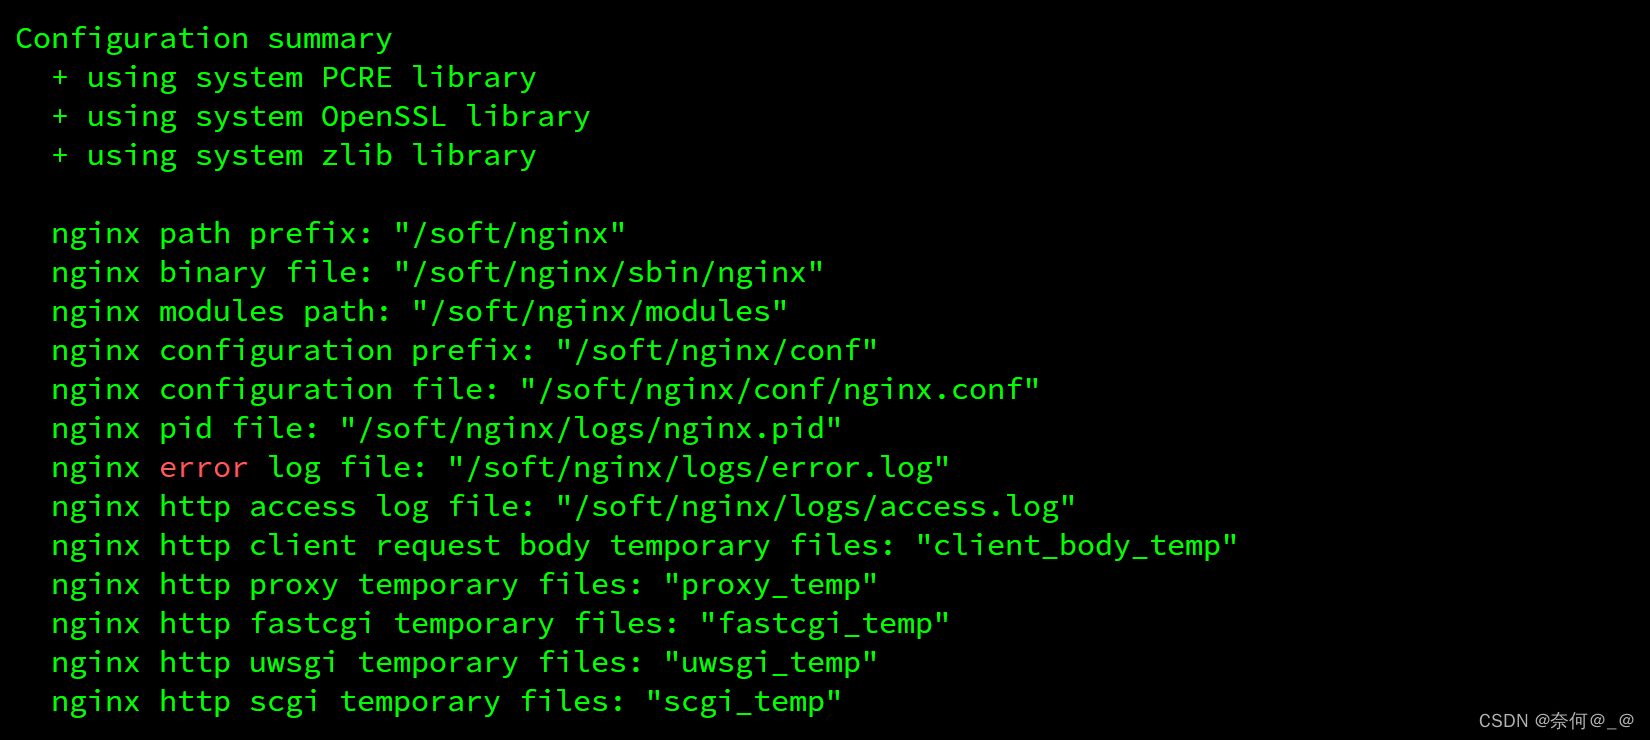
[root@localhost nginx-1.23.1]# ./configure --prefix=/soft/nginx --with-http_stub_status_module --with-http_ssl_module --with-http_sub_module
预编译:
第十步:编译并安装Nginx
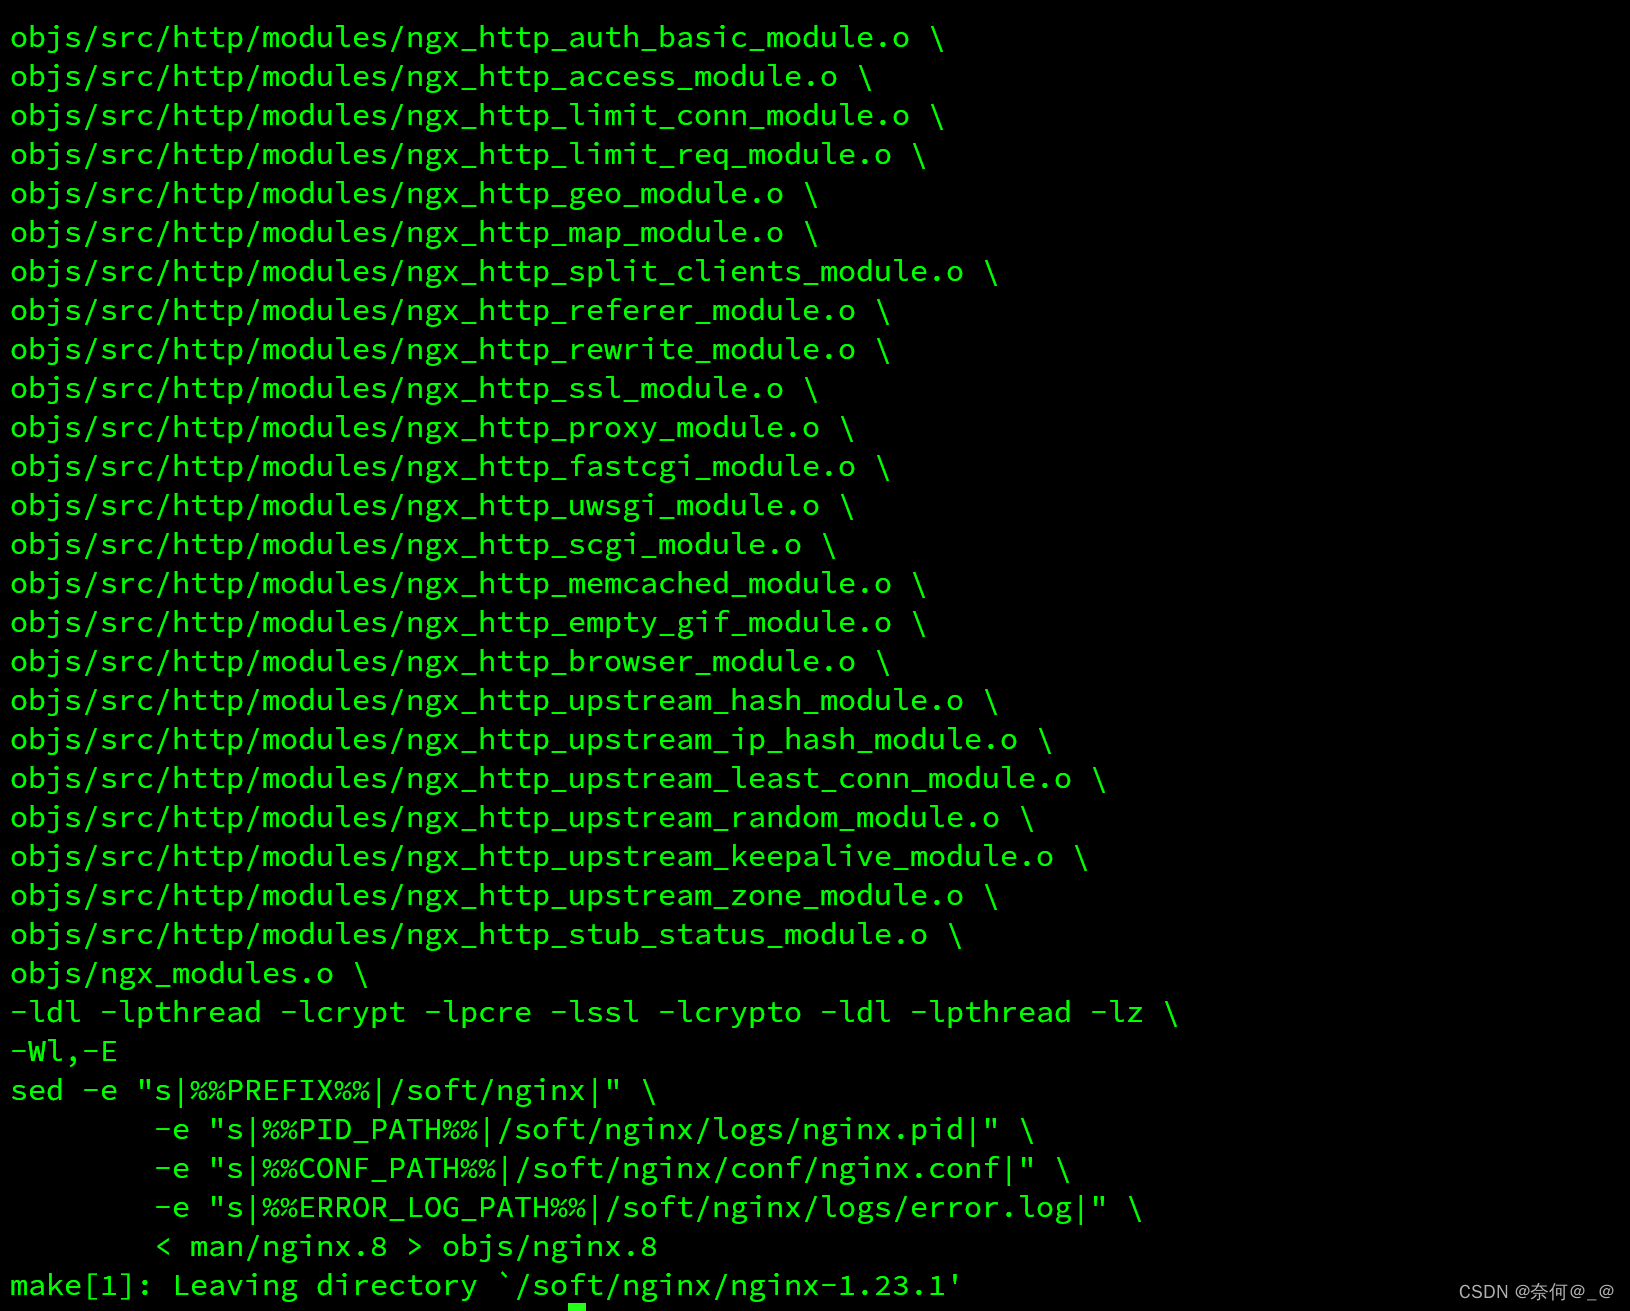
编译:
[root@localhost nginx-1.23.1]# make
再次执行下载
[root@localhost nginx-1.23.1]# make install
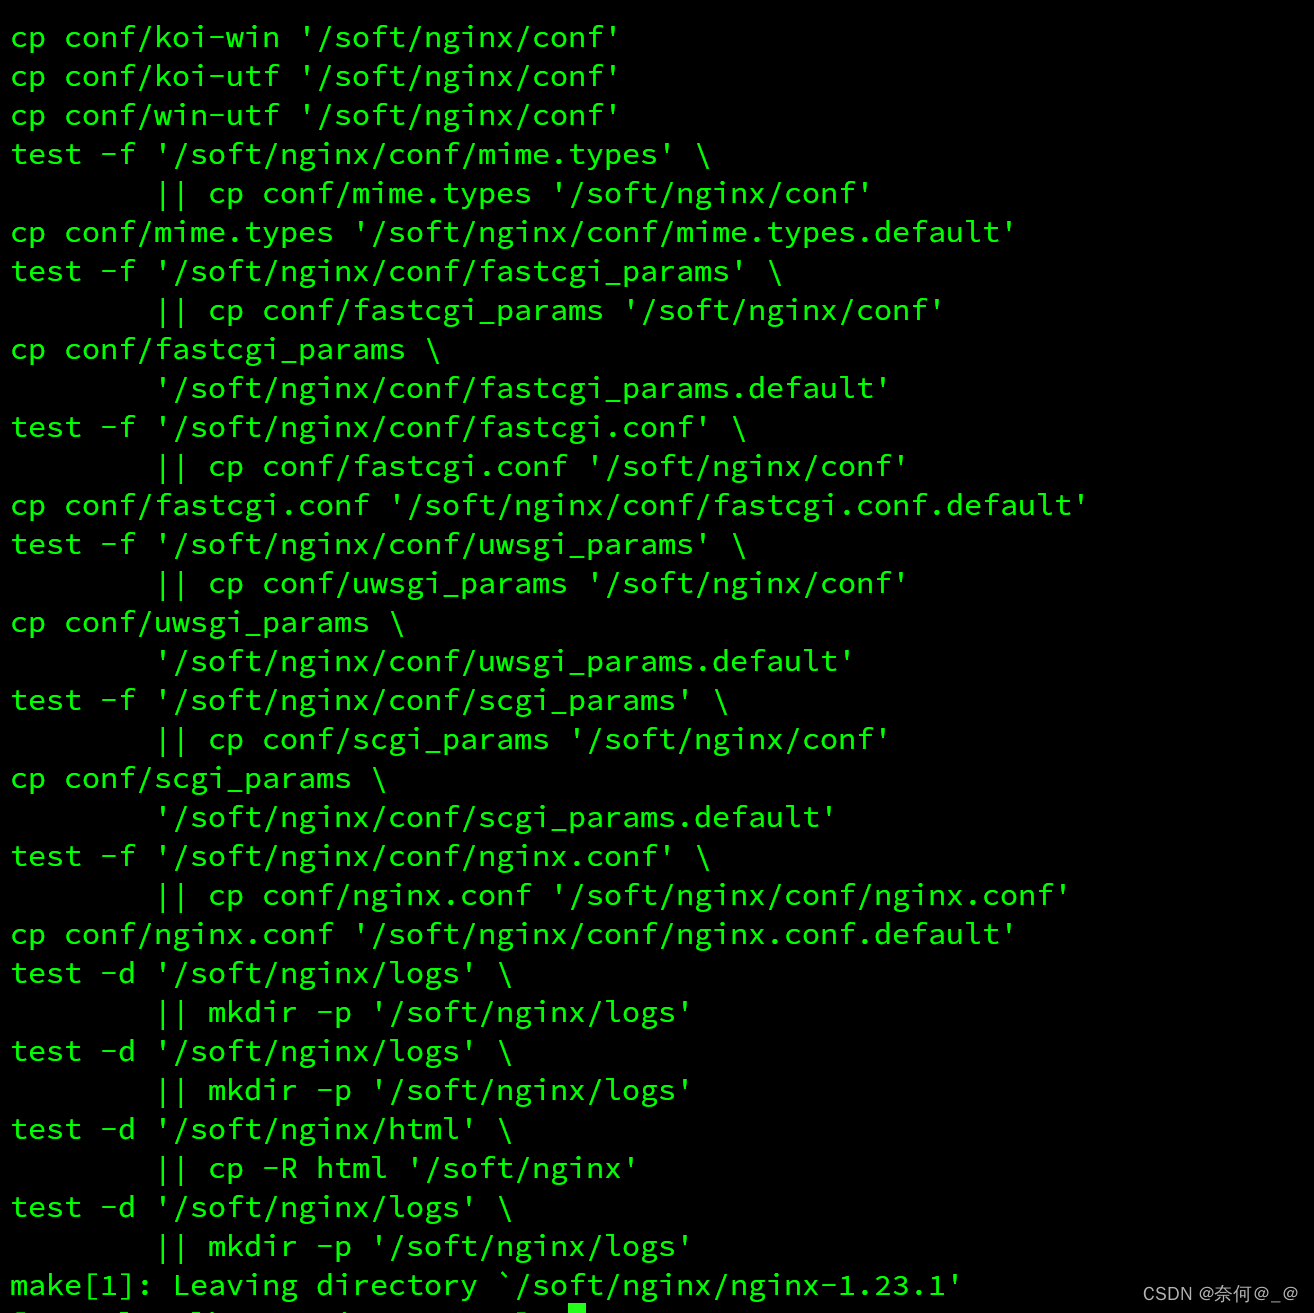
至此,nginx安装成功:

第十一步:安装php和php-fpm
1、安装php源
[root@localhost nginx]# yum install epel-release
2、安装rpm包
[root@localhost nginx]# rpm -ivh http://rpms.famillecollet.com/enterprise/remi-release-7.rpm
3、下载php各类依赖+工具
[root@localhost nginx]# yum --enablerepo=remi install php56-php php56-php-devl php56-php-fpm php56-php-gd php56-php-xm1 php56-php-sockets php56-php-session php56-php-snmp php56-php-mysq1
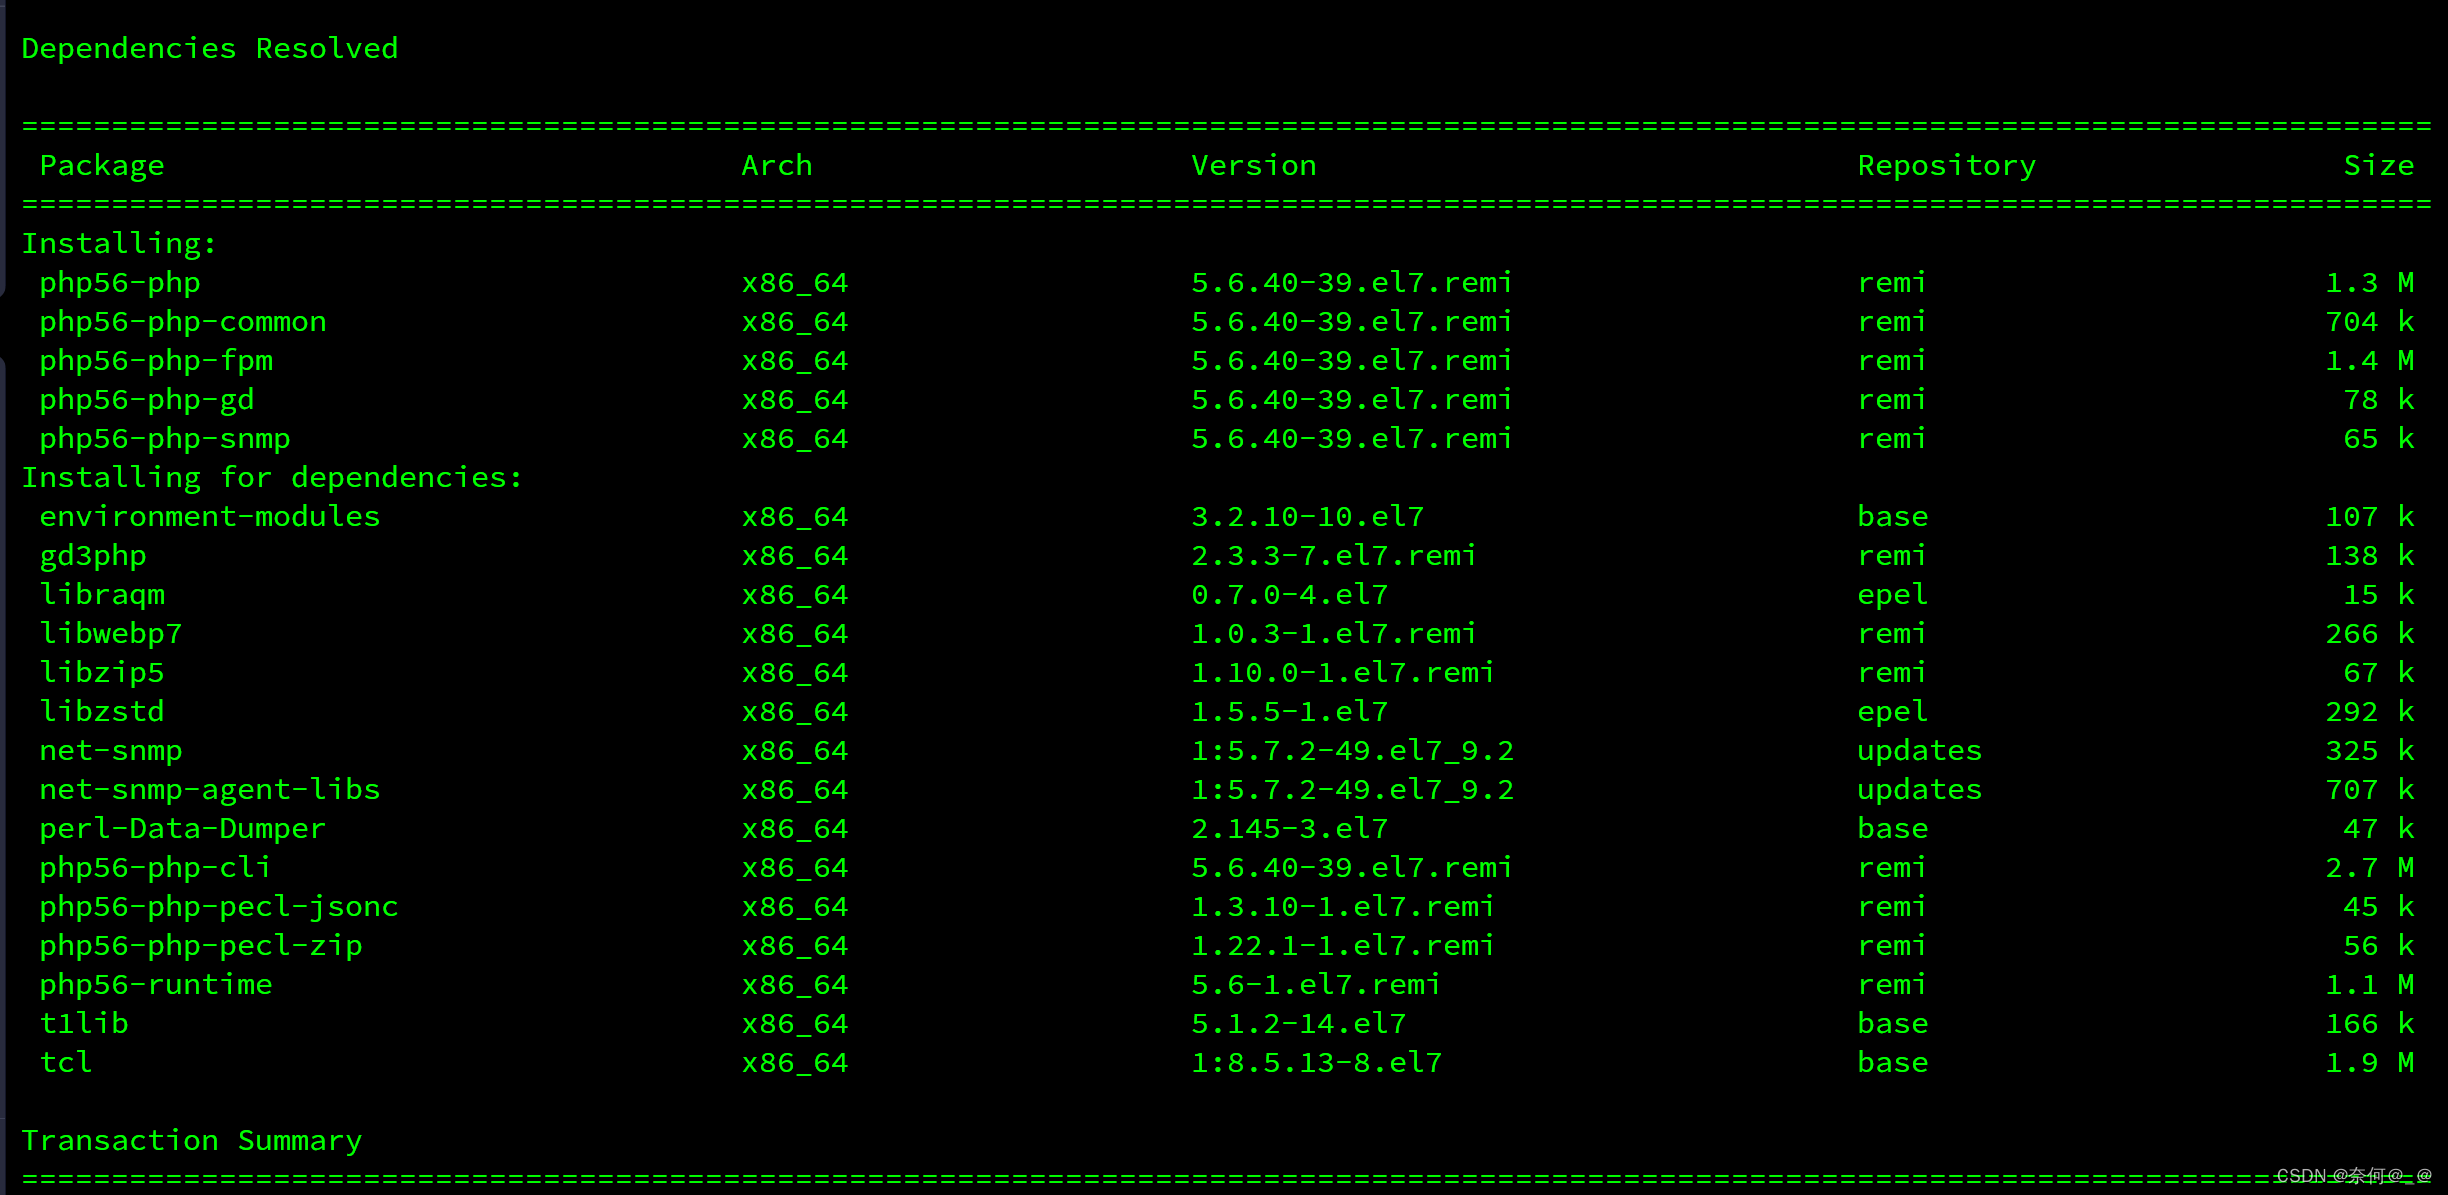

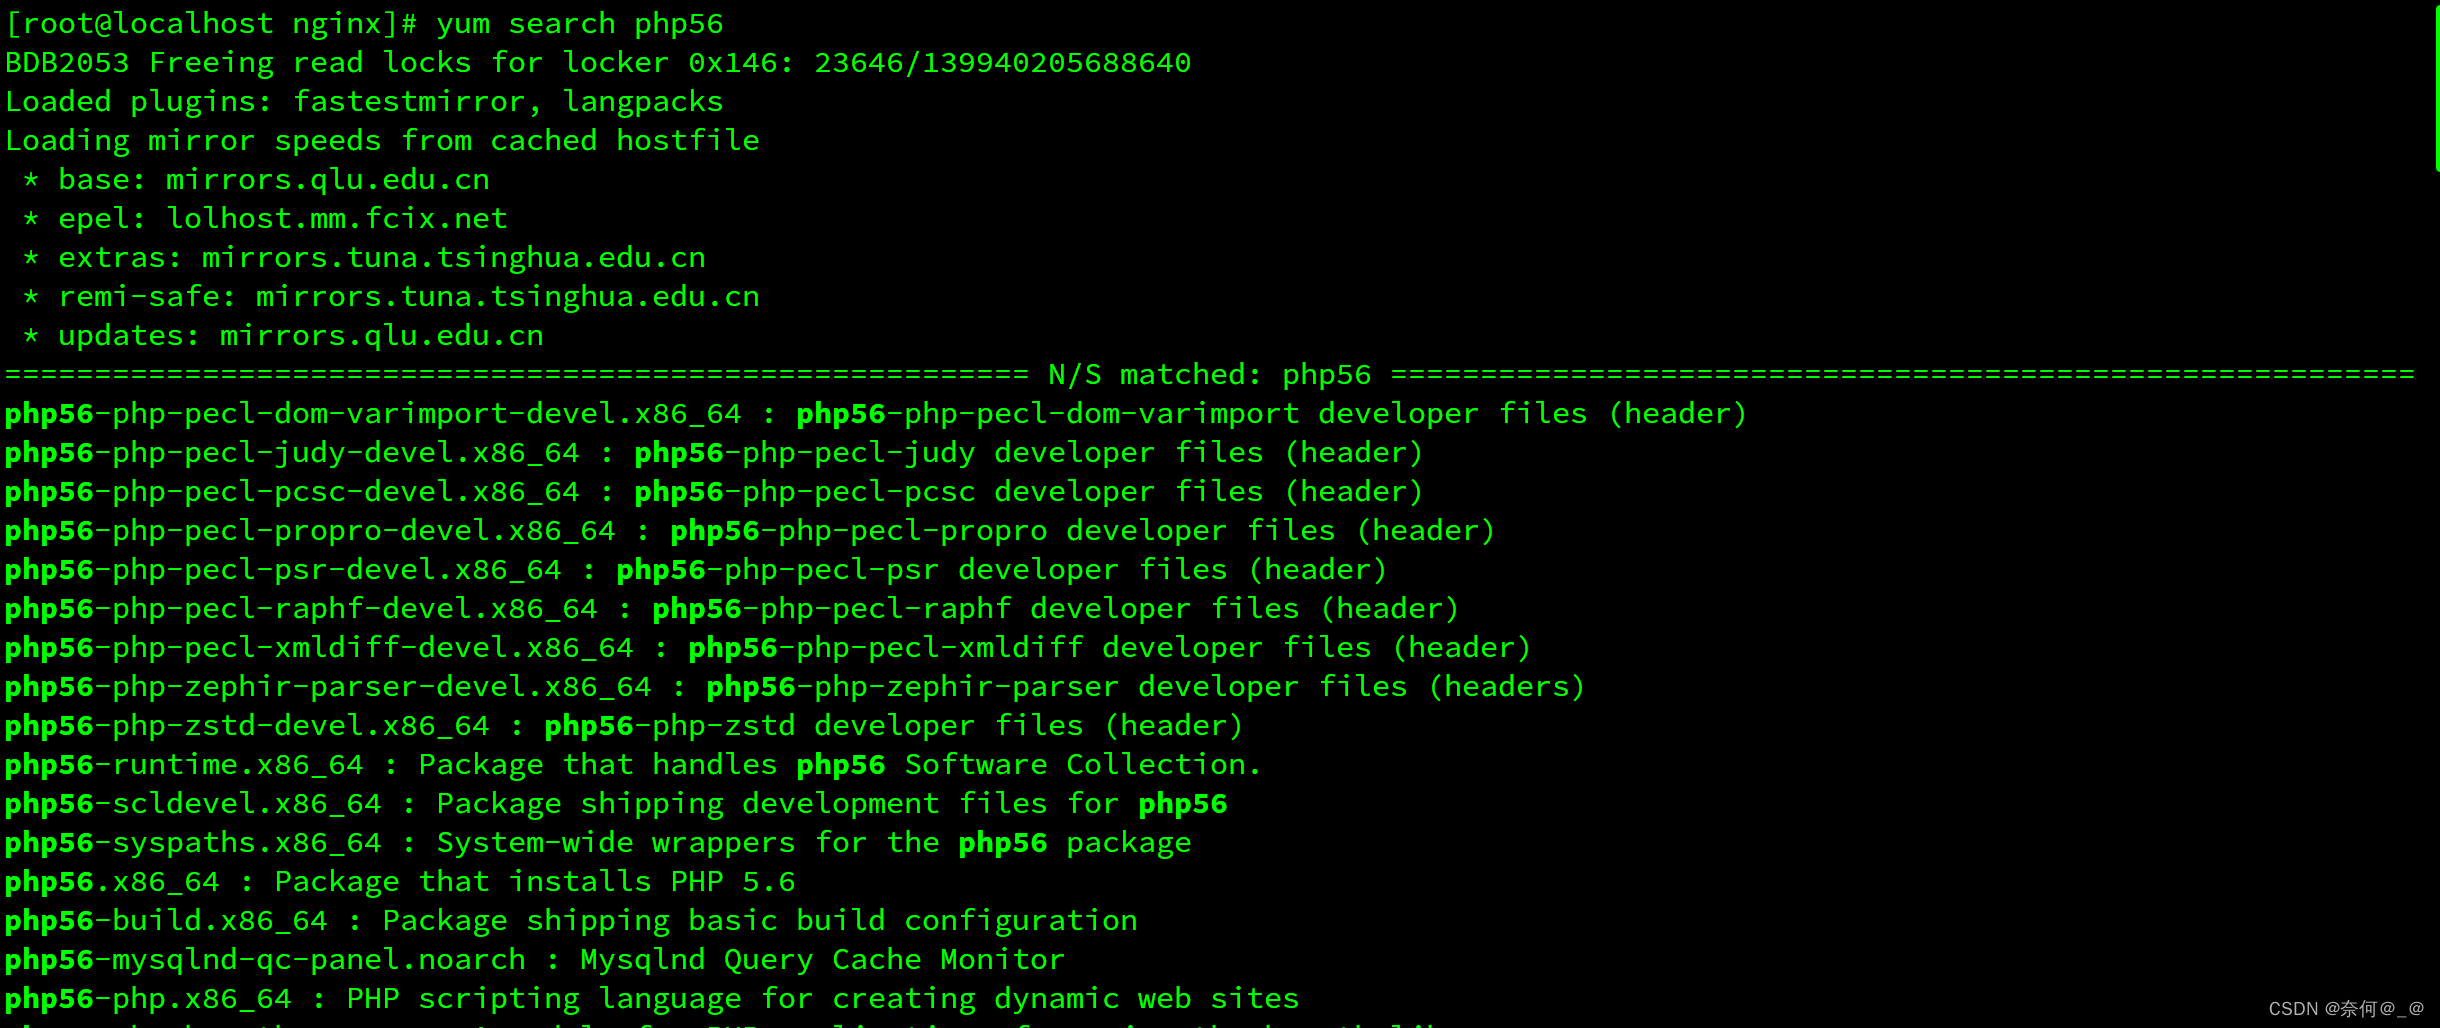
查看php56是否下载完成
[root@localhost nginx]# yum search php56

查询php-ipm安装路径

进入conf配置文件:
[root@localhost nginx]# cd conf/
[root@localhost conf]# vim nginx.conf
更改文件
location ~ \.php$ {
root html;
fastcgi_pass 127.0.0.1:9000;
fastcgi_index index.php;
fastcgi_param SCRIPT_FILENAME /document_root$fastcgi_script_name;
include fastcgi_params;
}

将用户修改成apache:

查看php-fpm文件:
[root@localhost conf]# cd /opt/remi/php56/root/etc/php-fpm.d/
[root@localhost php-fpm.d]# vim www.conf0


此时apache用户创建成功:
[root@localhost php-fpm.d]# cat /etc/passwd | grep apache

查看nginx权限:
[root@localhost php-fpm.d]# cd /soft/nginx
[root@localhost nginx]# cd sbin/
[root@localhost sbin]# ./nginx
[root@localhost sbin]# ps -ef | grep nginx

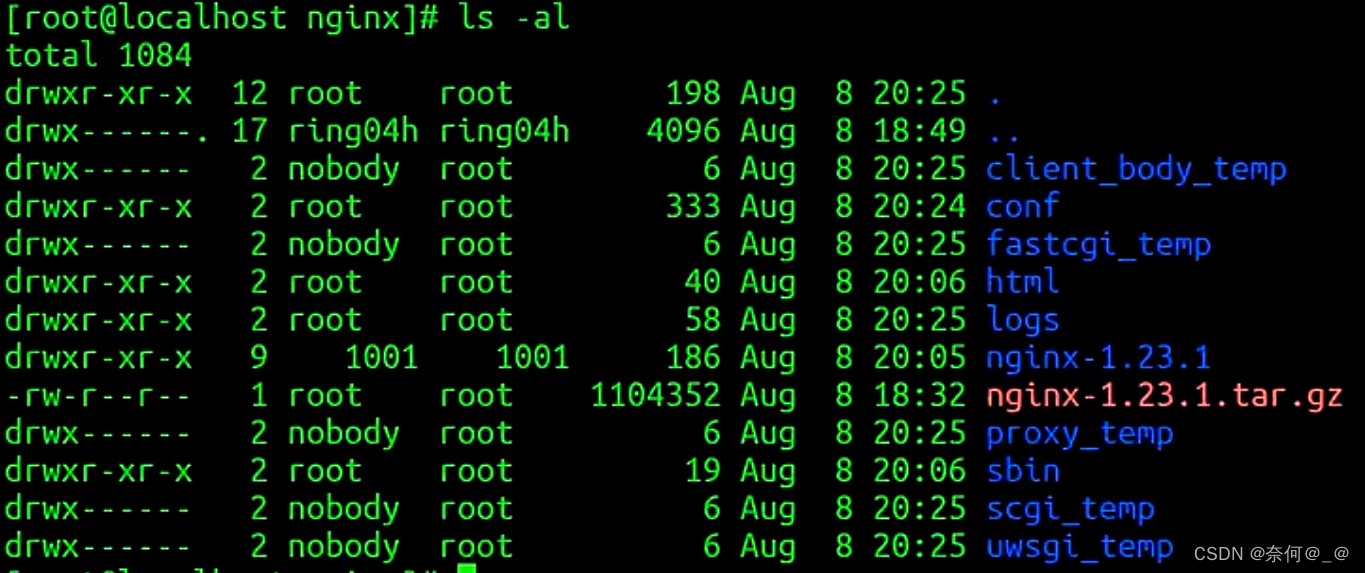
目录权限html:root
[root@localhost nginx]# curl http://localhost


